FOUNDATION...
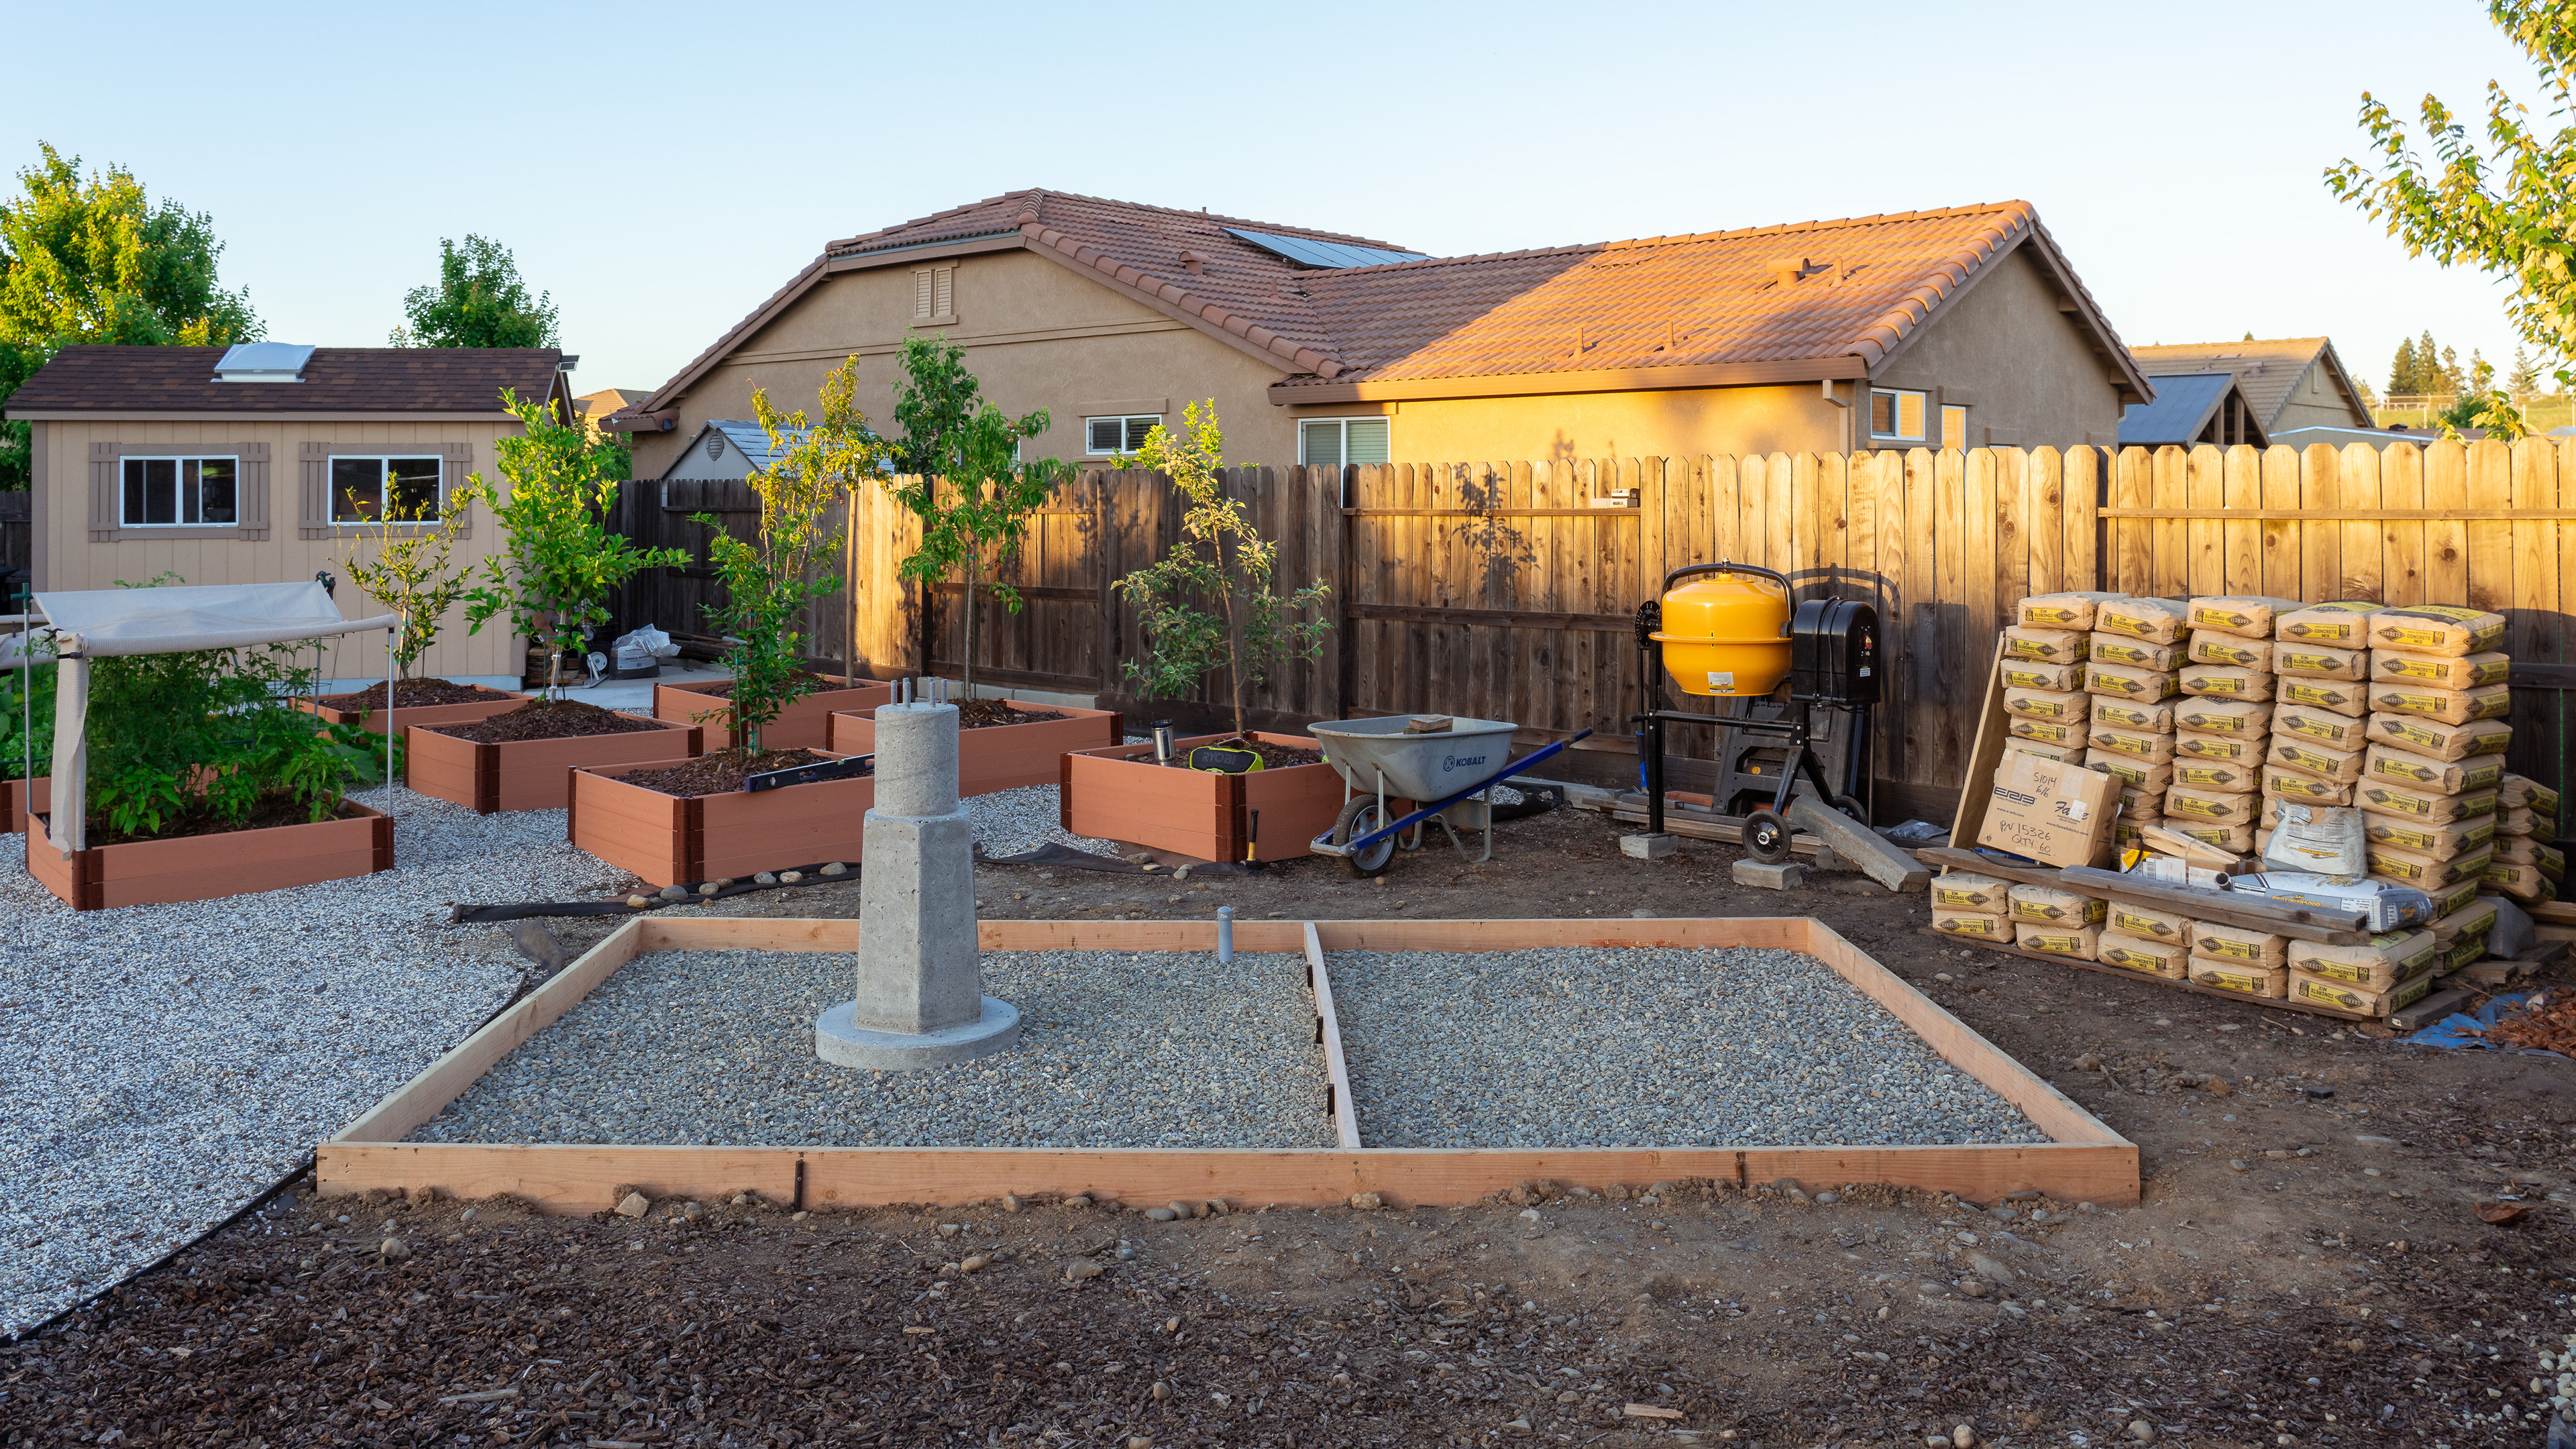
After pouring the pier with satisfactory results I felt pretty confident about doing the concrete slab myself. By this time I've amassed all the tools necessary for concrete mixing and finishing and figured I could I could do the pad in two separate pours. Leveling, trenching, and otherwise prepping the round was the most time consuming part, and once again I had to resort to renting a jack hammer to help with surface prep and removing some boulders caked in California clay. I also had to dig up some roots from a tree I removed earlier at the SE edge of the pad.
I've then built and leveled the pad forms and spread a couple of inches of base gravel. Finally I laid out #4 rebar to add strength to the pad and to keep the separate sections together. The pier was then isolated from the rest of the slab with a 1.5" dense foam, wrapped around the pier foundation. Additionally, I trenched a path for the conduit pipe which will be used to run power/network cables to the pier.
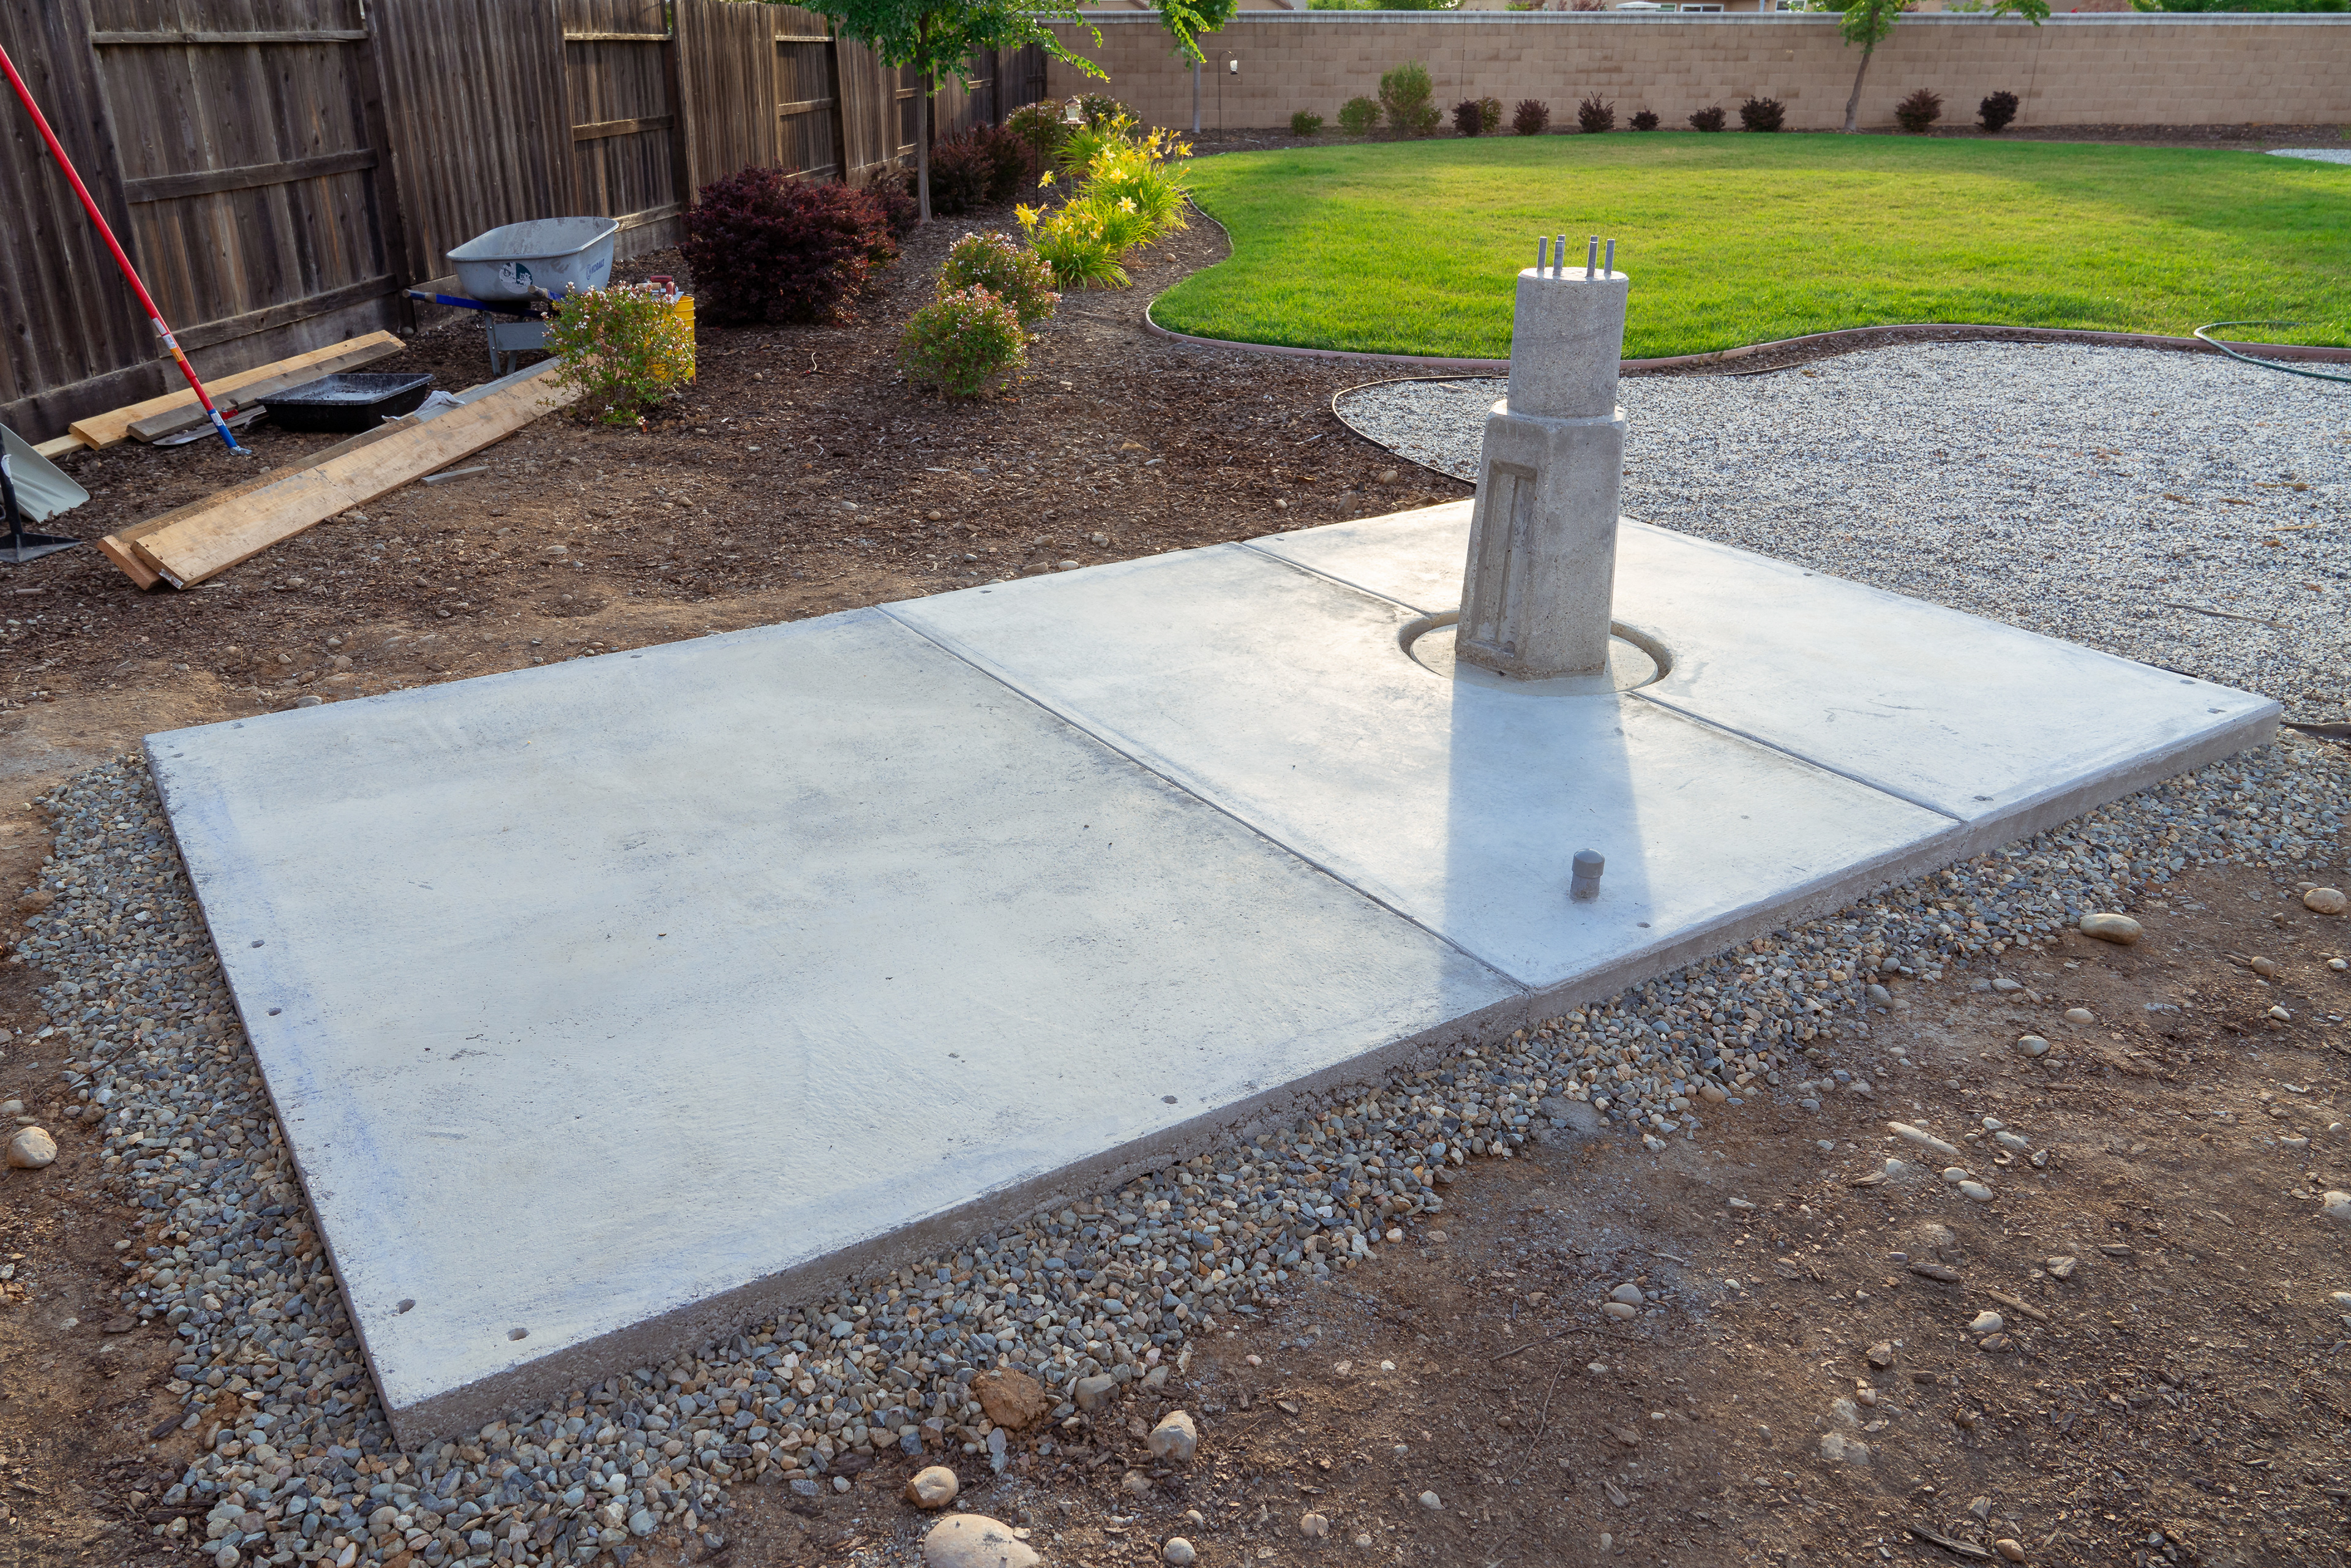
Pouring was a relatively simple job and not all that hard with a mixer. I mixed 3 bags at a time and it went relatively quick for the first 6'x8' section. Where I ran into trouble was with my timing on how fast the concrete was curing... at the time in June I was working in 95+ mid-day sun and I misjudged how workable the slurry was by the time I was ready to install foundation anchor bolts. Same with the final troweling of the surface... it still came out OK, but the edges were too hard to do a nice finish job. Not a big deal since they will be completely hidden by the base sill board anyway. To give myself more finishing time, I've broken down the remaining pour into jobs of 4'x8' each and by the 3rd section I was feeling like a pro :) The final result was a smooth and level pad.
Pad forms framed and leveled
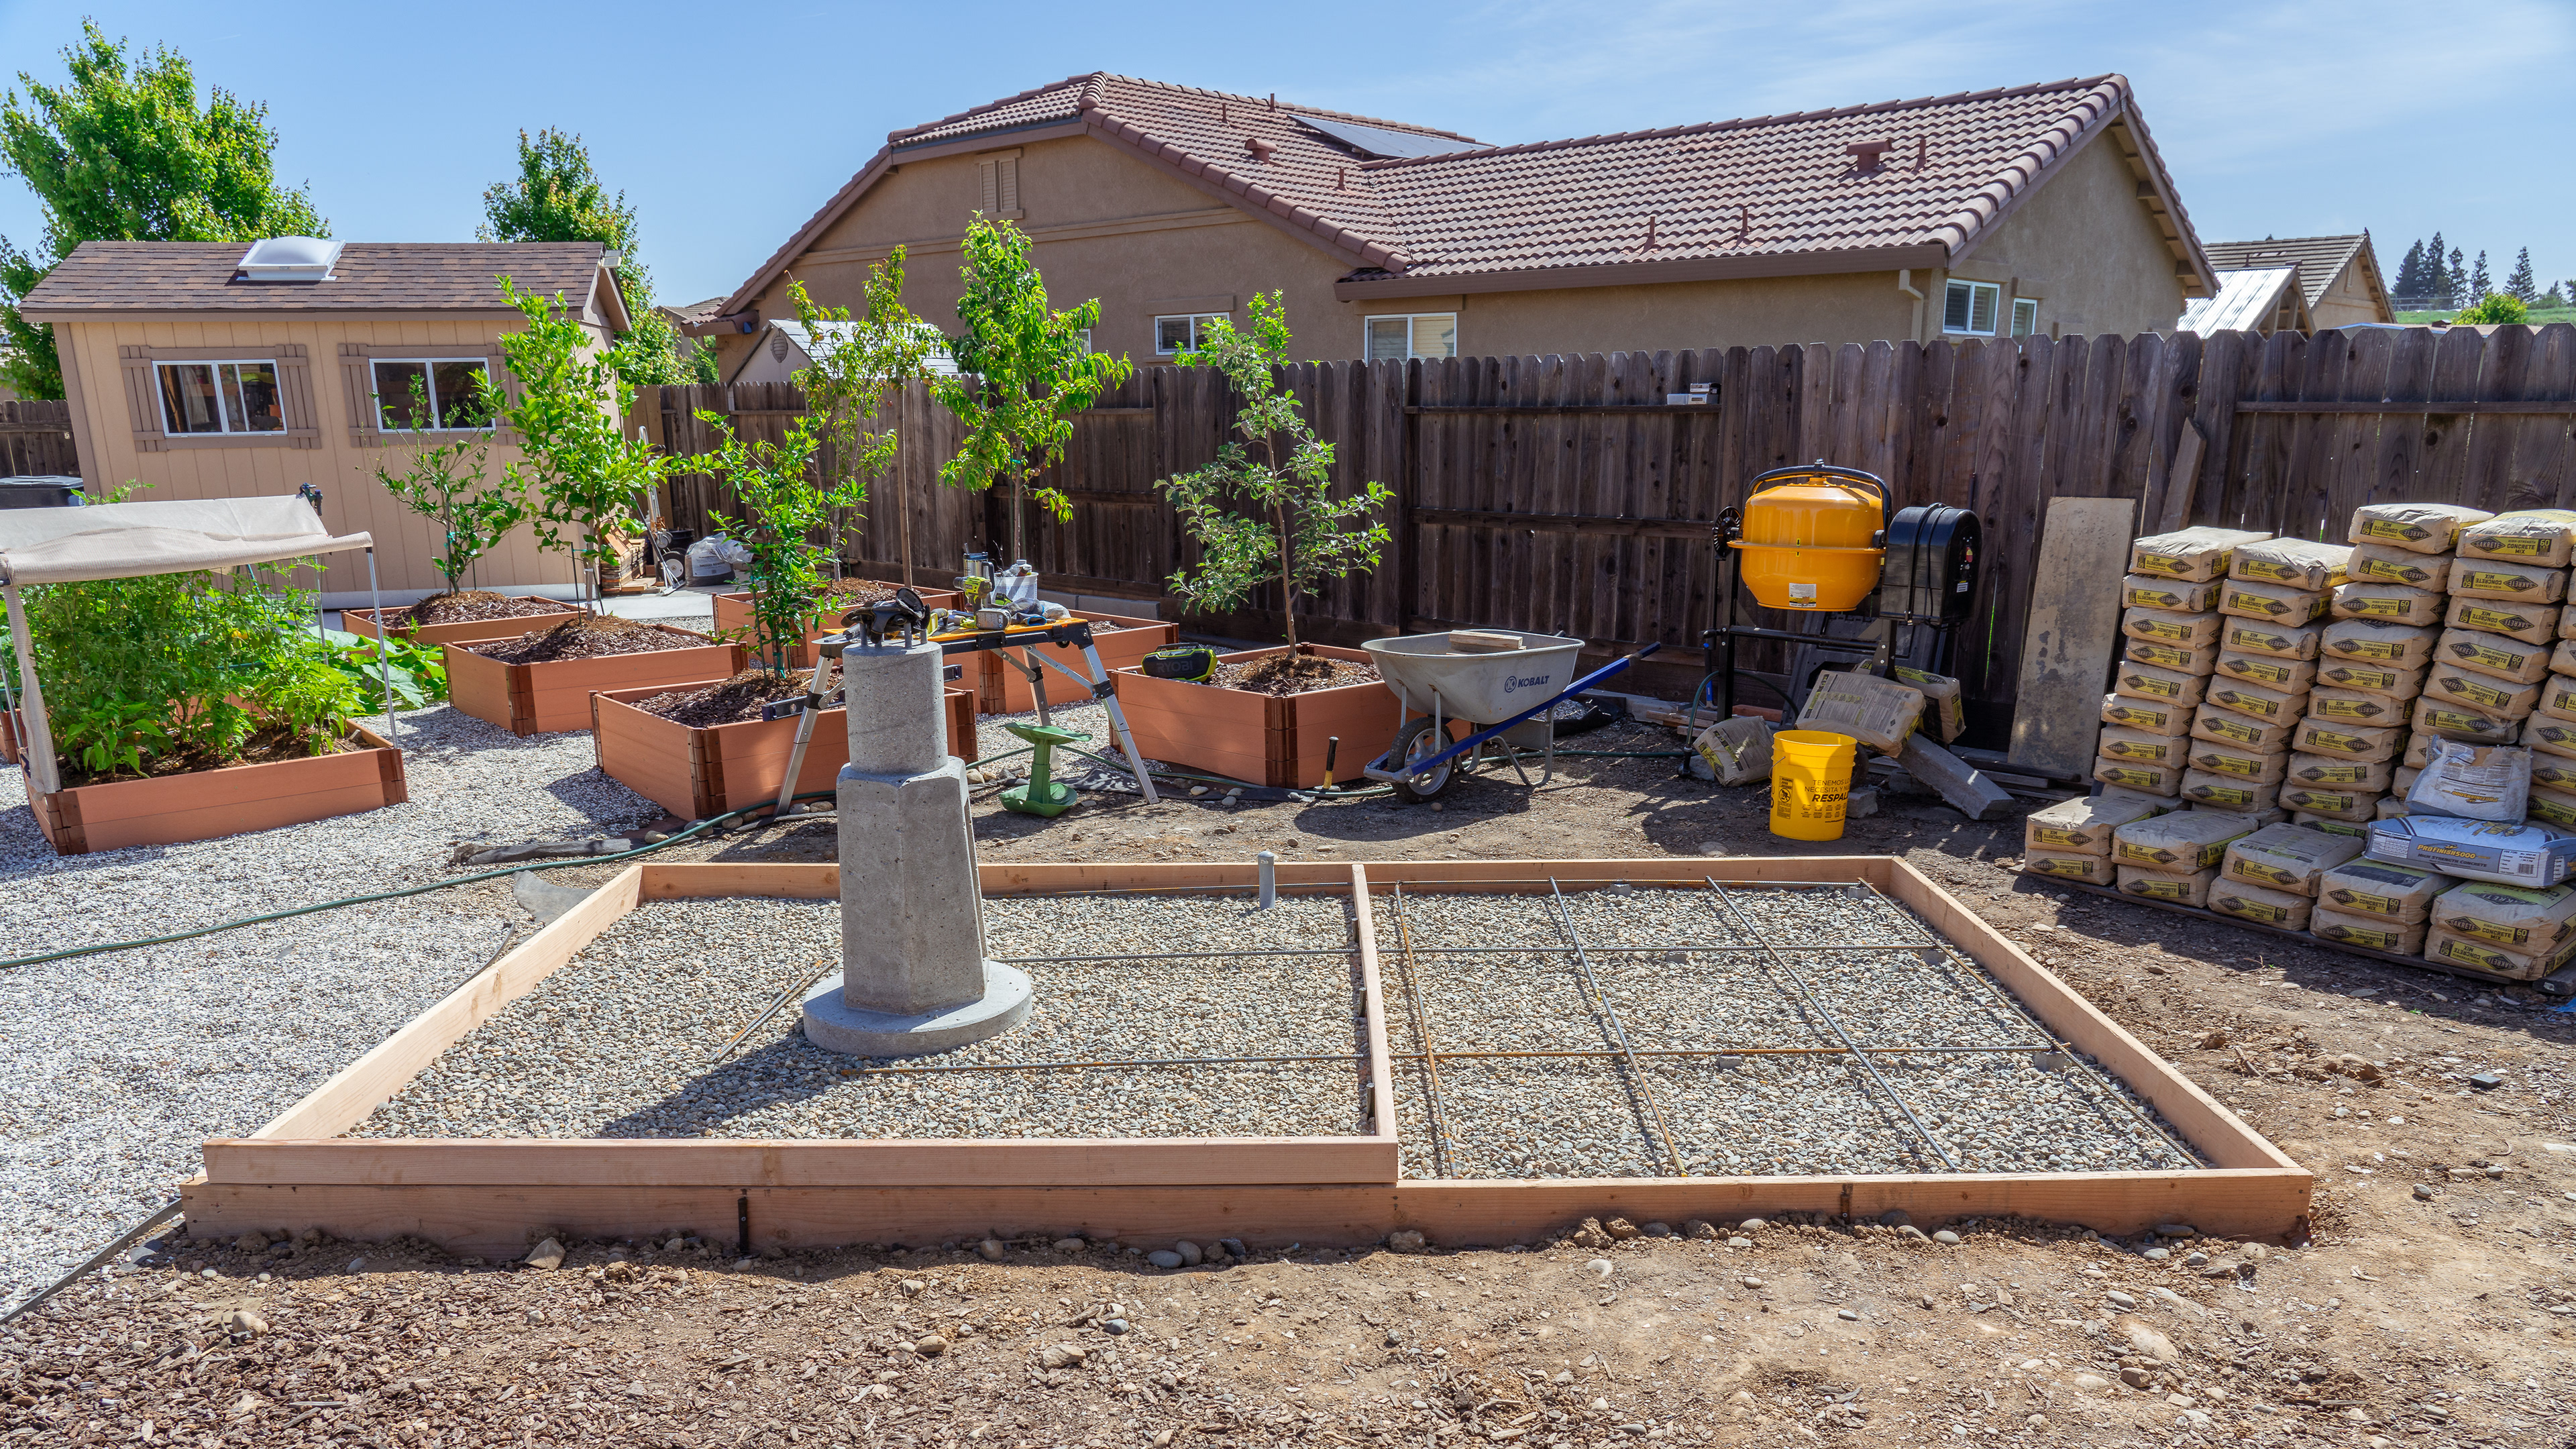
Rebar cut and sitting on 2" dobies

First section of the pad poured and curing
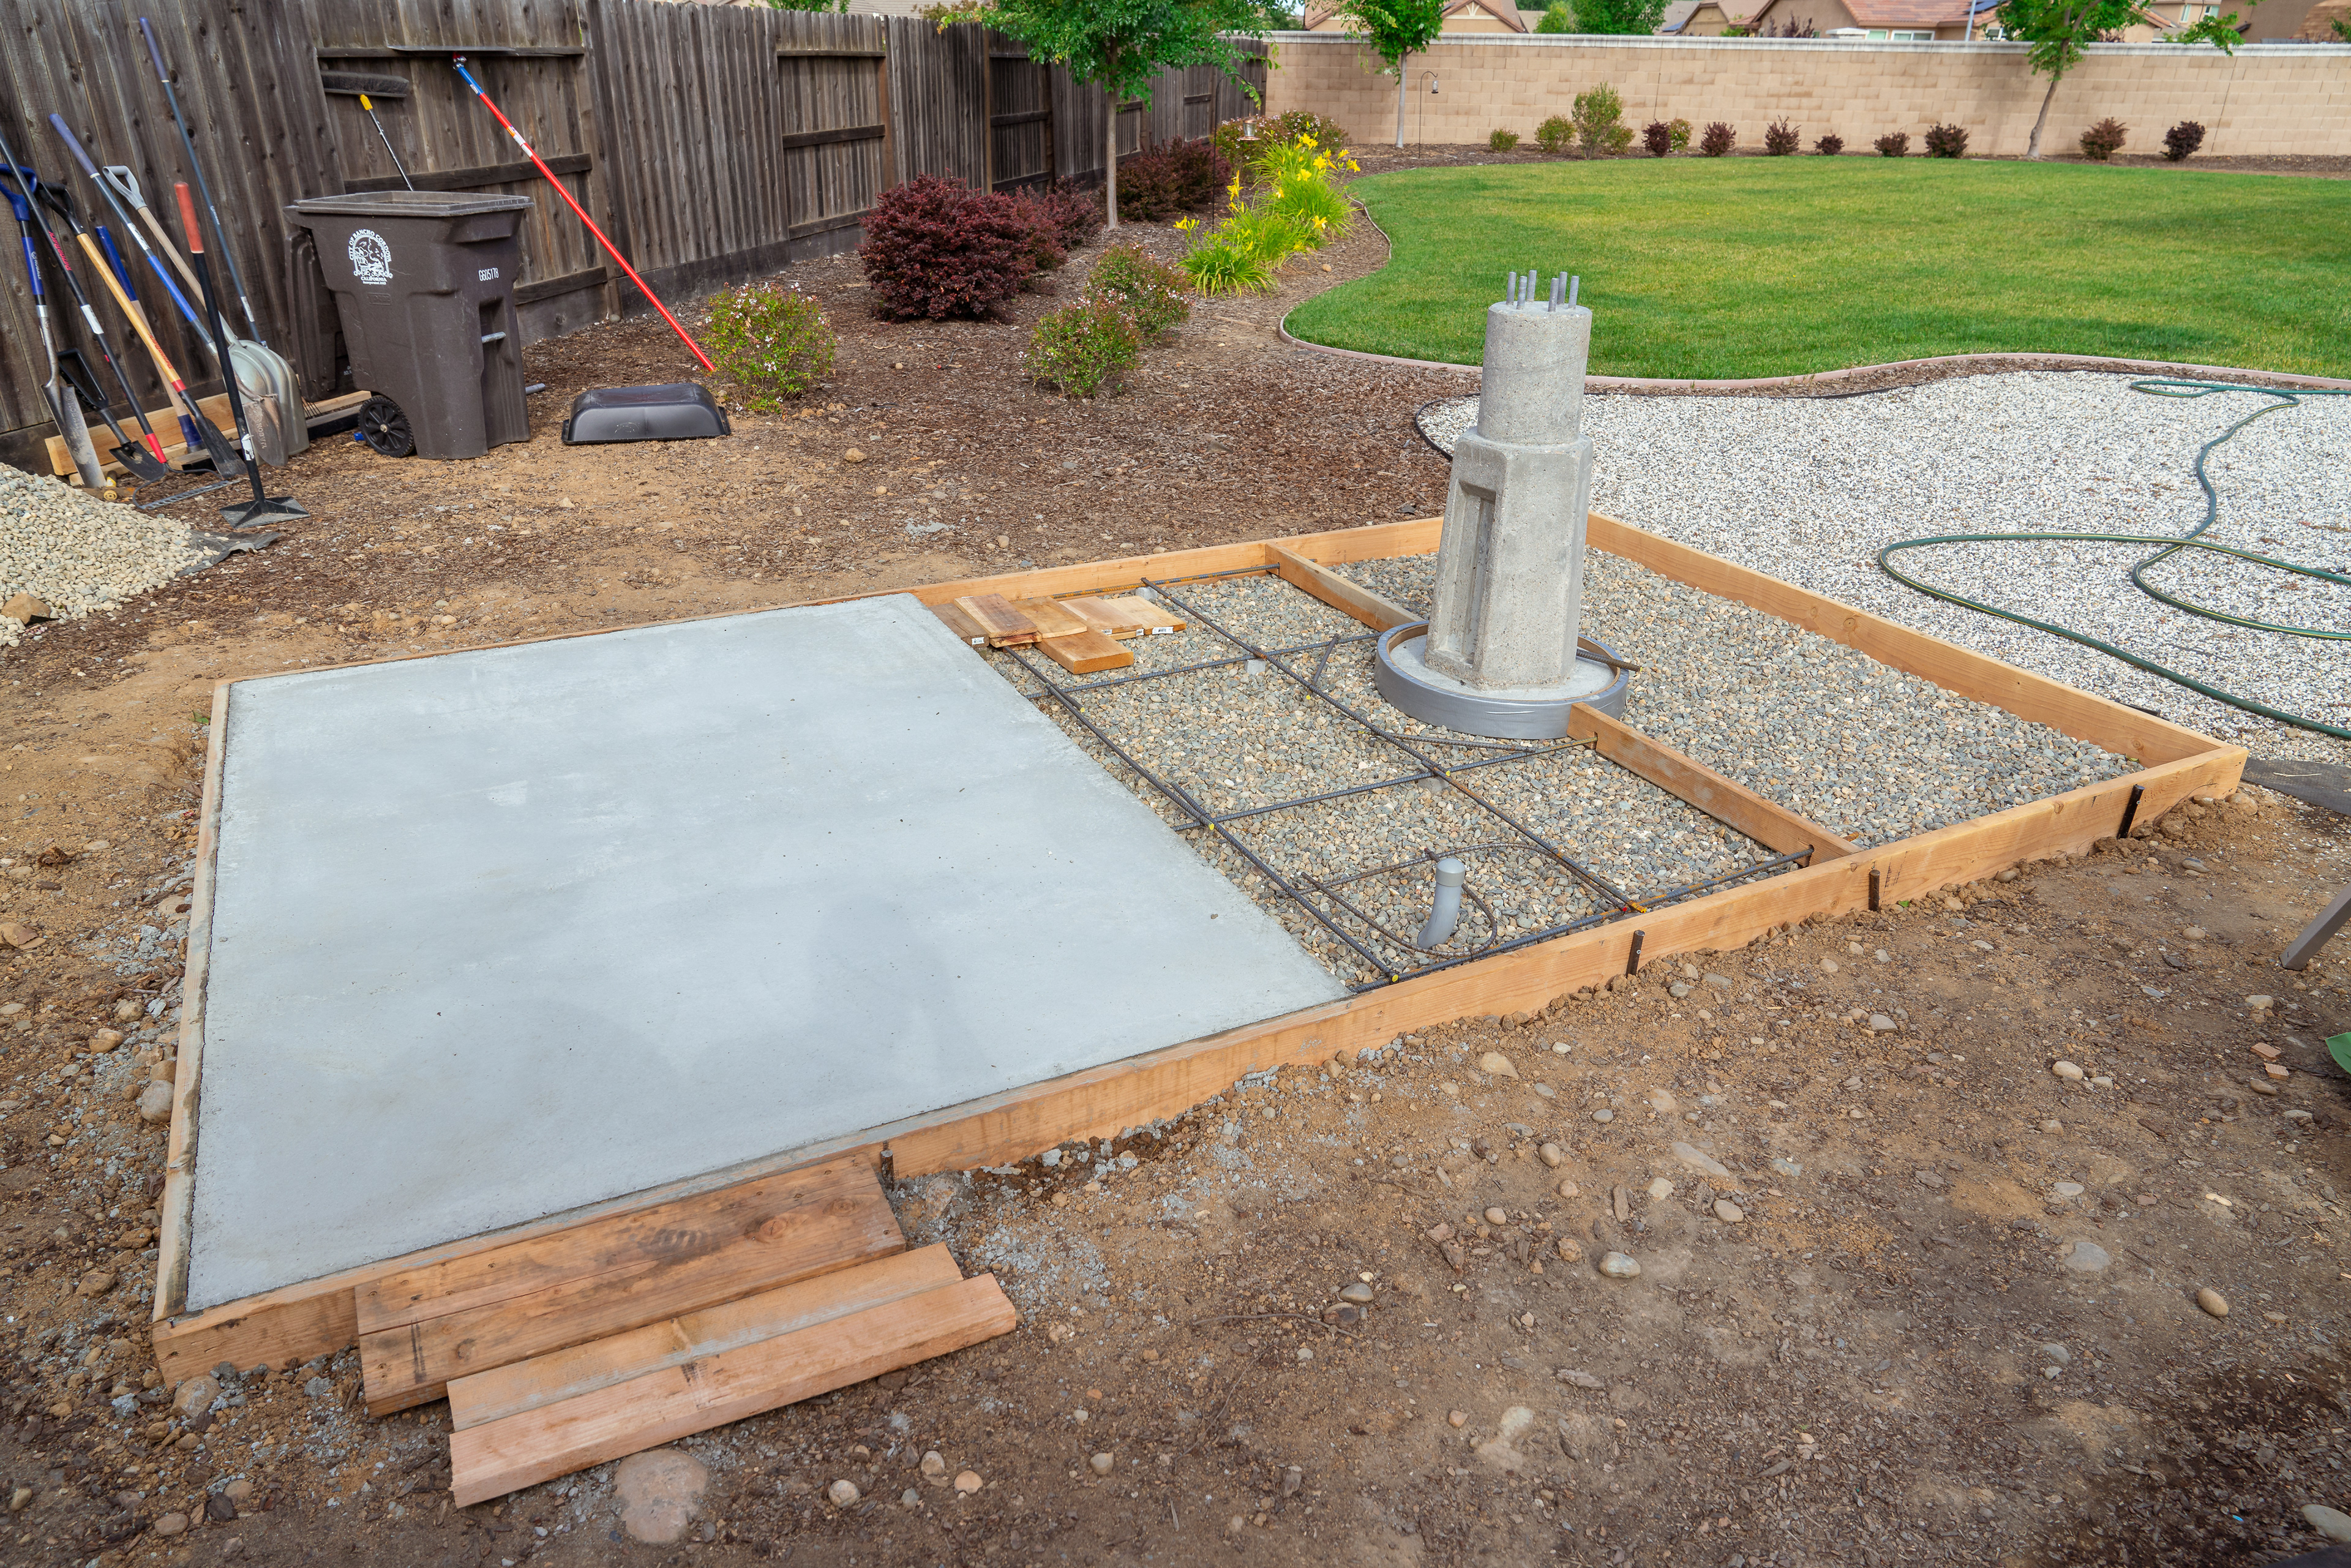
Next sections are framed and rebar laid out
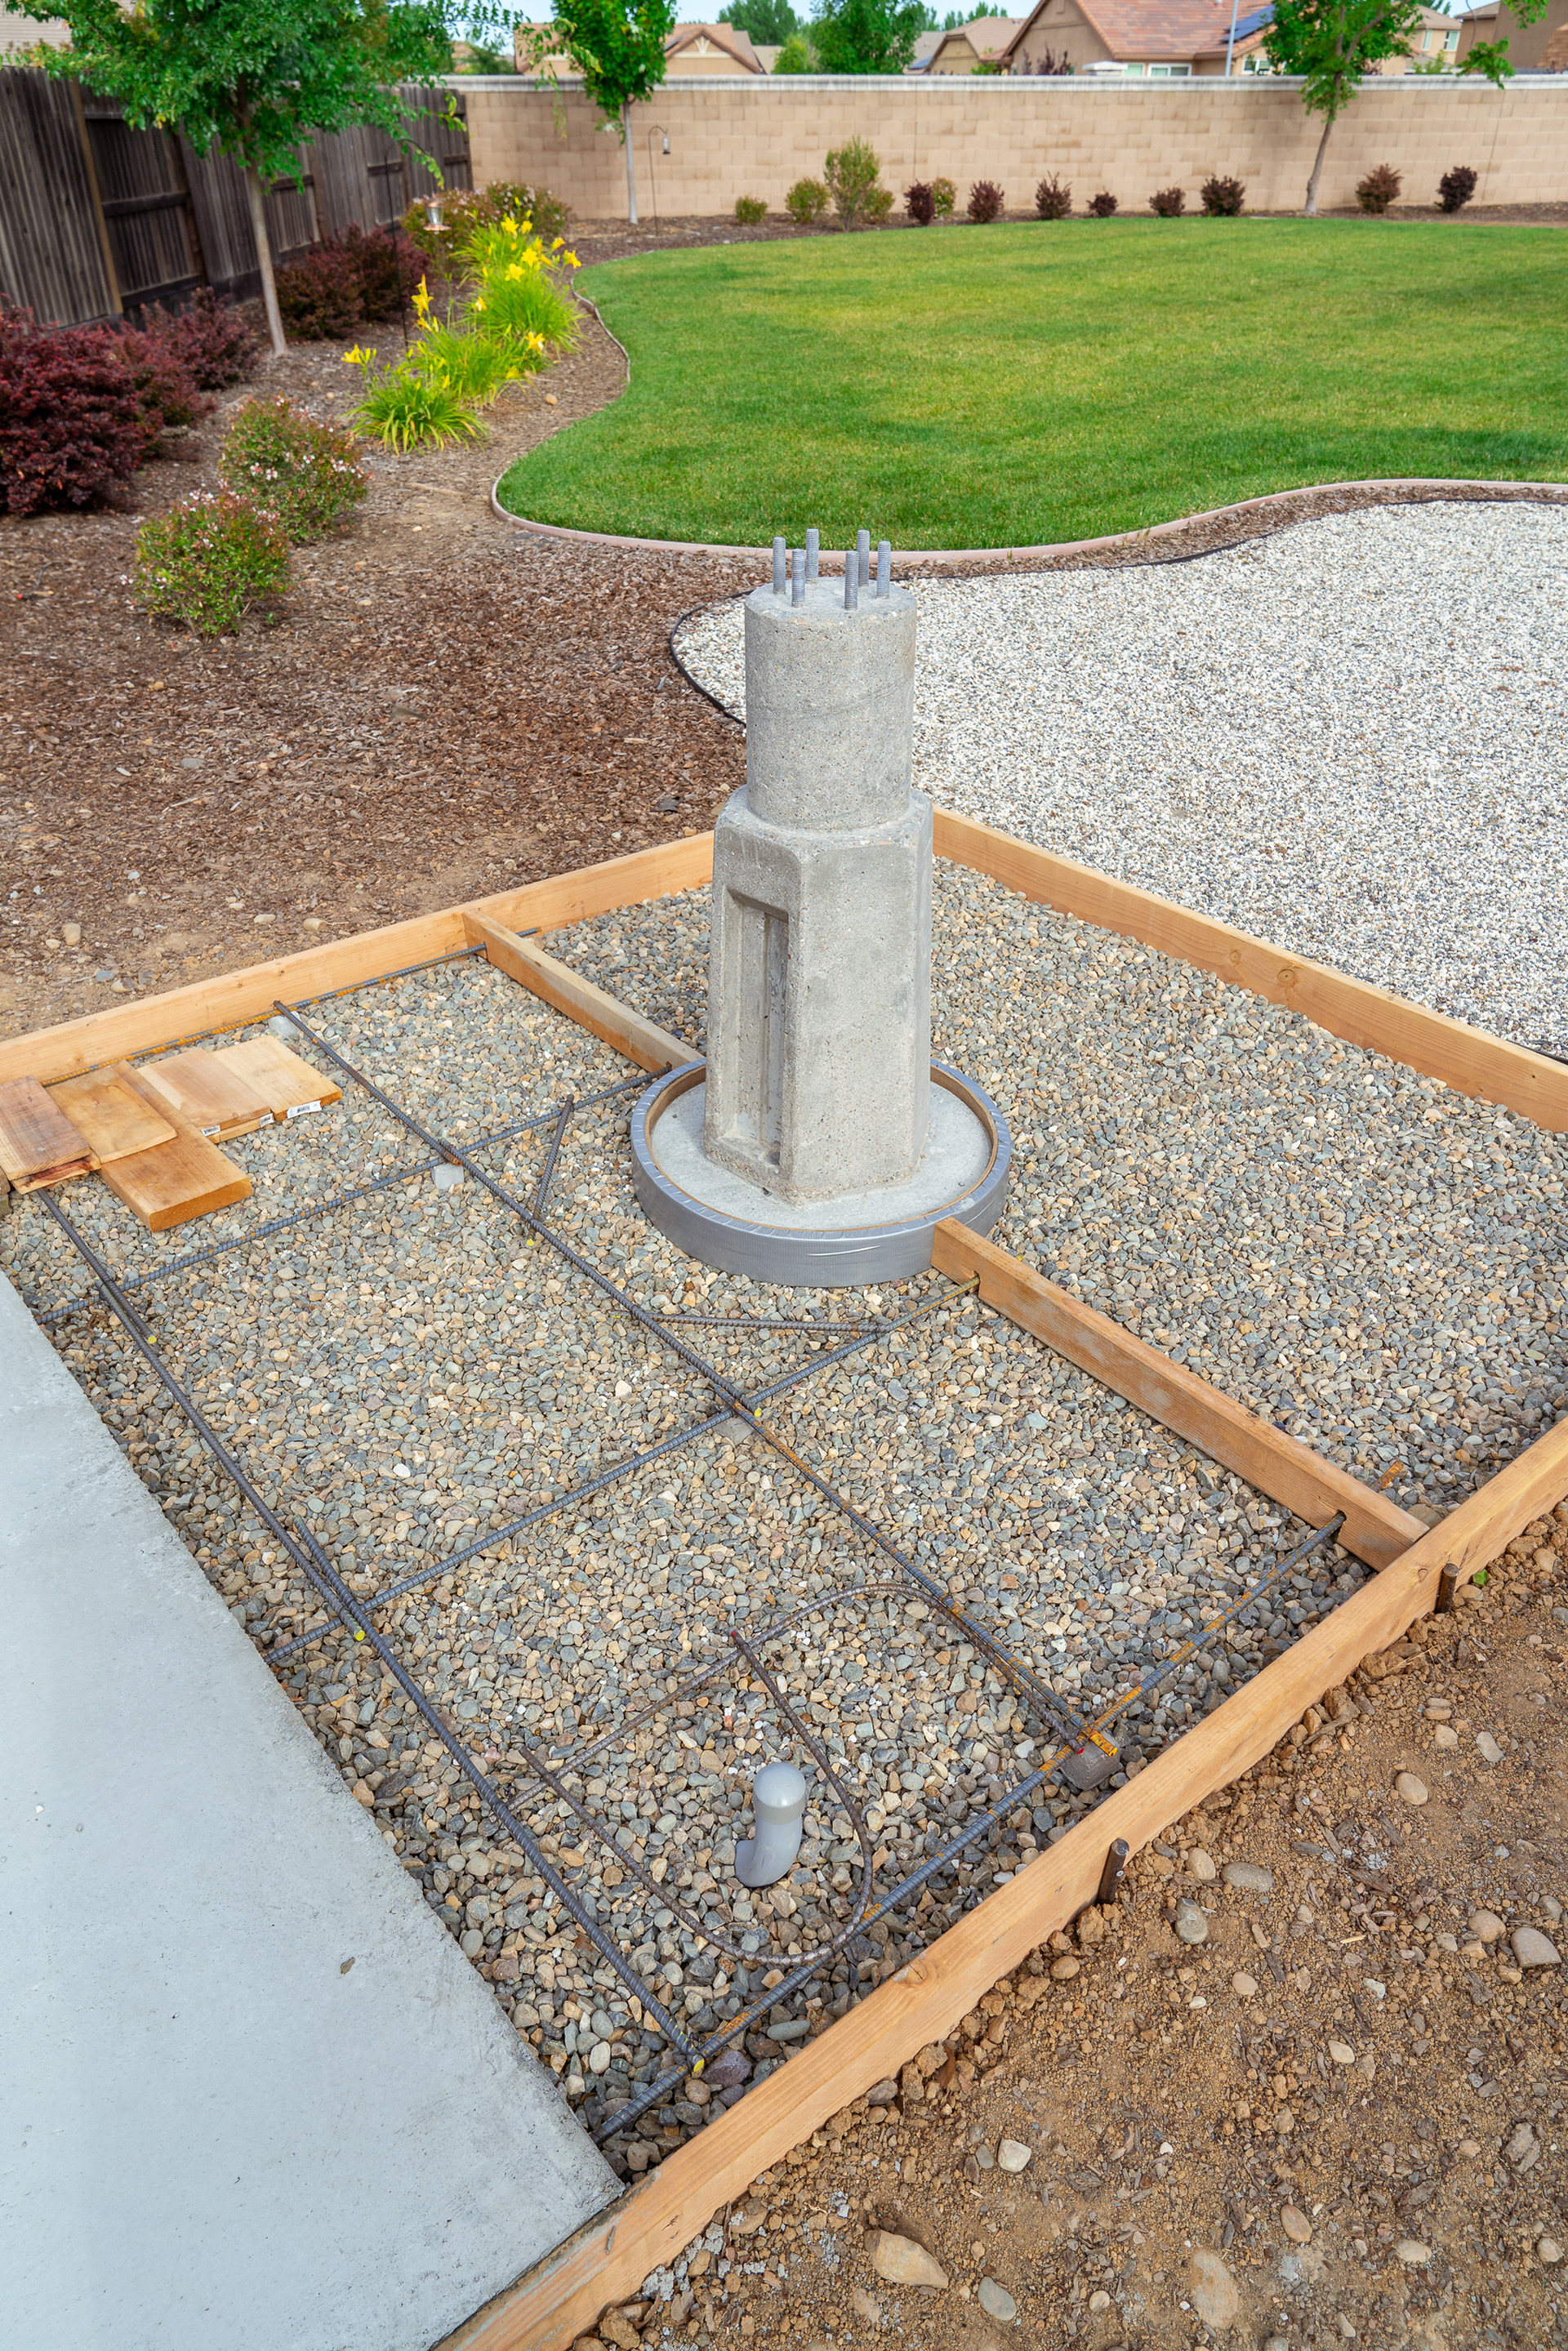
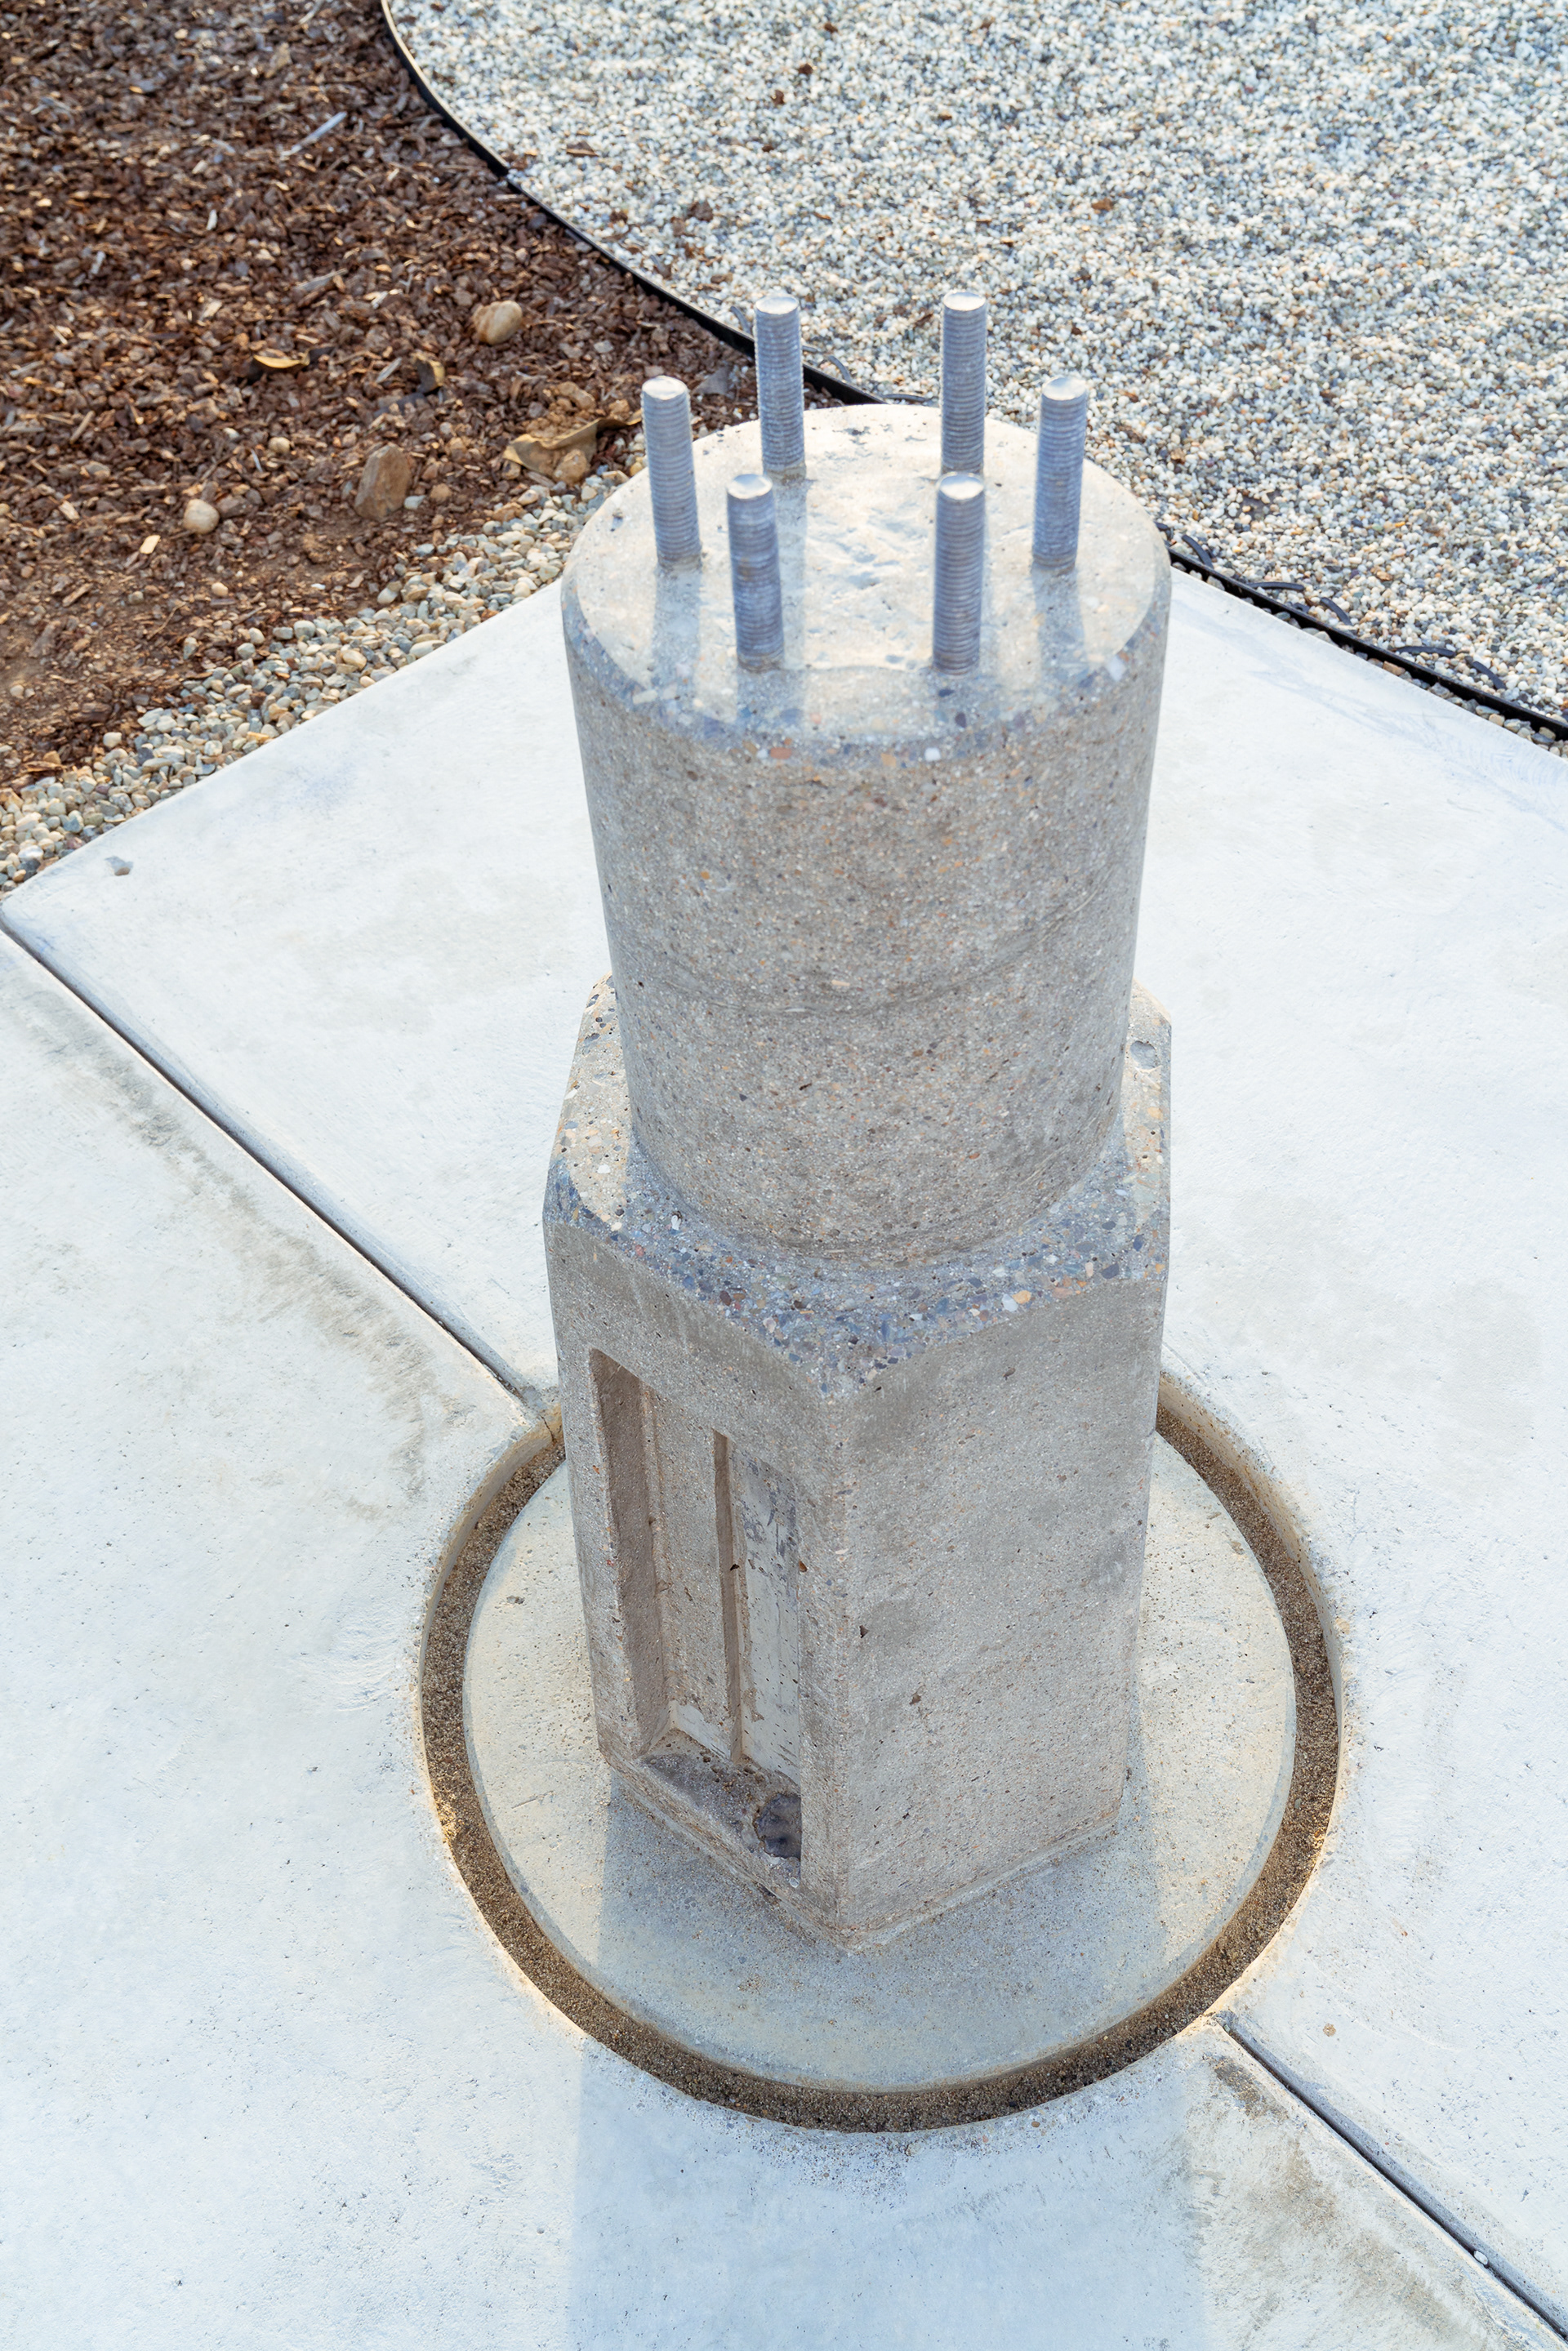
Pier base isolated
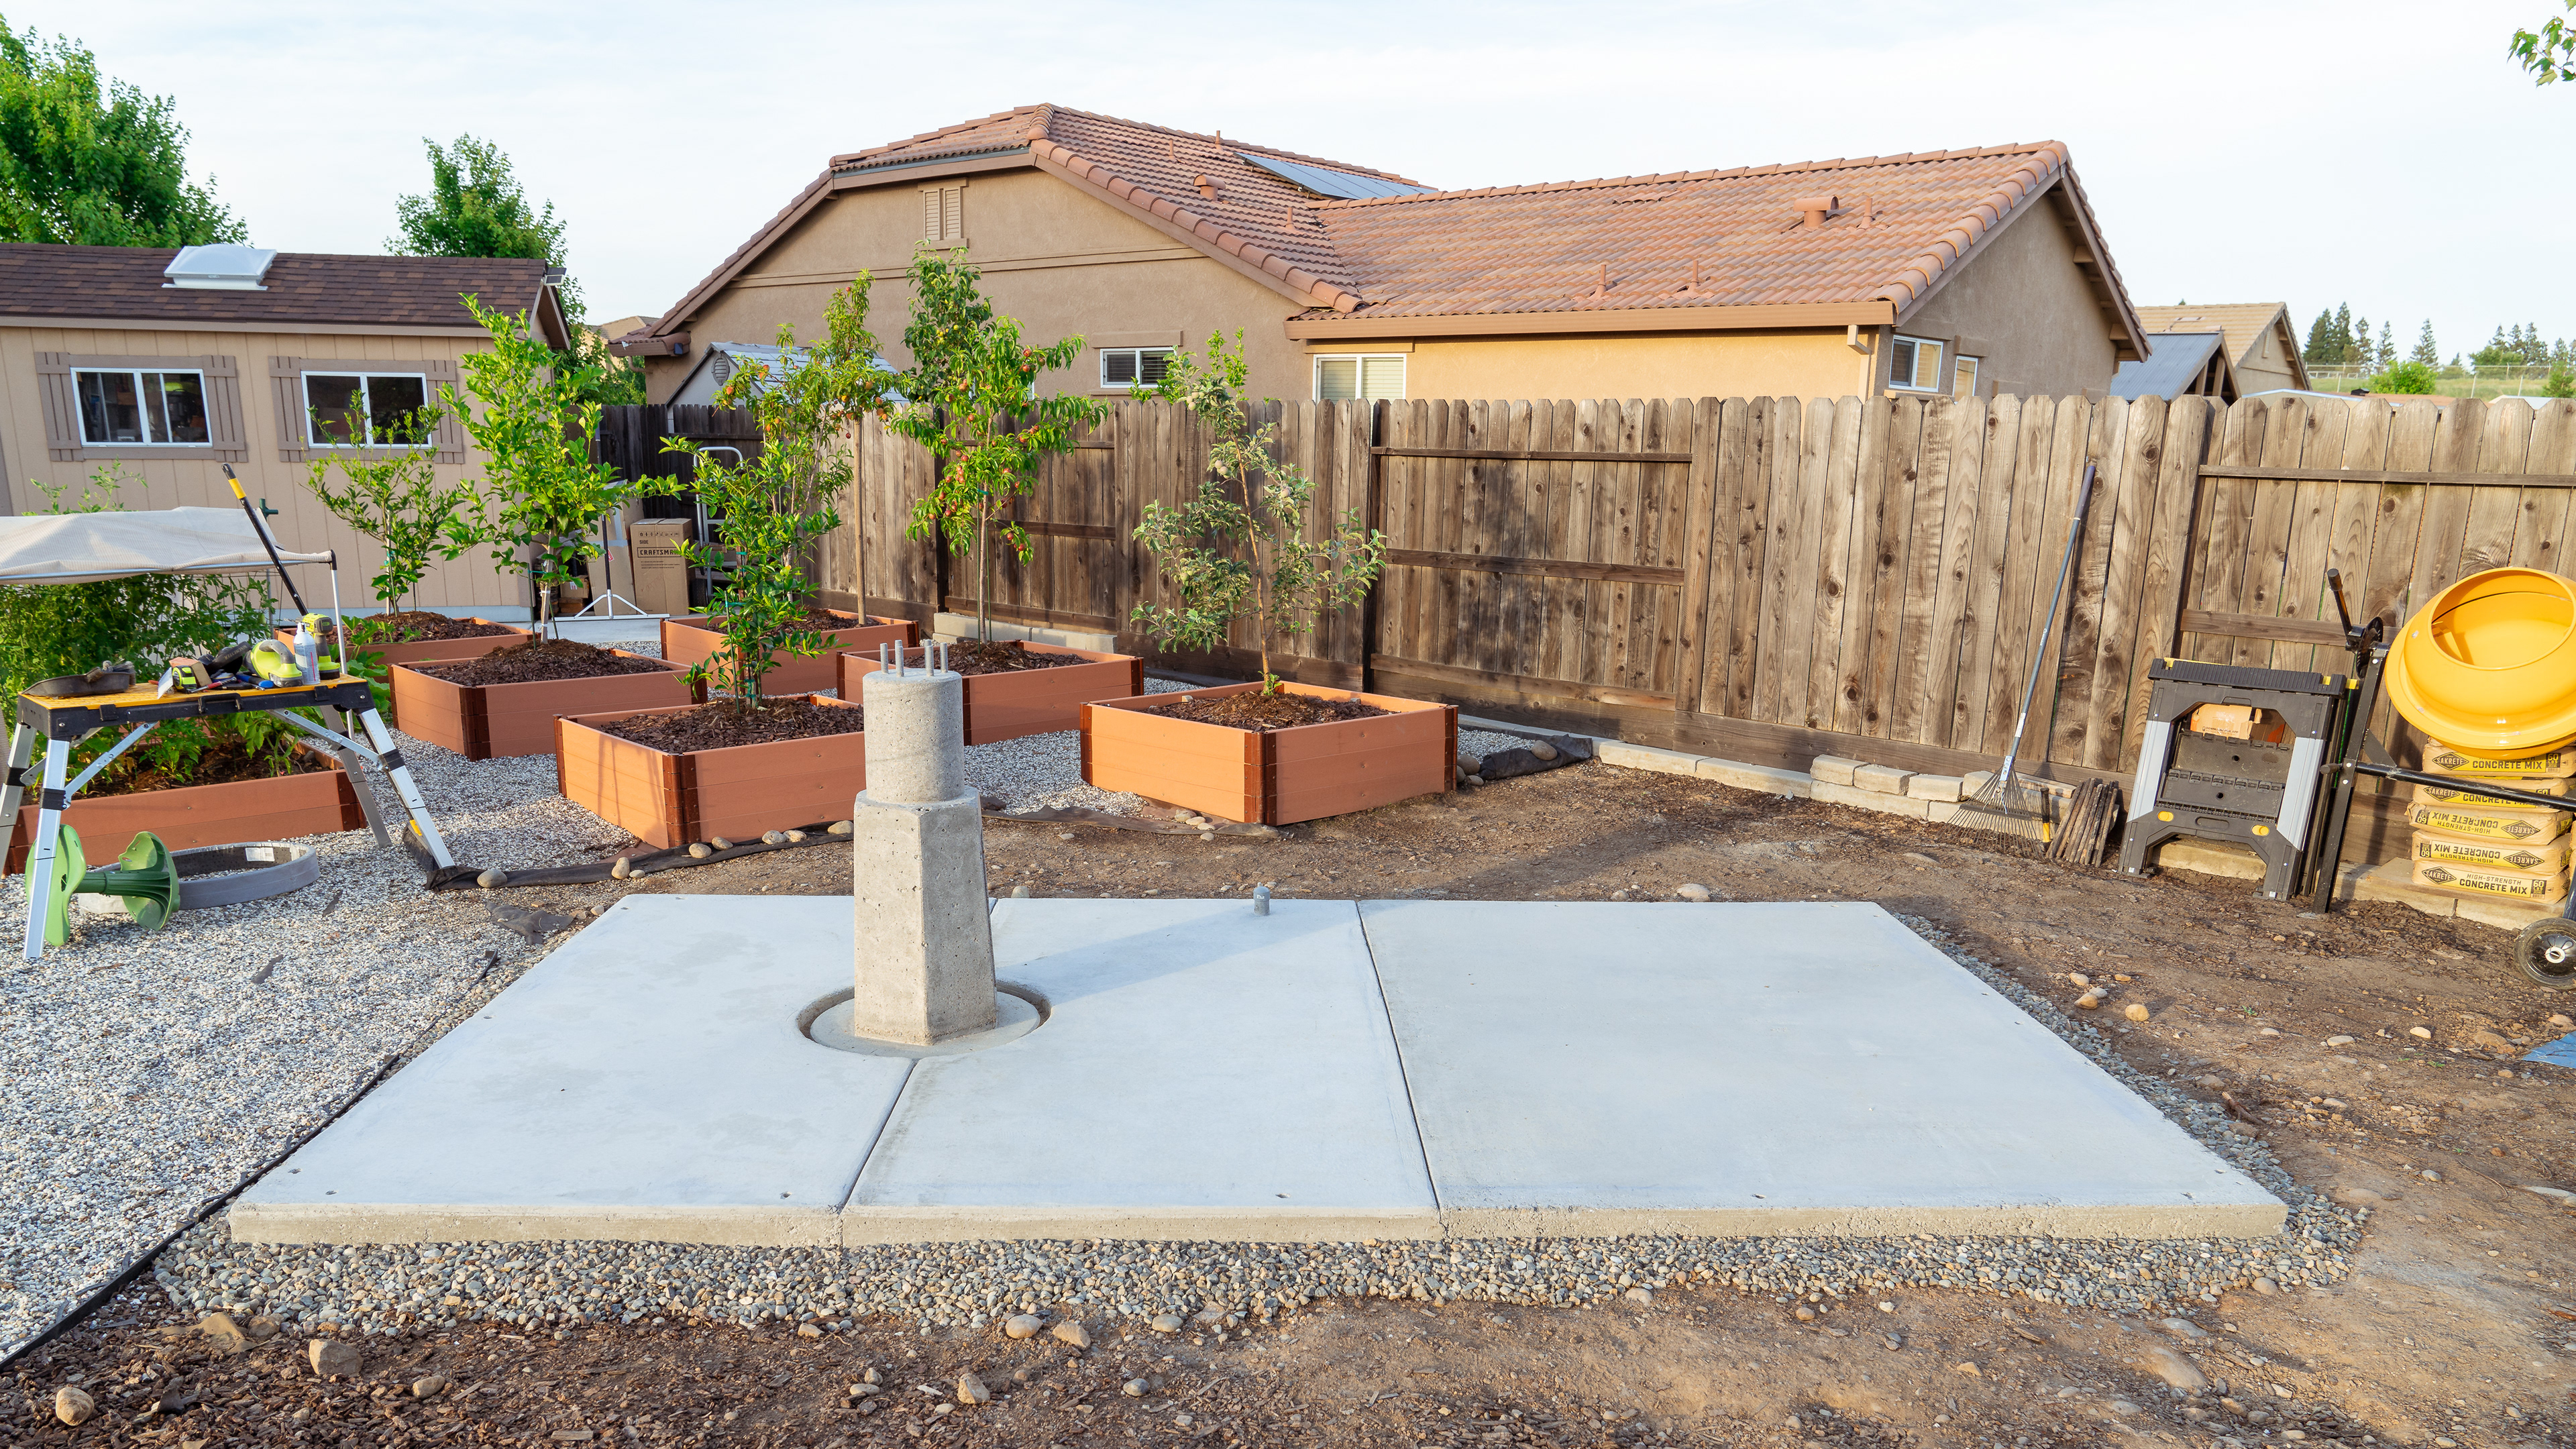
Done and done!
FINISHING THE PAD AND THE PIER...
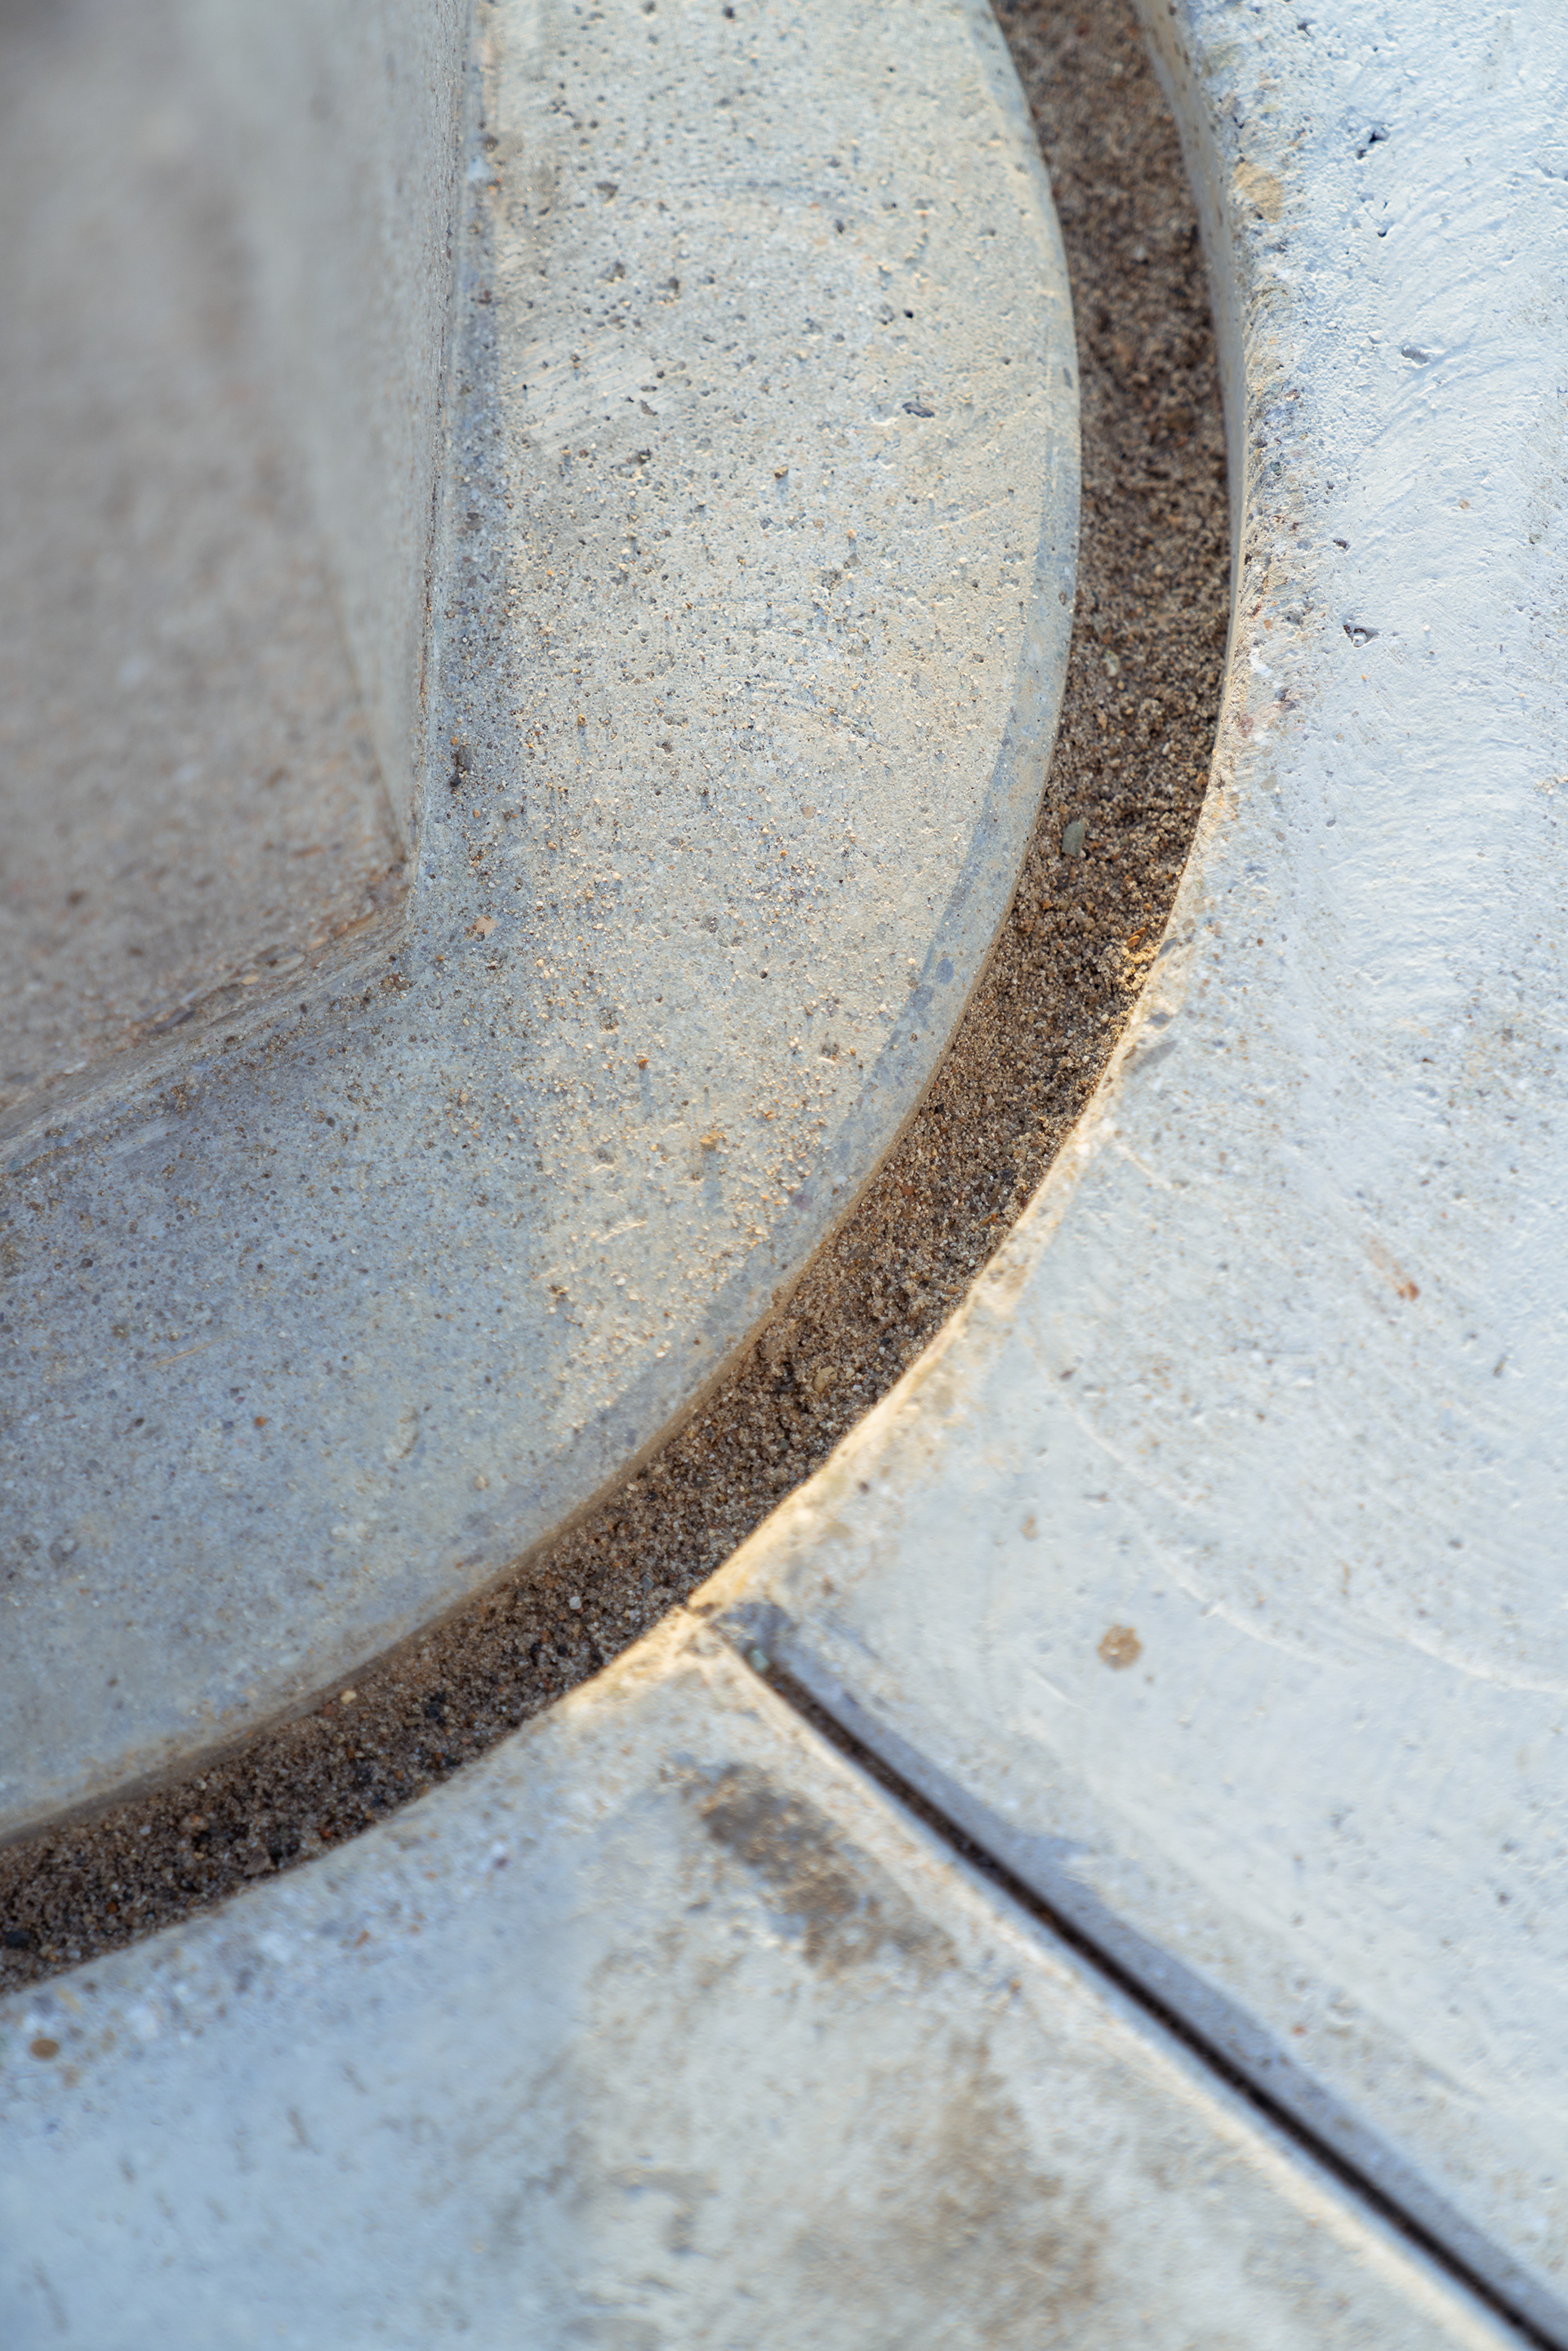
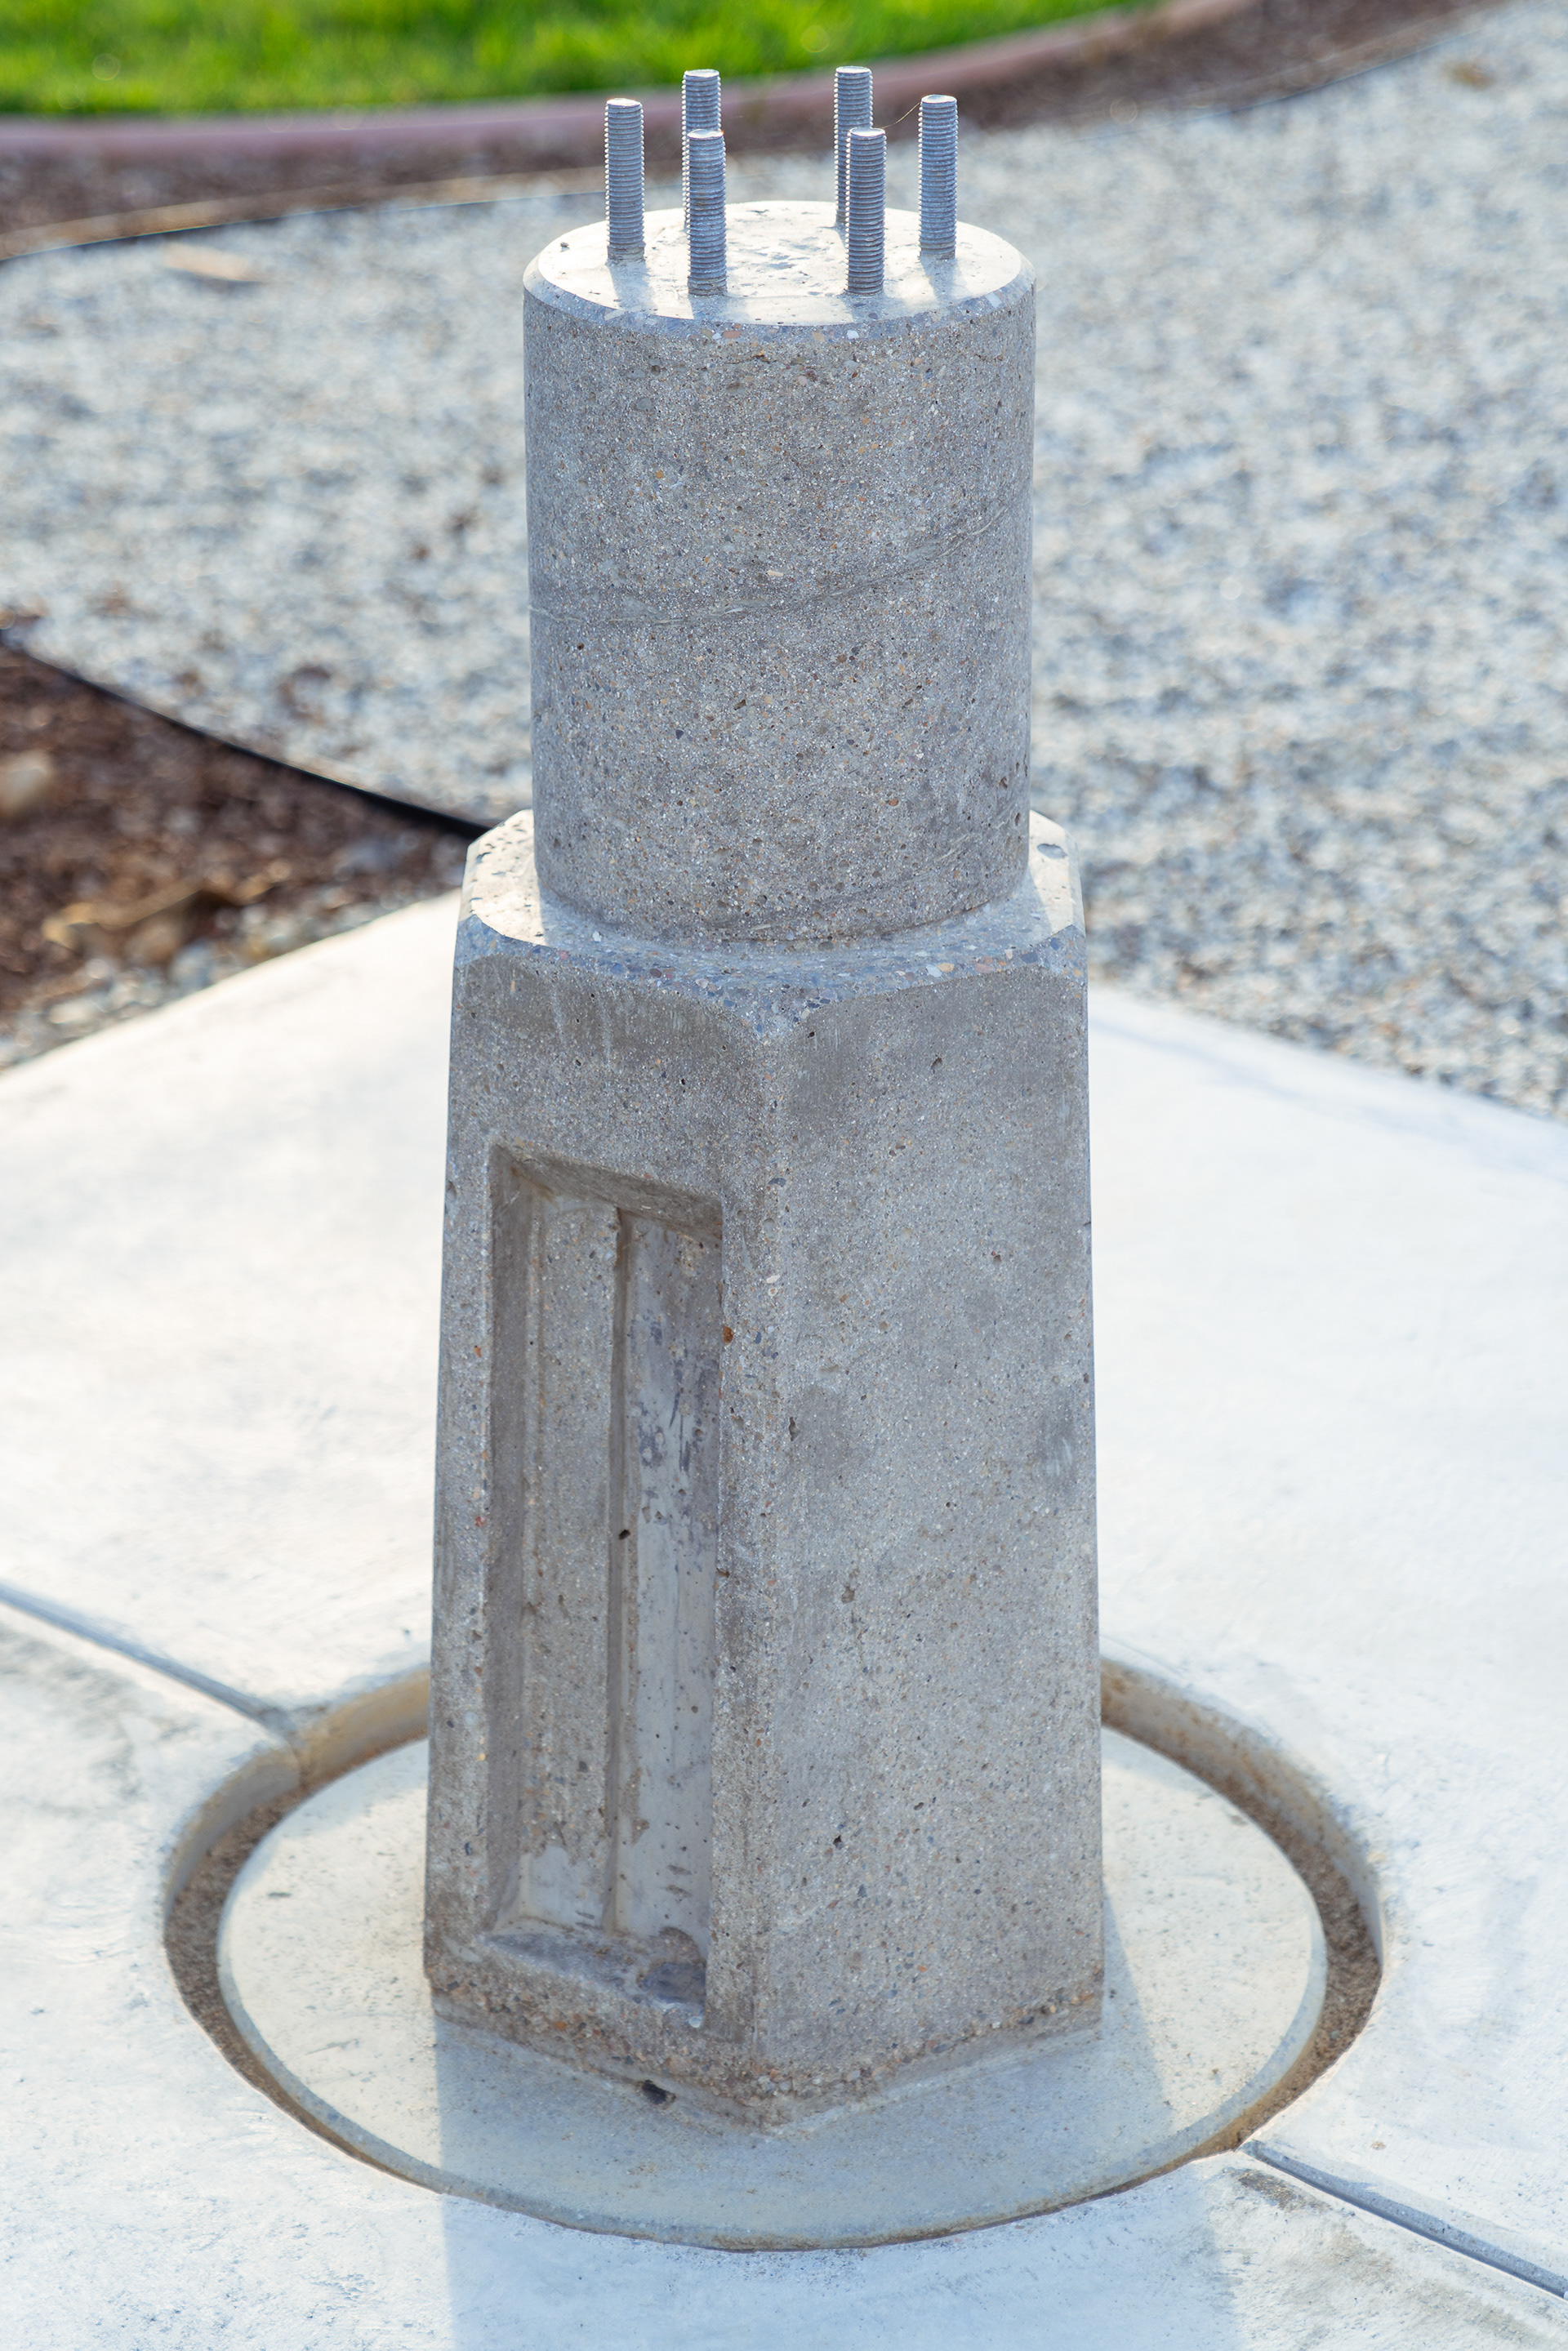
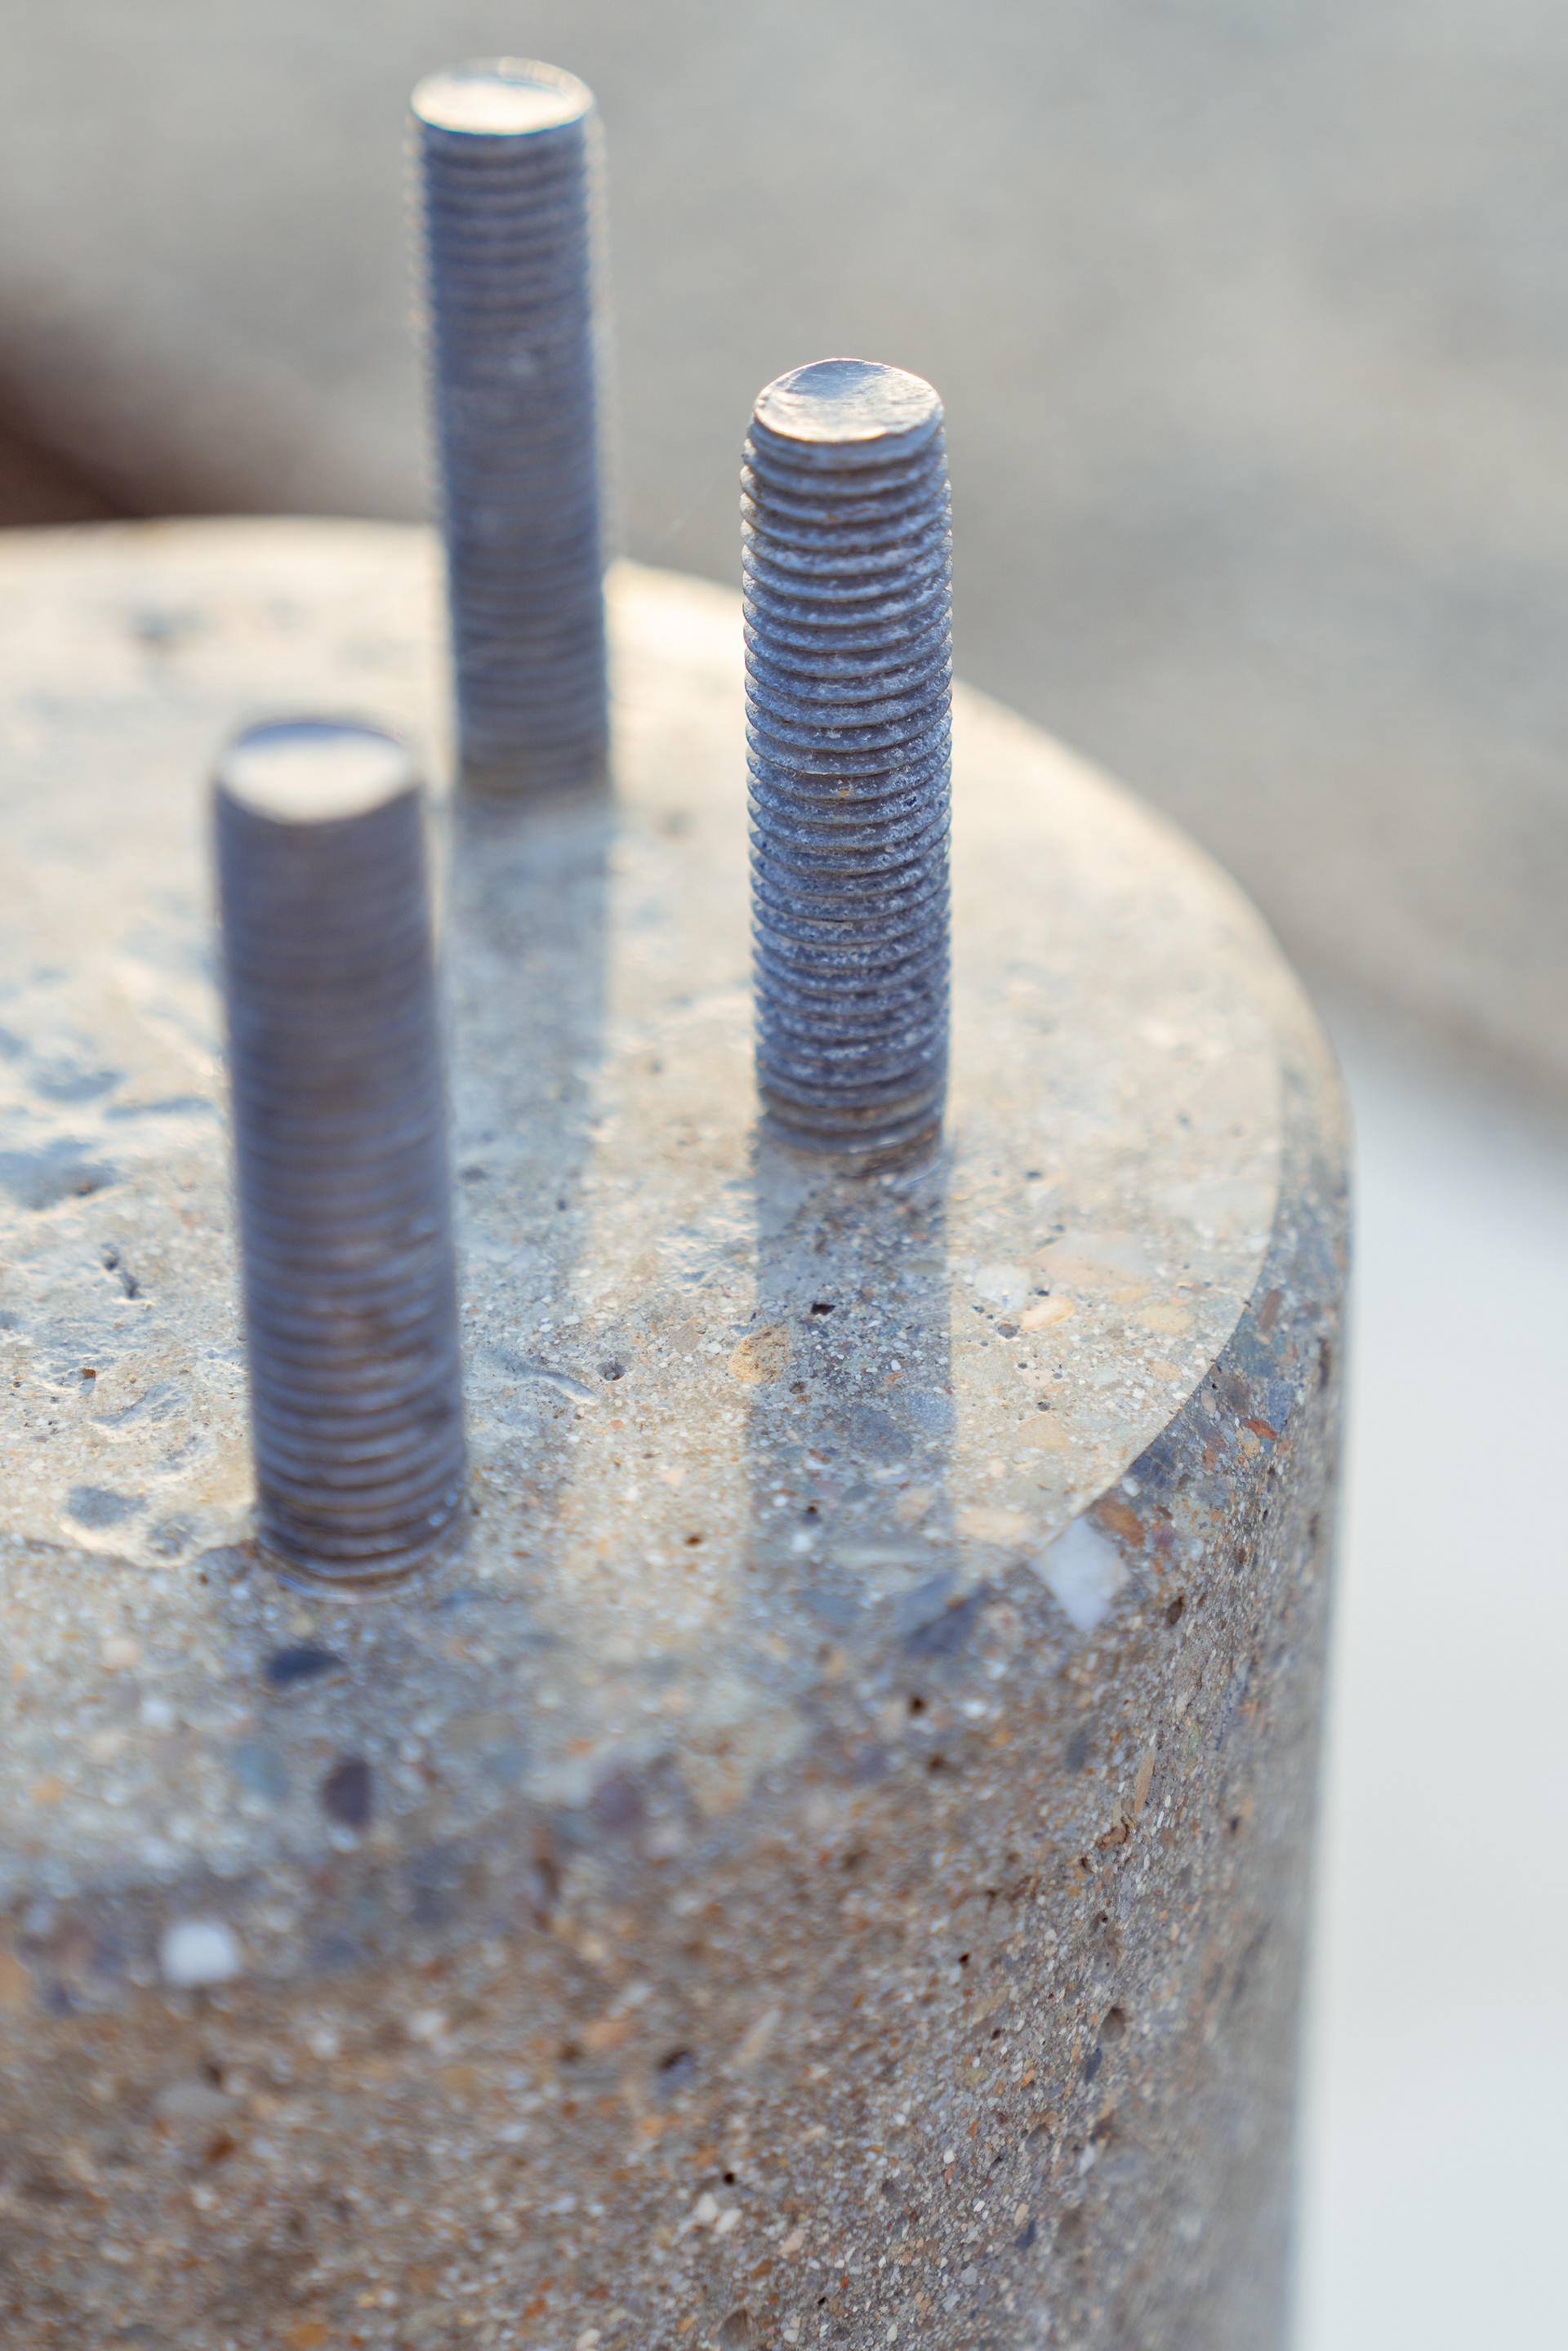
I still misjudged timing on the 2nd pour to sink anchoring bolts, so in the end I gave the pad a couple days of curing time and then drilled and epoxied anchoring bolts in place. More work but those suckers are not going anywhere! I filled the gap between the pier and the pad with sand and eventually (not pictured) have sealed that and the two gaps between each pad section with rubber sealant.
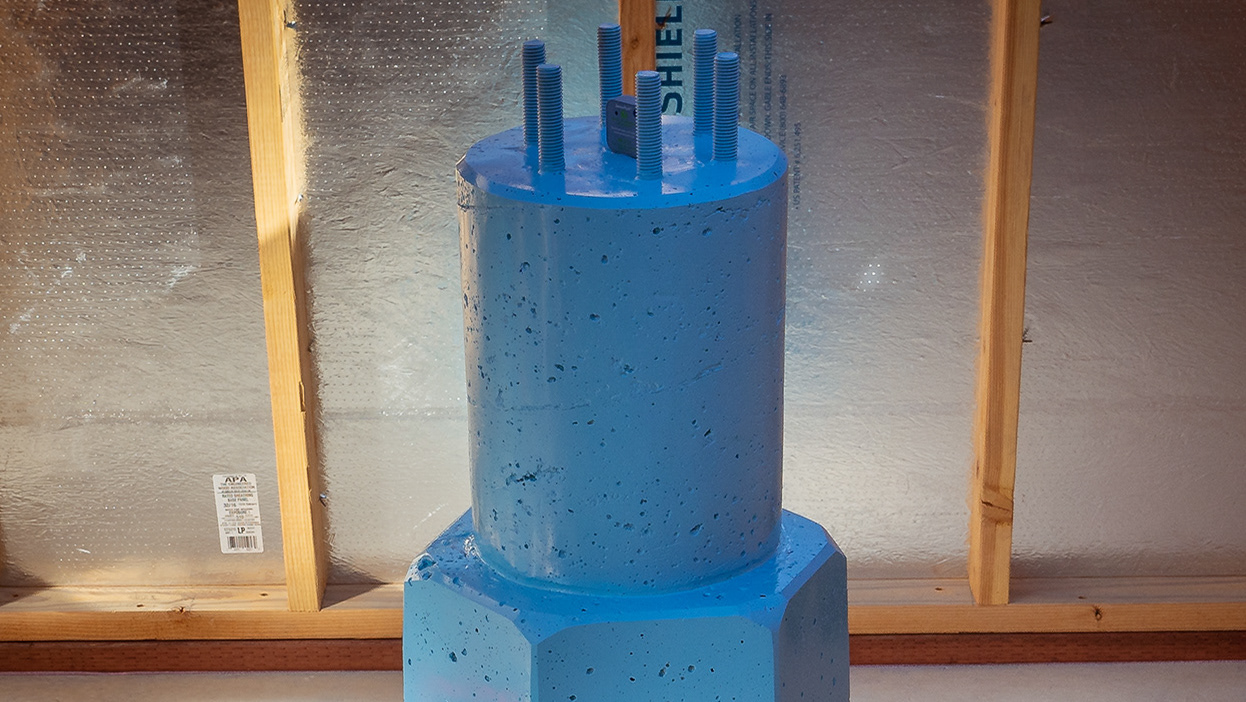
At this point I decided to give the pier a nicer finish and spent 3-4 hours smoothing out all of the surfaces with an angle grinder and diamond polishing pads. Polishing concrete revealed a nice natural look and I contemplated leaving it that way, but eventually I sealed it up with paint.
All surfaces smoothed for a finished look
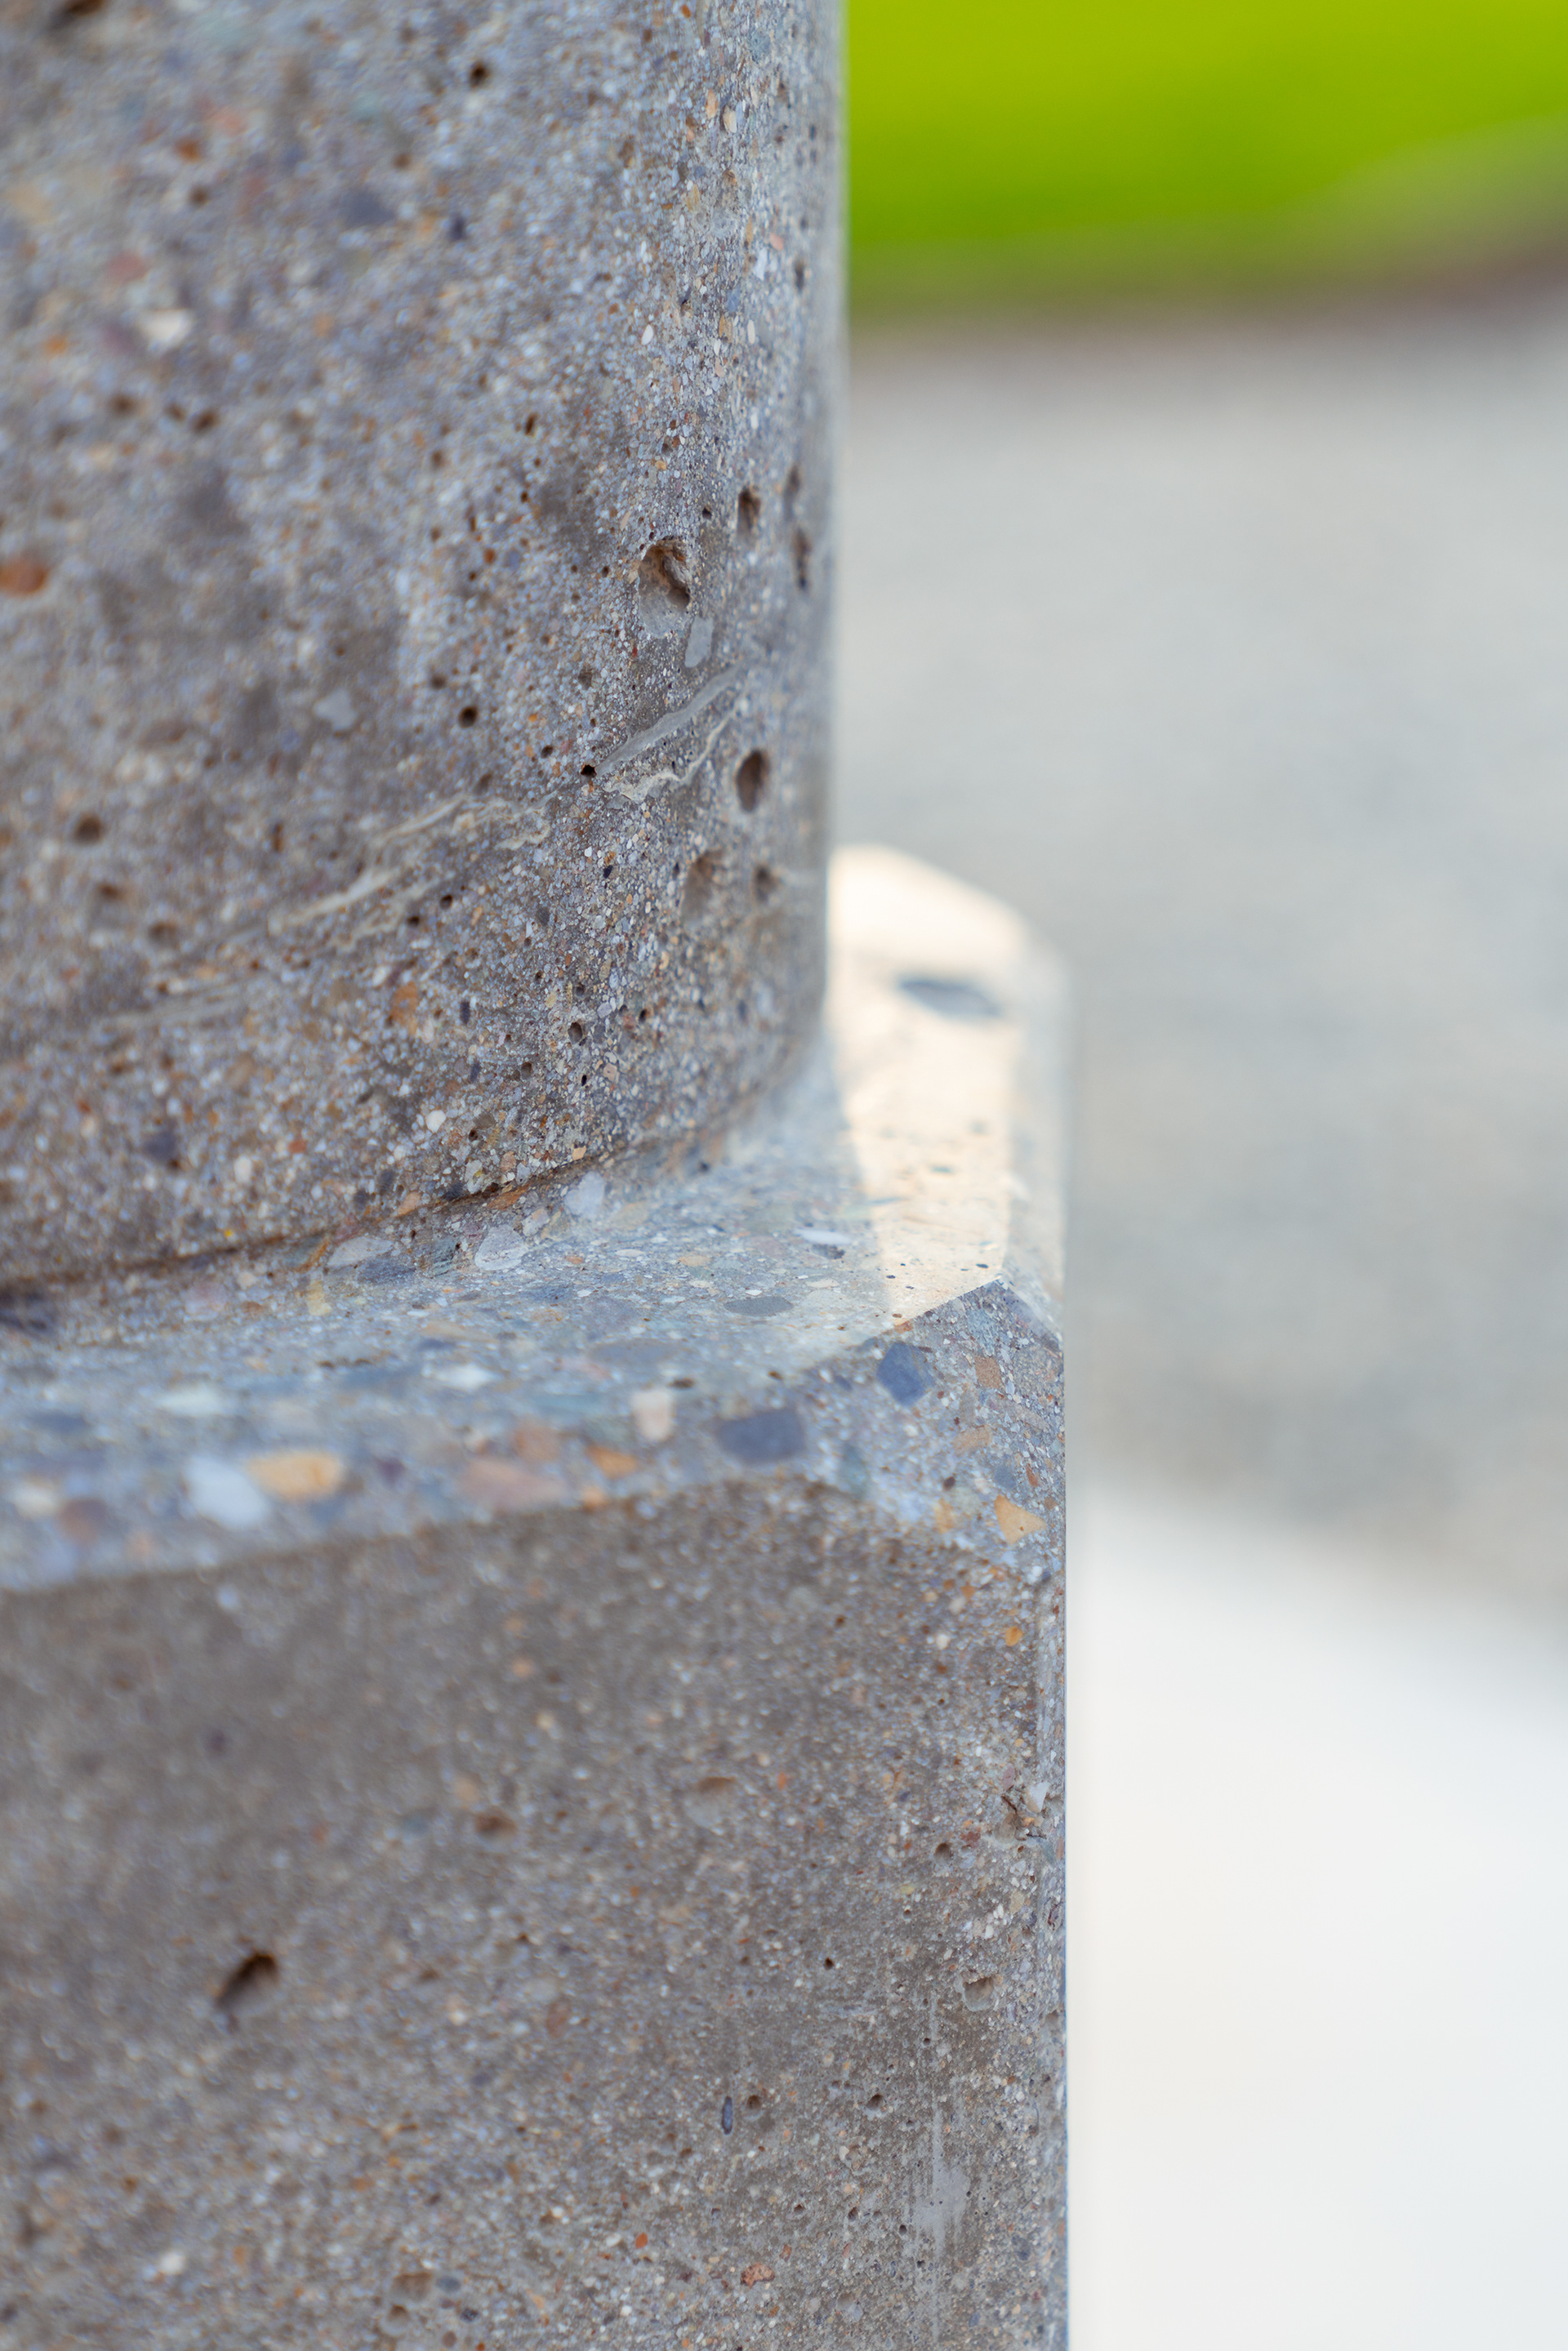
All sharp corners flattened
Smooooth :)
To be painted later
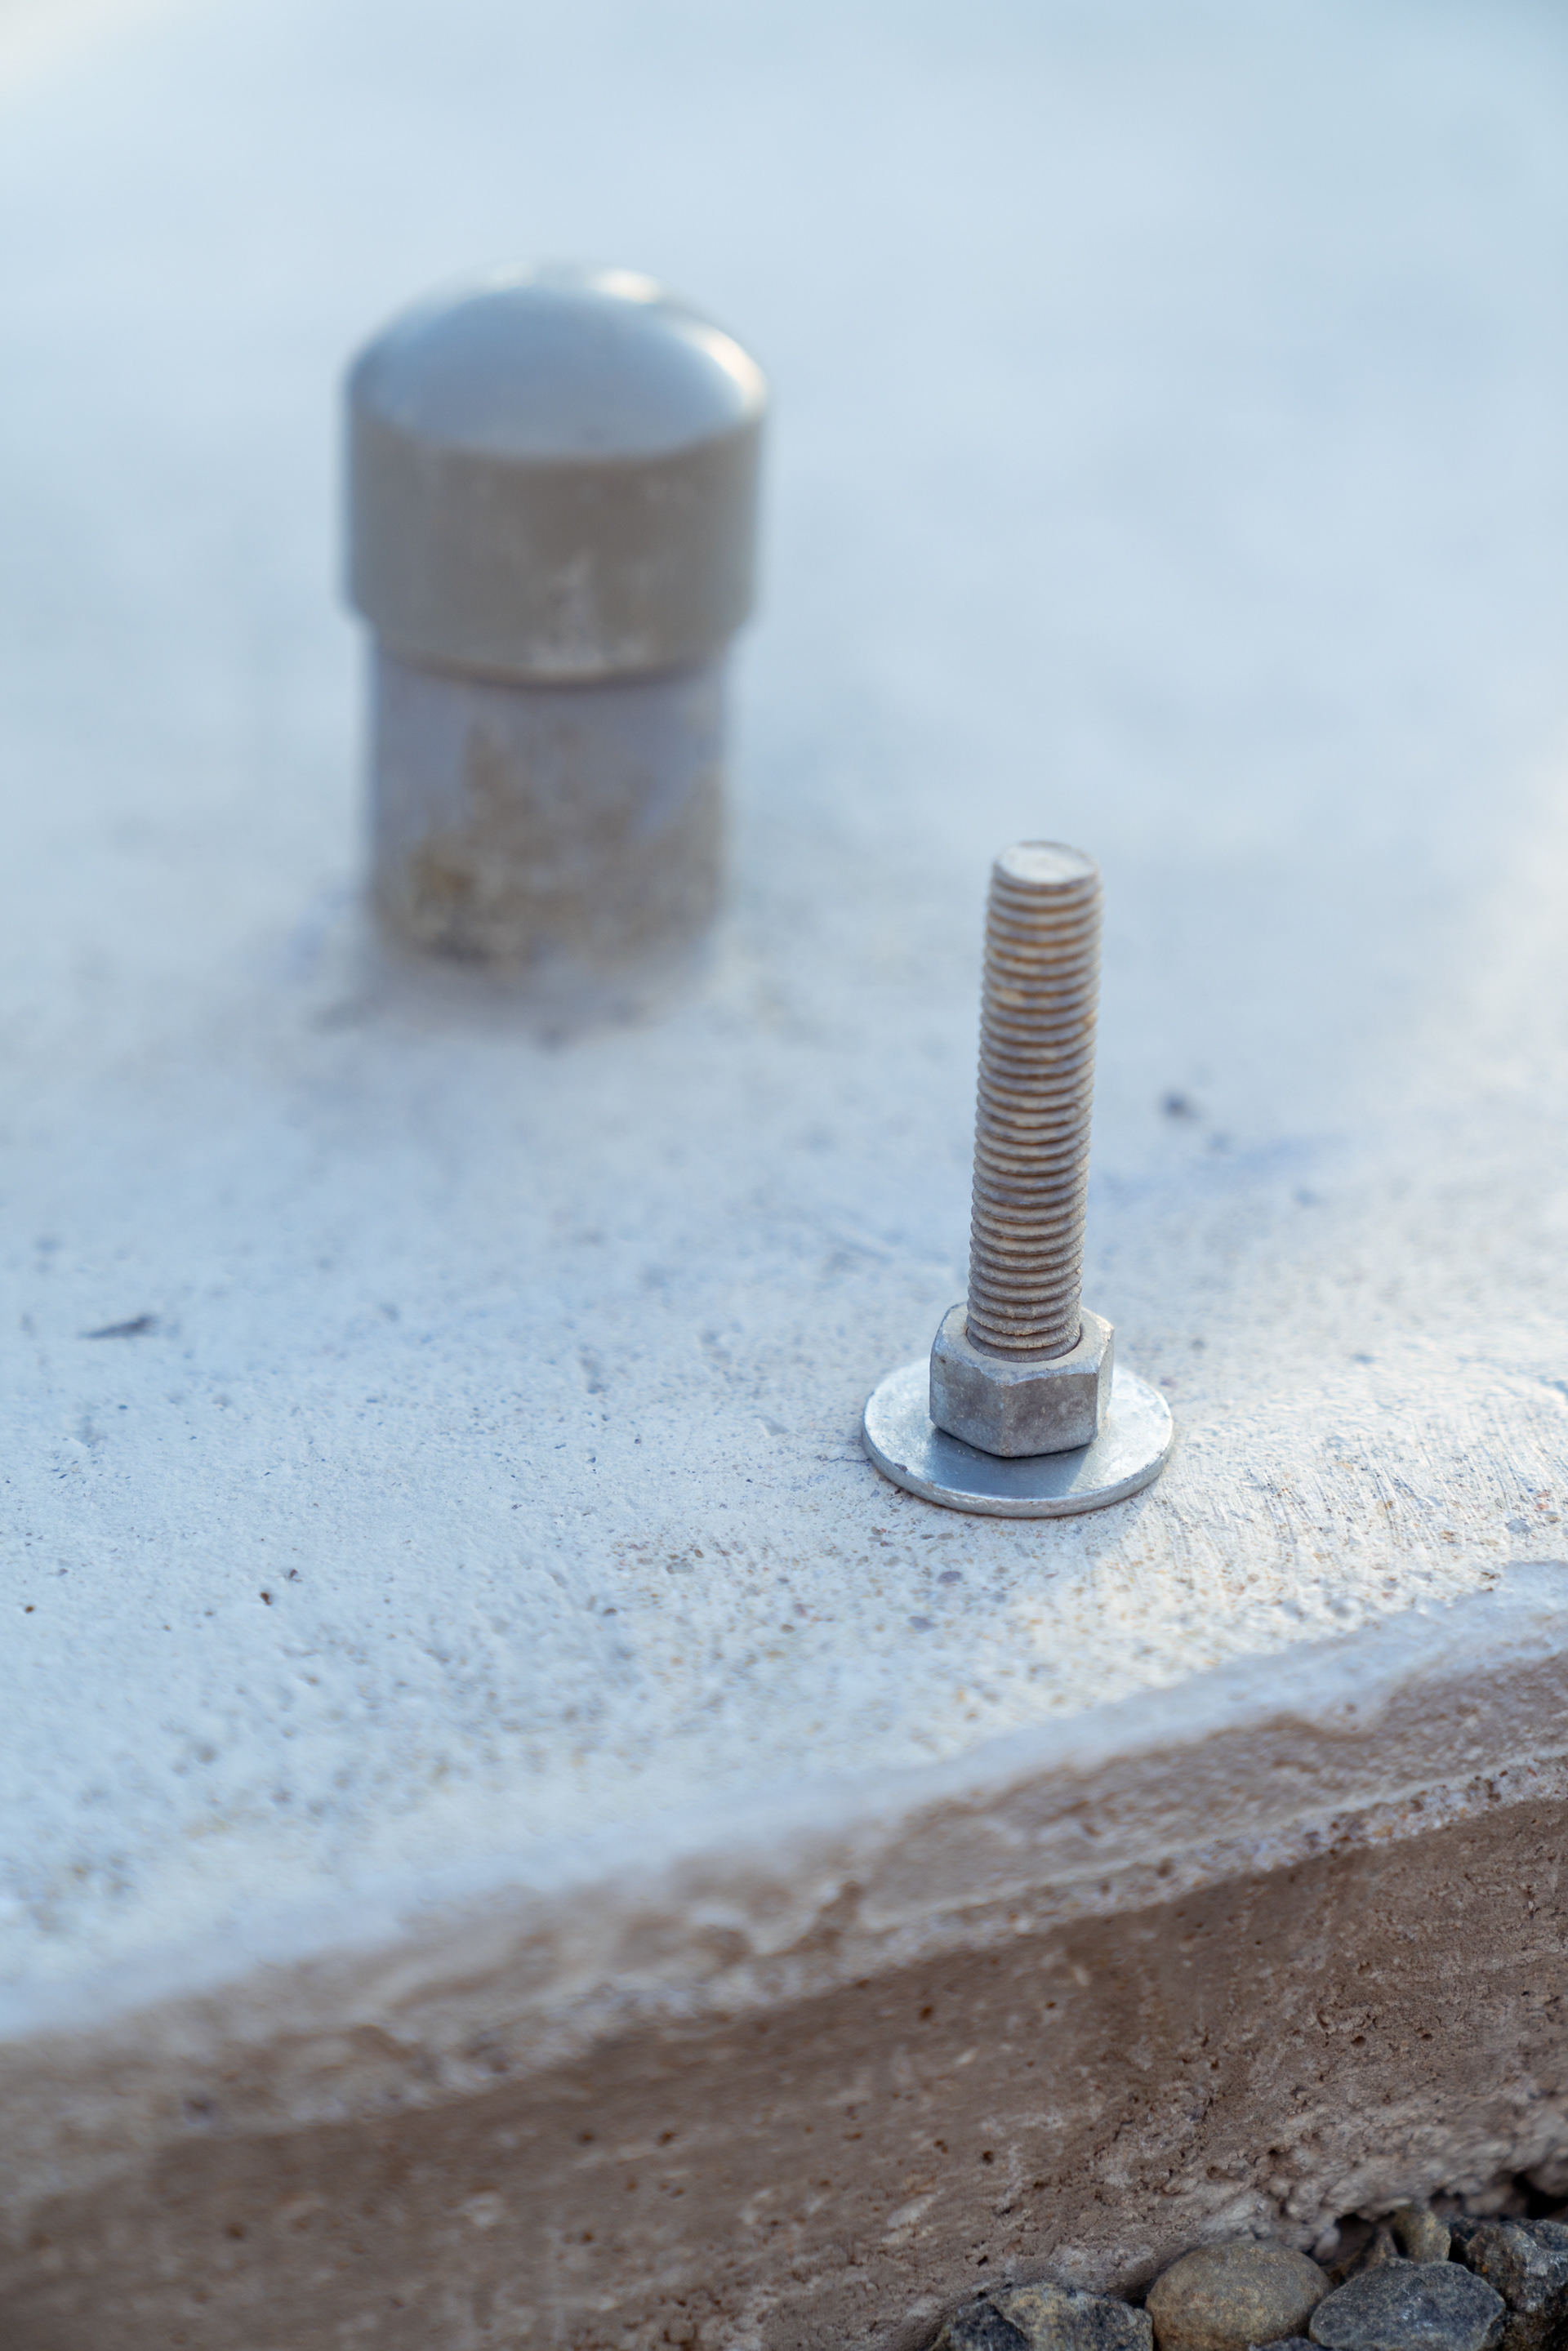
14 of these were drilled and epoxied in