SIDING & ROOFING...
I used HardiePlank fiber cement siding to skin the either shed. Measured, cut, nailed, and sealed. That's it.
The roof was a different story: I had hard time deciding on how to finish it and finally settled on fiberglass. The challenge was to find a local supplier so I ended up ordering from an outfit on the east coast - an expensive and slow to arrive option. Long story short: fiberglass was an absolute pain in the a$$ to work with... messy, toxic, and had to get the curing timing right. I've muscled through it and the final result was satisfactory: completely waterproof, thermally stable, and supposedly good for at least 25 years.
To circulate the air when it gets too hot and/or humid I've cut out and framed provisions for two small 6" fans from AC Infinity. I've used their fans with great success in the past, aside from being very reliable, they look great, have very advanced controllers, and draw very little power. At $70 a pop for a complete kit I highly recommend their small AirTitan T3 model!
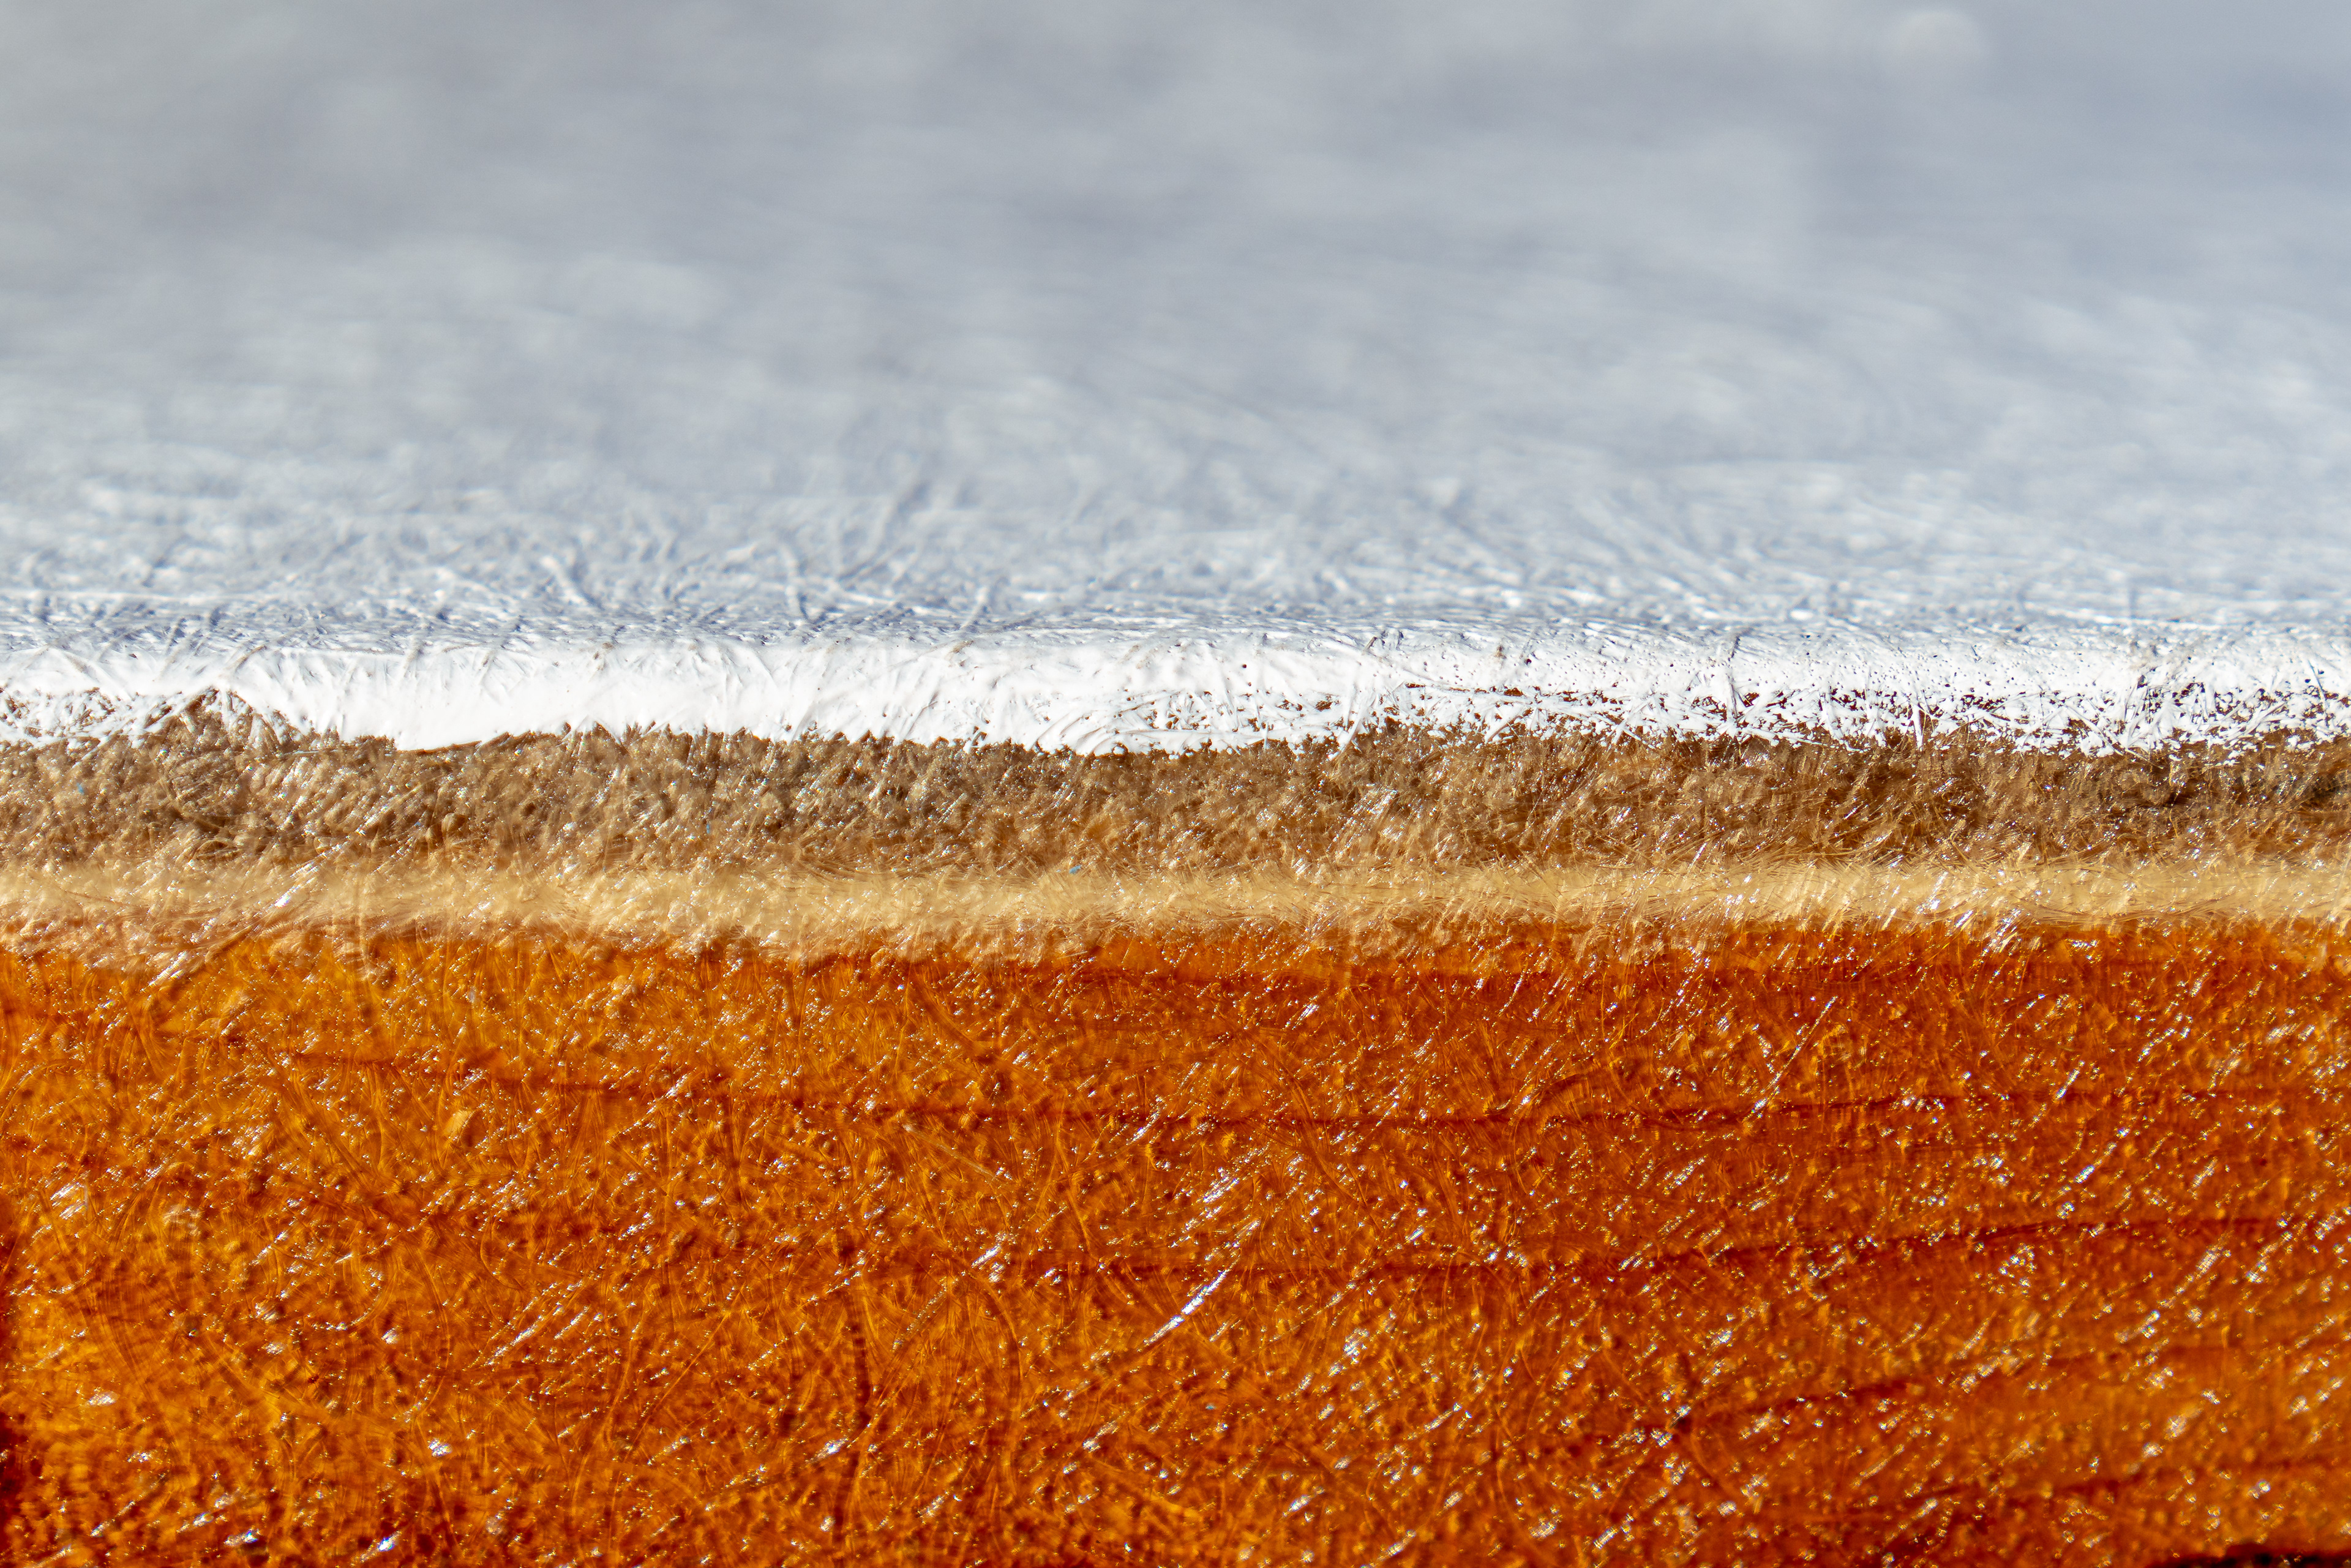
1.5oz fiberglass chopped strand mat & epoxy resin

First layer of gel coat
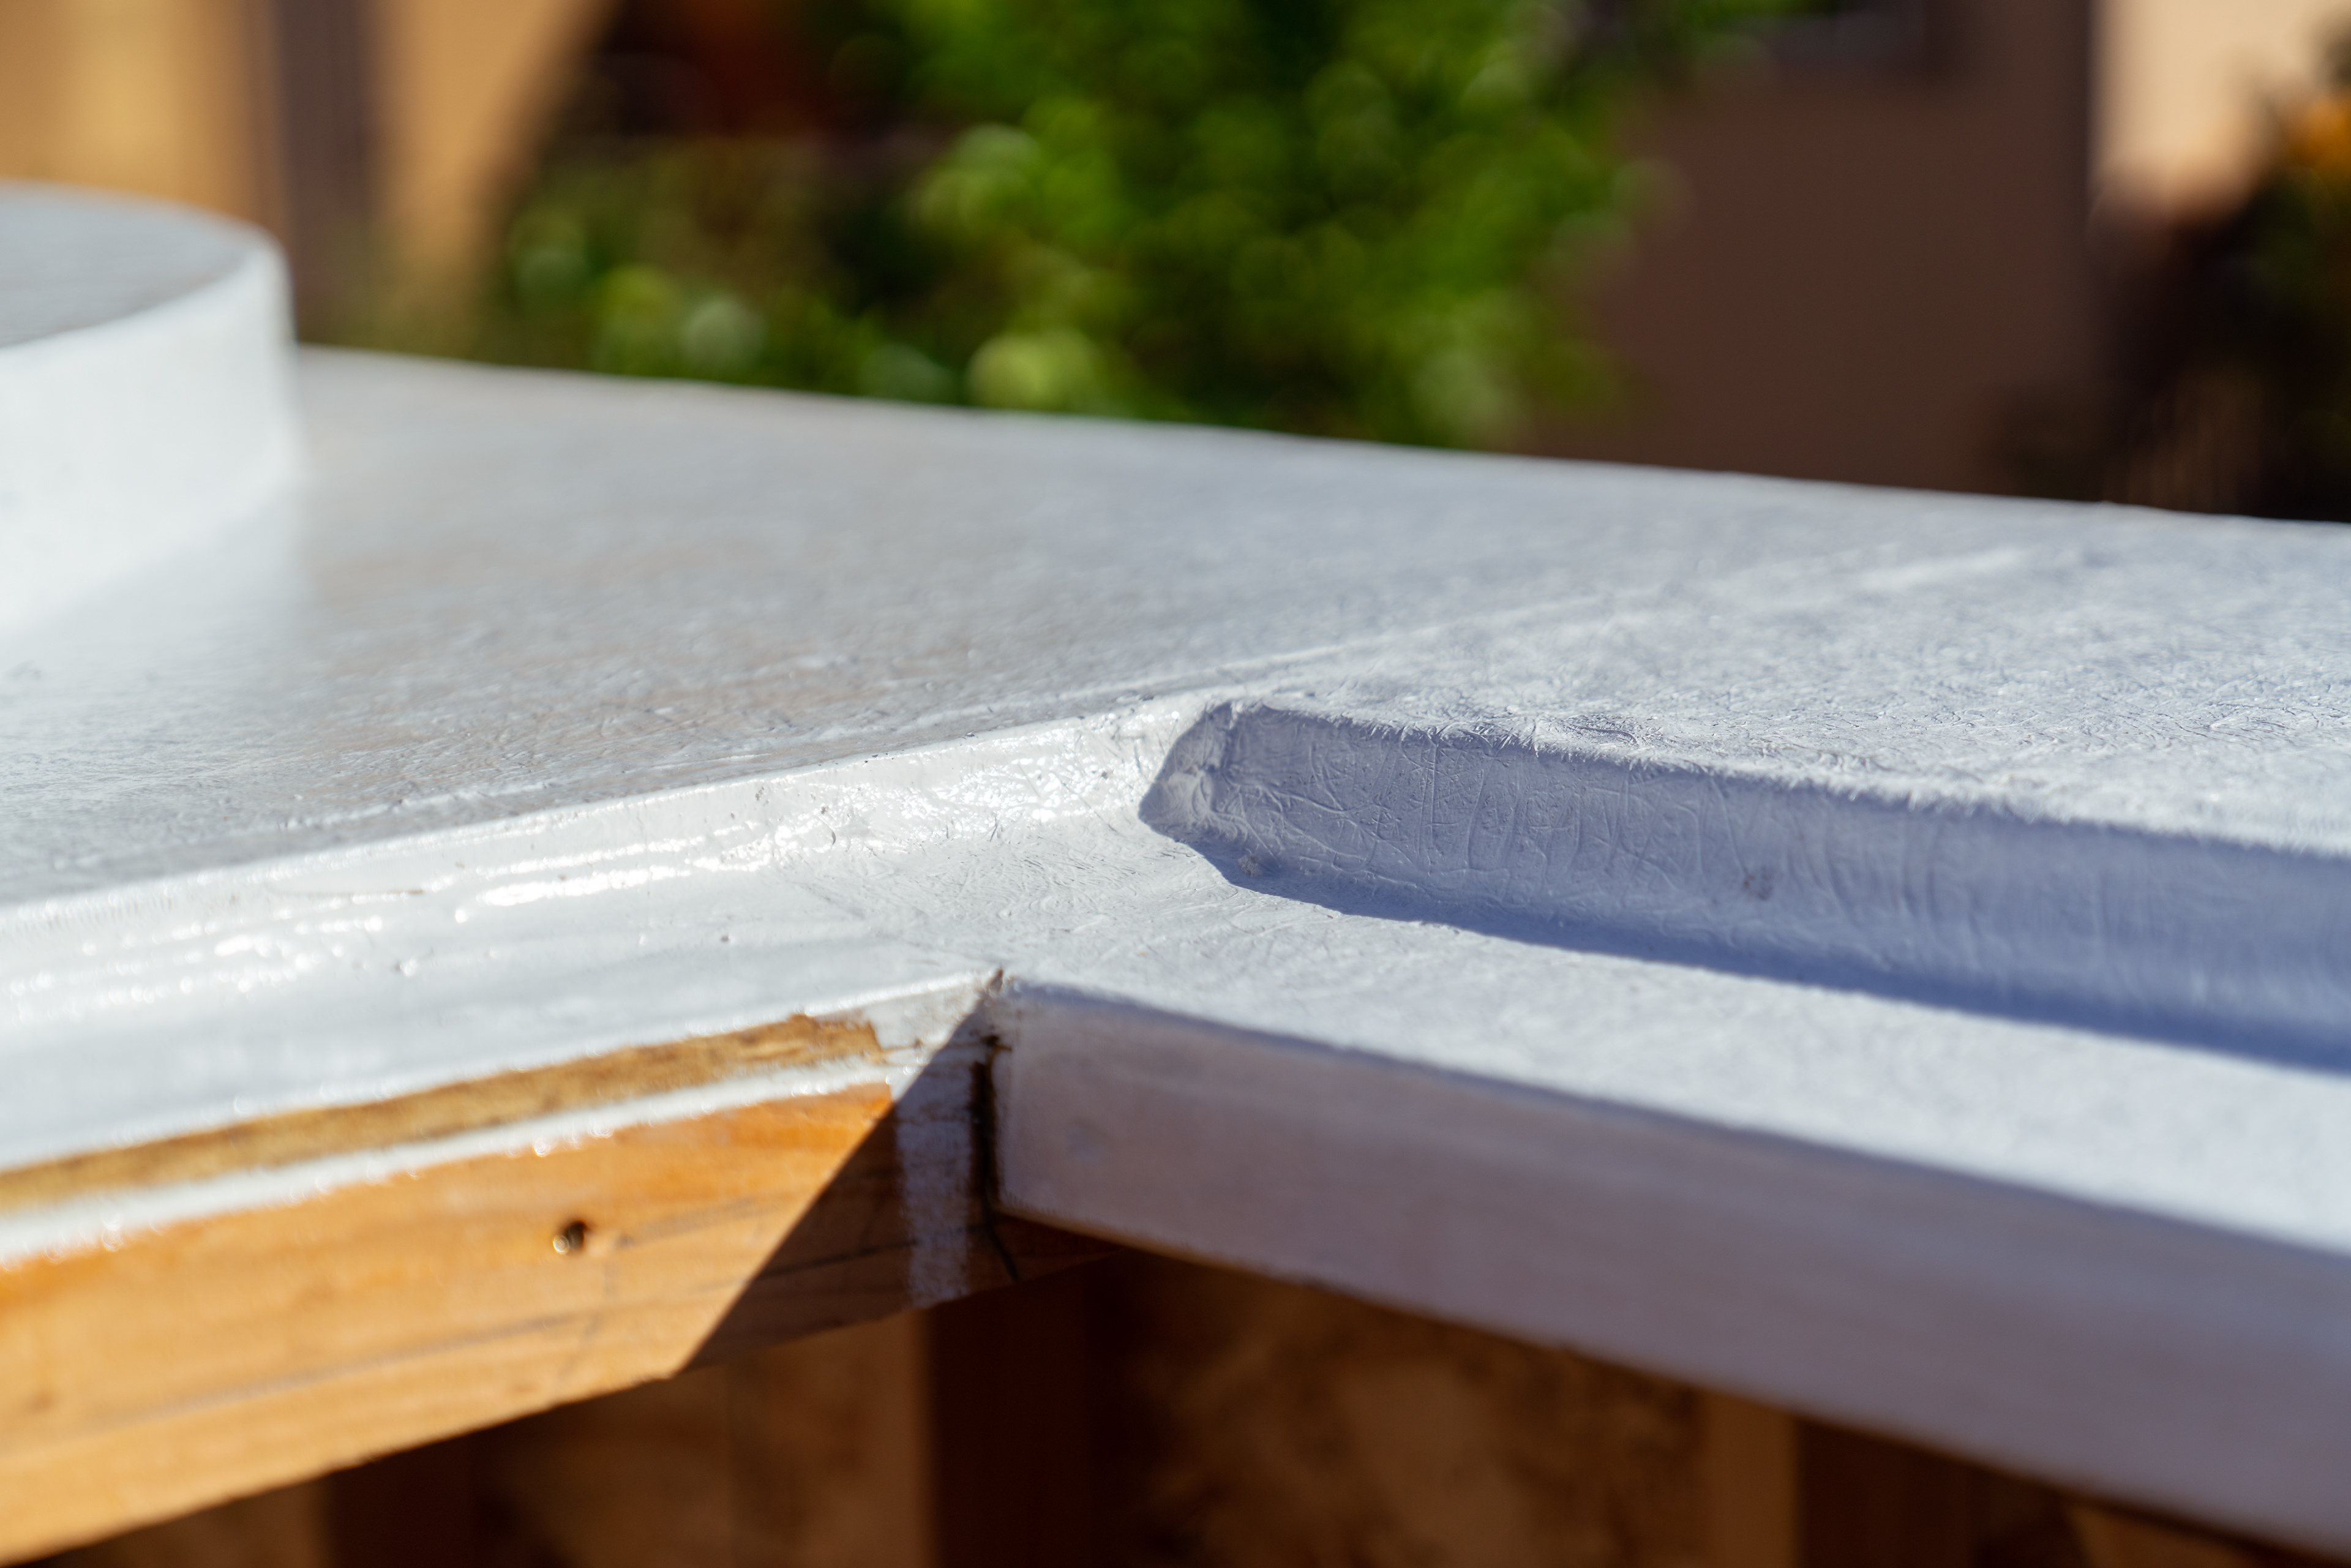
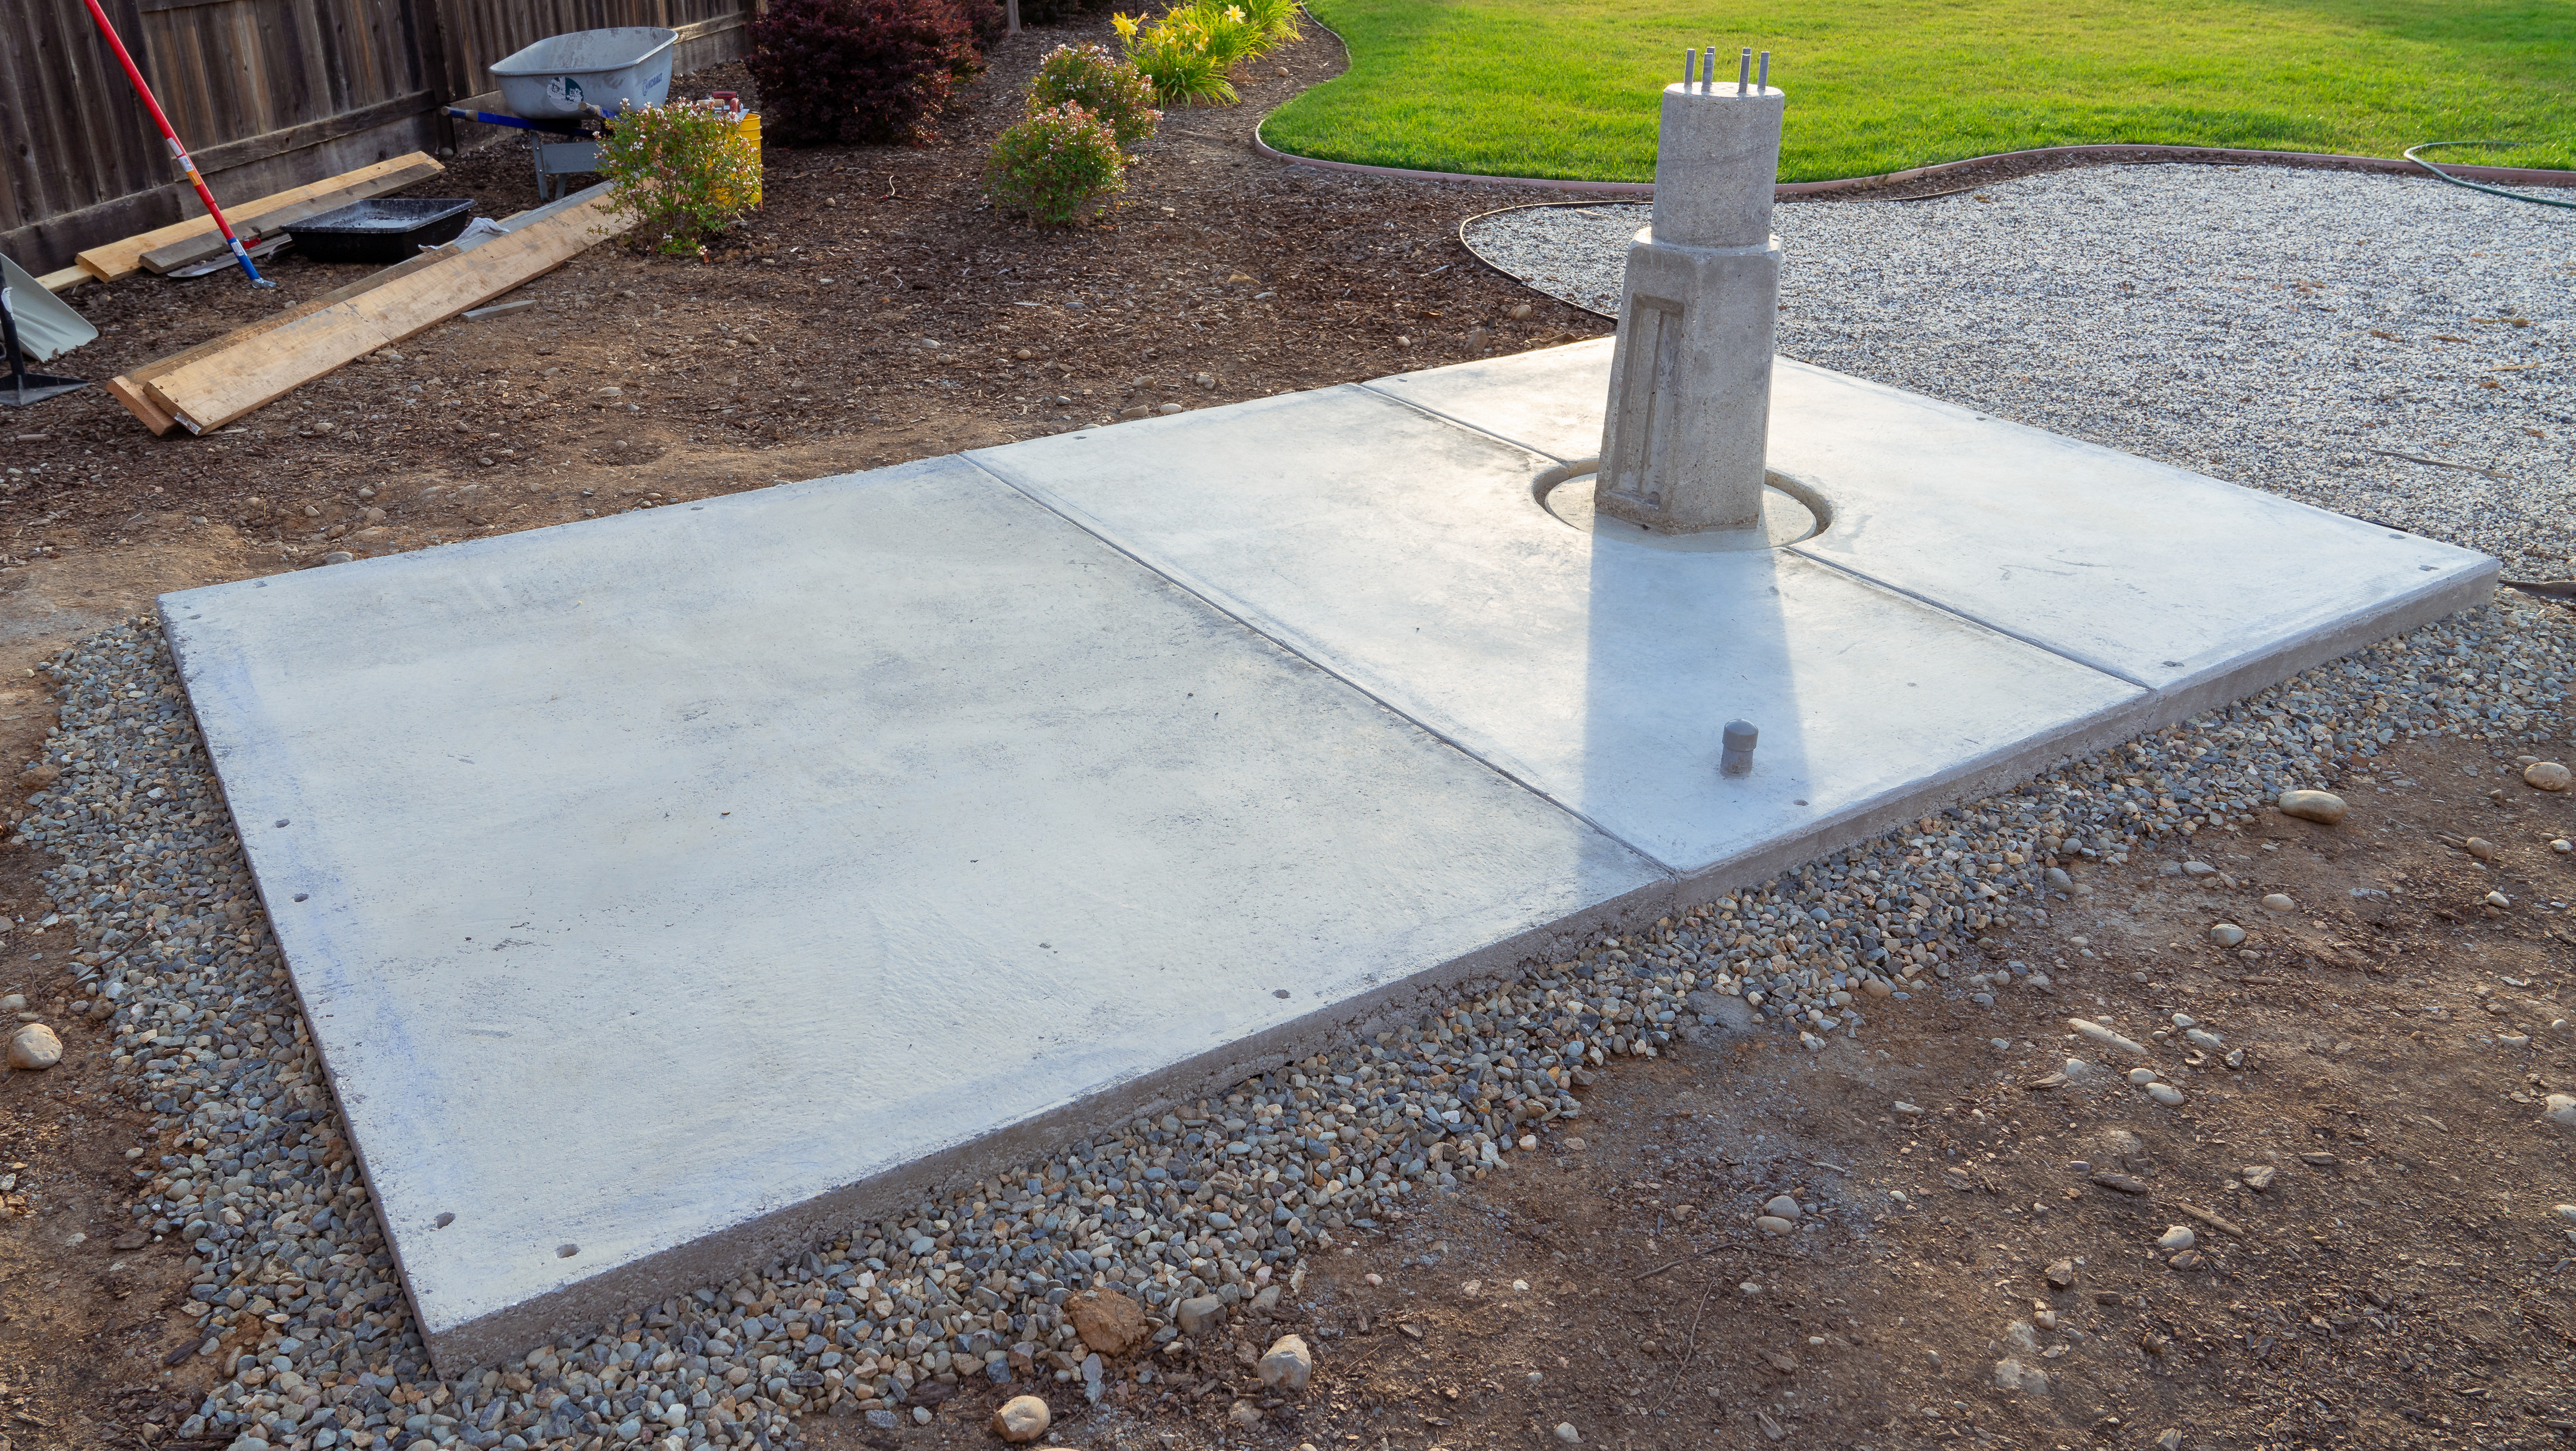
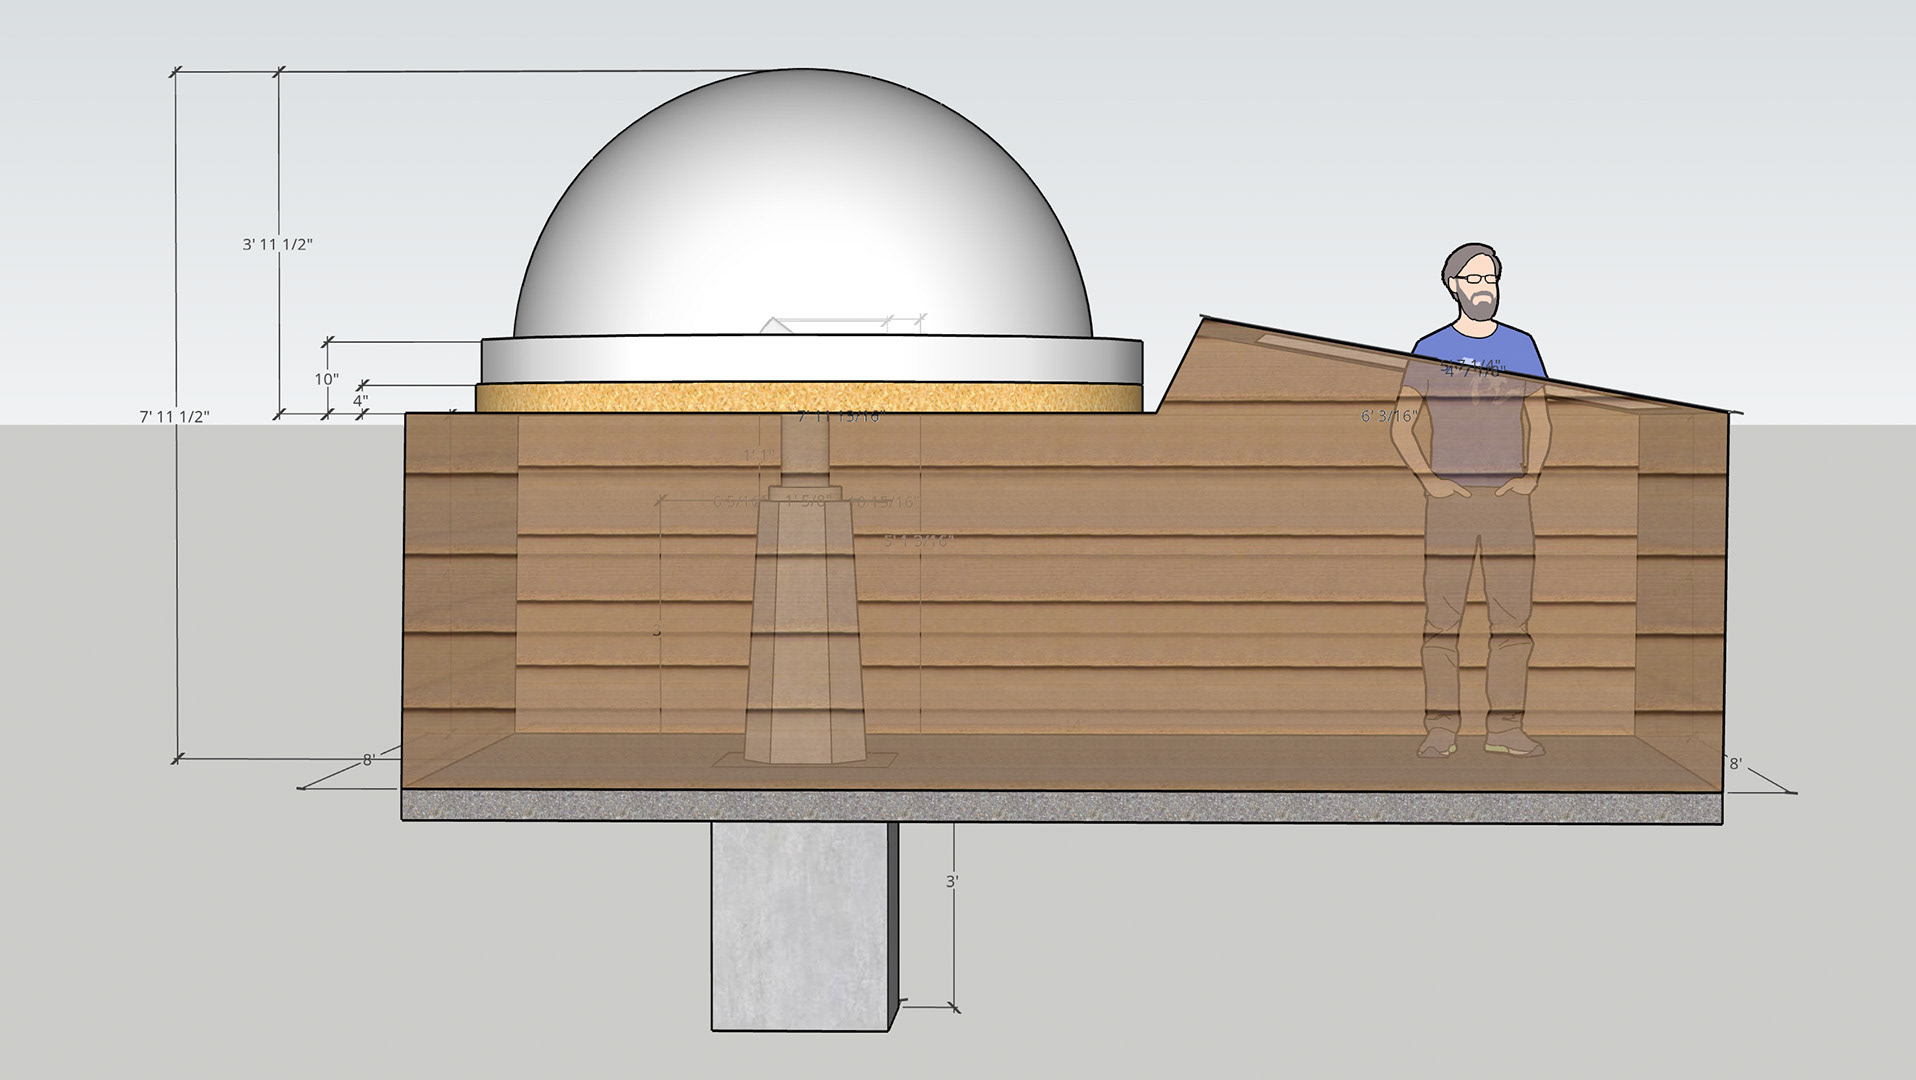
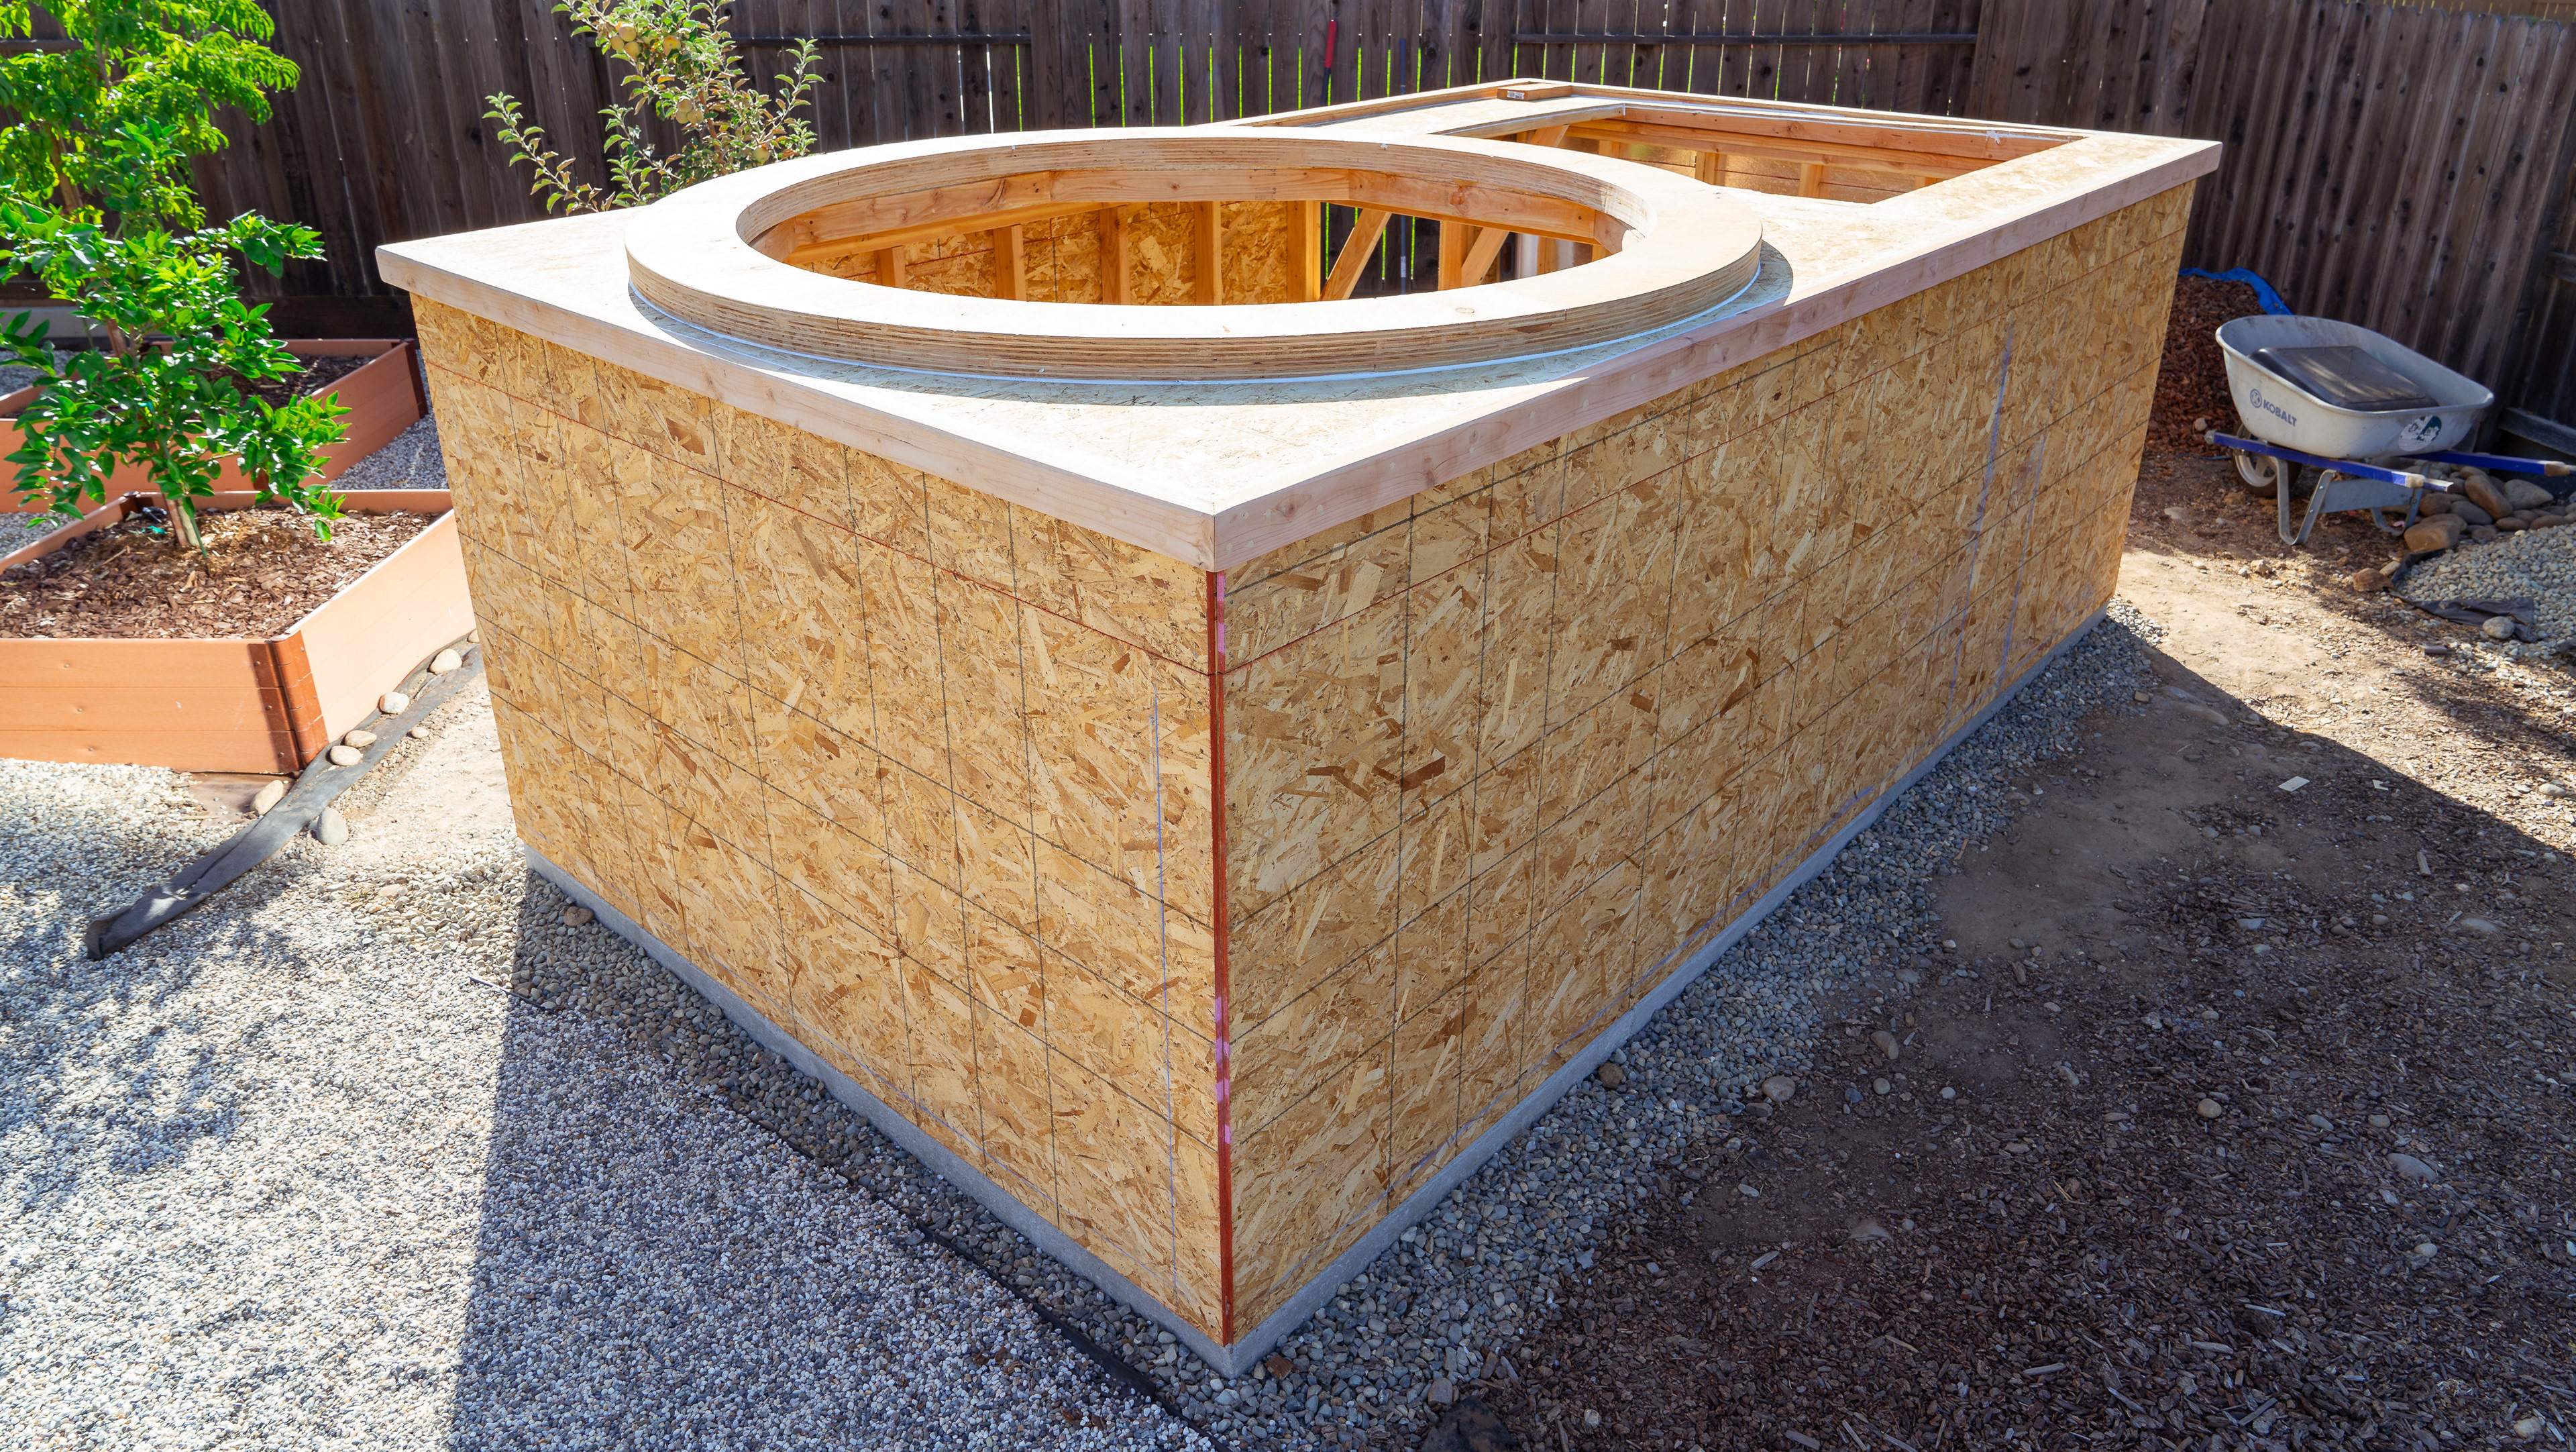
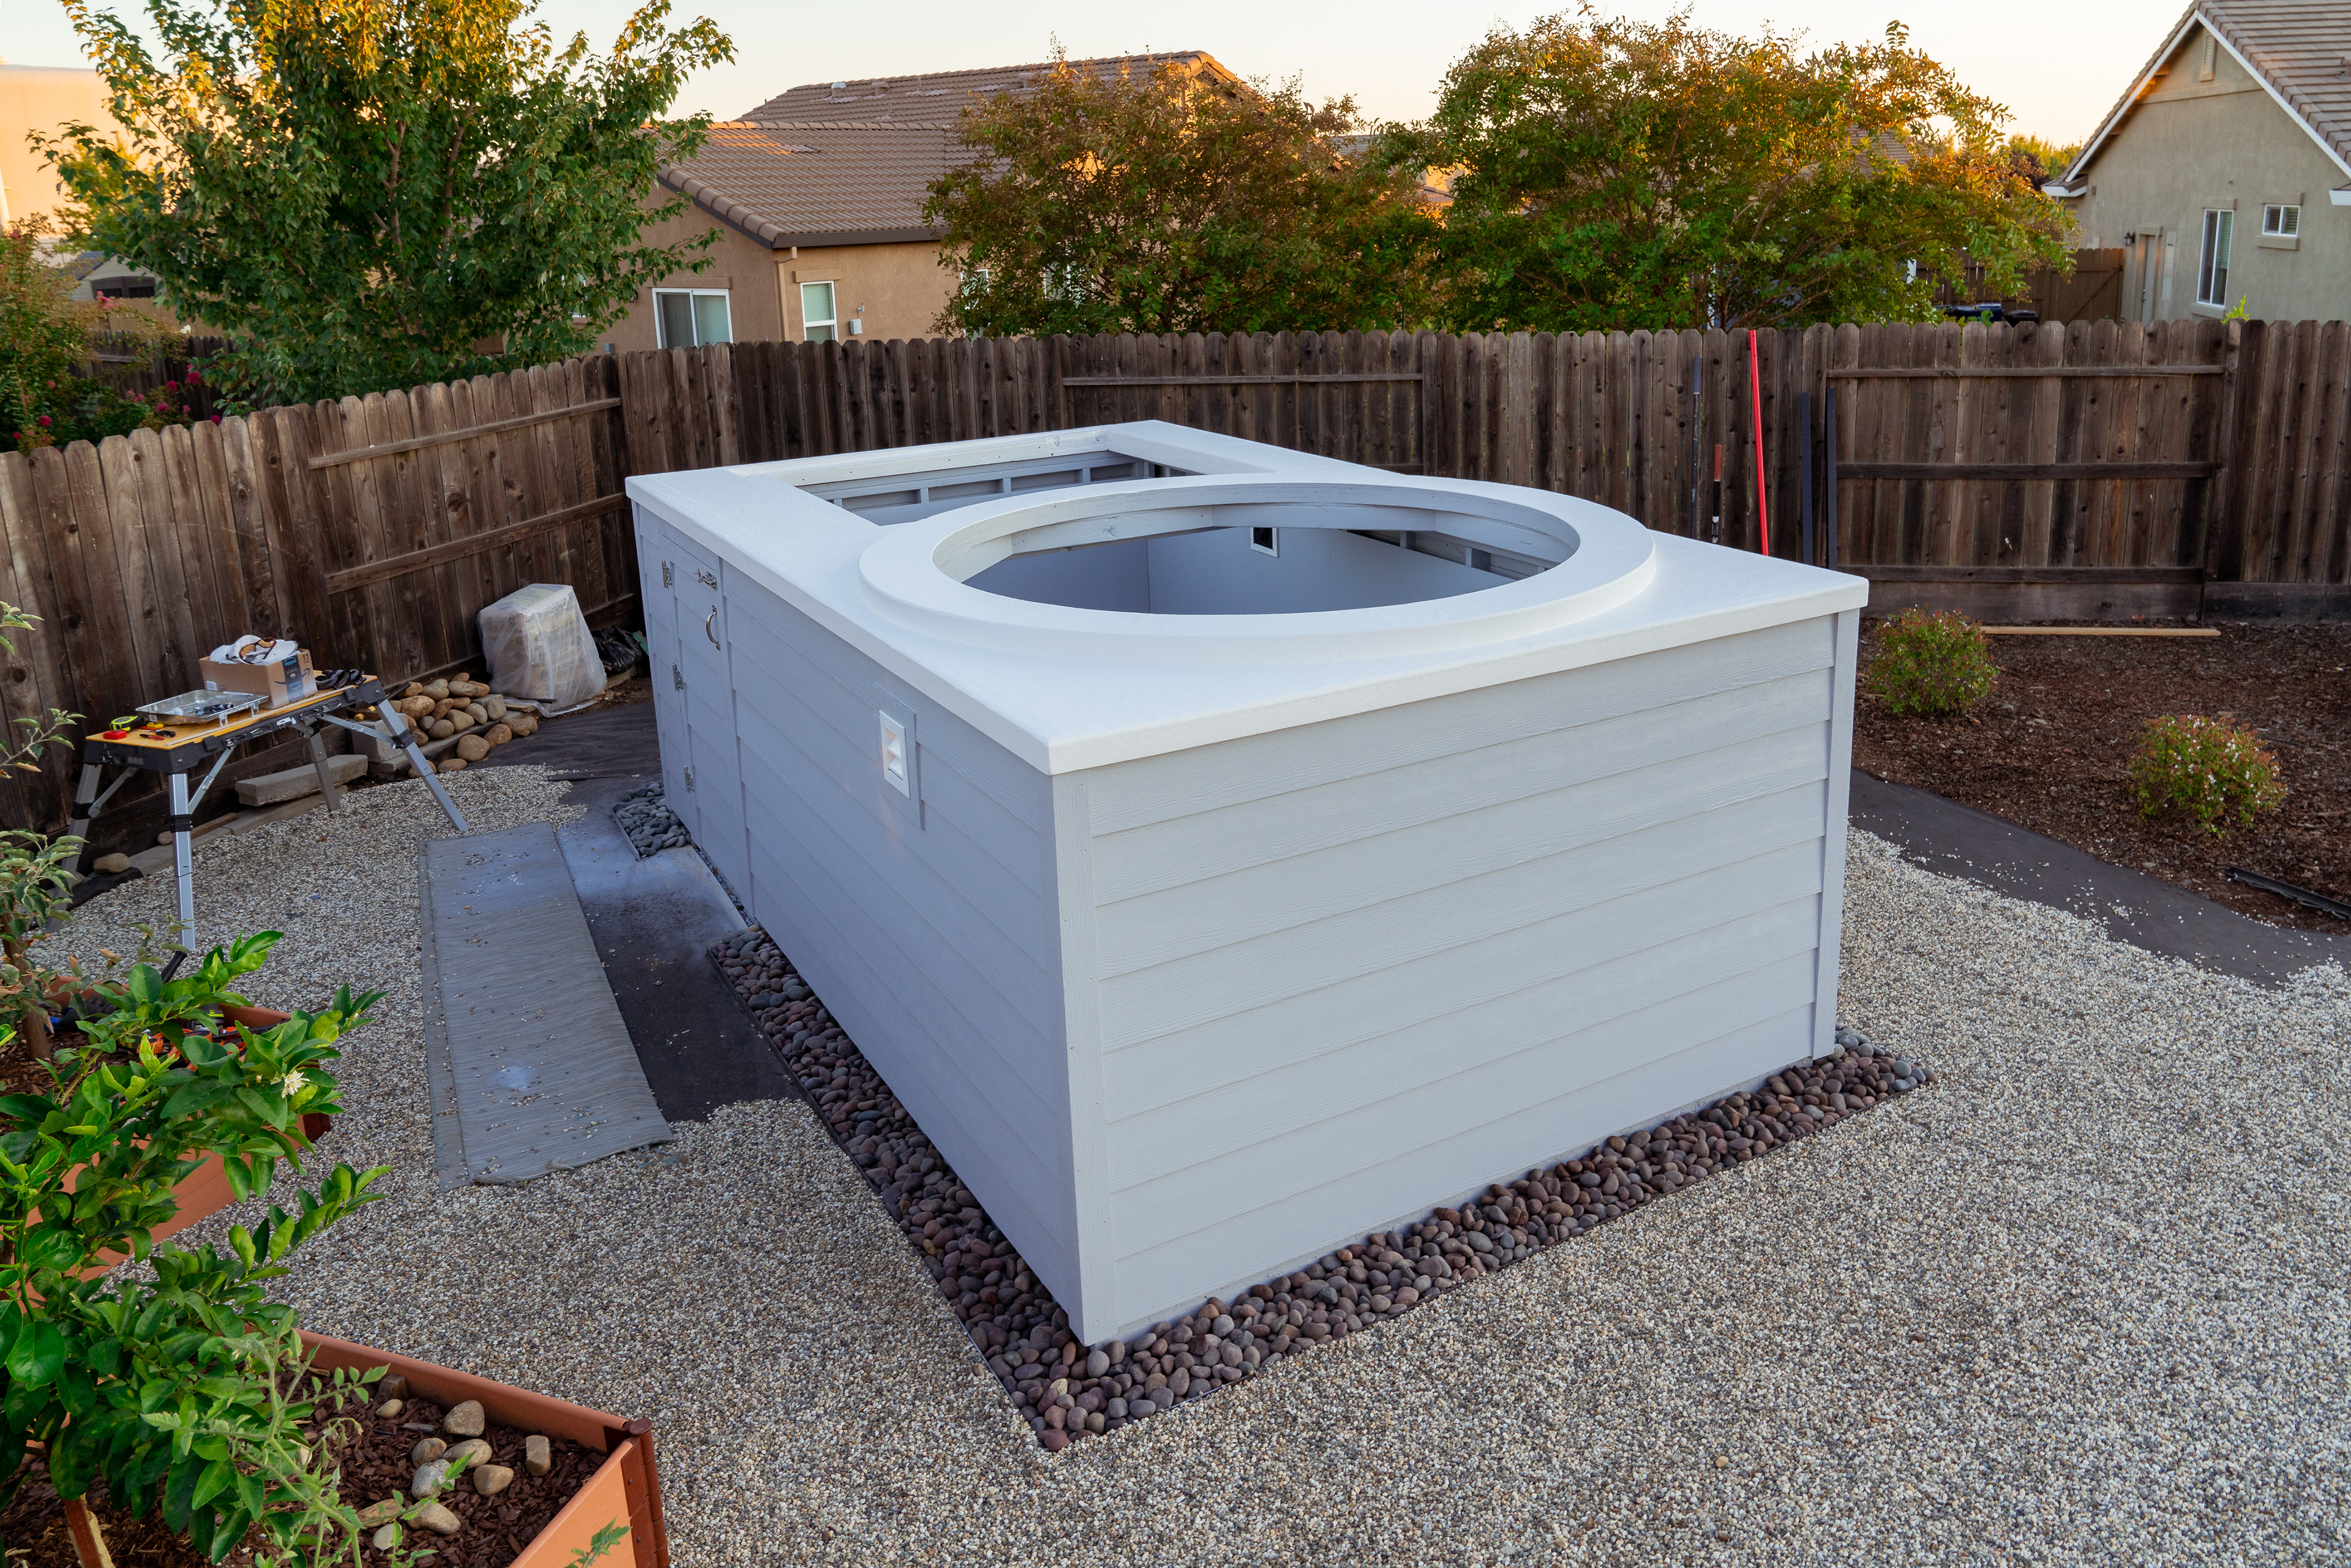
Sloped surface for drainage
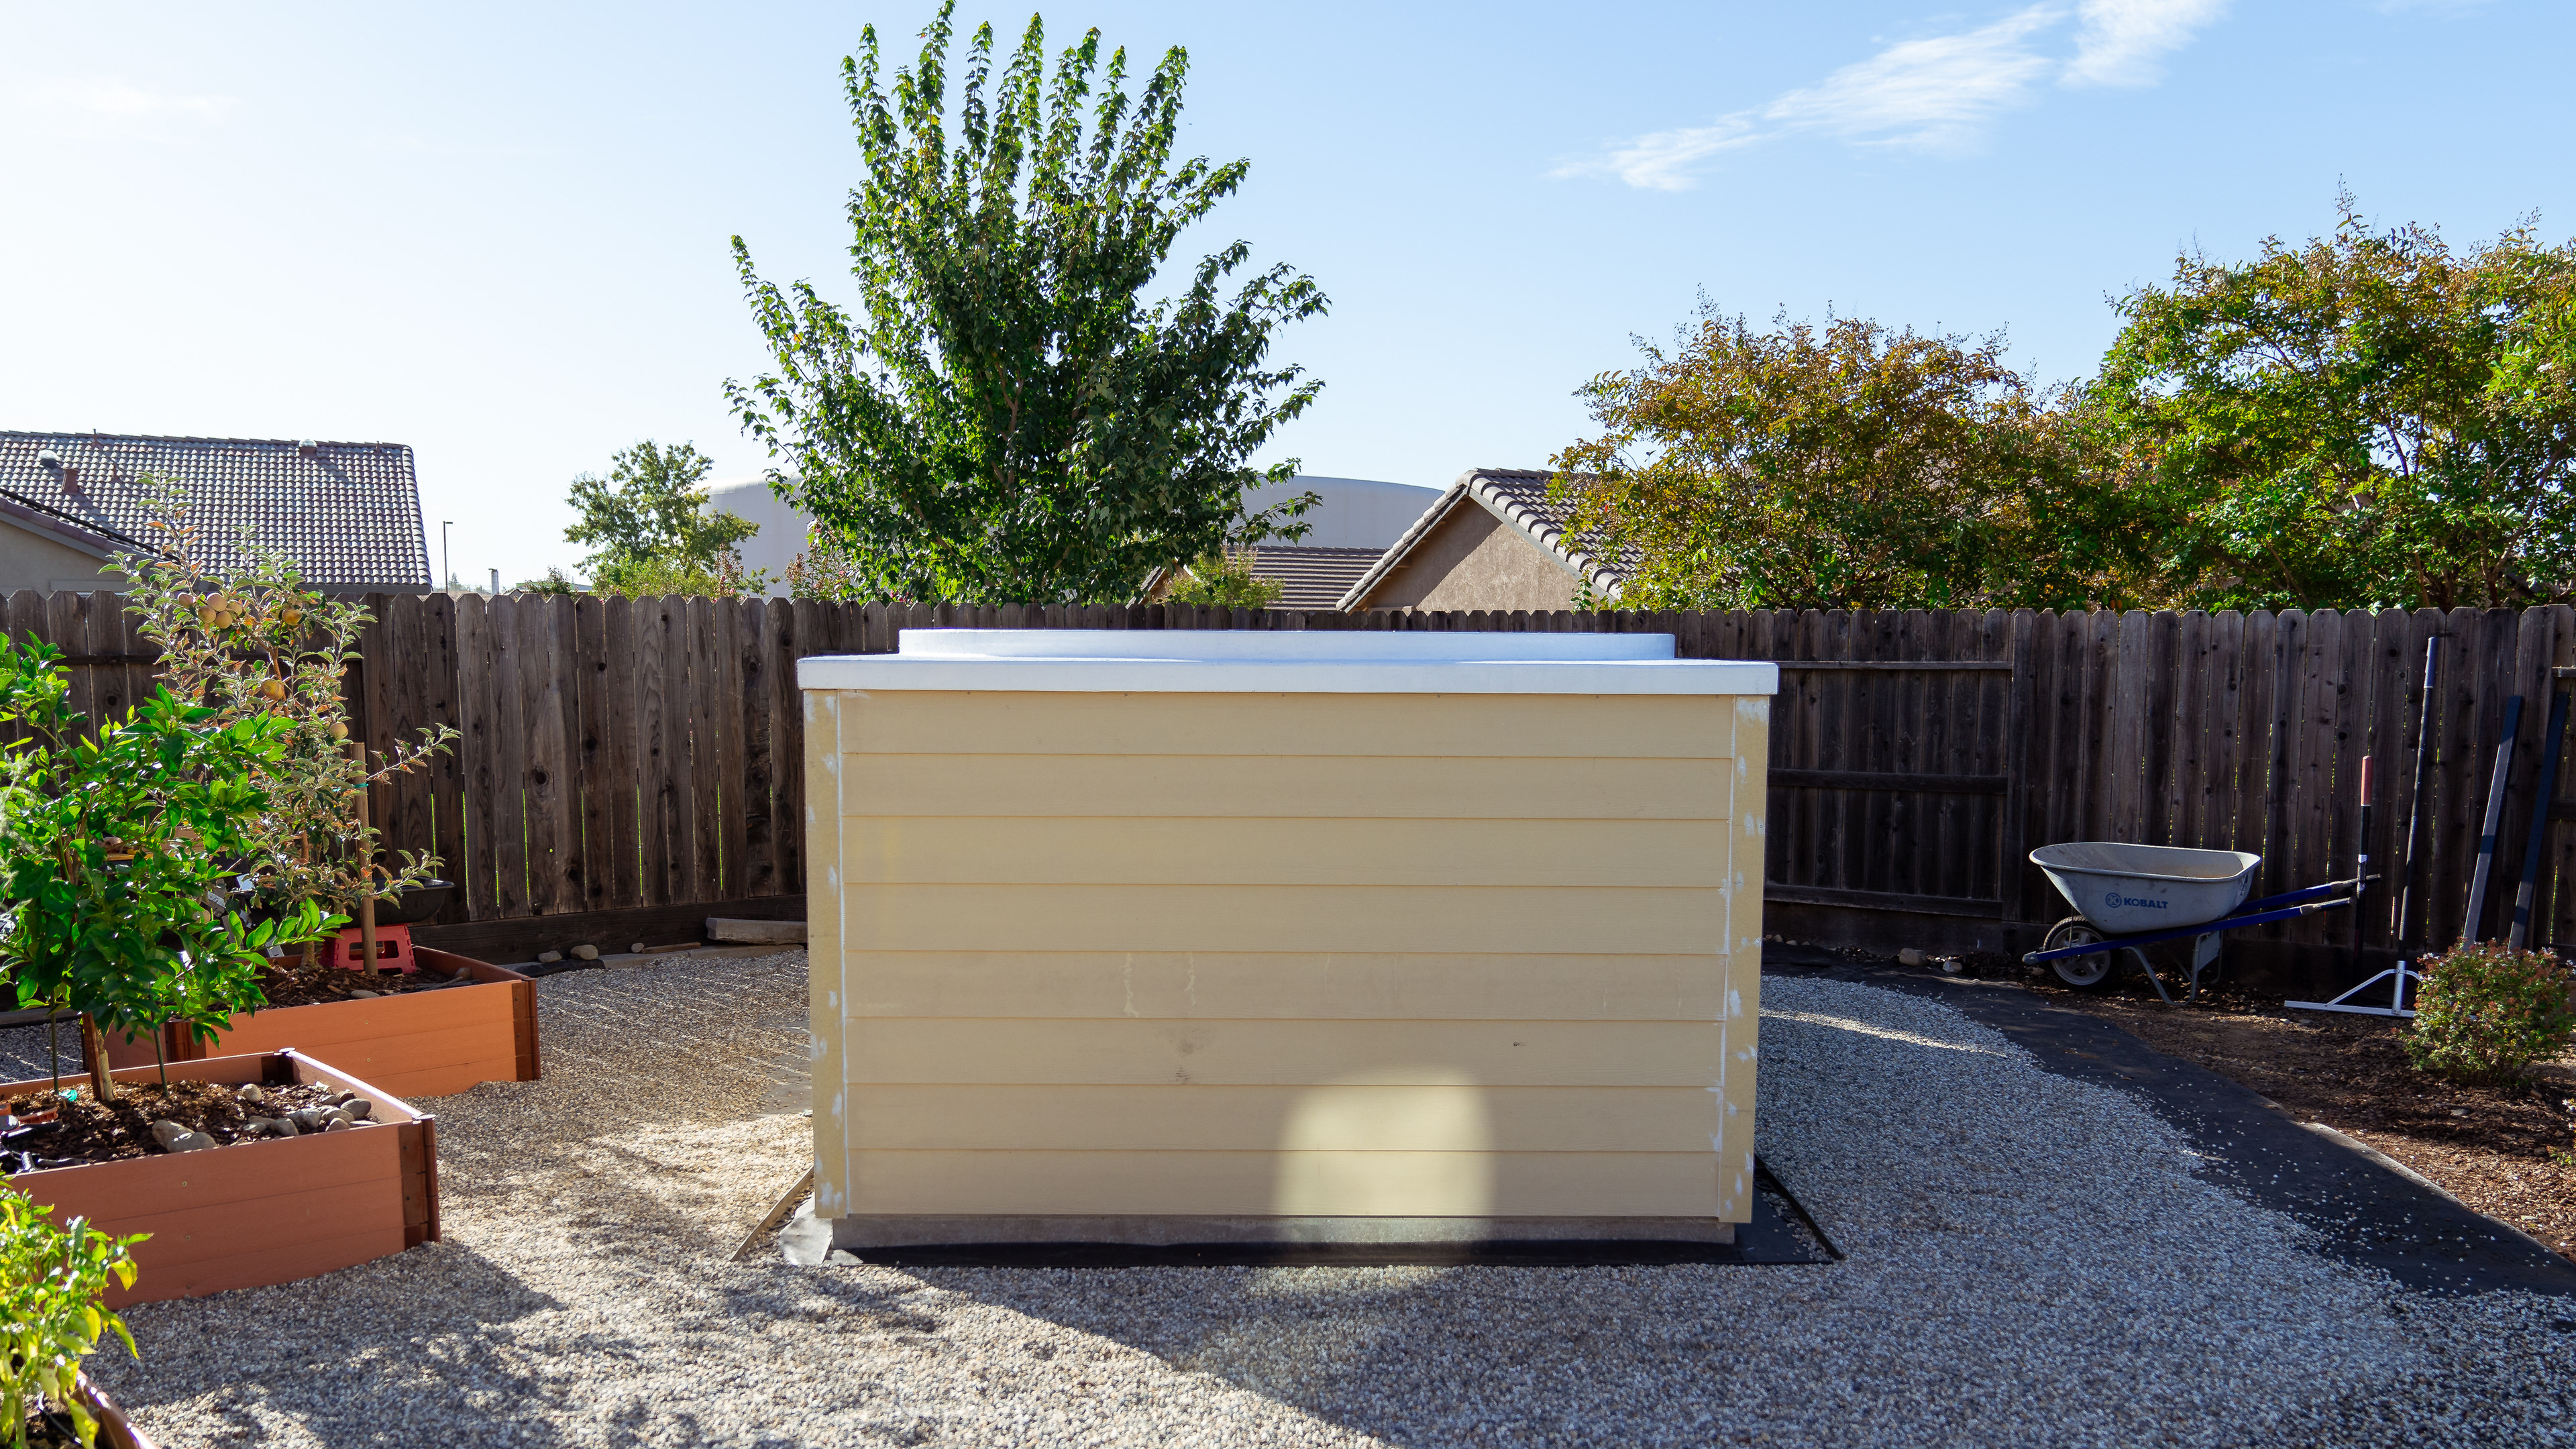
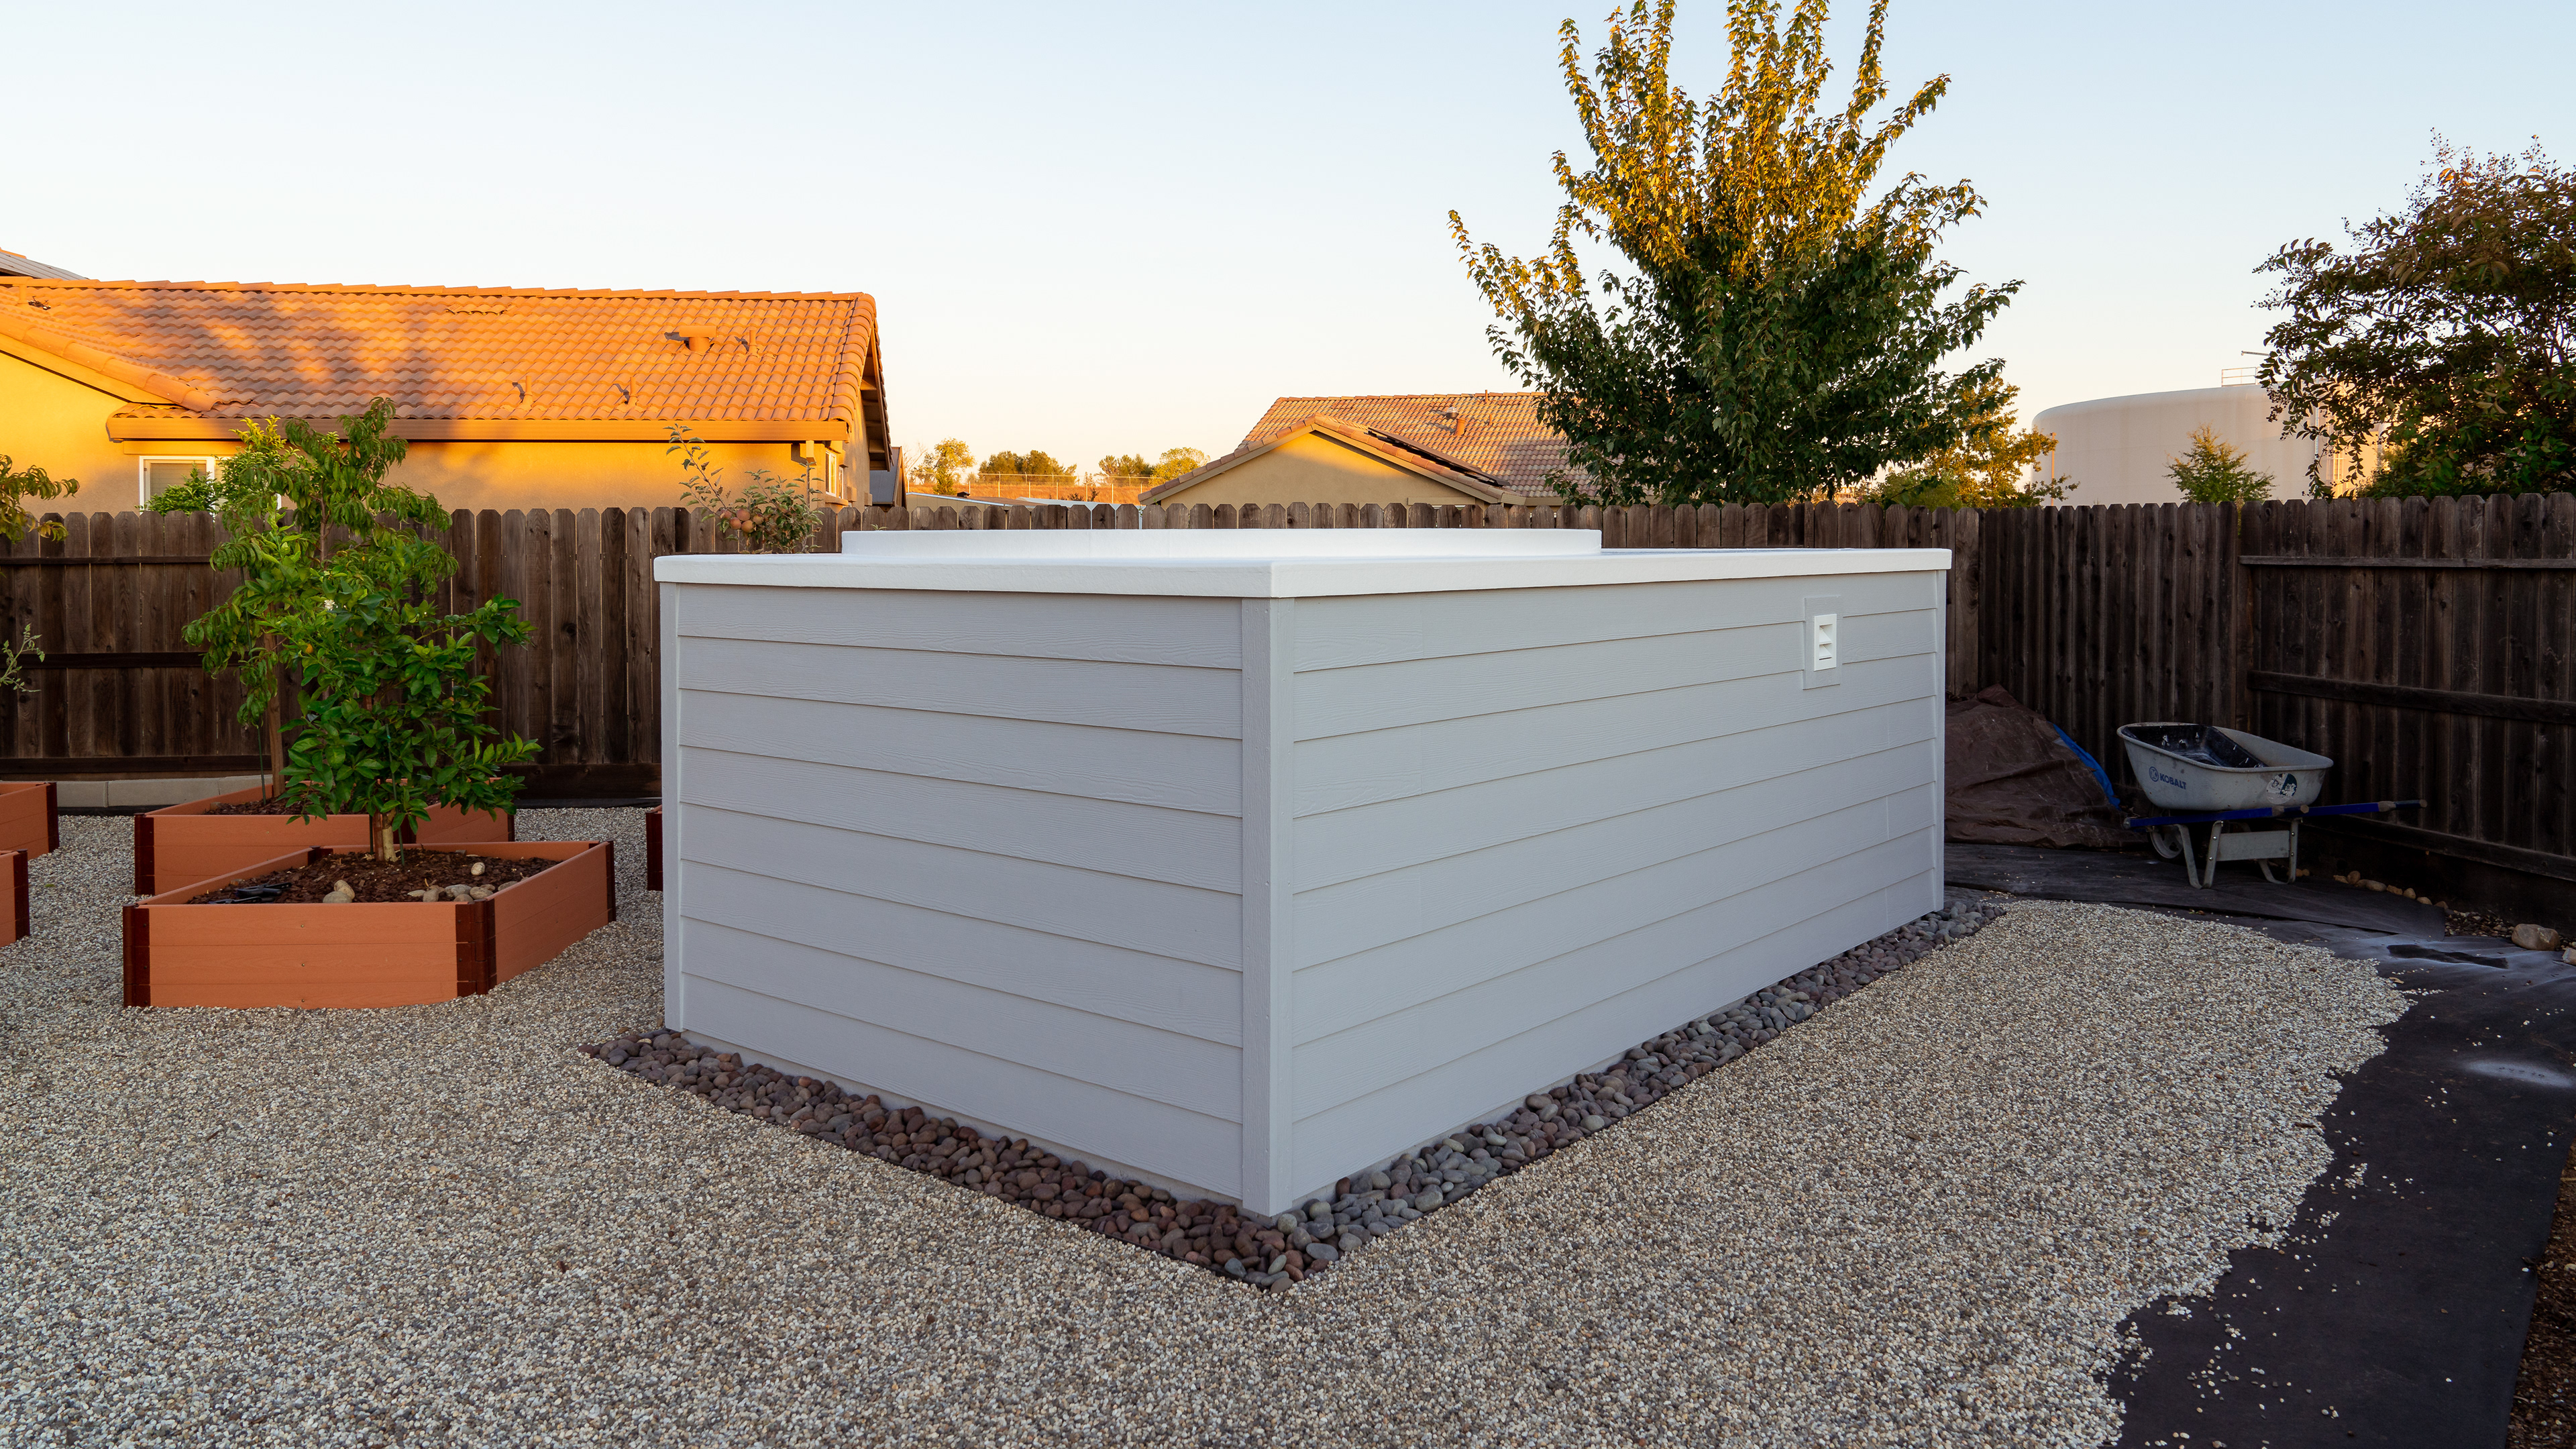
Hardieplank siding and trim installed

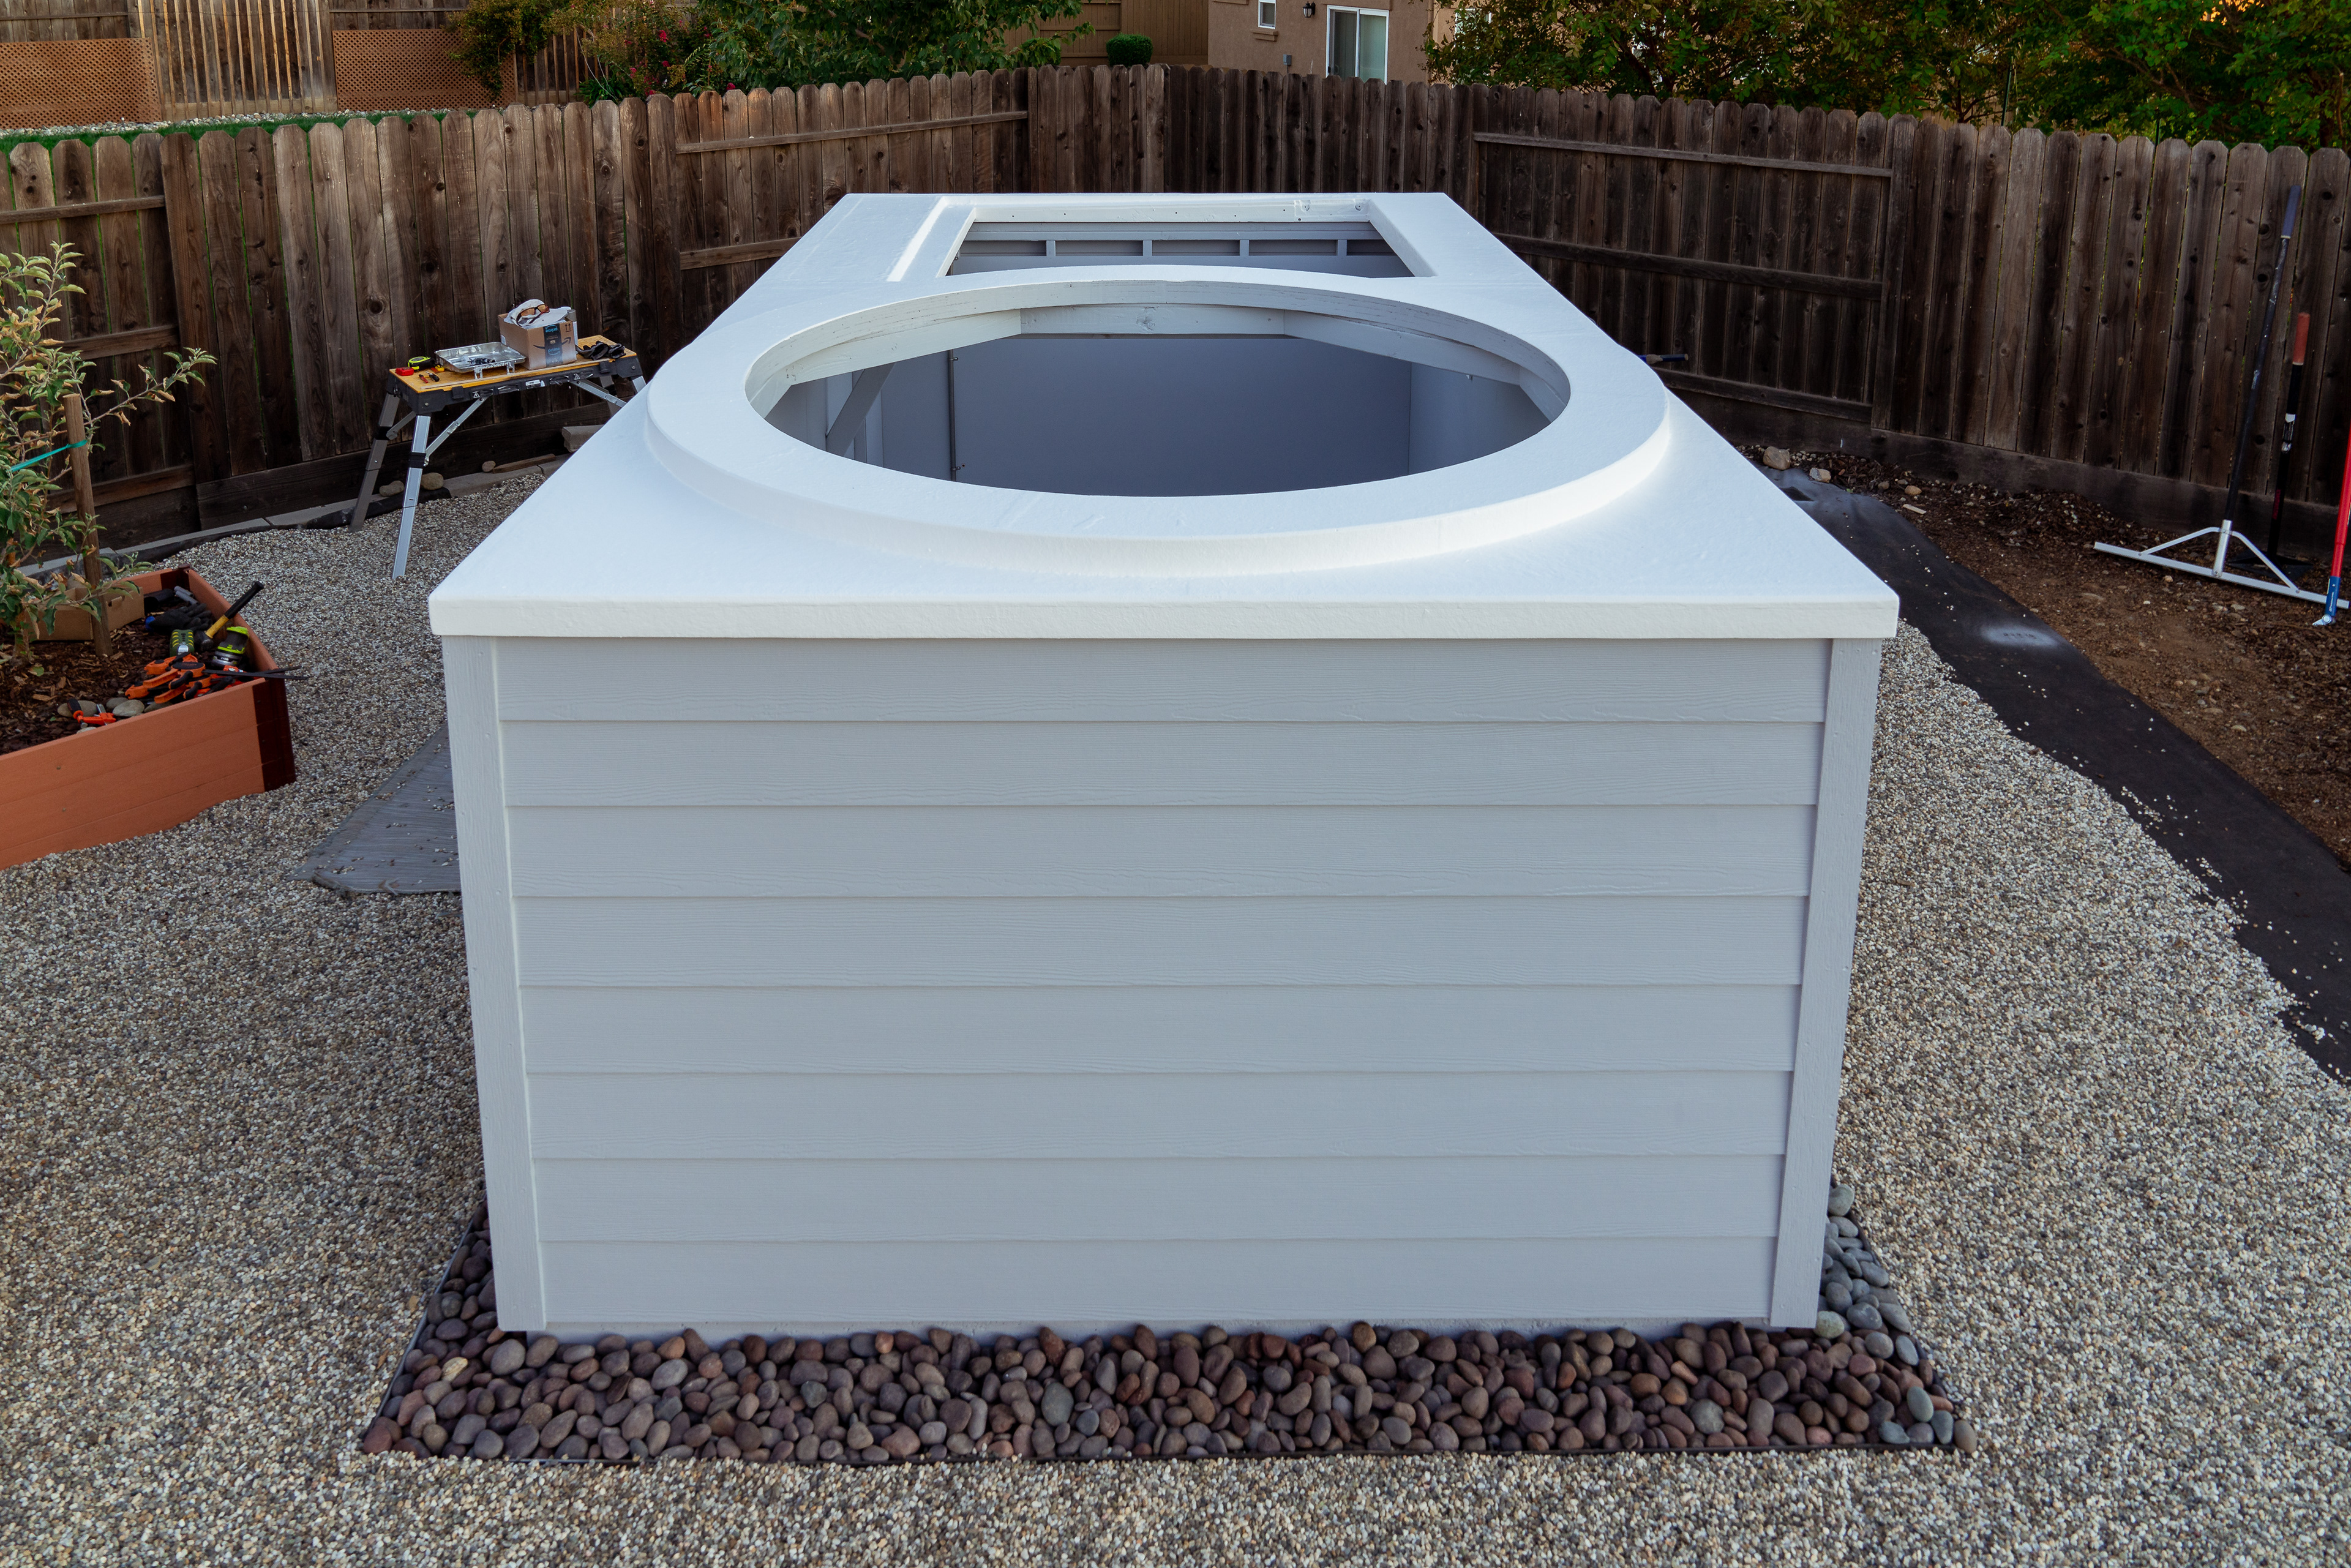
Starting to look like something!
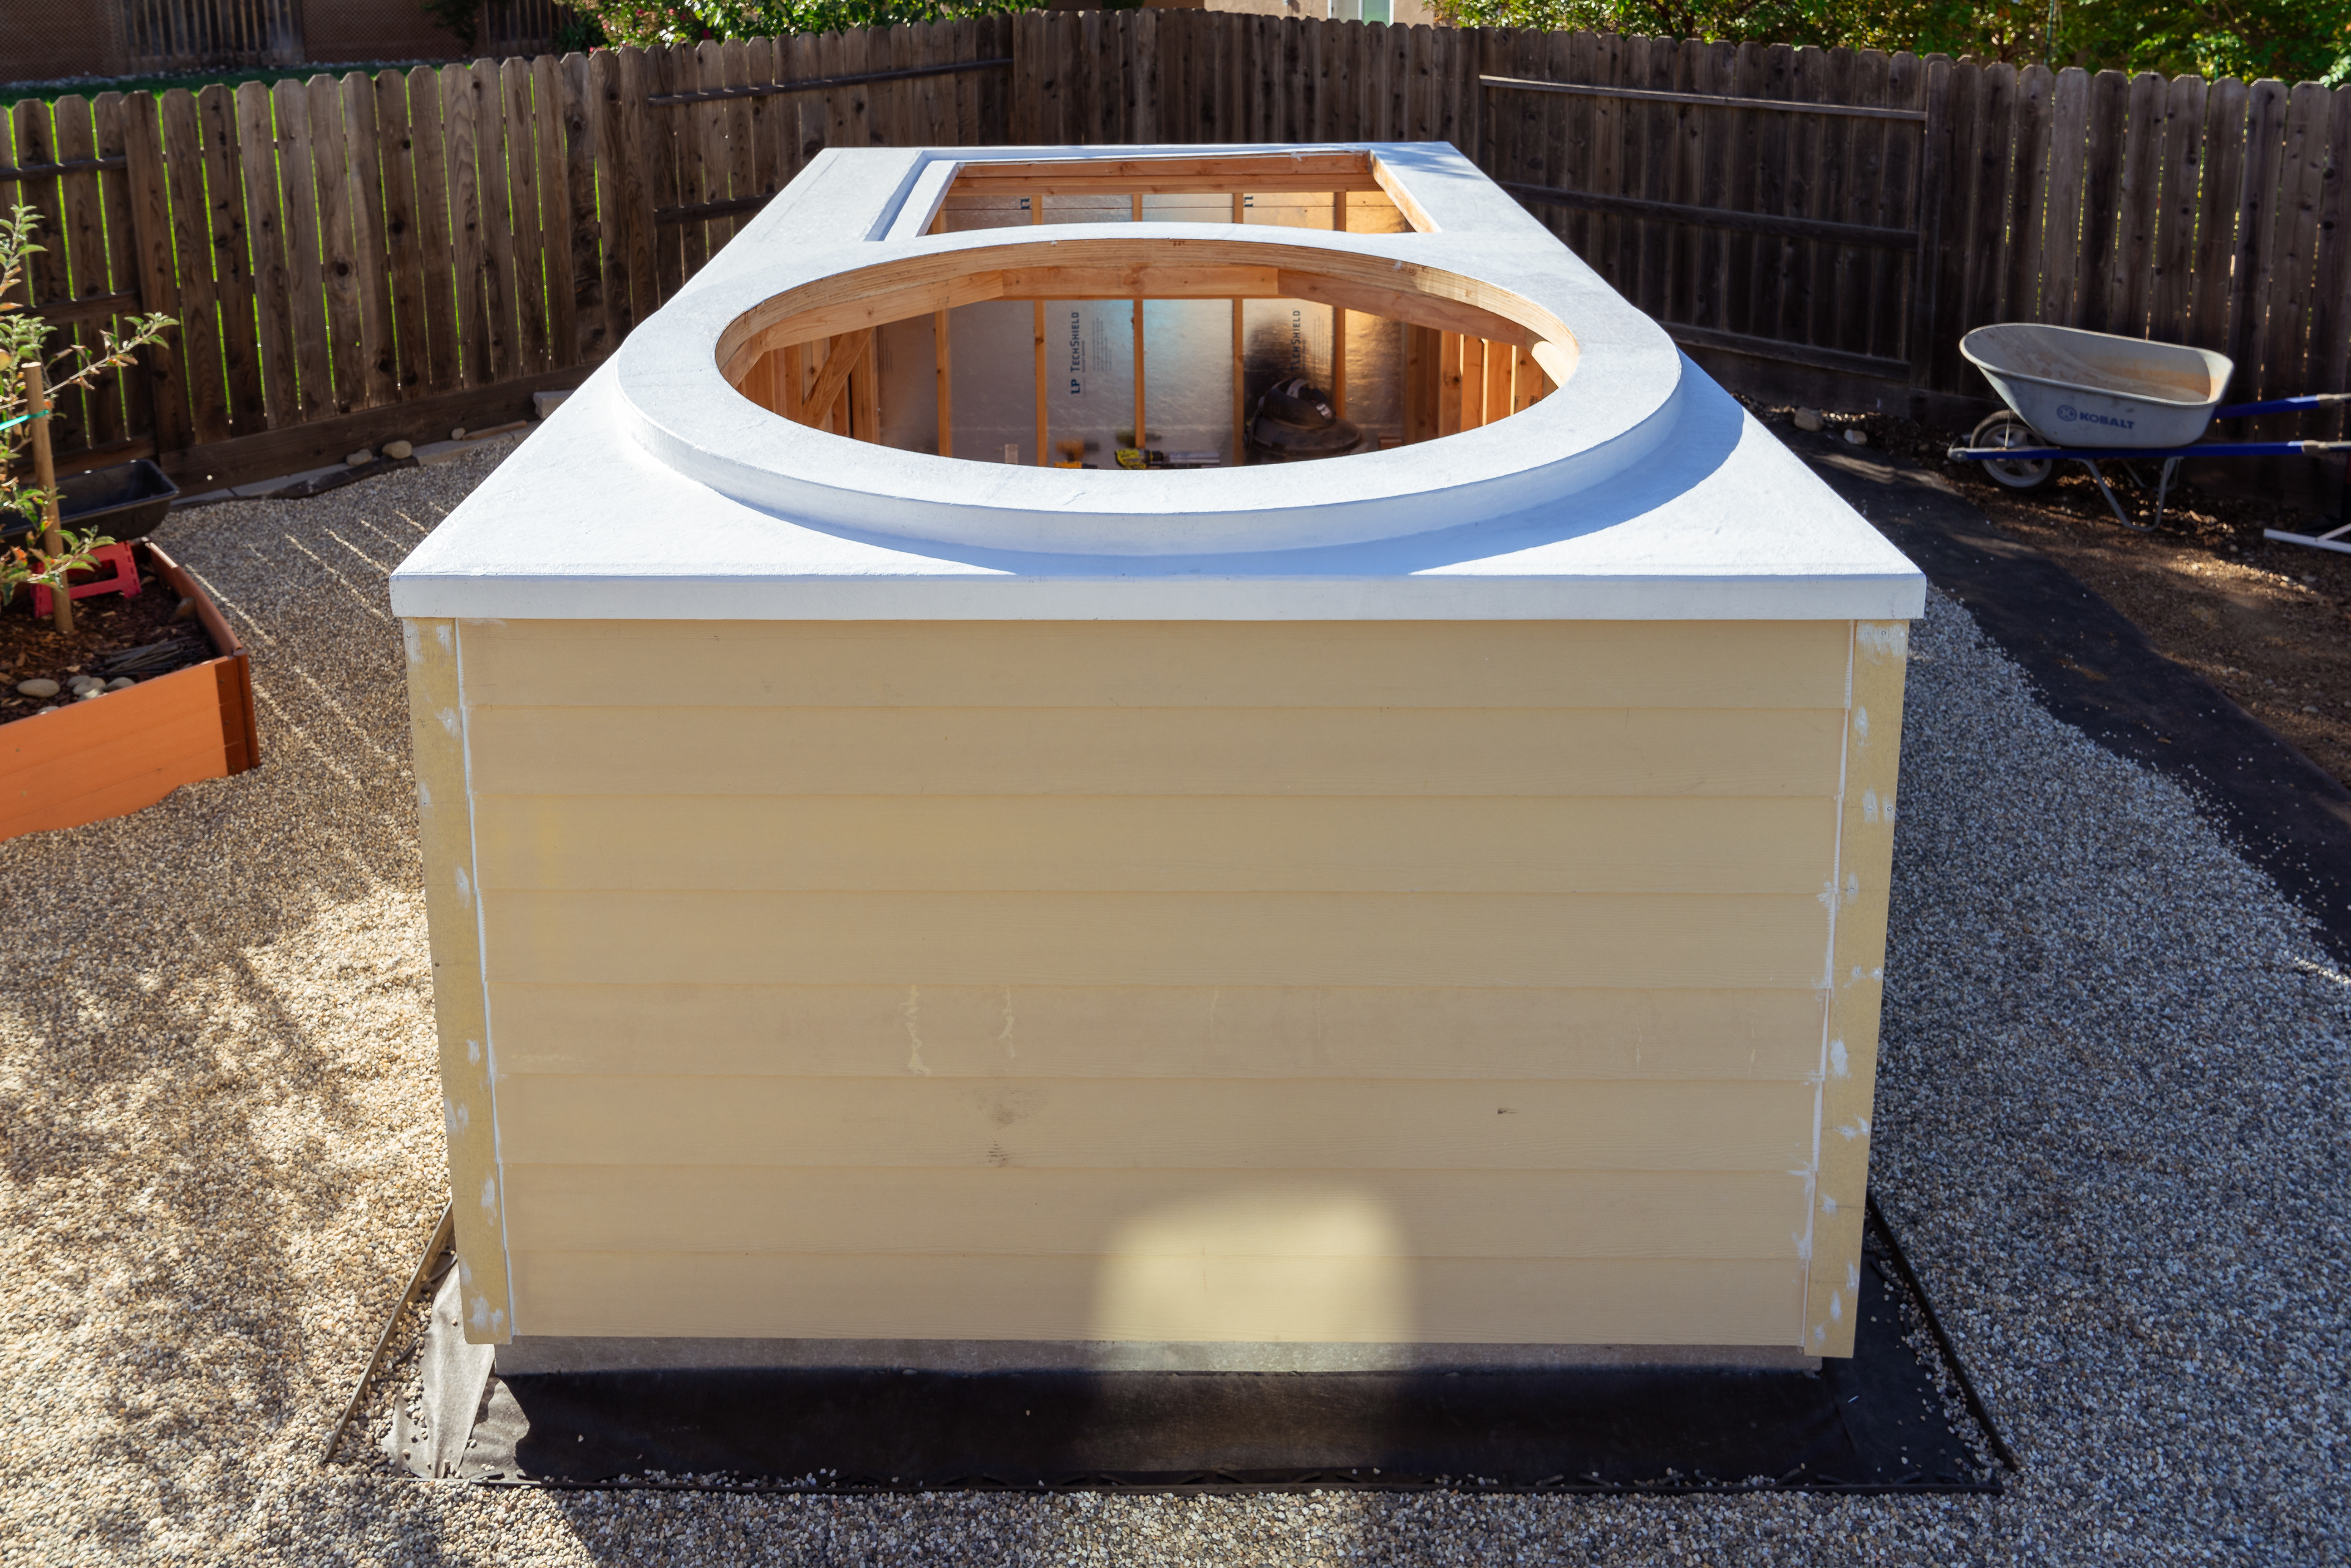
Alternative view
The square opening is the size of Ram 1500 truck bed
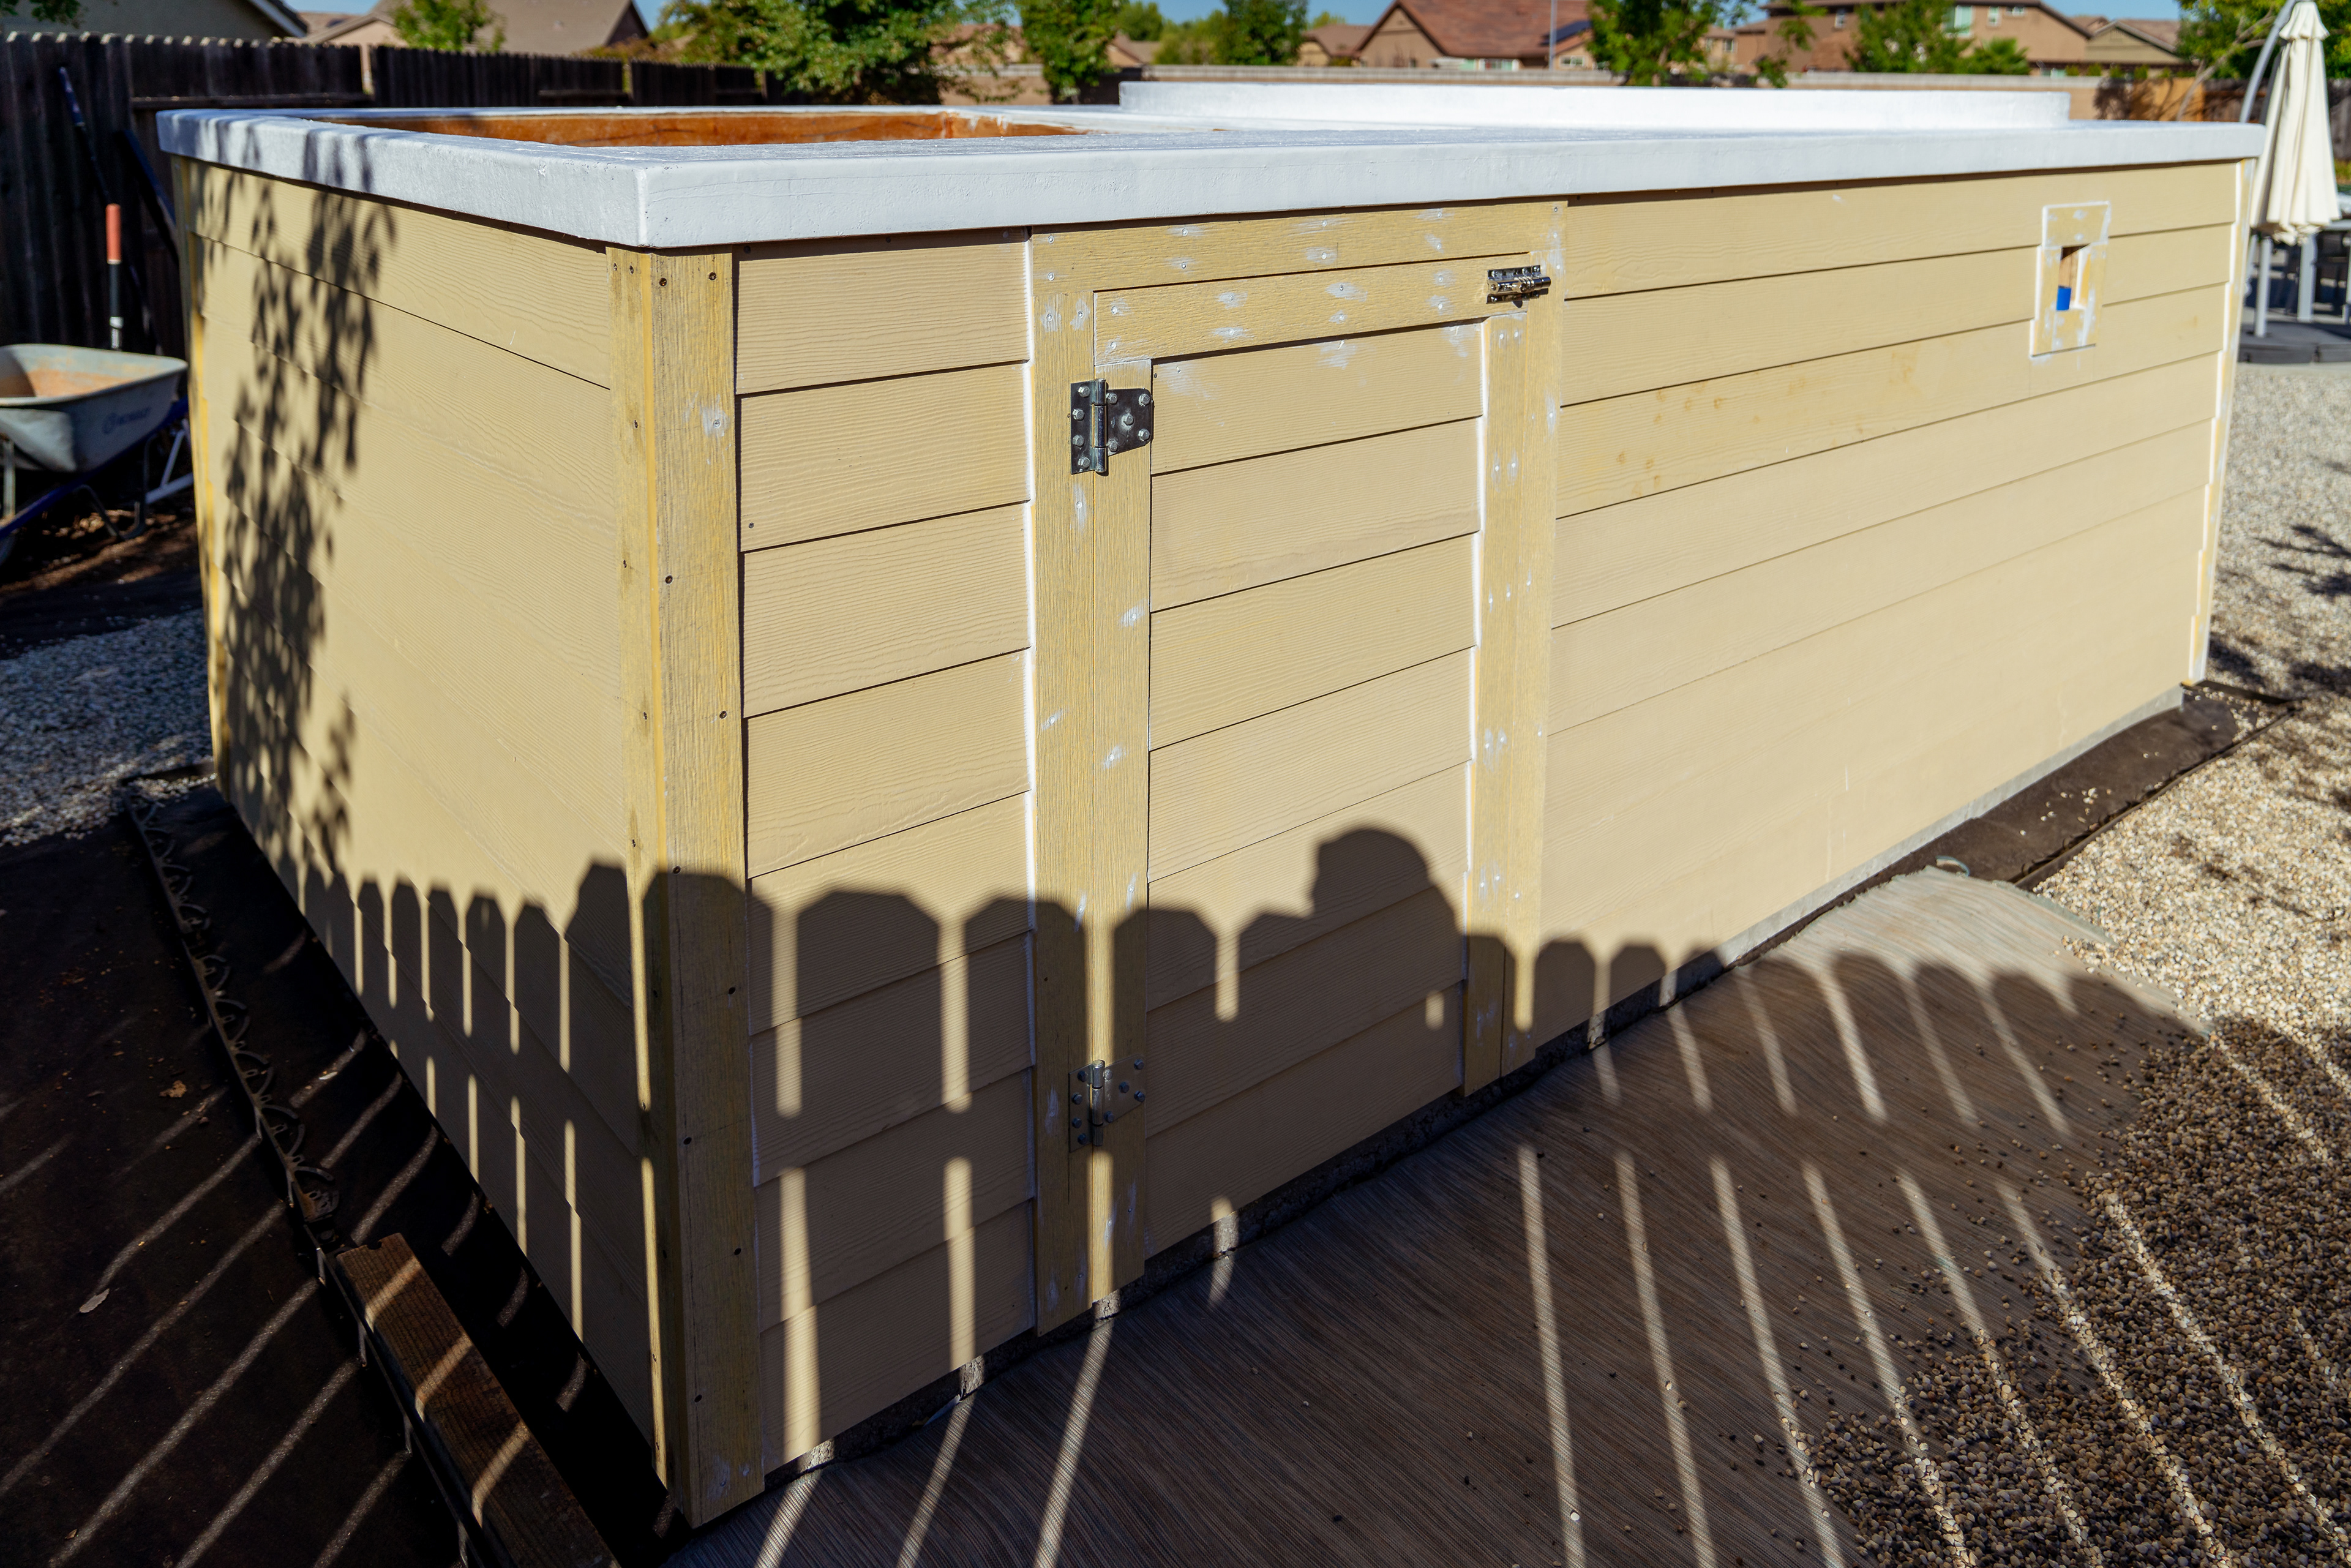
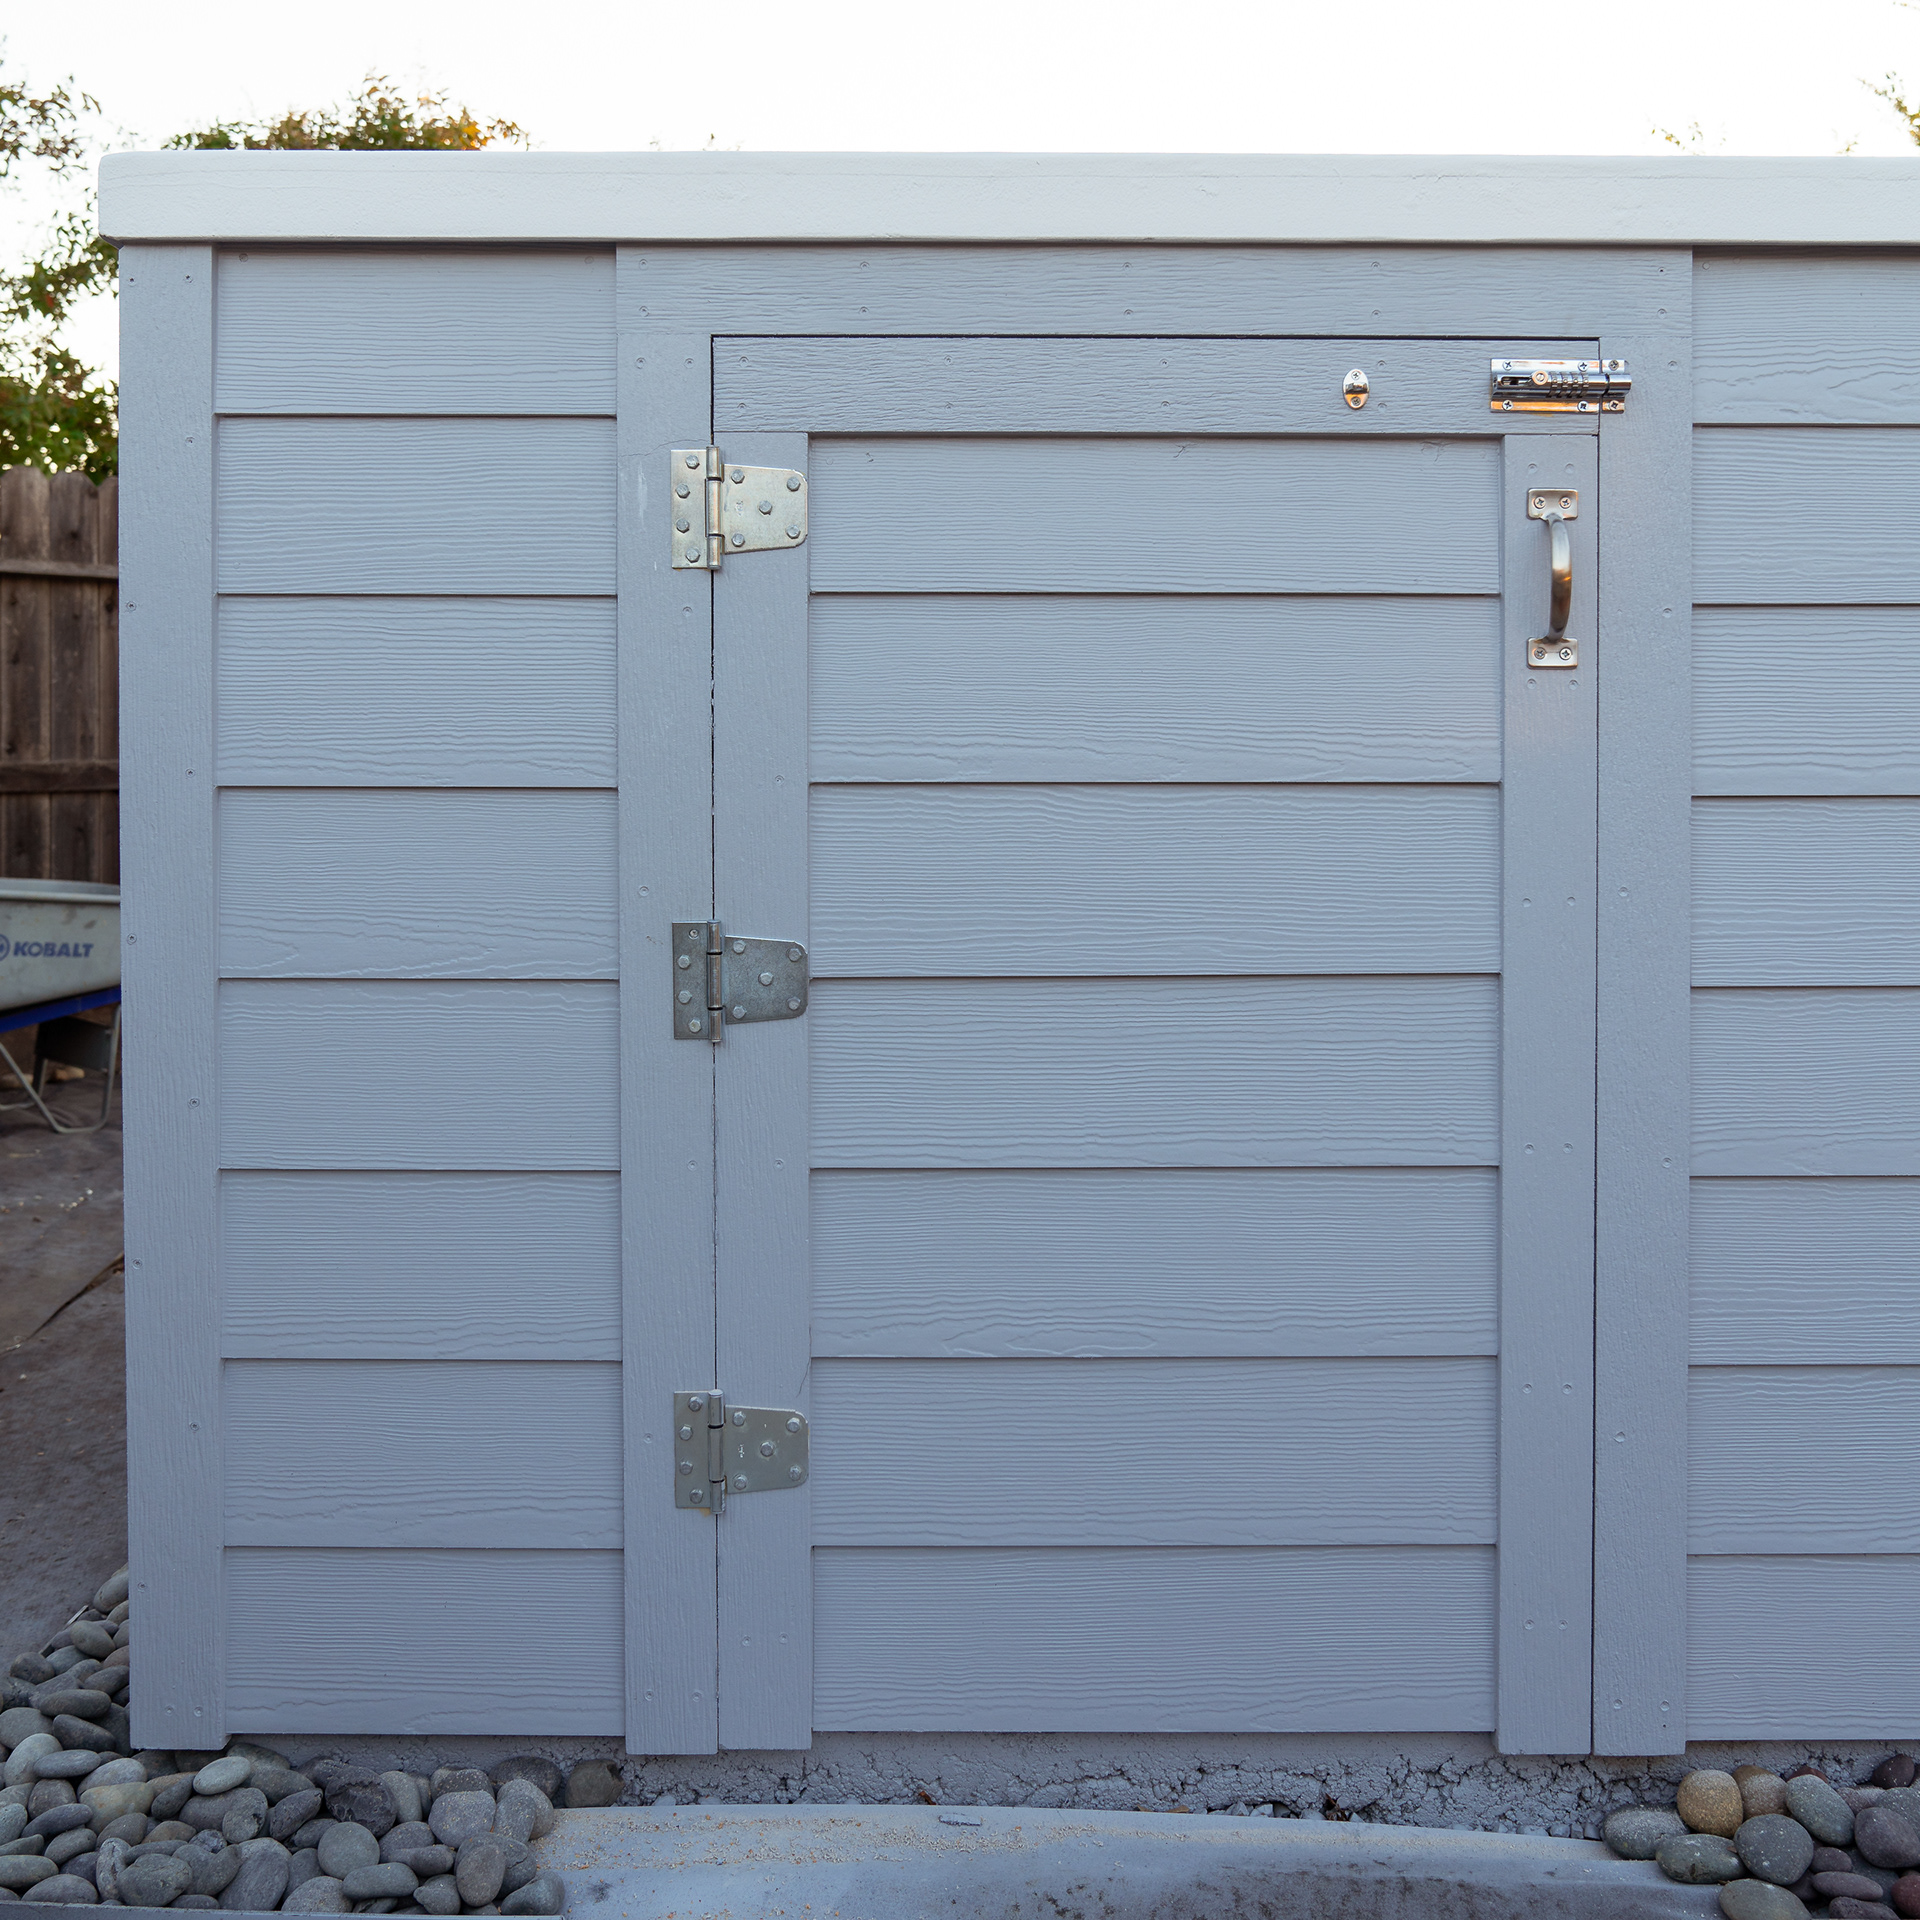
Door is framed installed
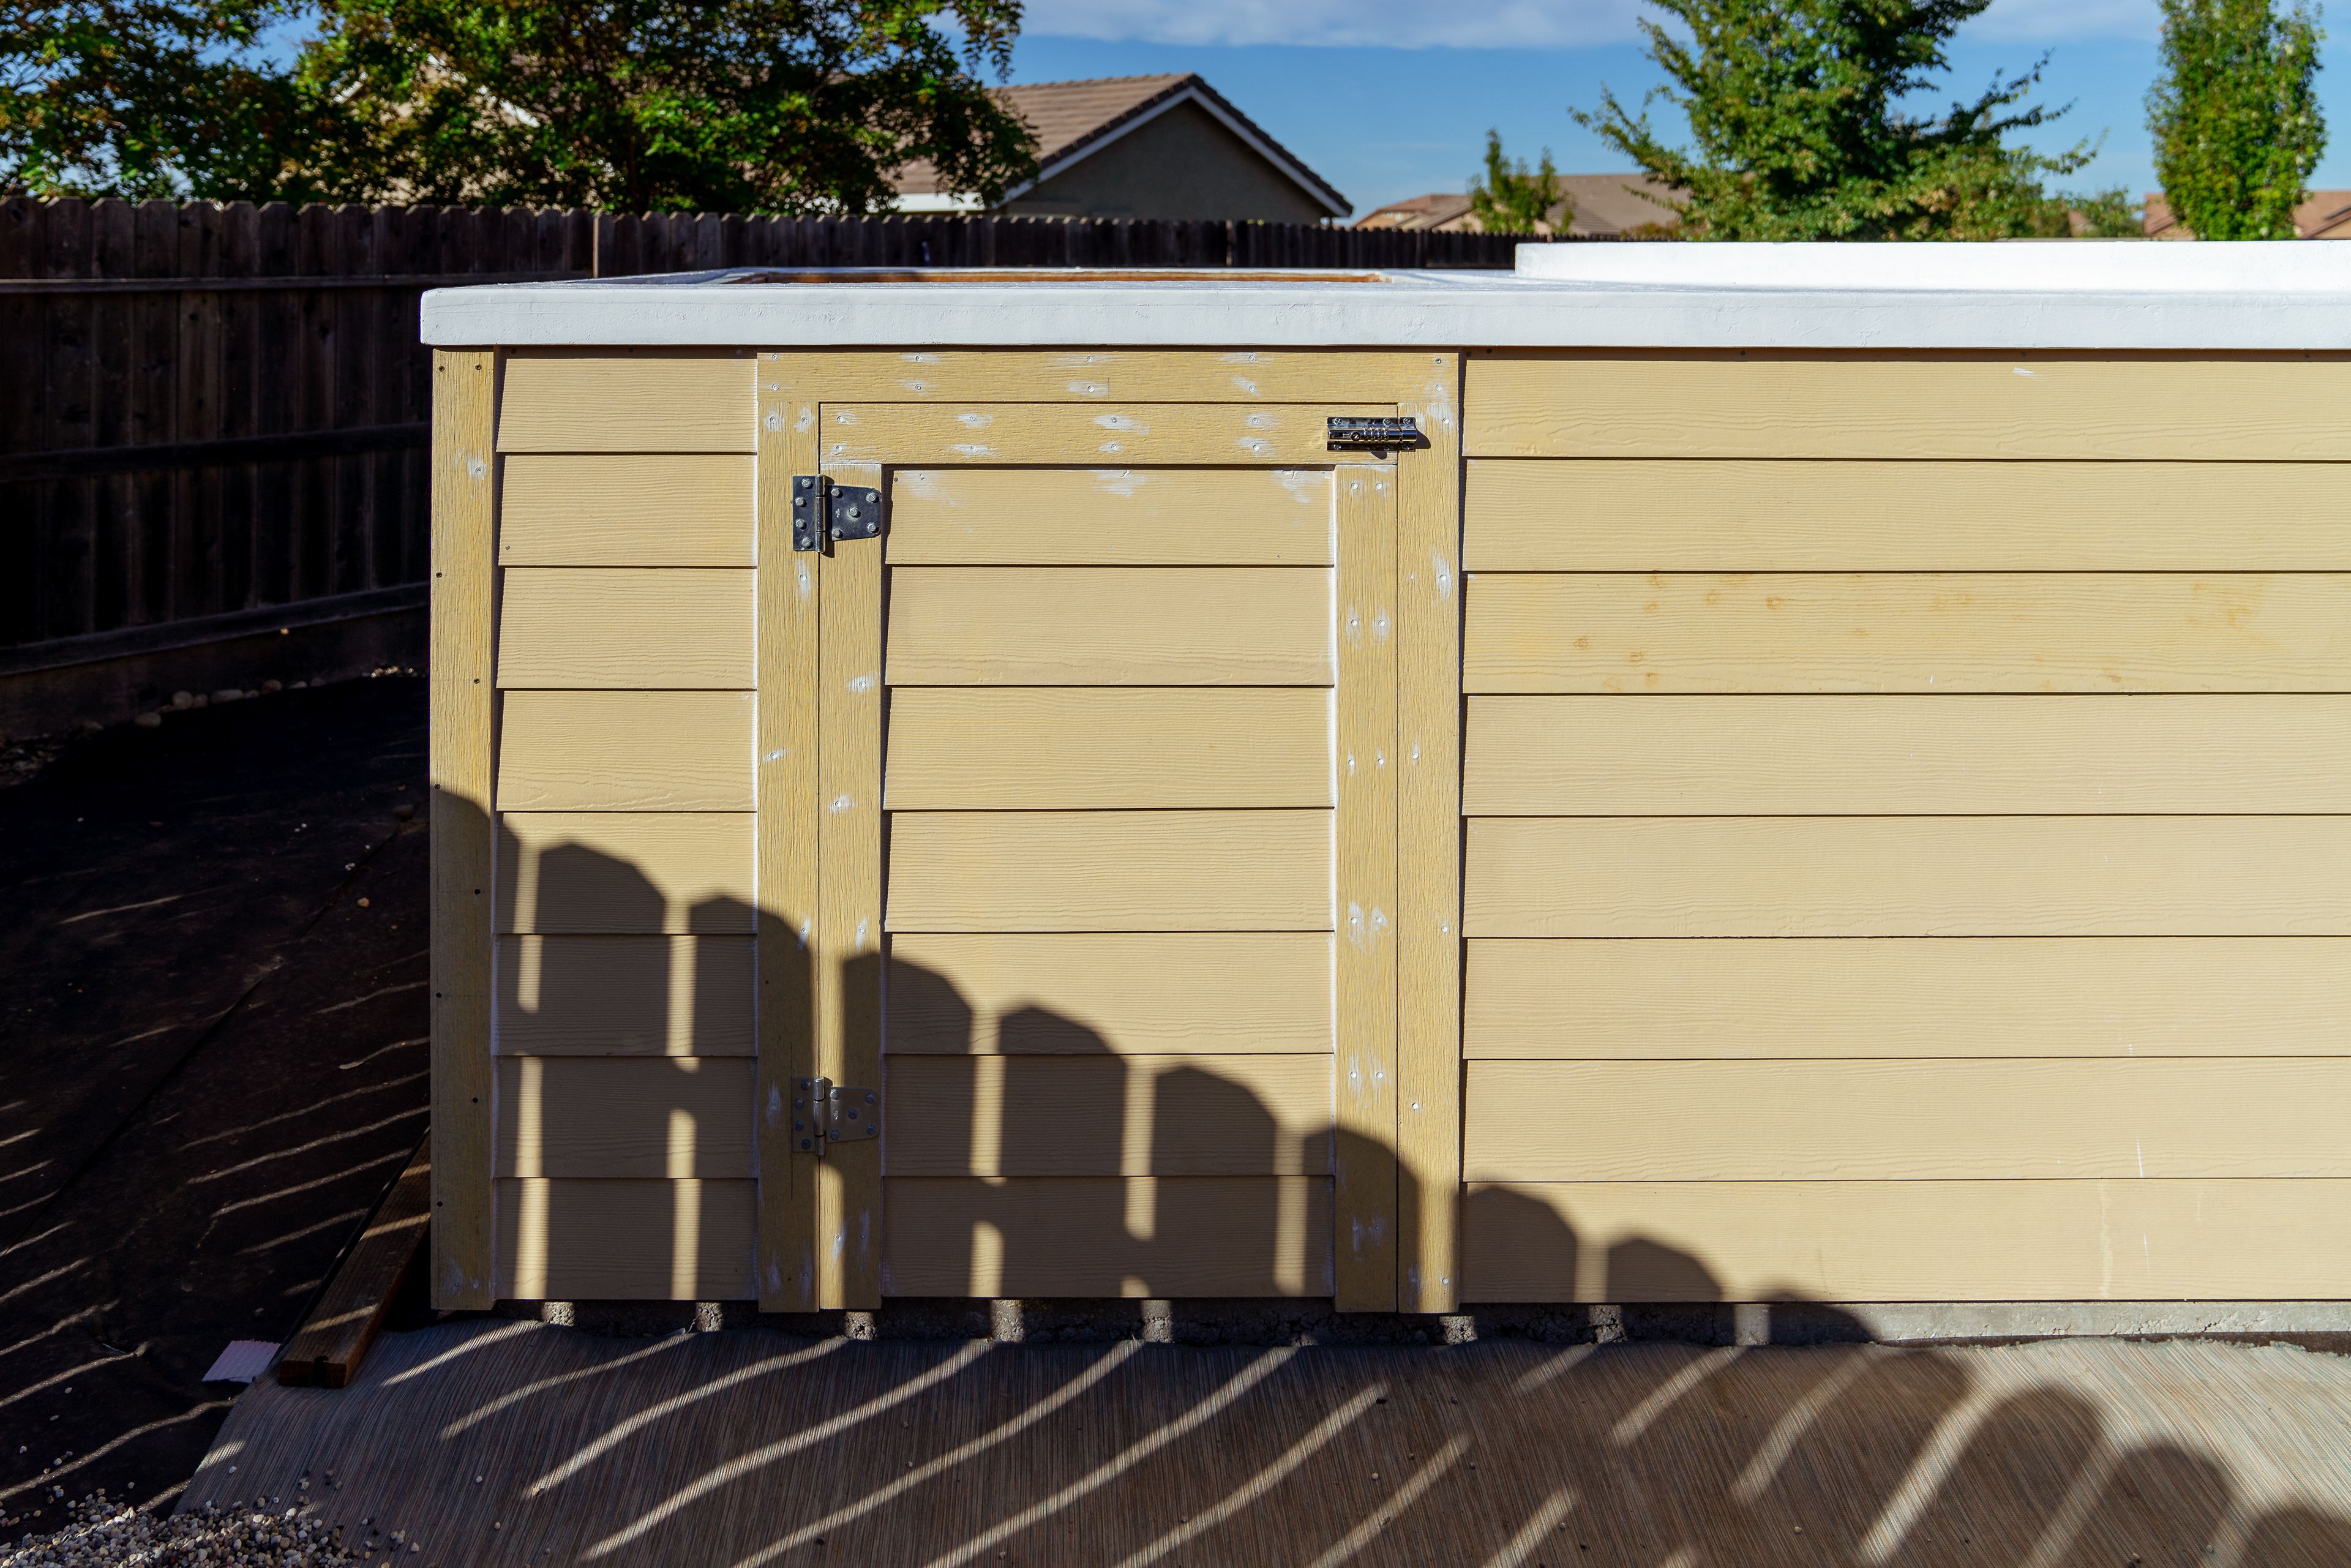
Going with simple lines here
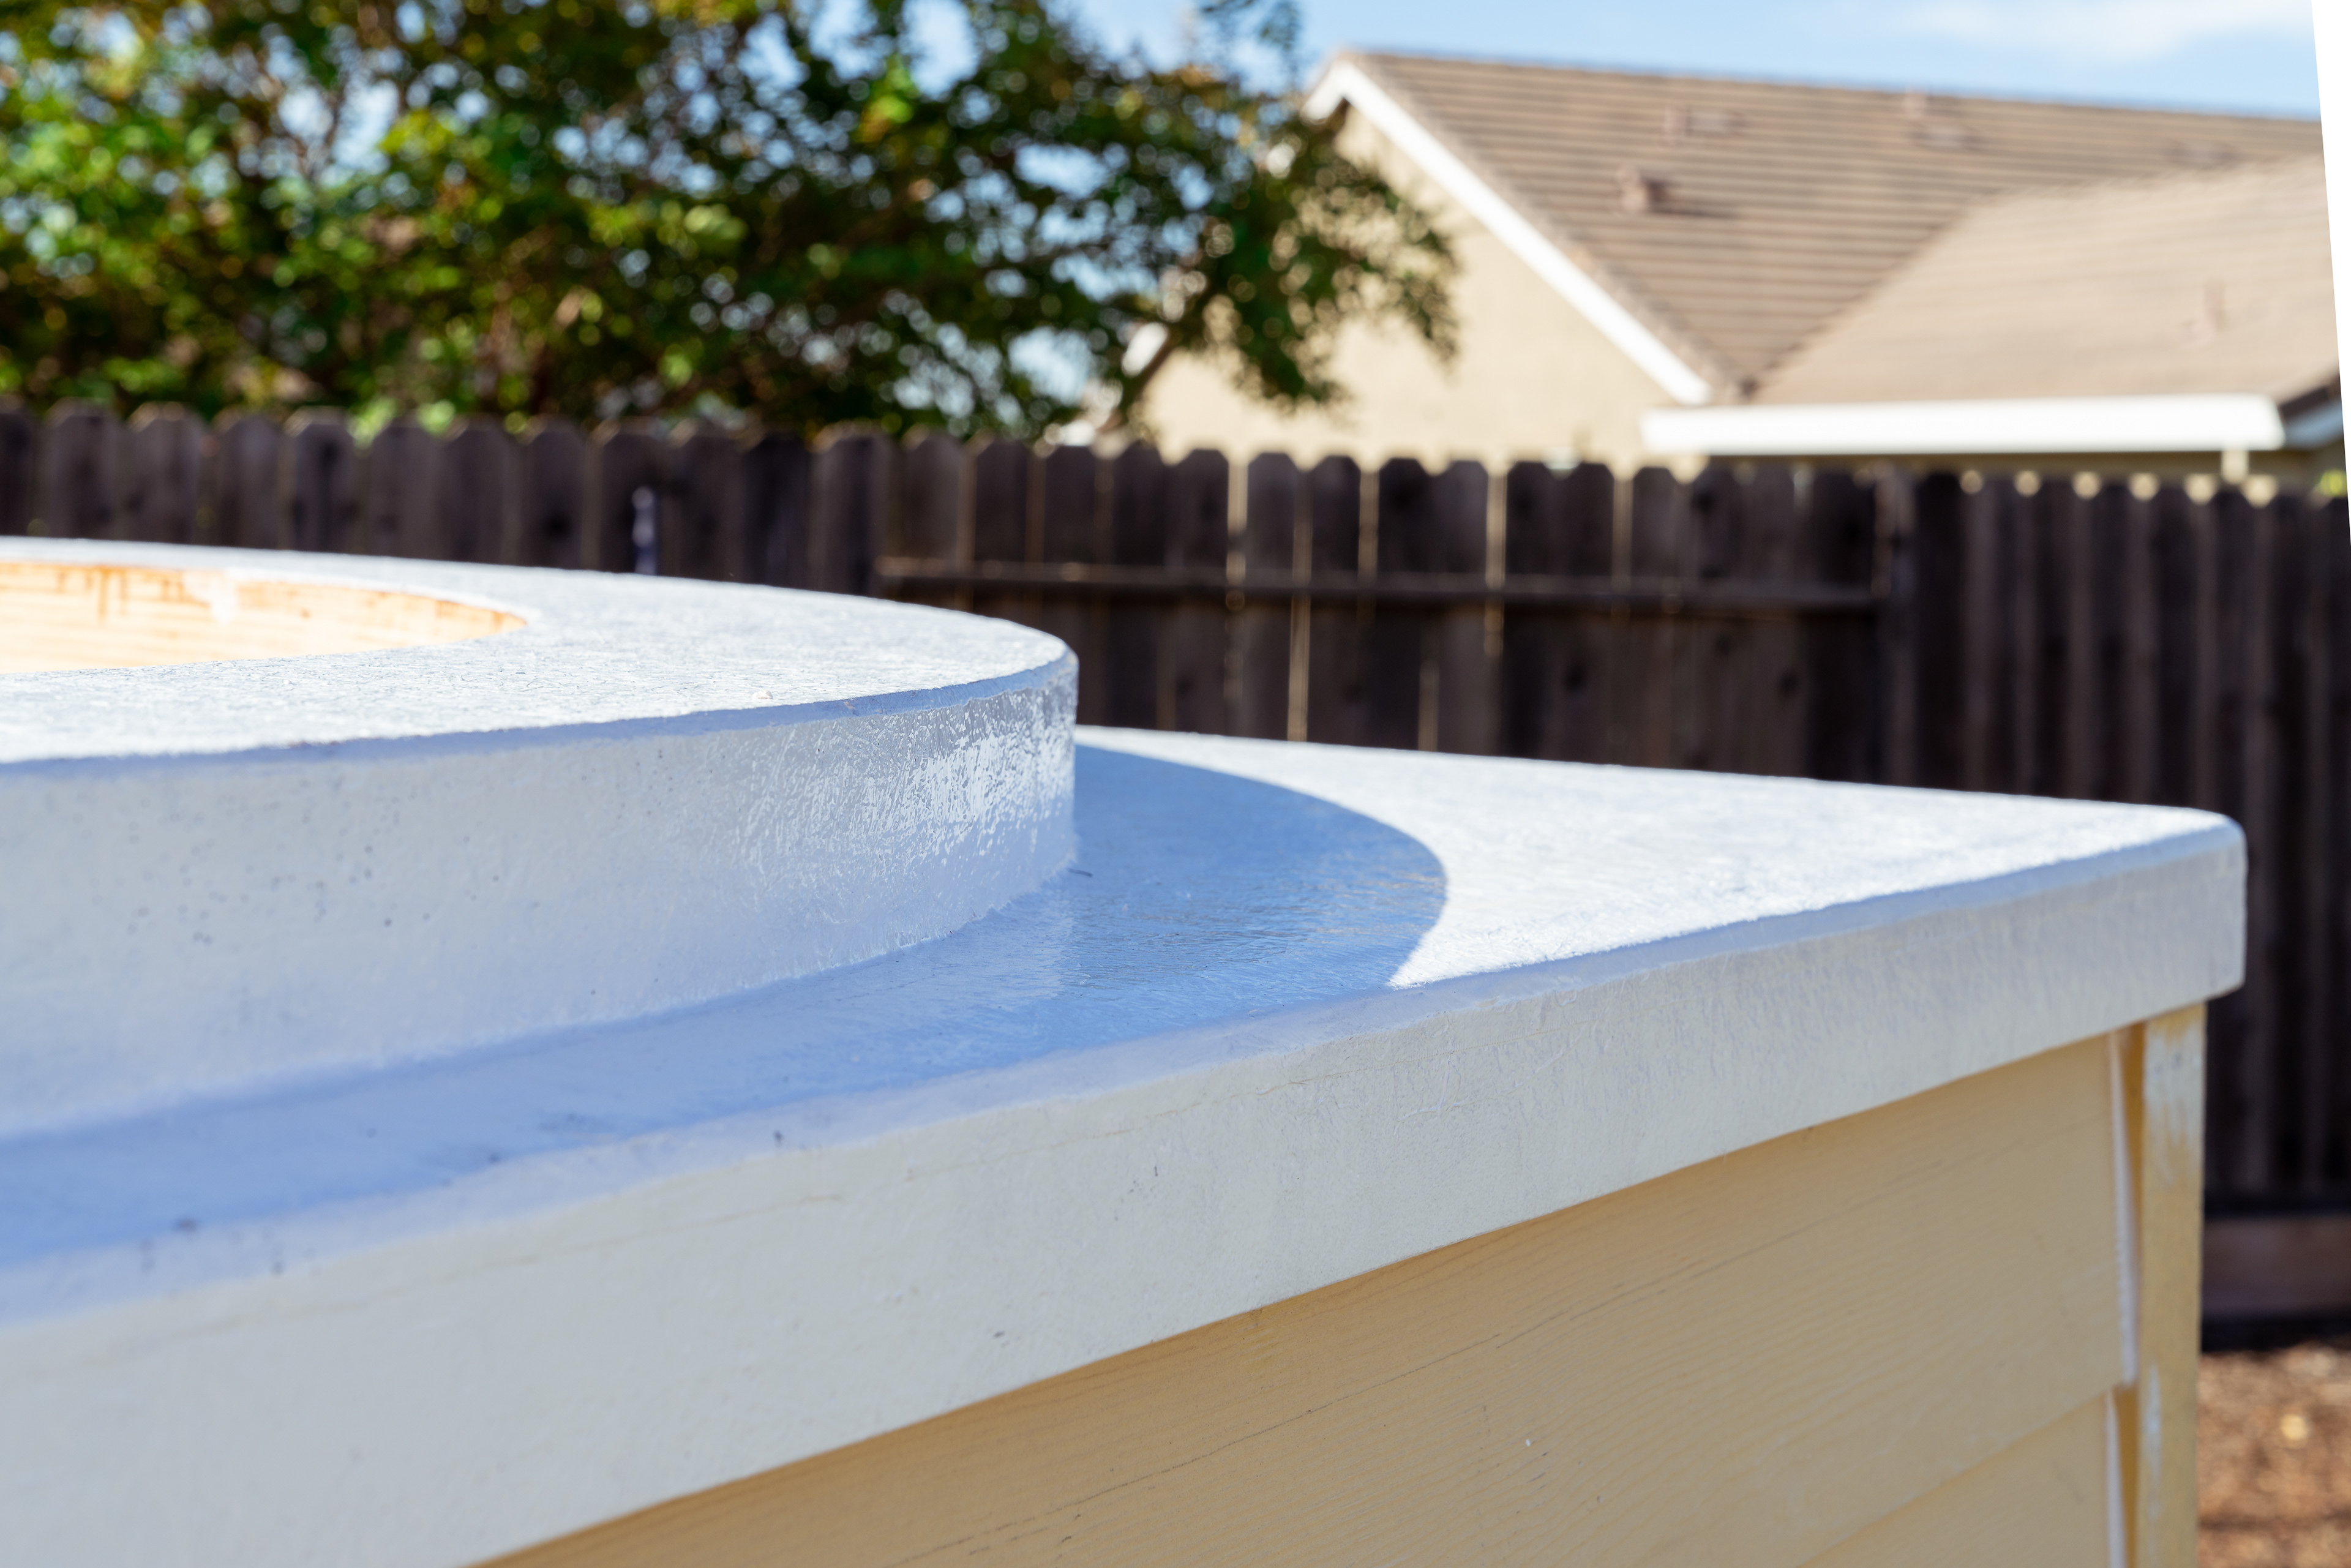
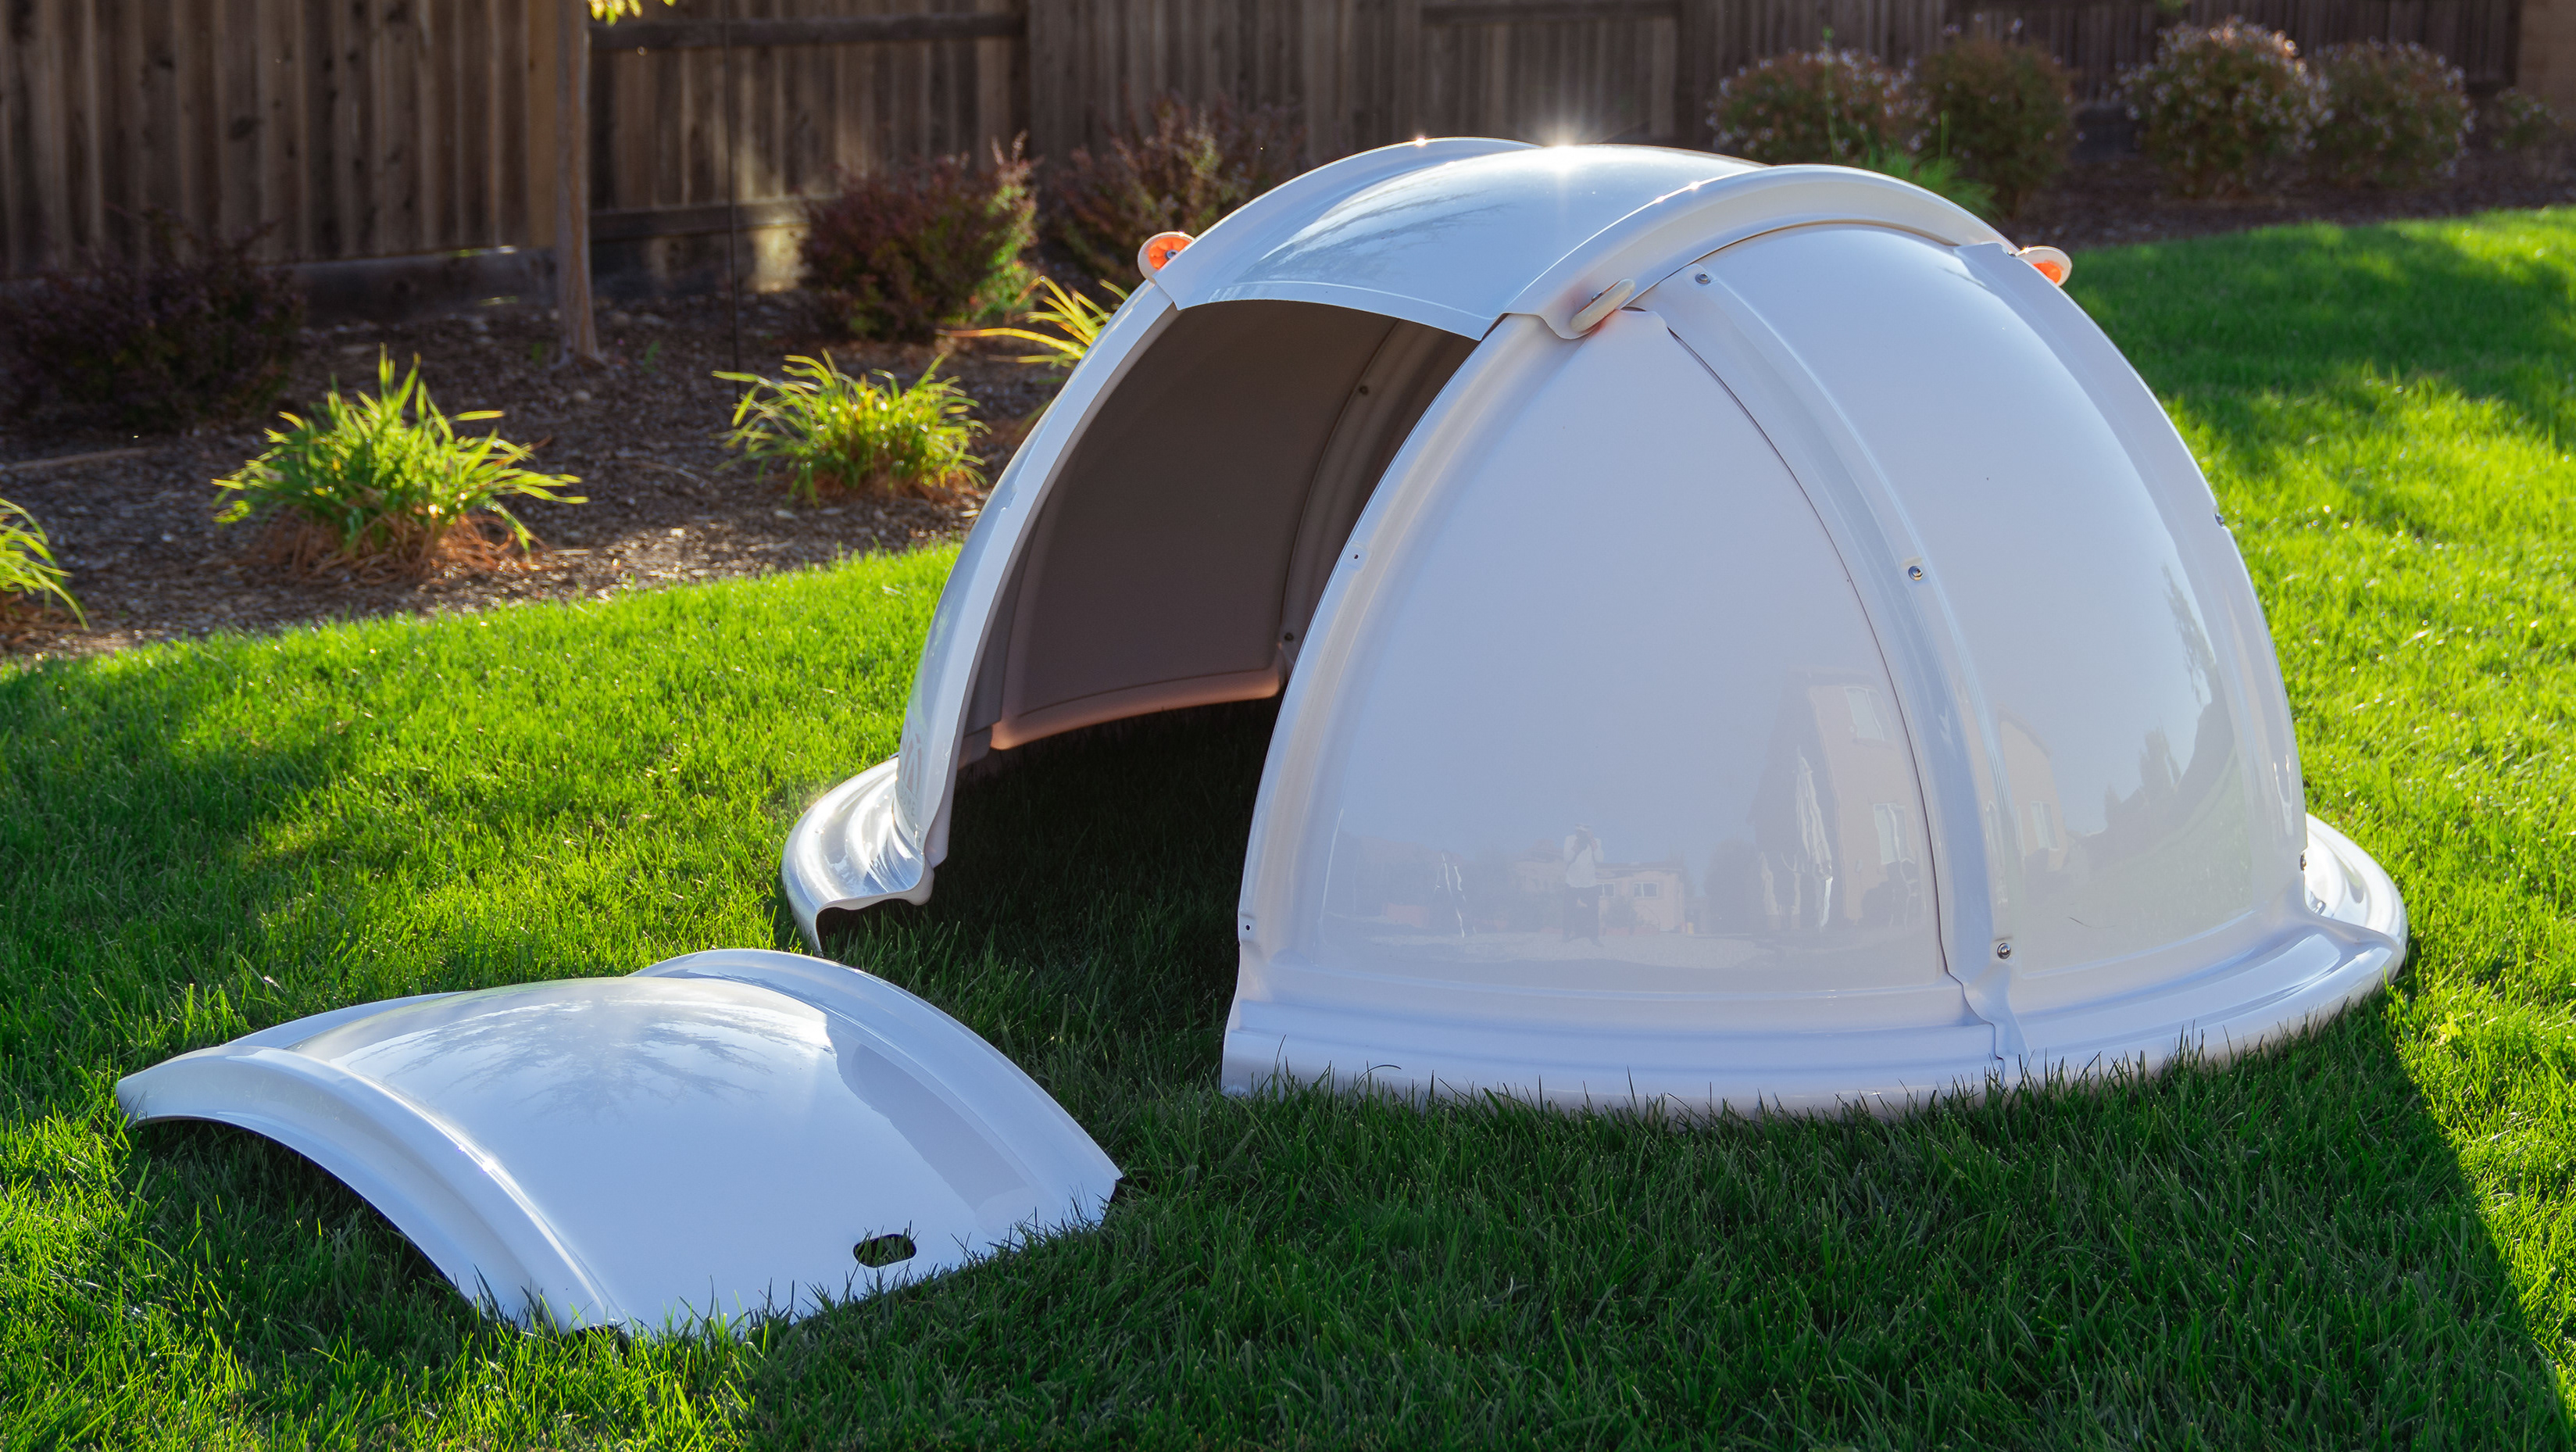
Final gel coat with wax finish
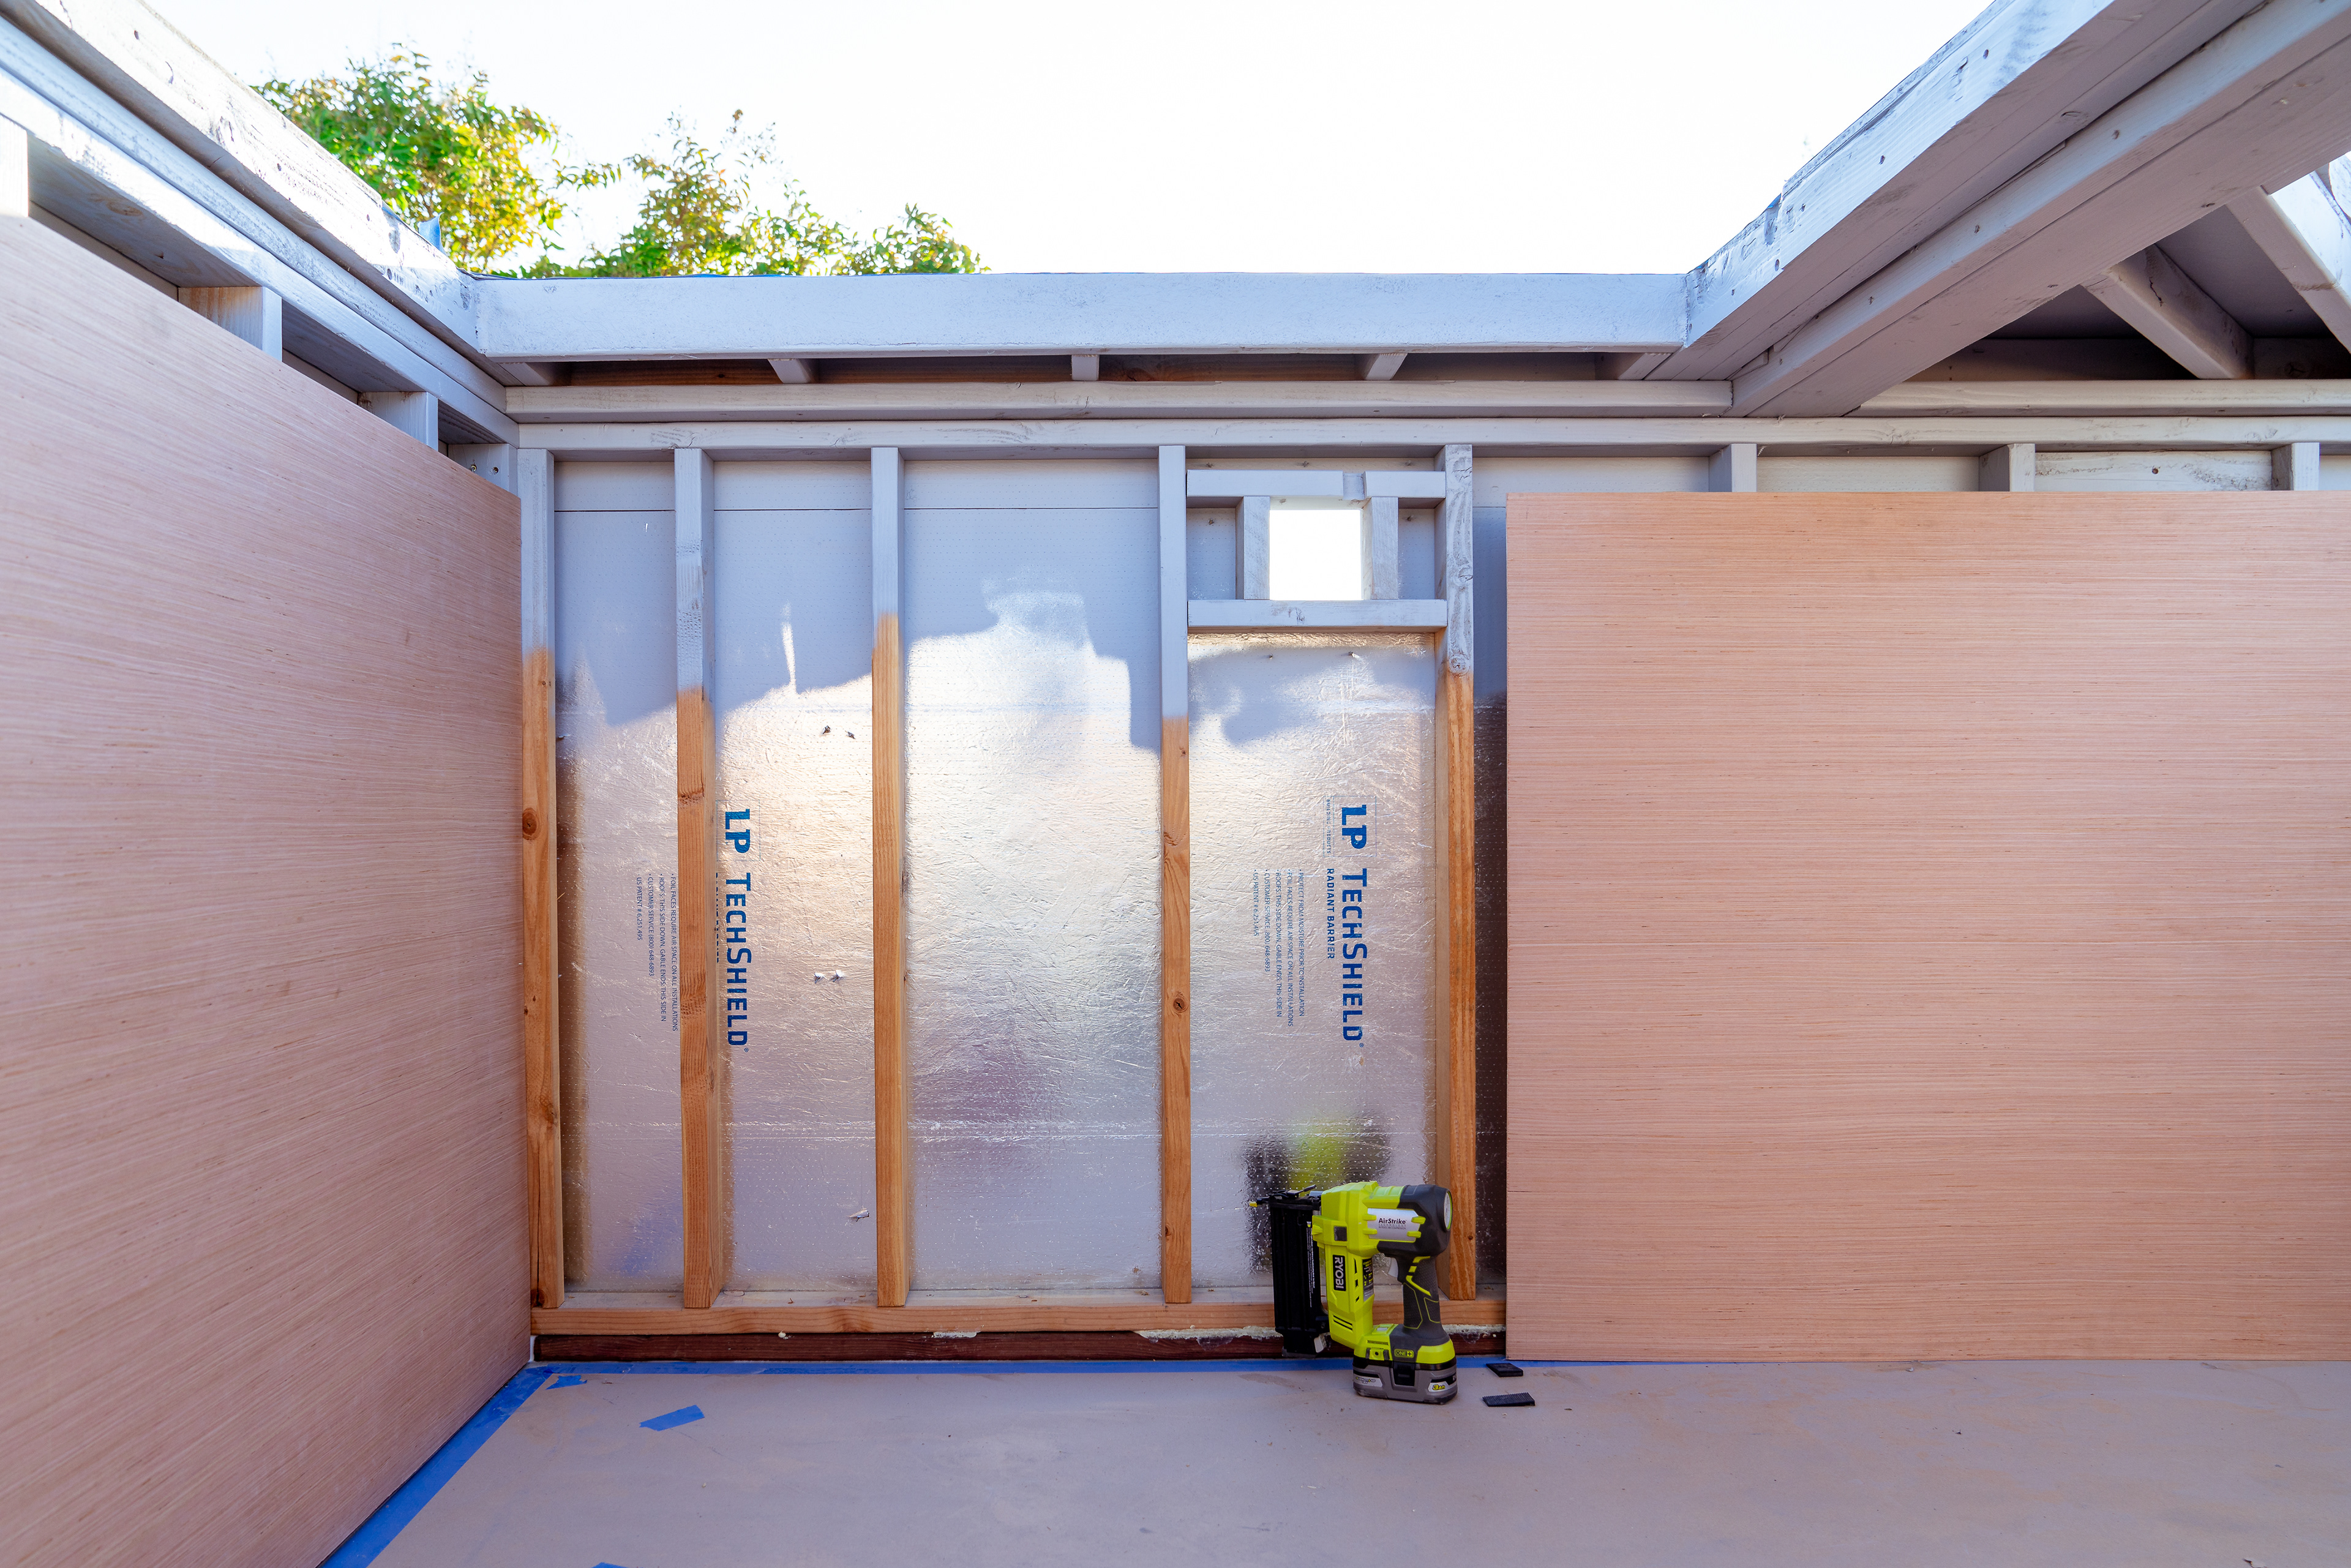
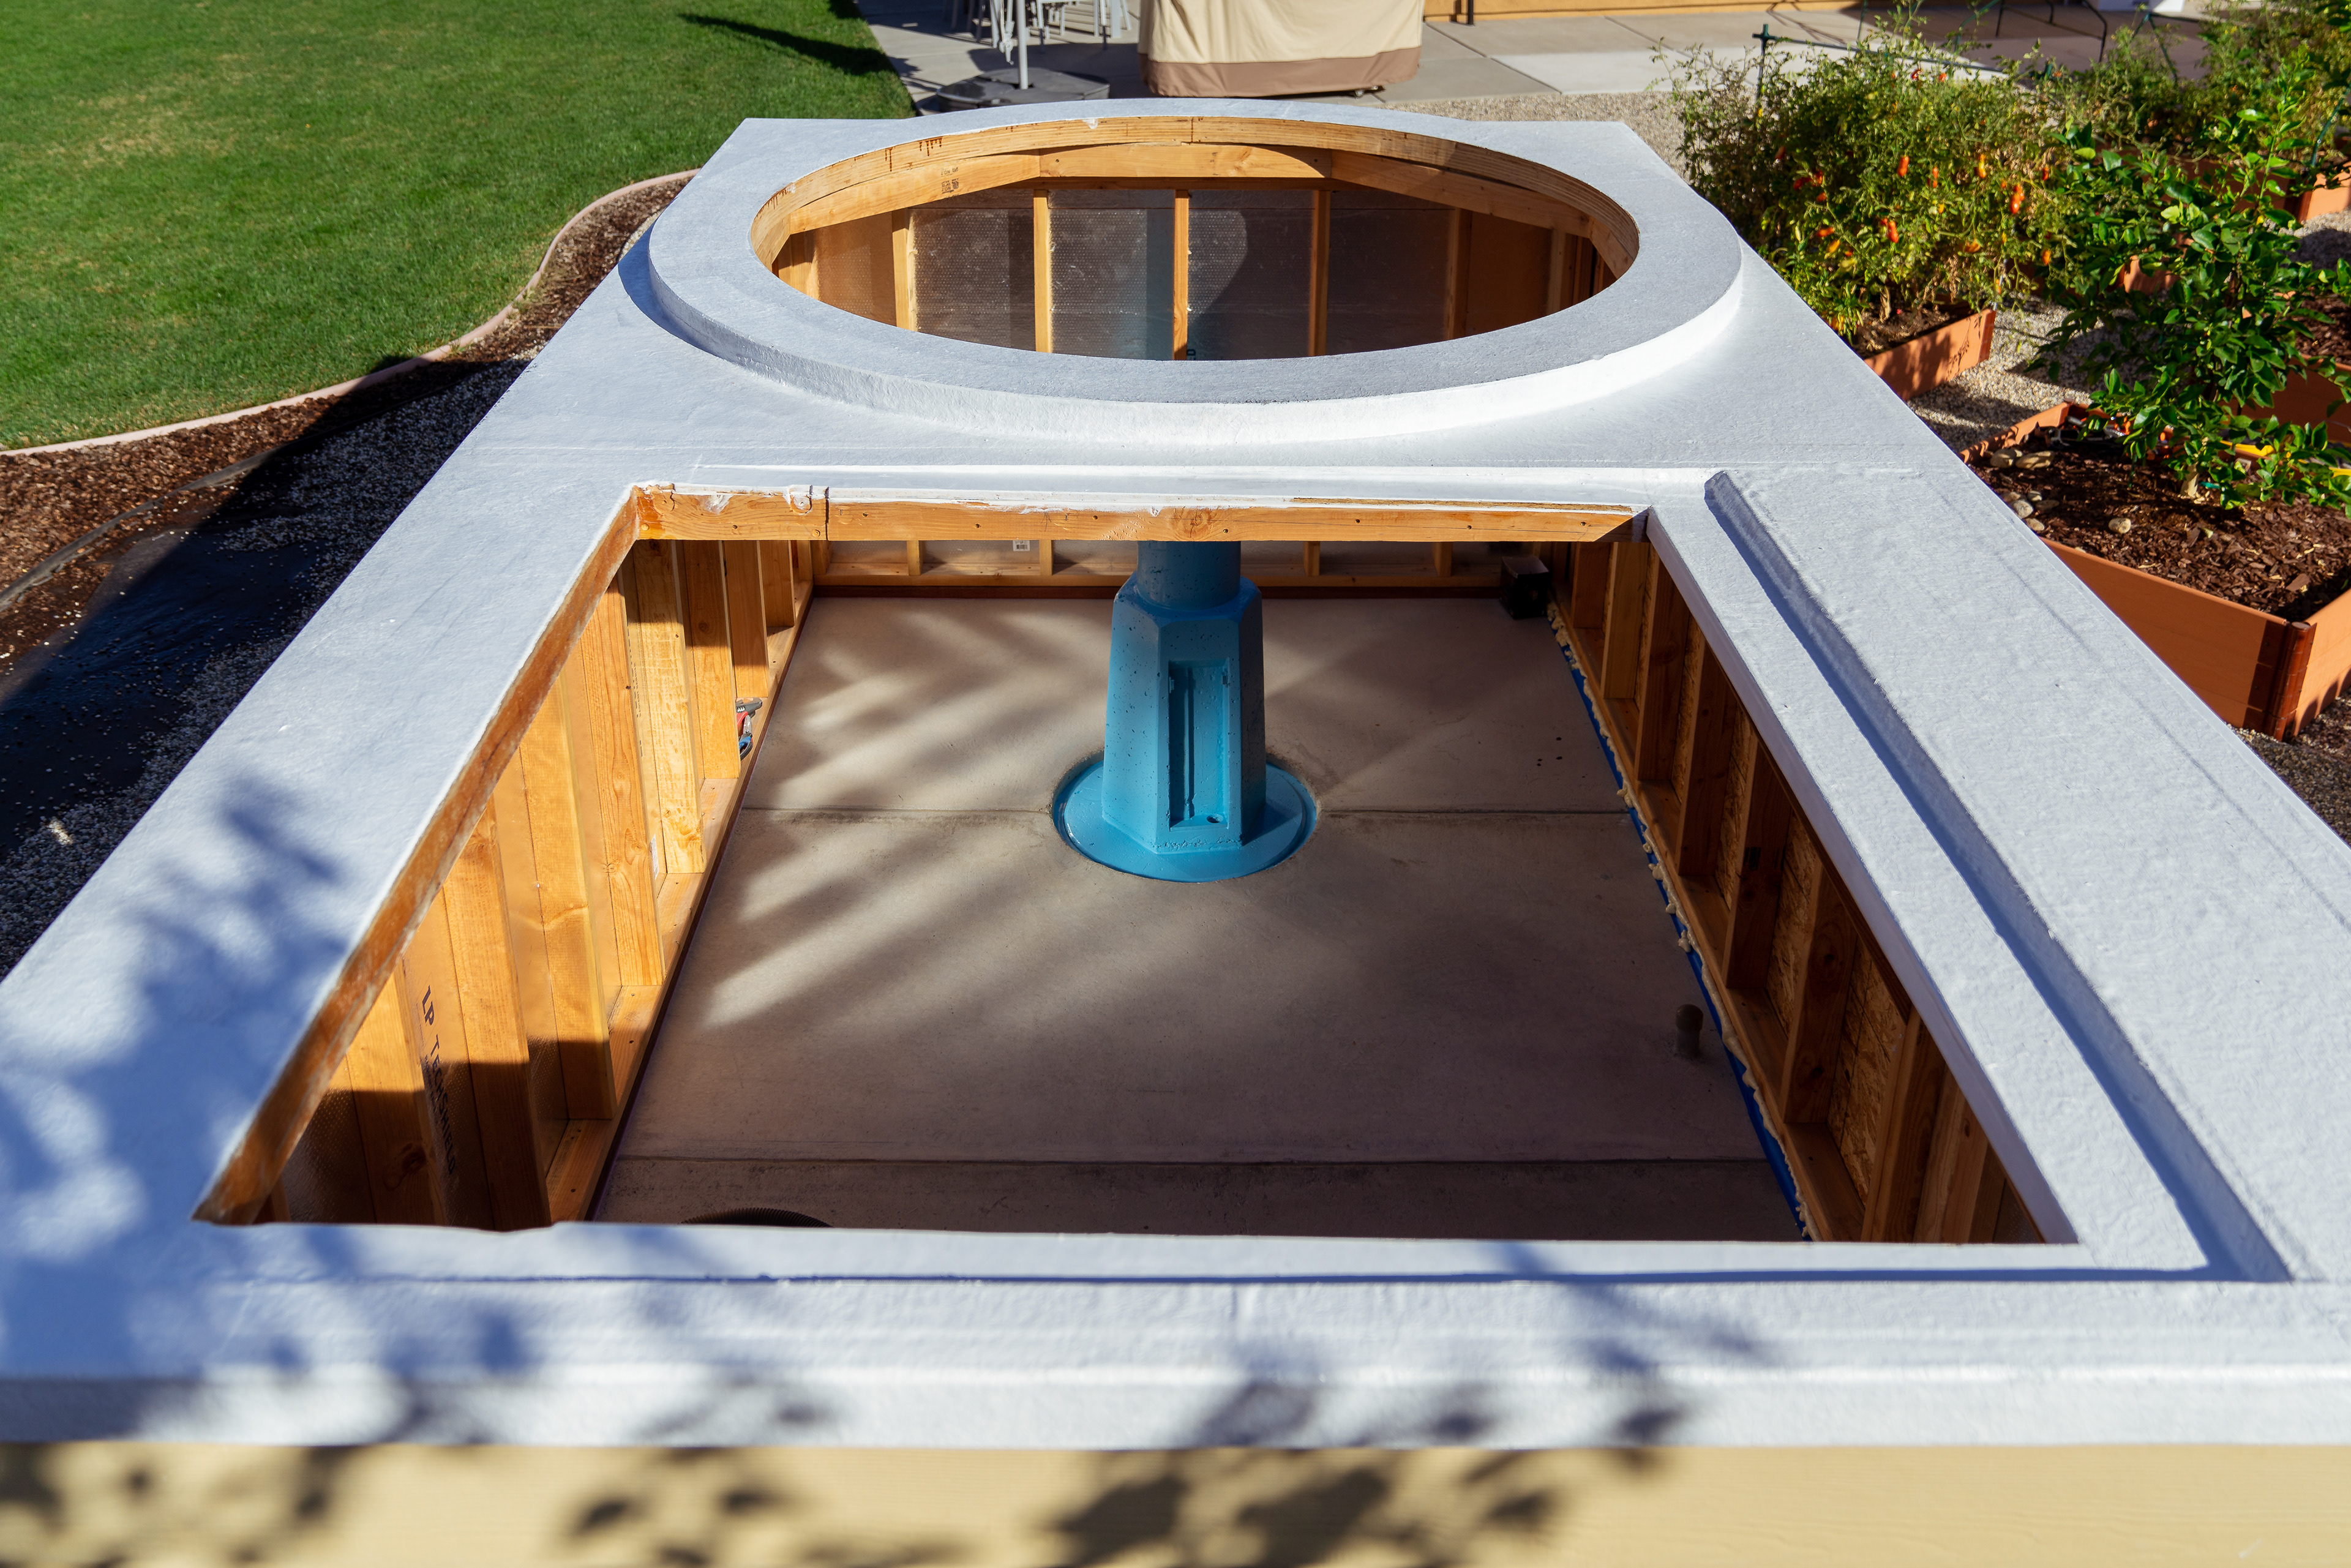
Interior skinning began
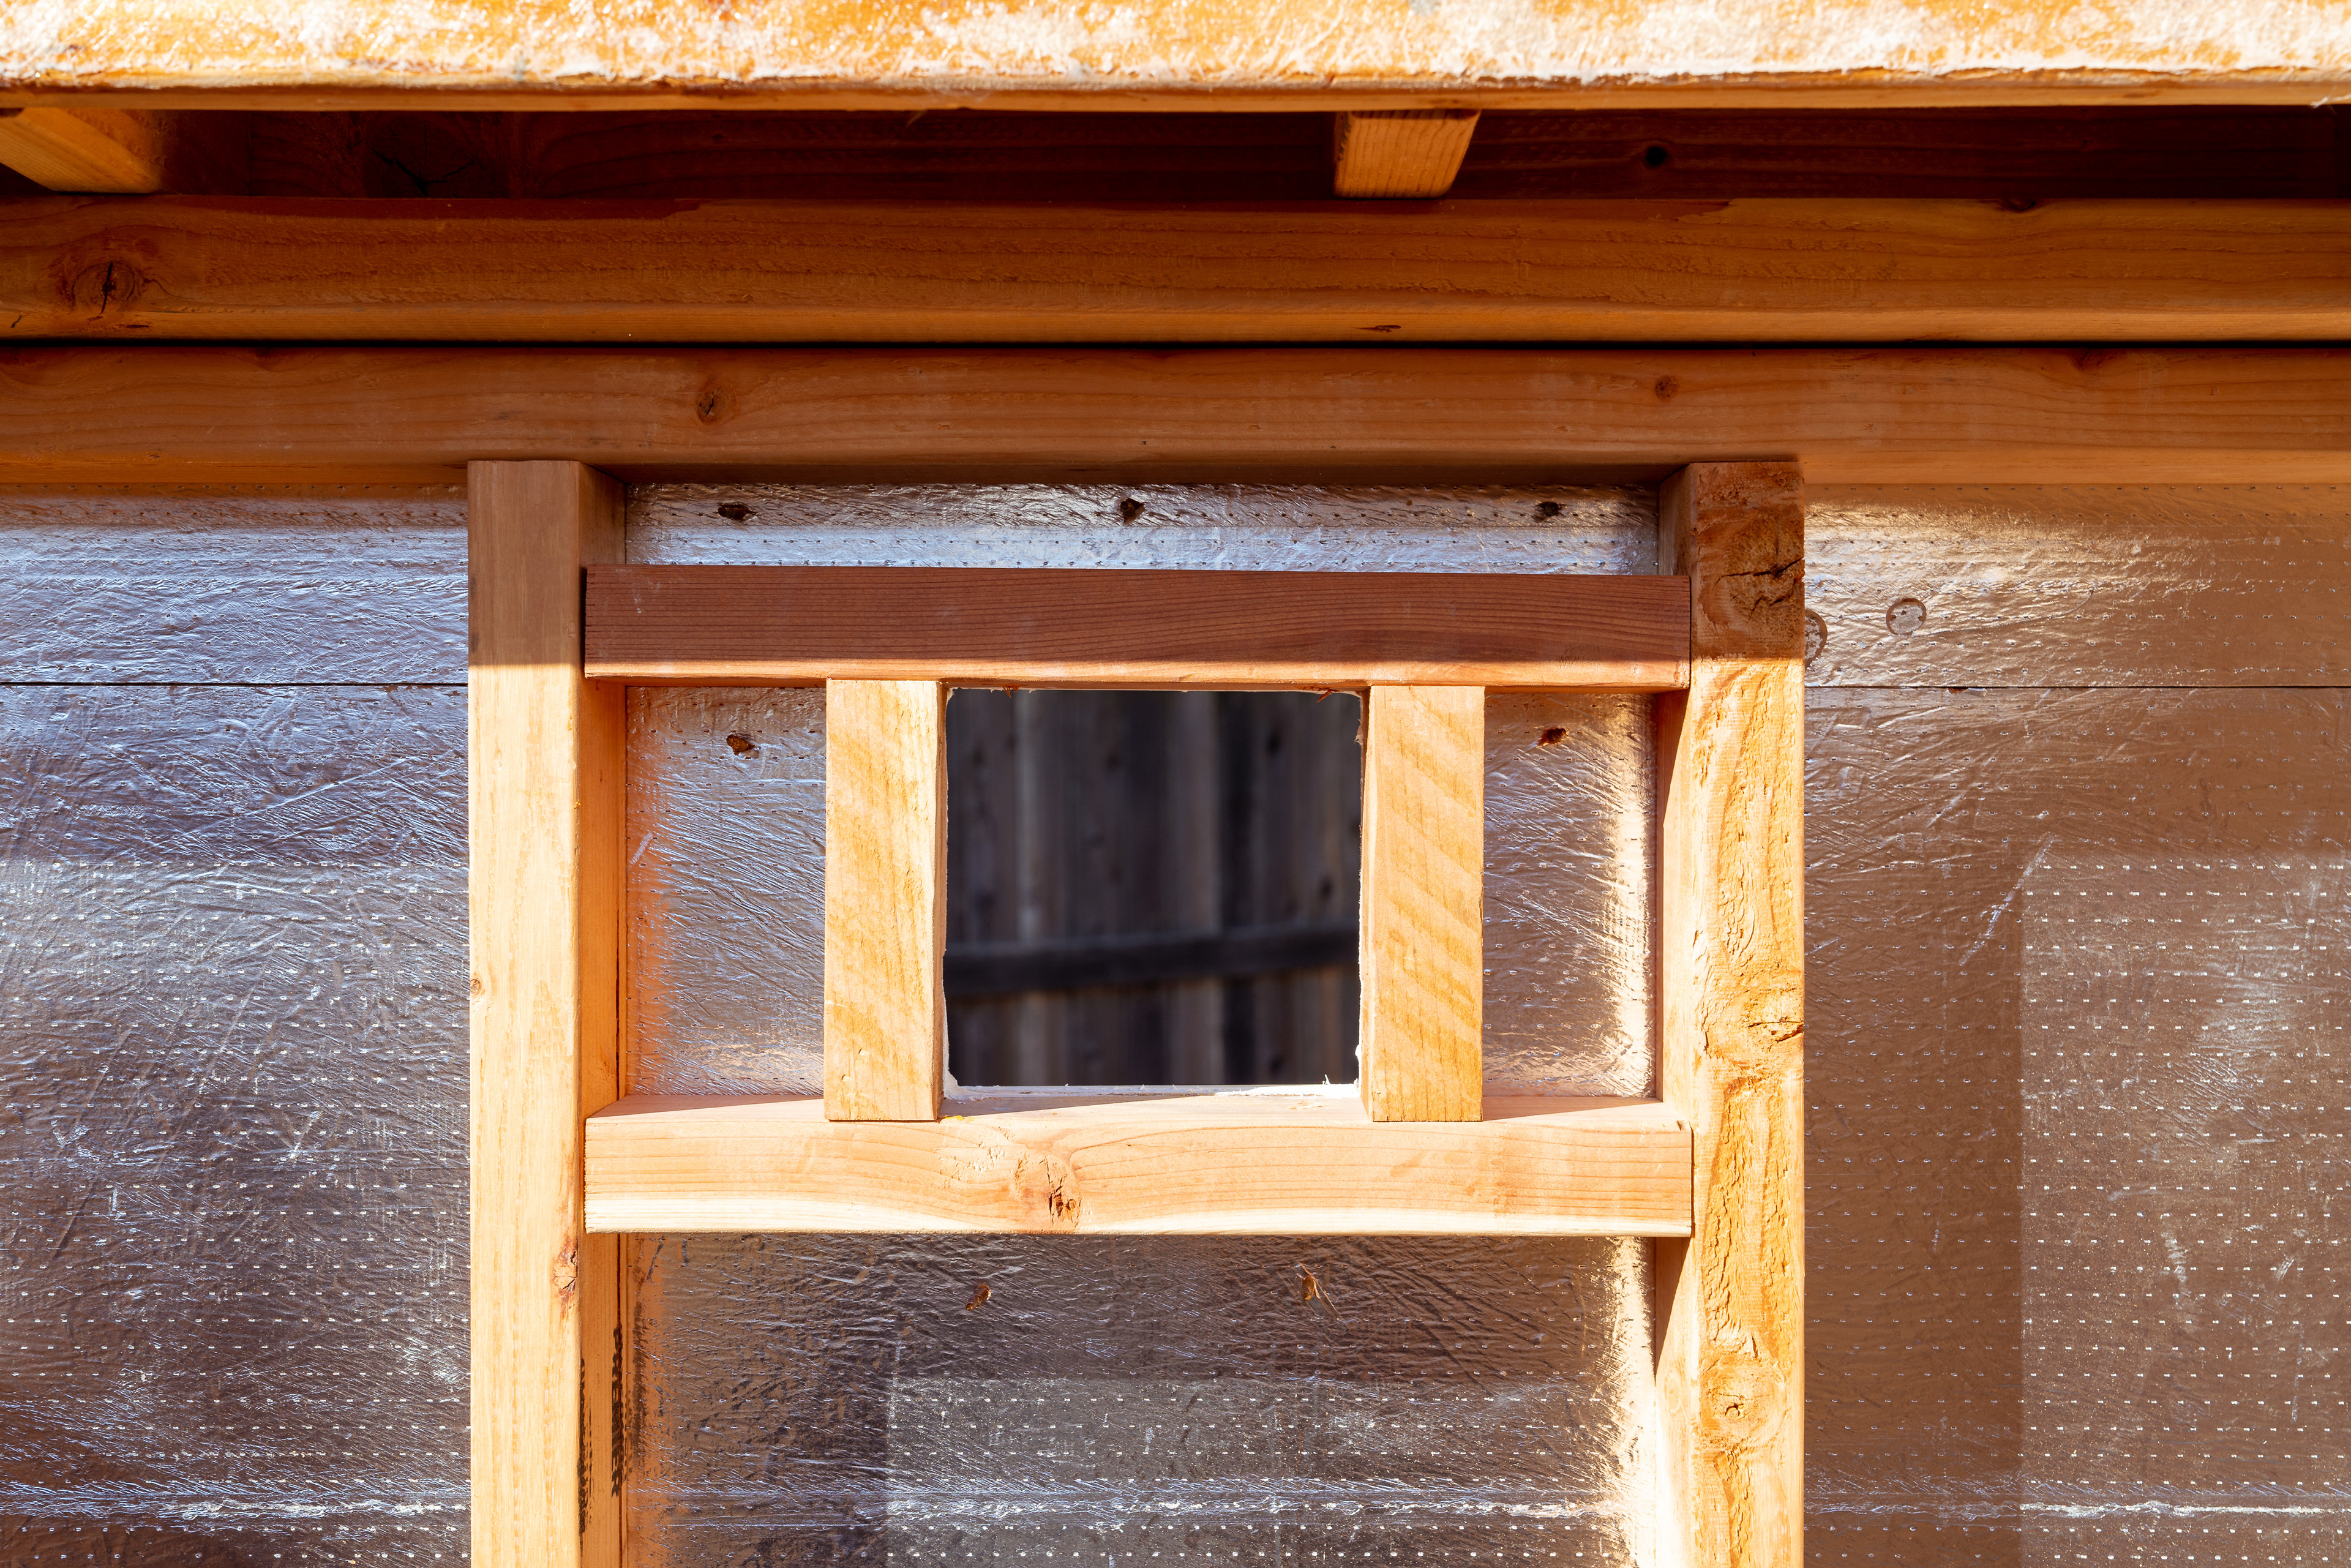
Fan opening cut and framed
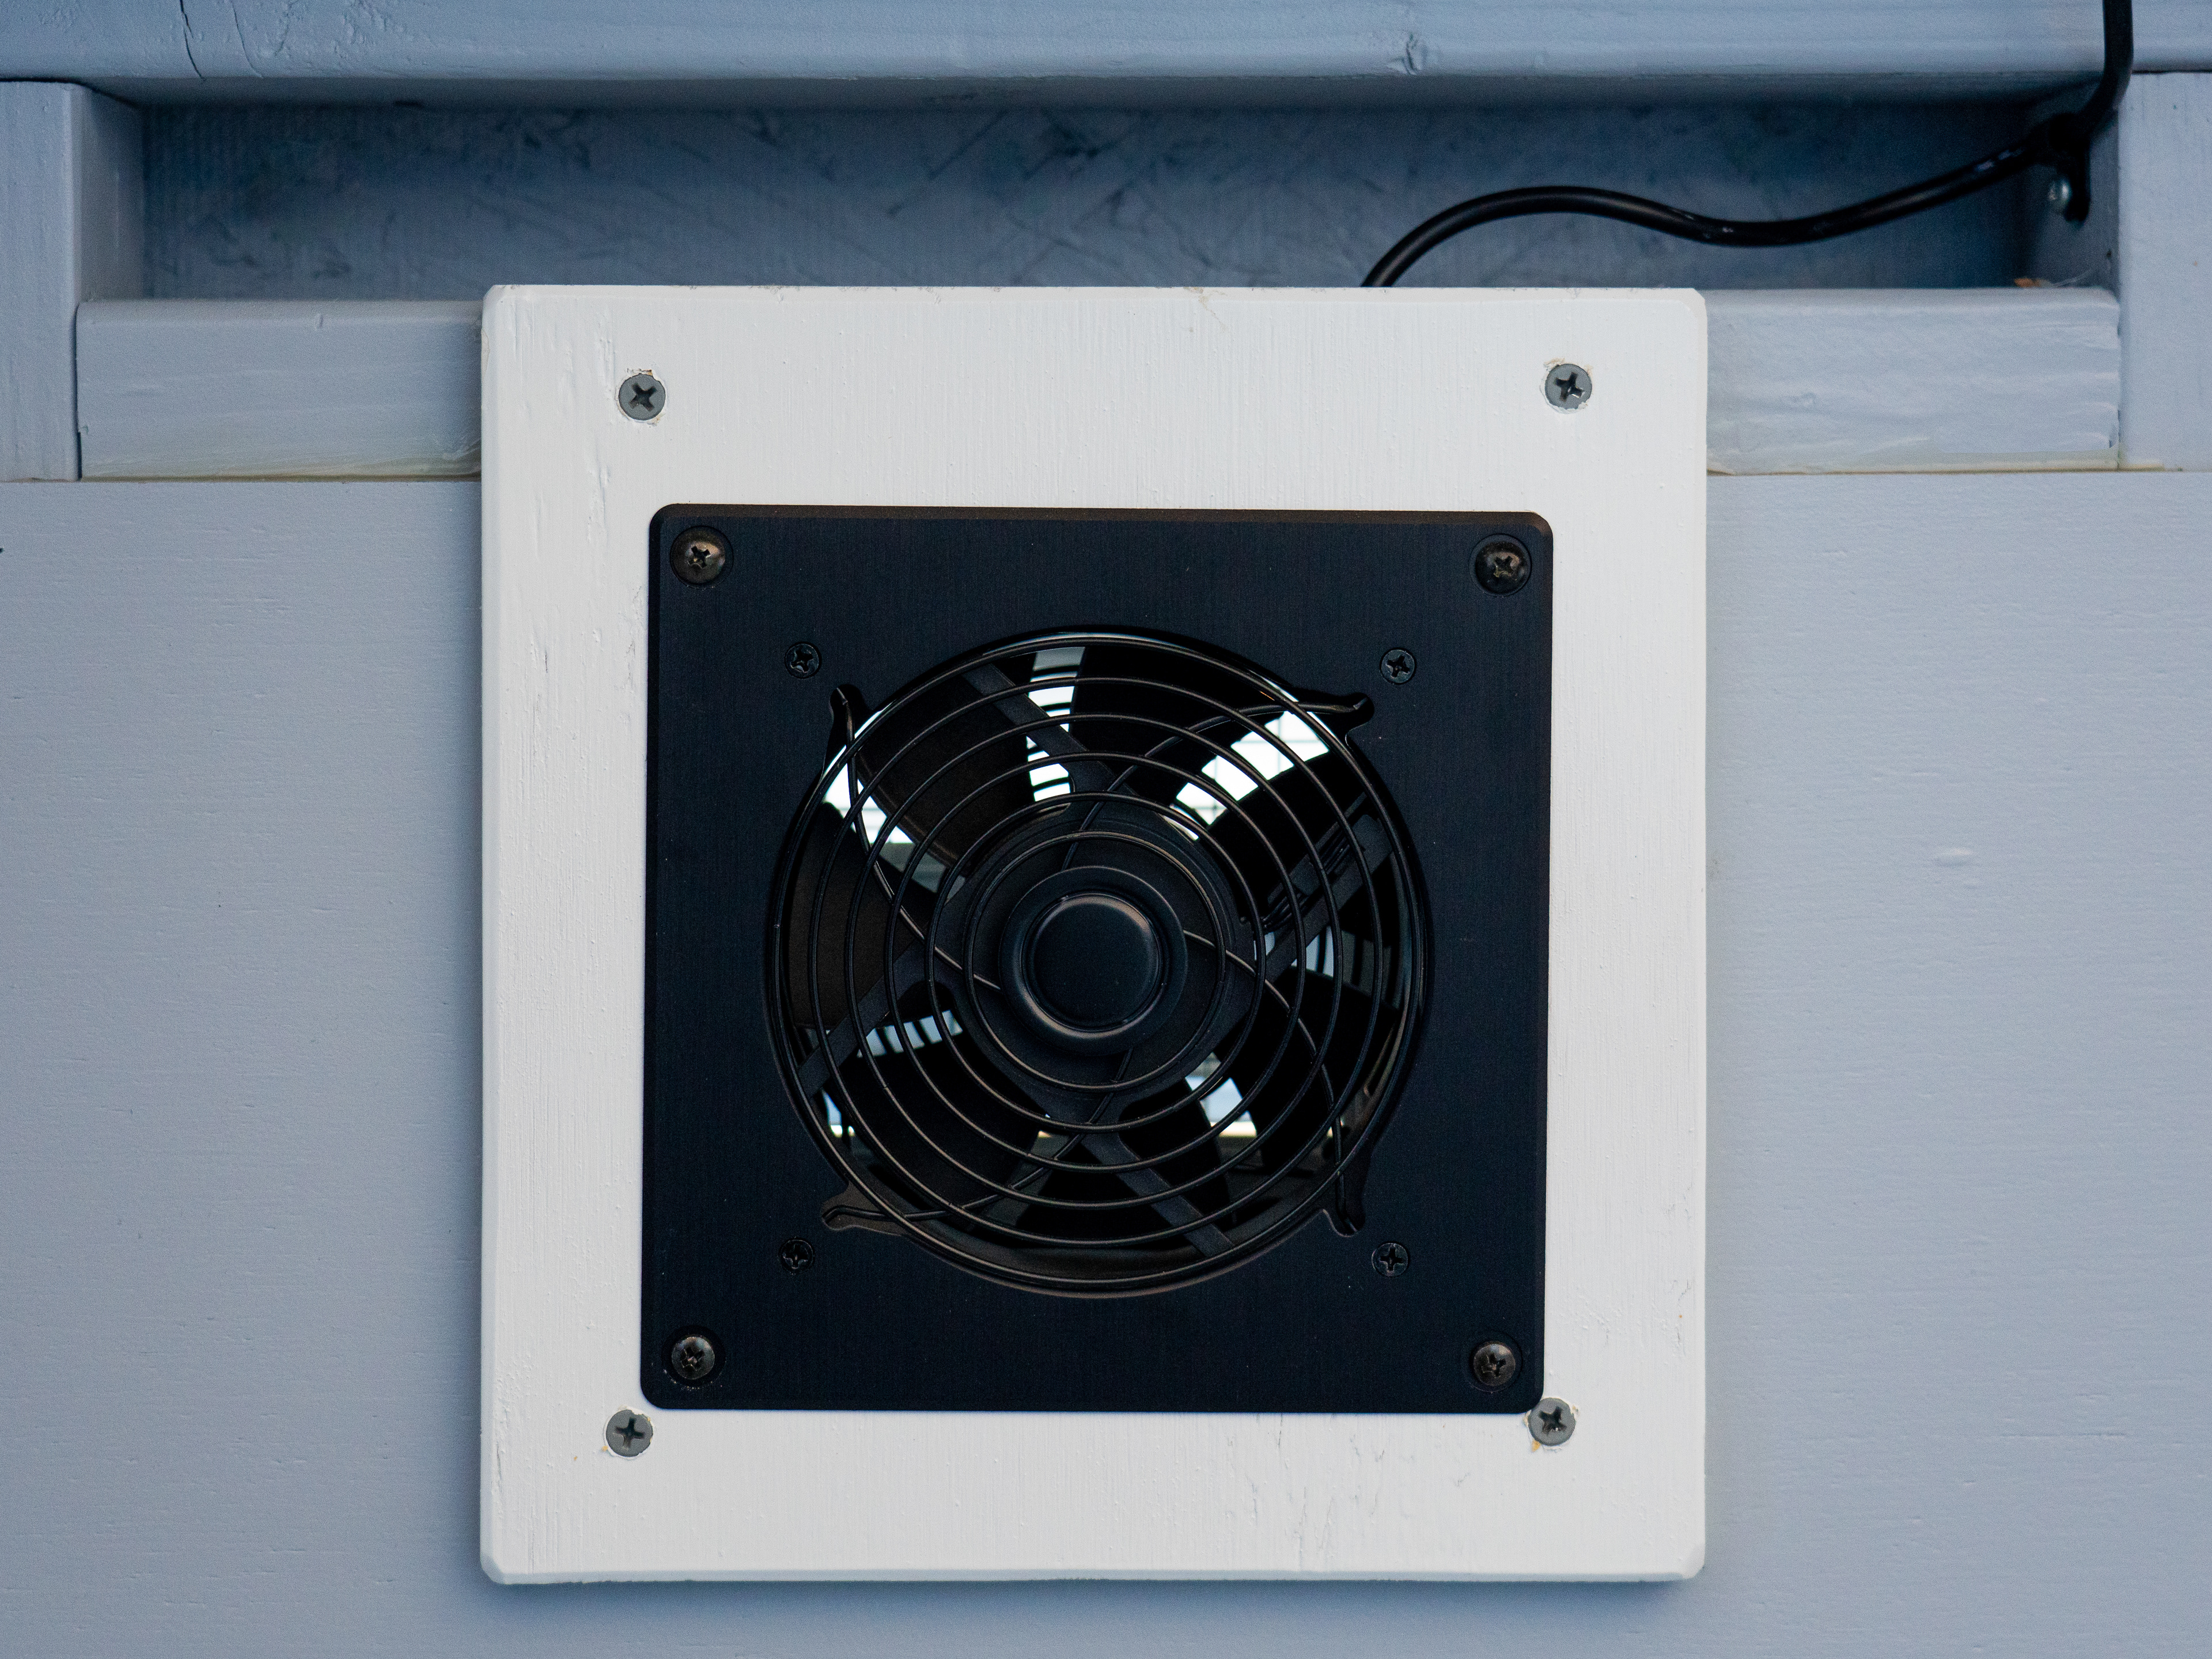
6" fans installed
PAINTING...
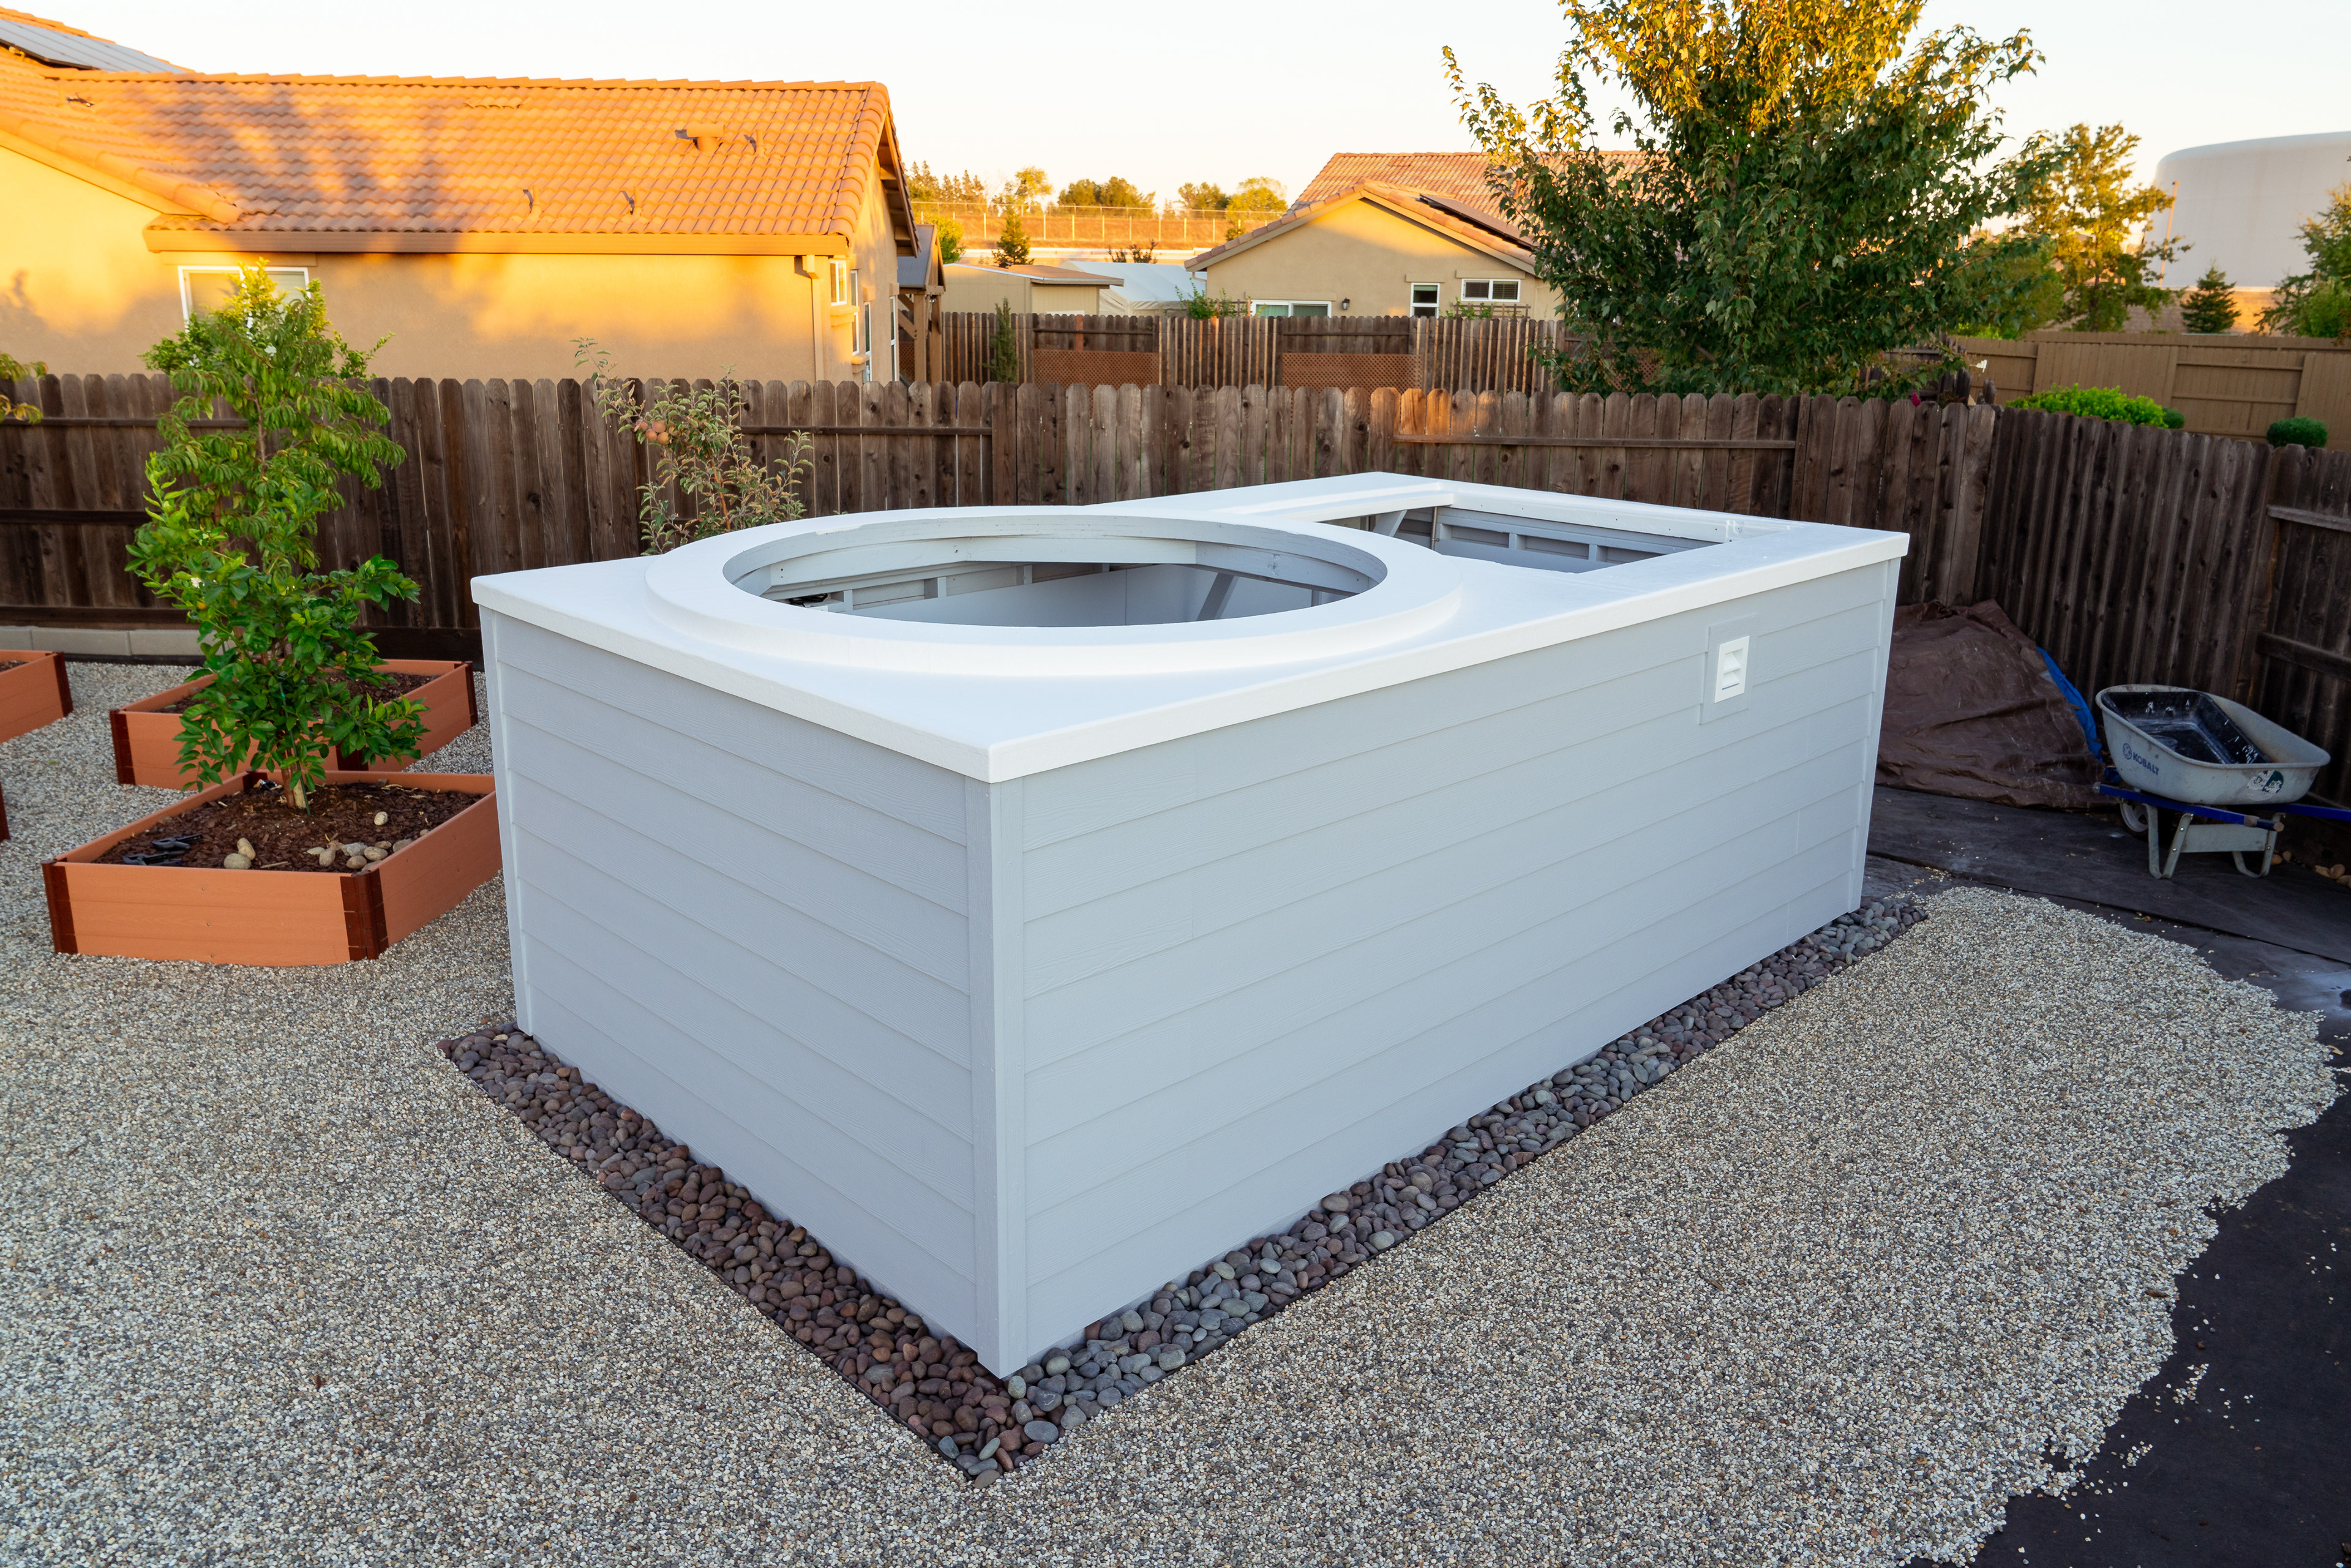
I used an airless sprayer (one of several new tools I've acquired and learned to use during this project) to seal the box in a few layers of exterior paint and then did a bit more exterior finishing and landscaping. The door ended up being rather heavy so I've added a 3rd hinge and a heavy duty lock that acts as a 4th hinge when the door is closed. When the door is open, it's secured in place with a simple stainless hook.
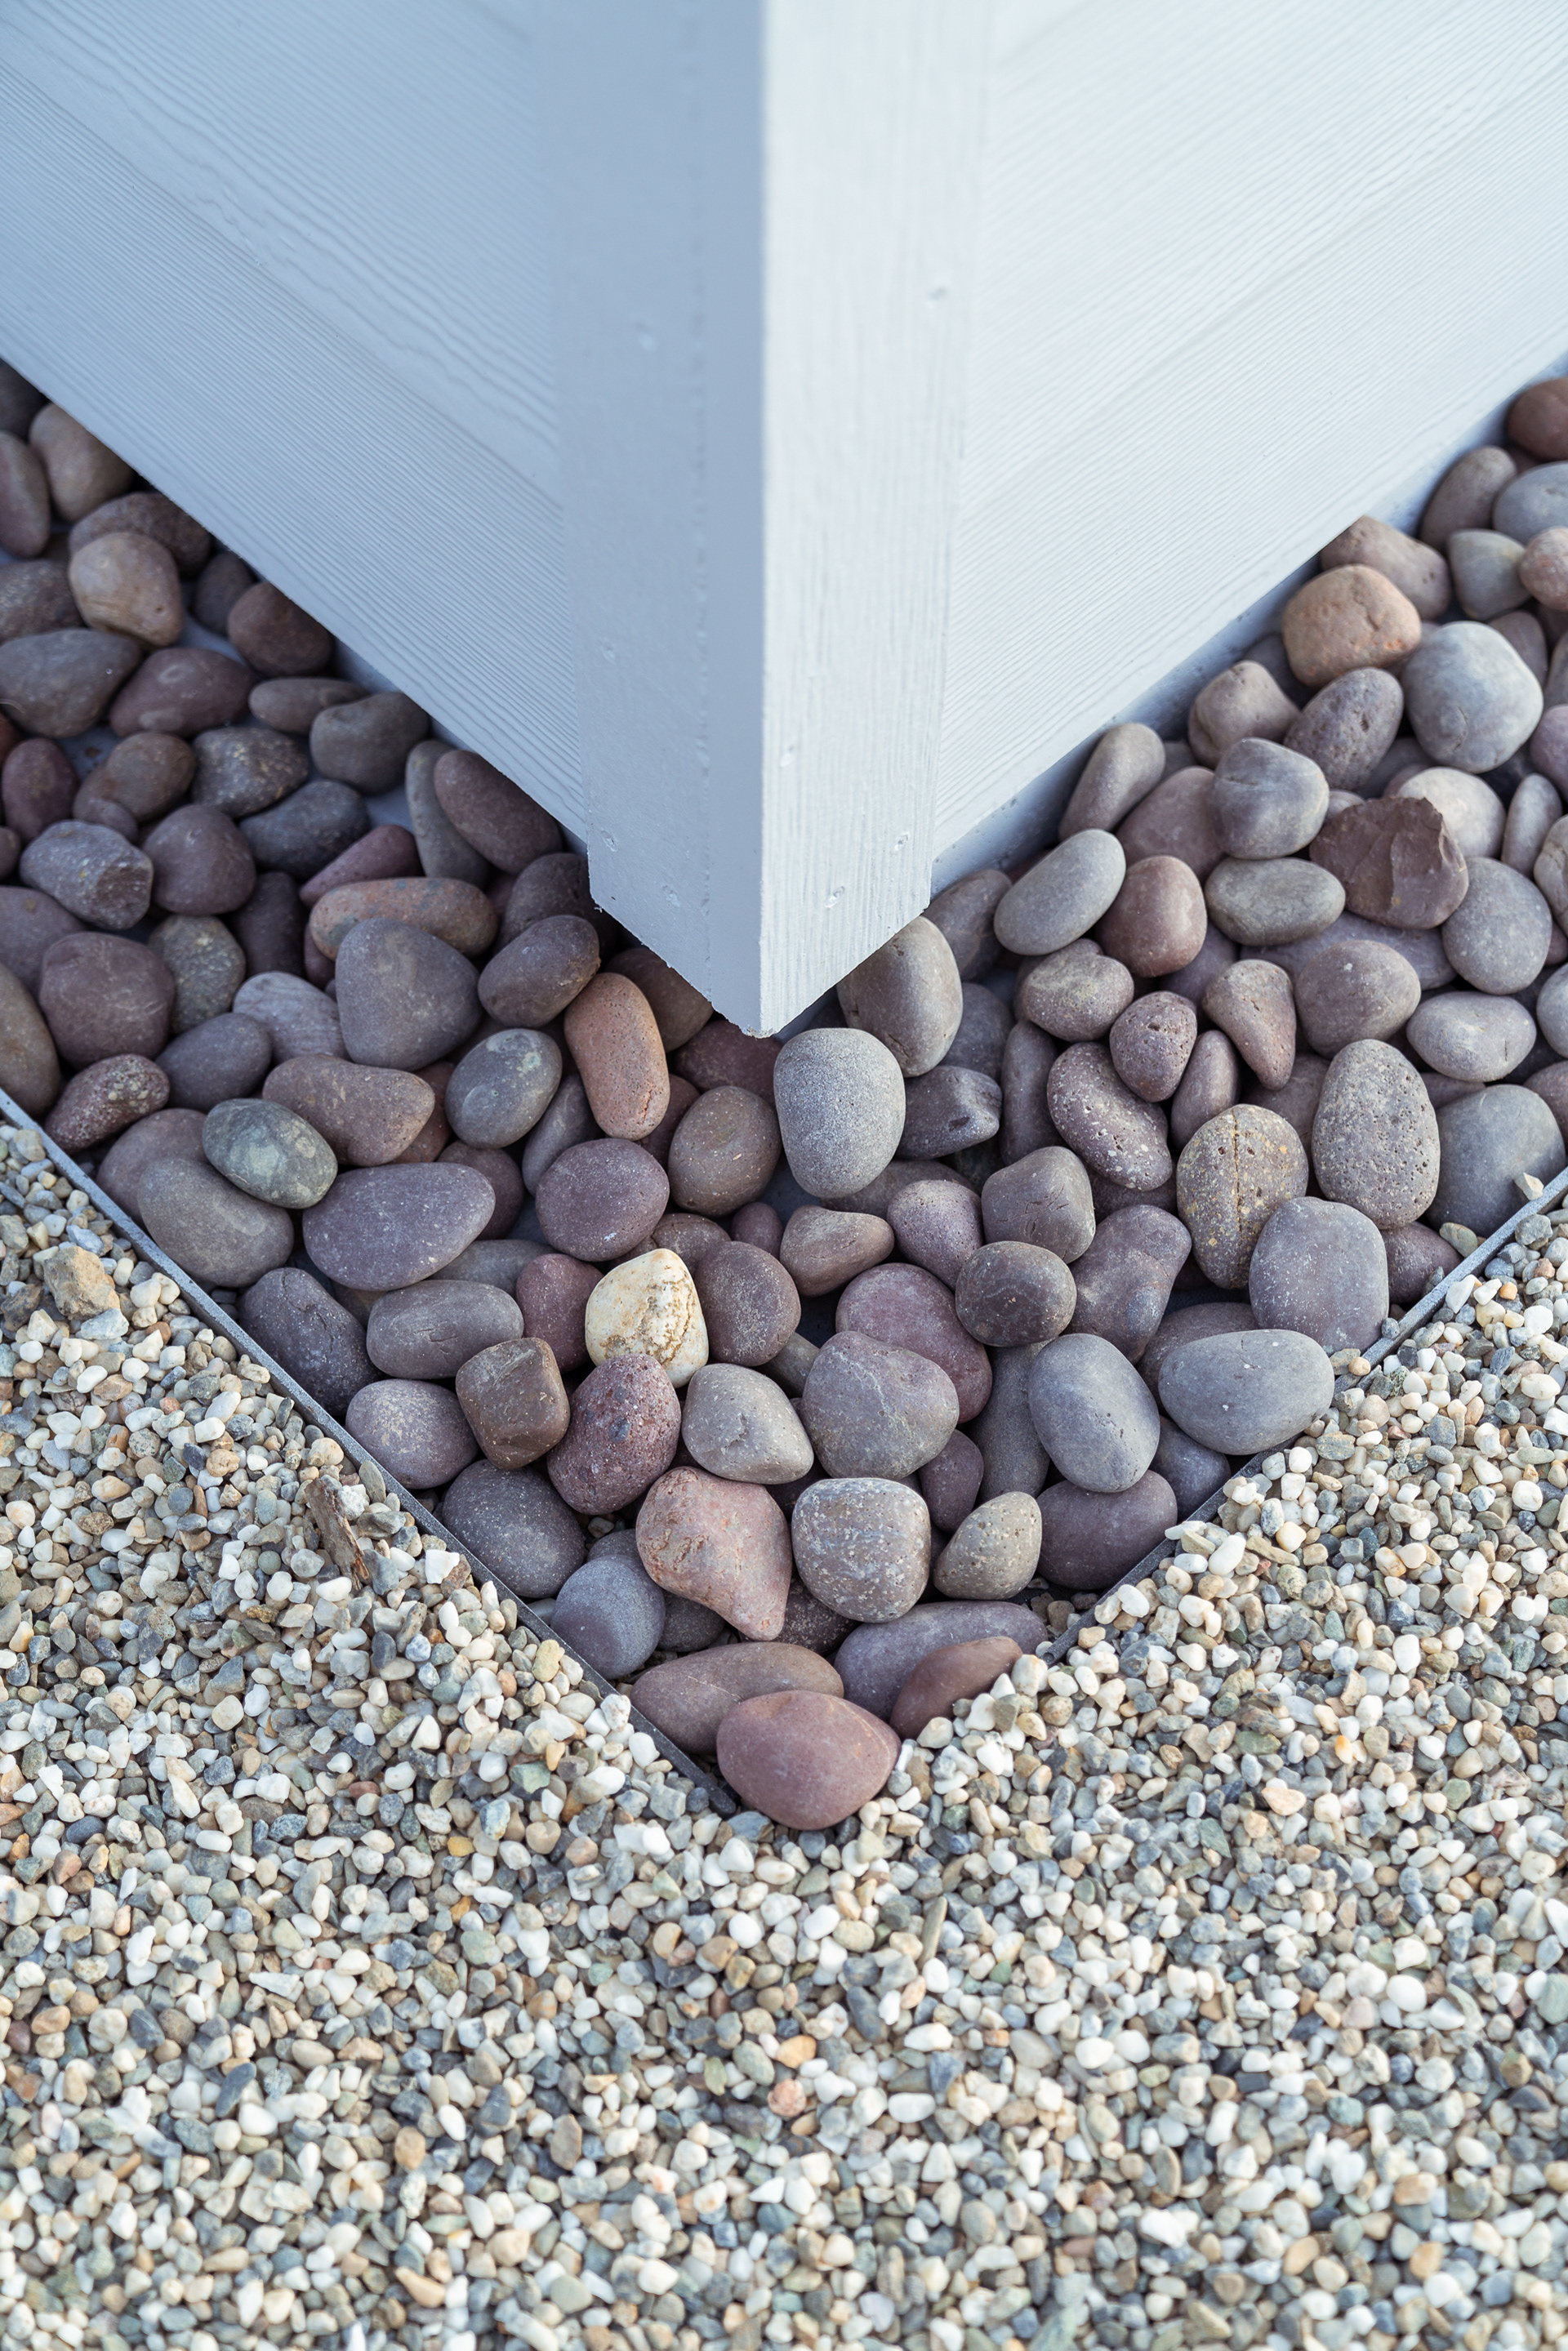
At this time I began finishing the landscaping around the observatory: Salt & Pepper gravel and a blue and red mix of 2" Mexican pebbles.

Paint! I used a paint sprayer and did 3 coats
Color is called Voyage - Valspar brand from Lowes
Landscaping is coming along
Alternative view

Peaking inside a bit... interior is painted as well now
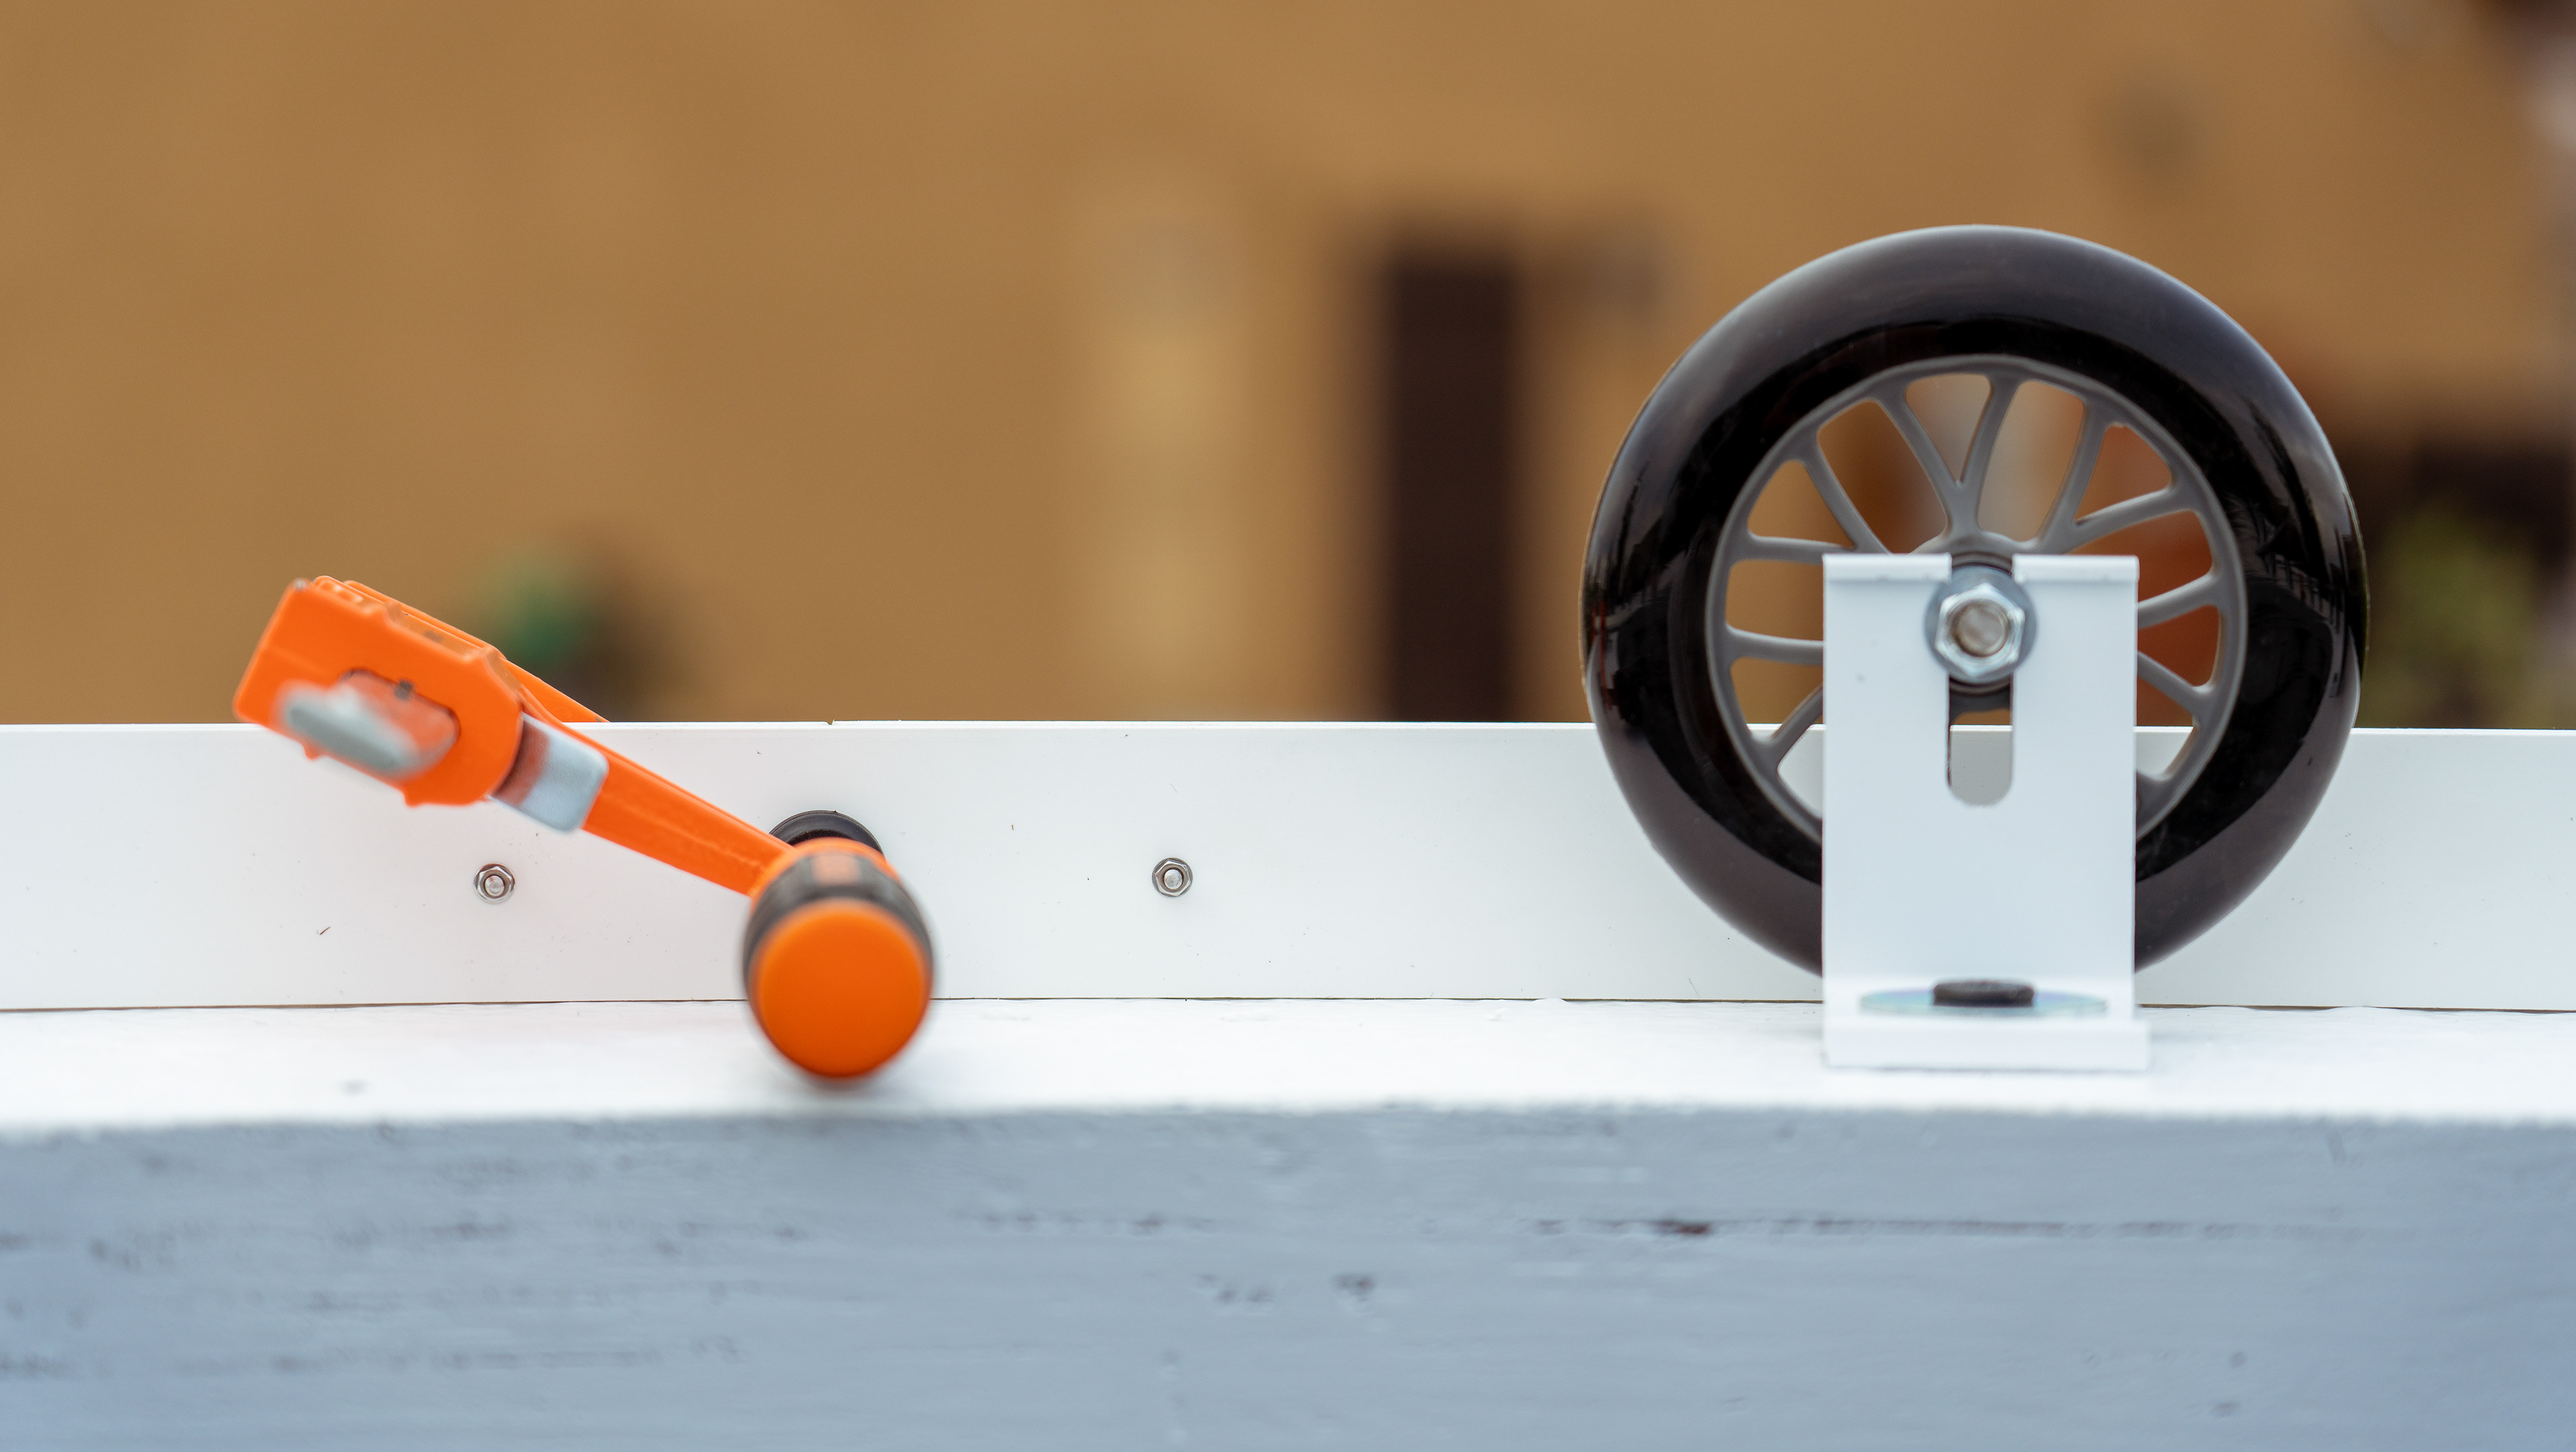
Door hardware installed
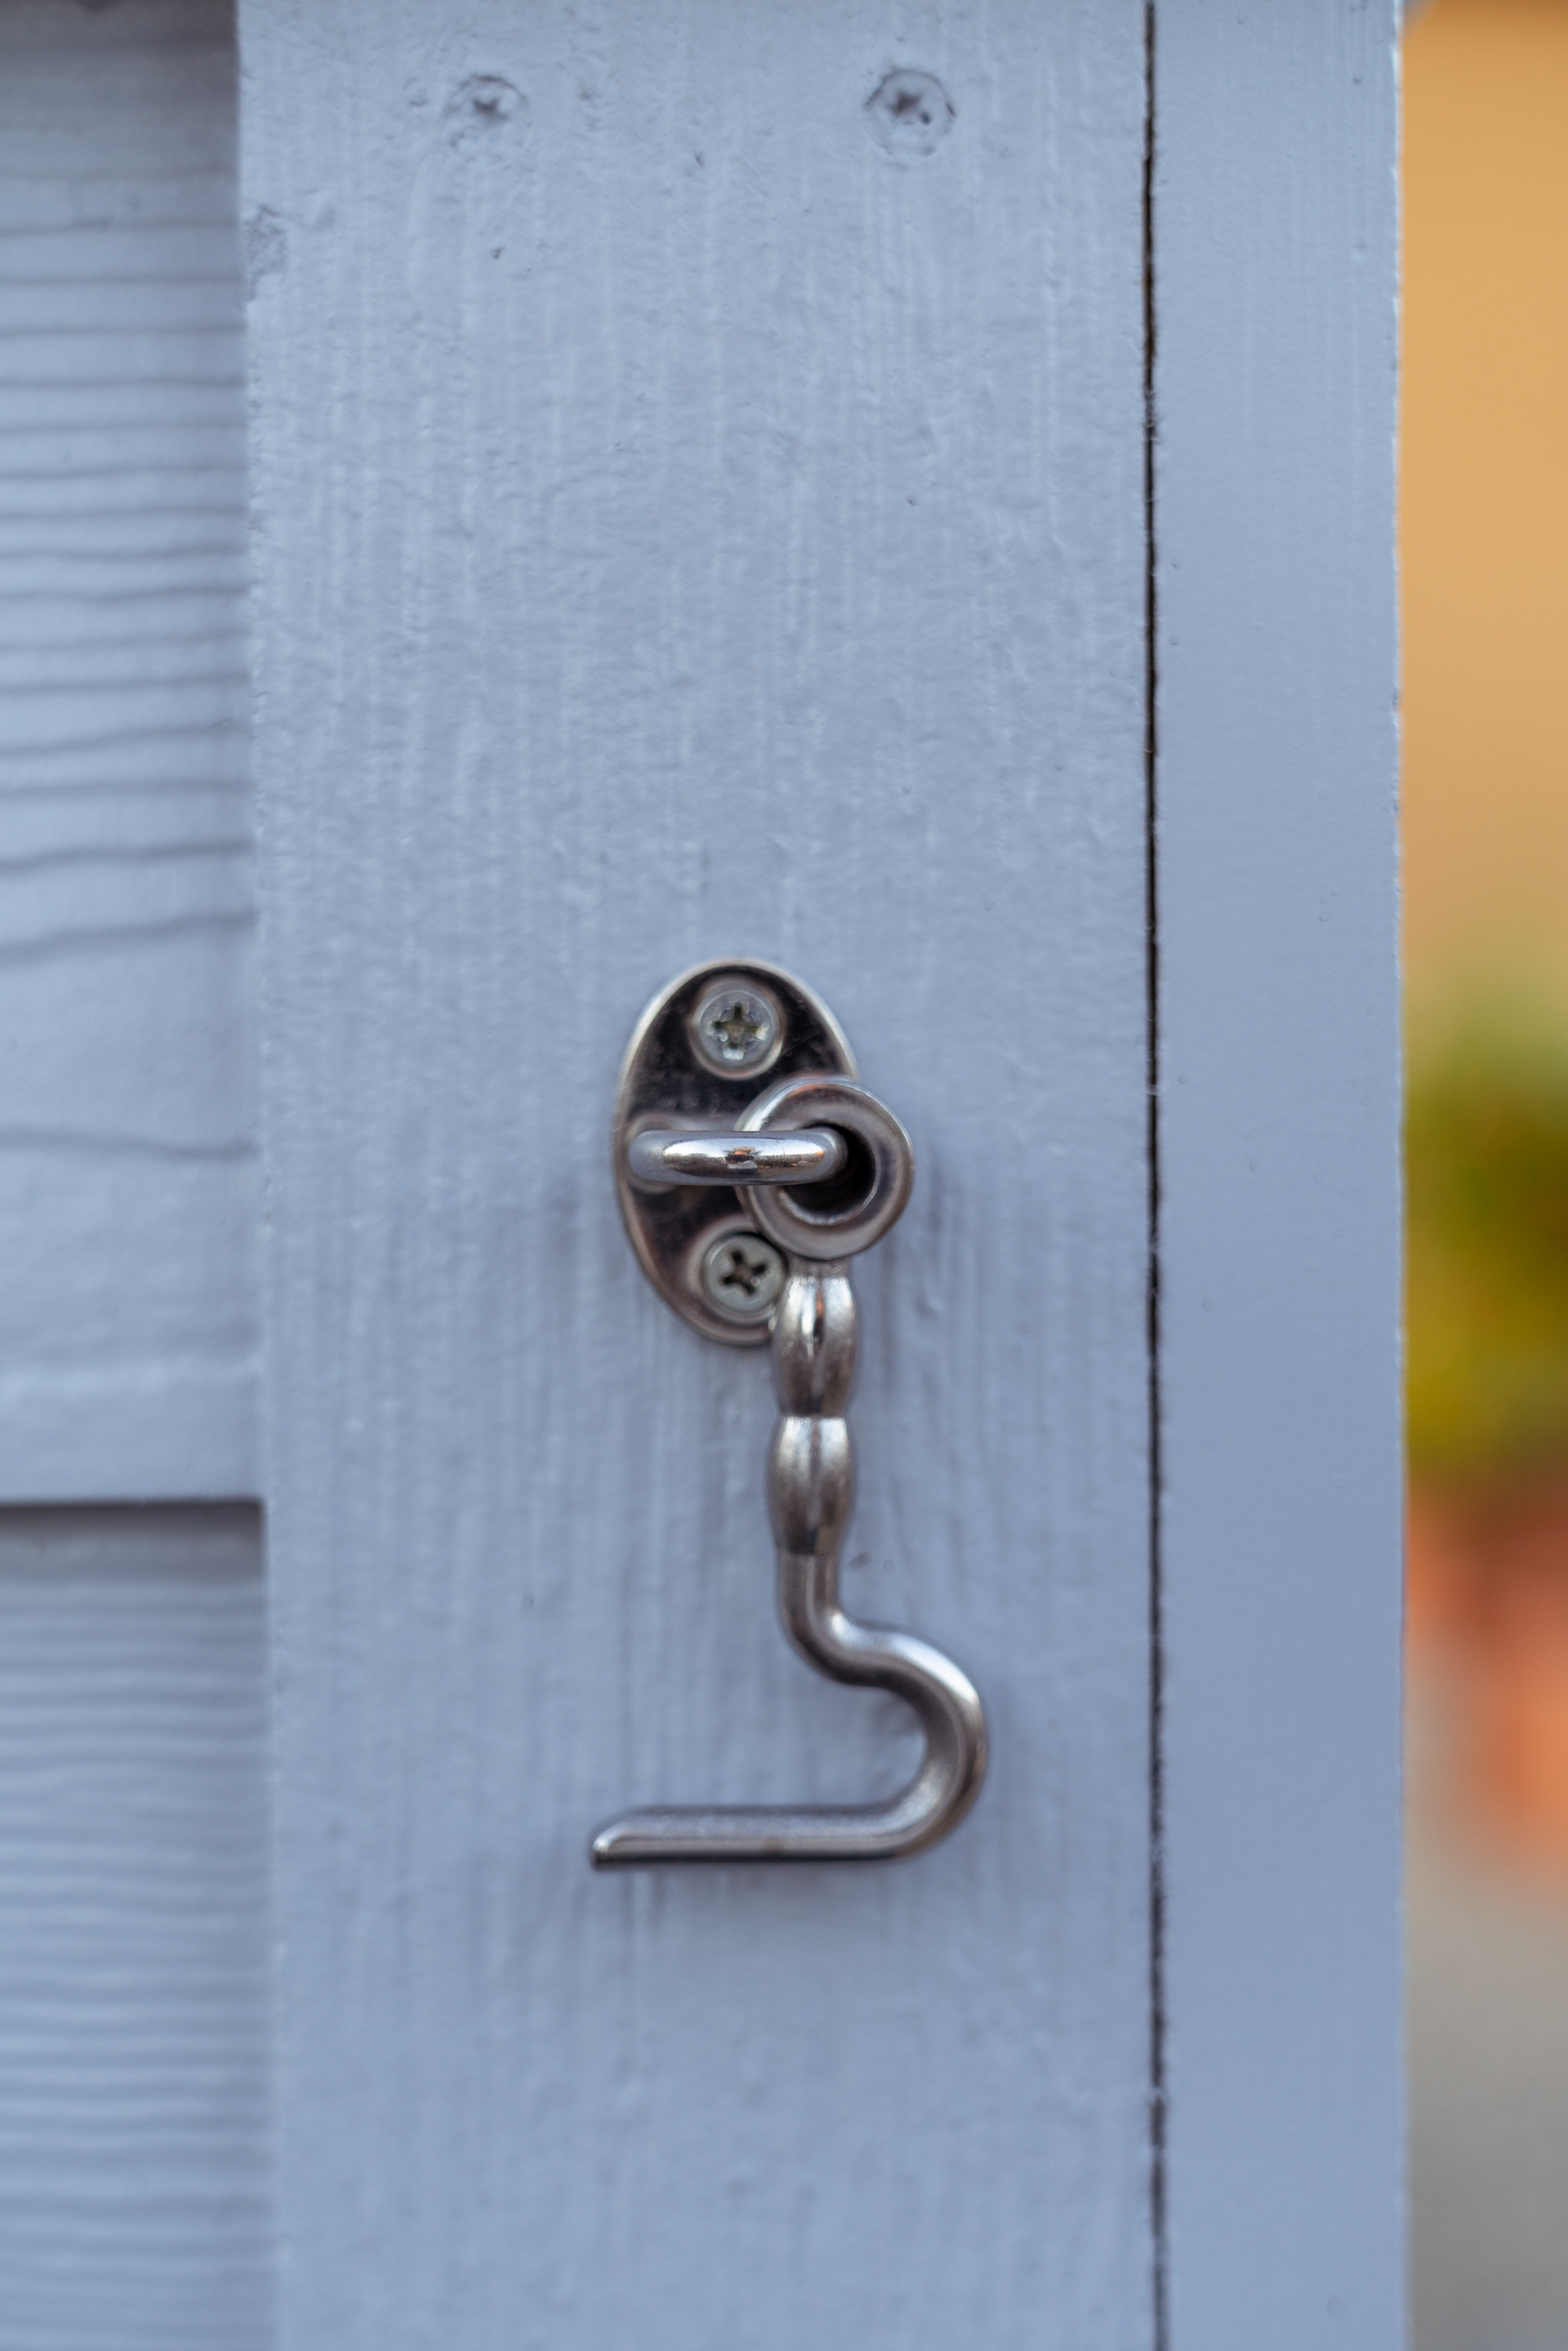
This one keeps the door in place when it's open
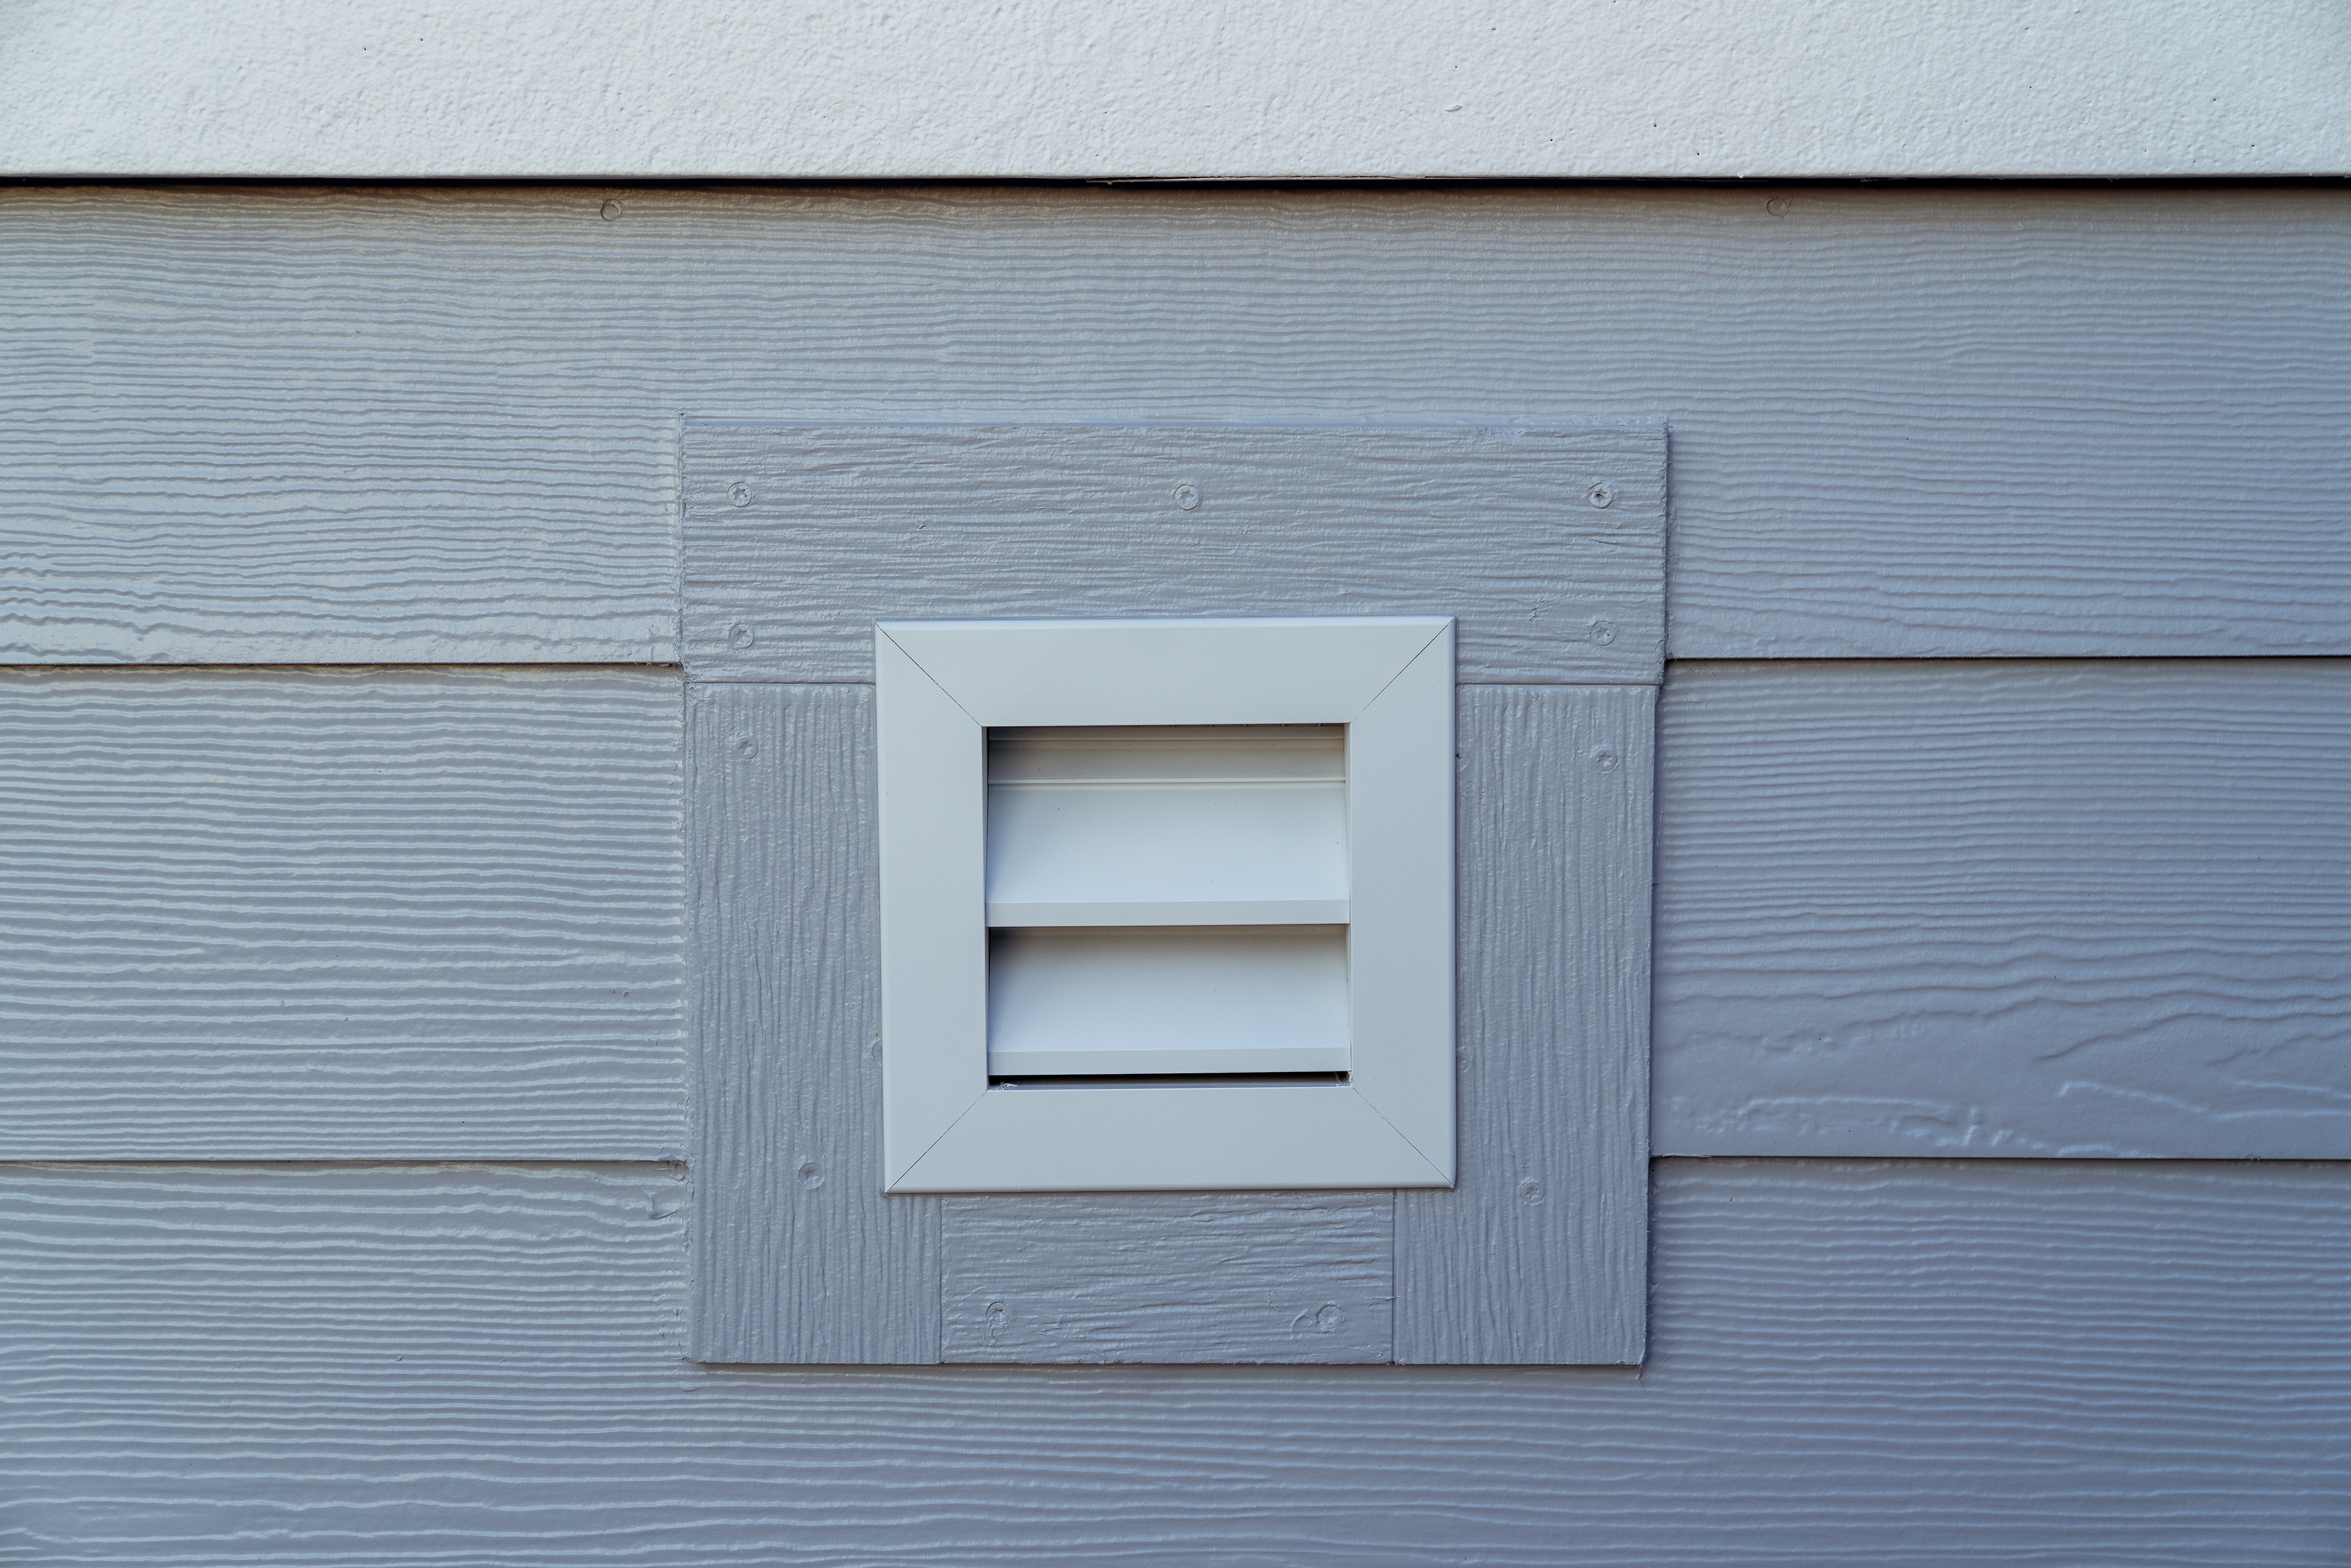
Fan framing