FRAMING...
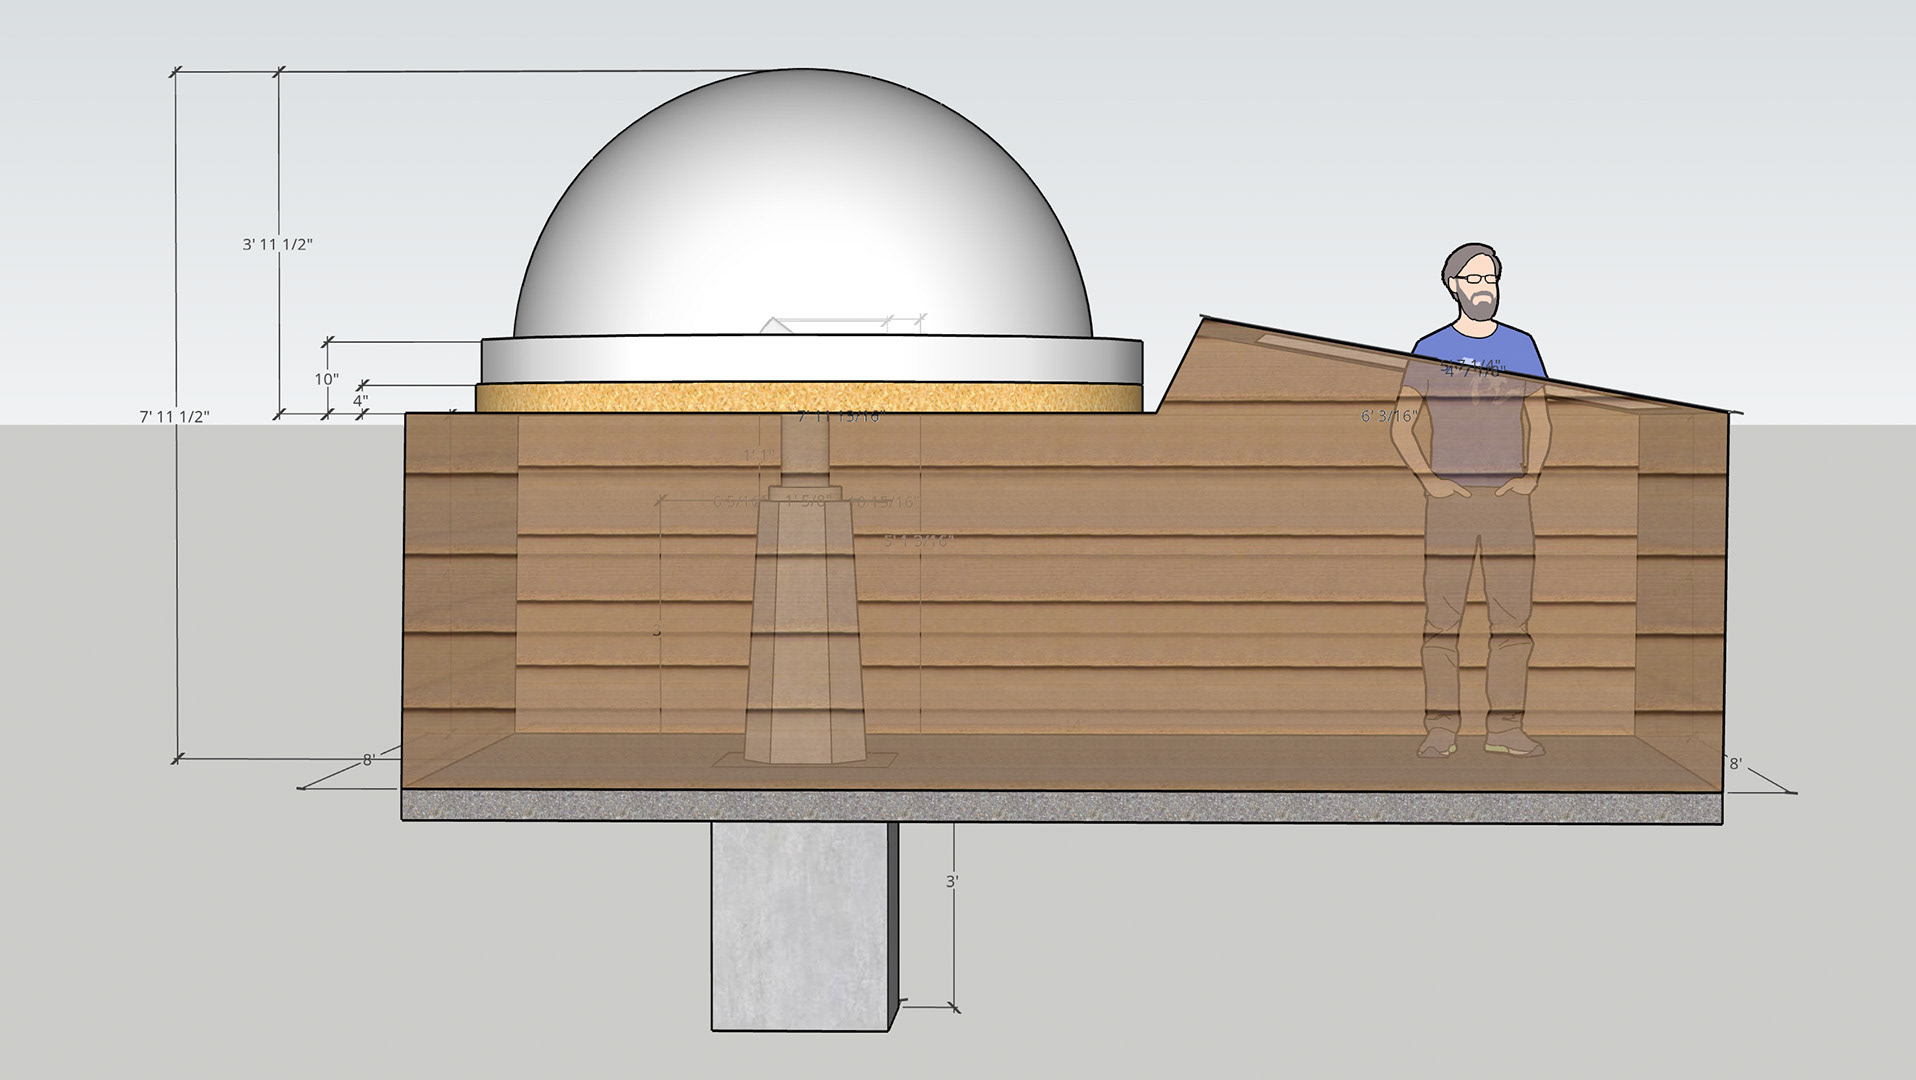
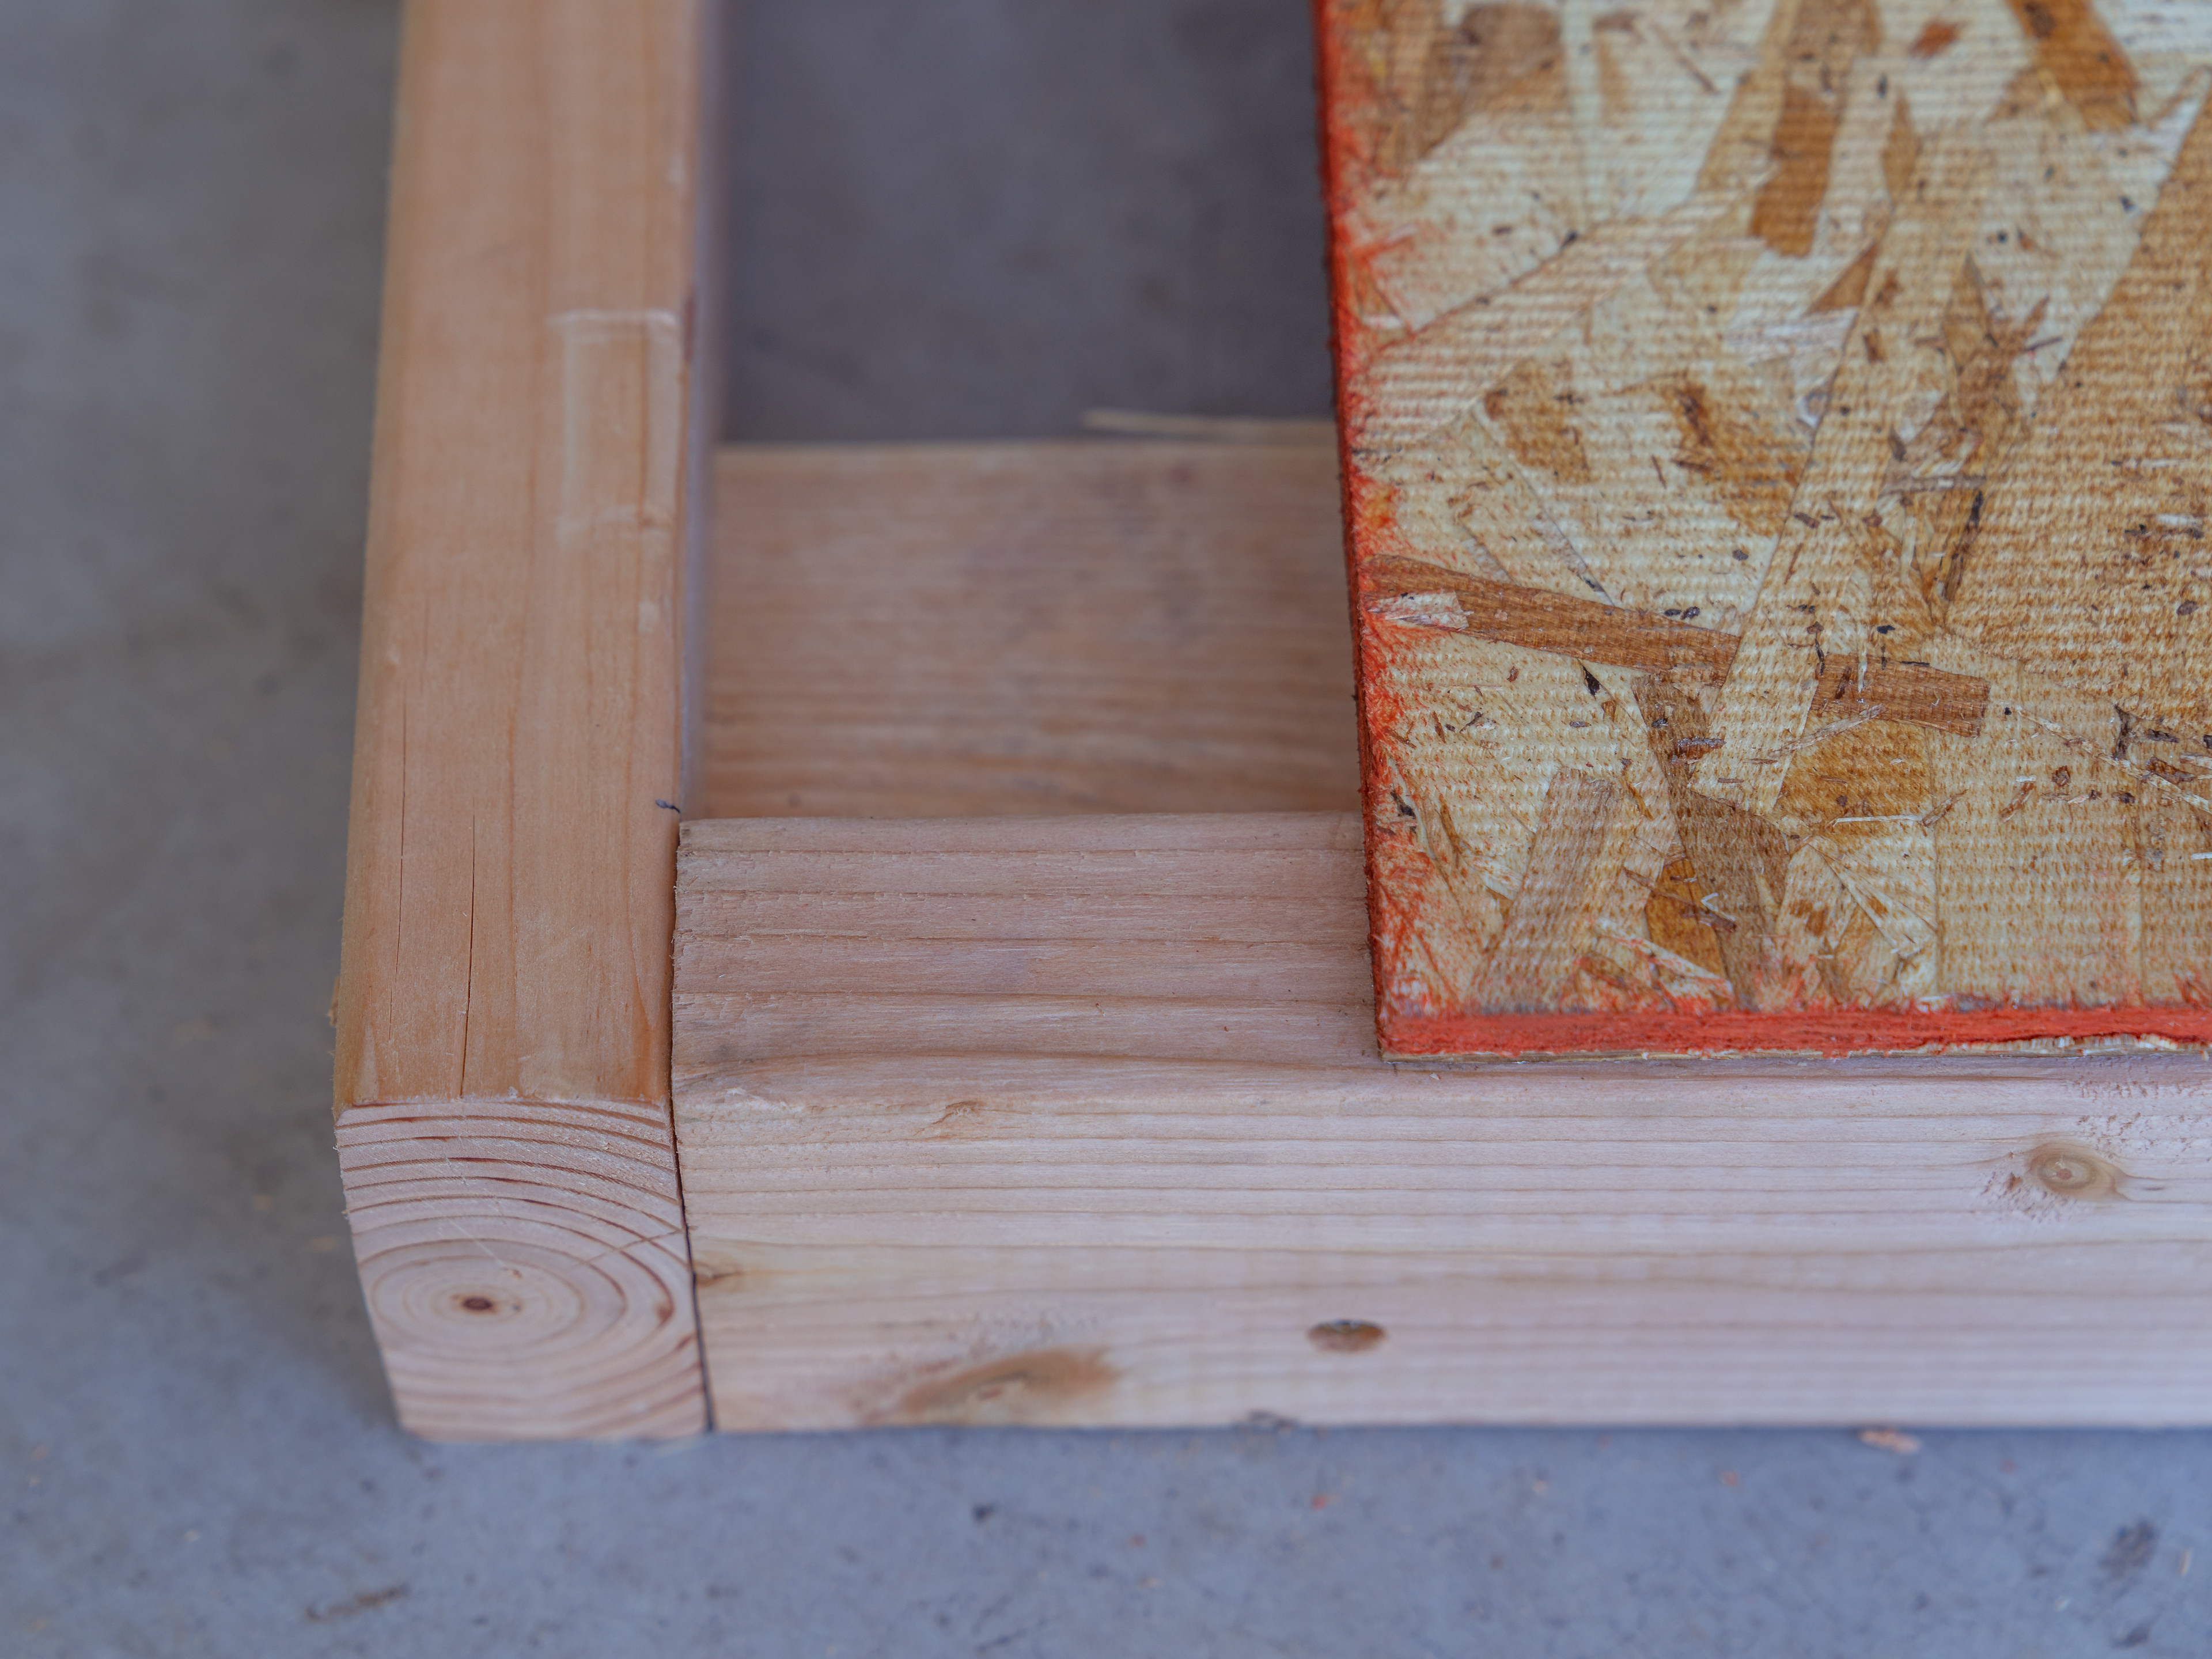
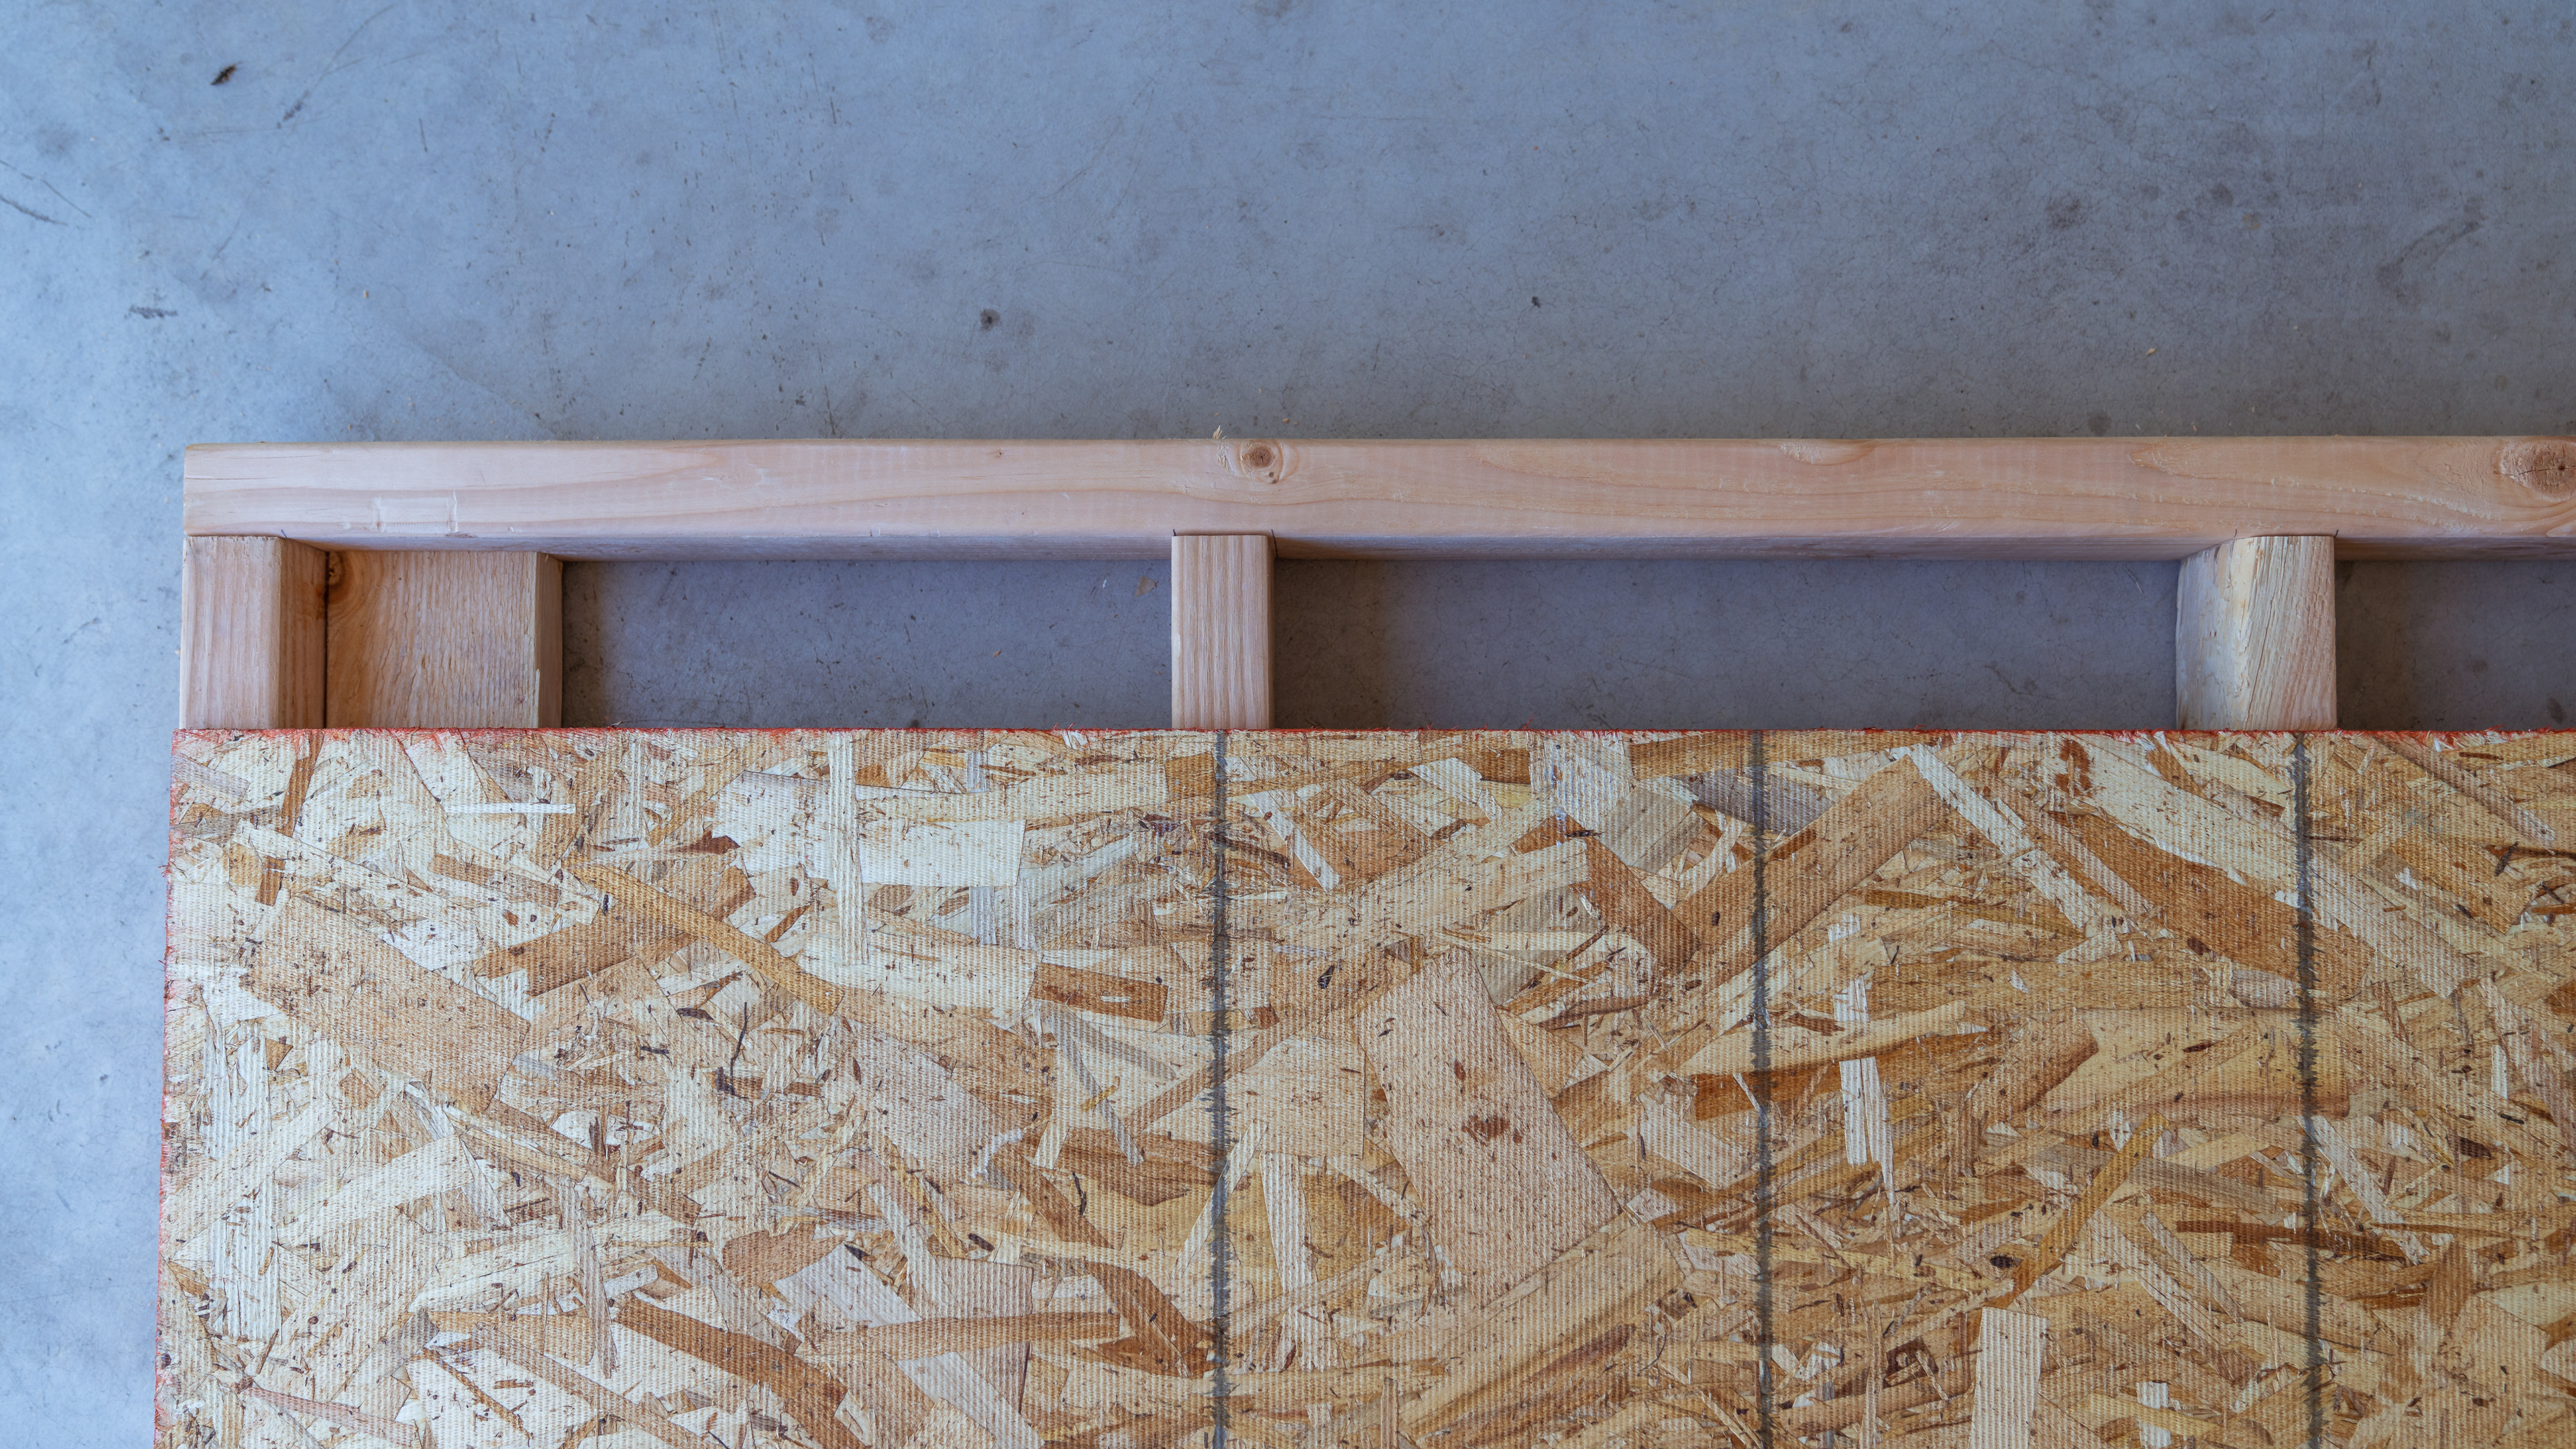
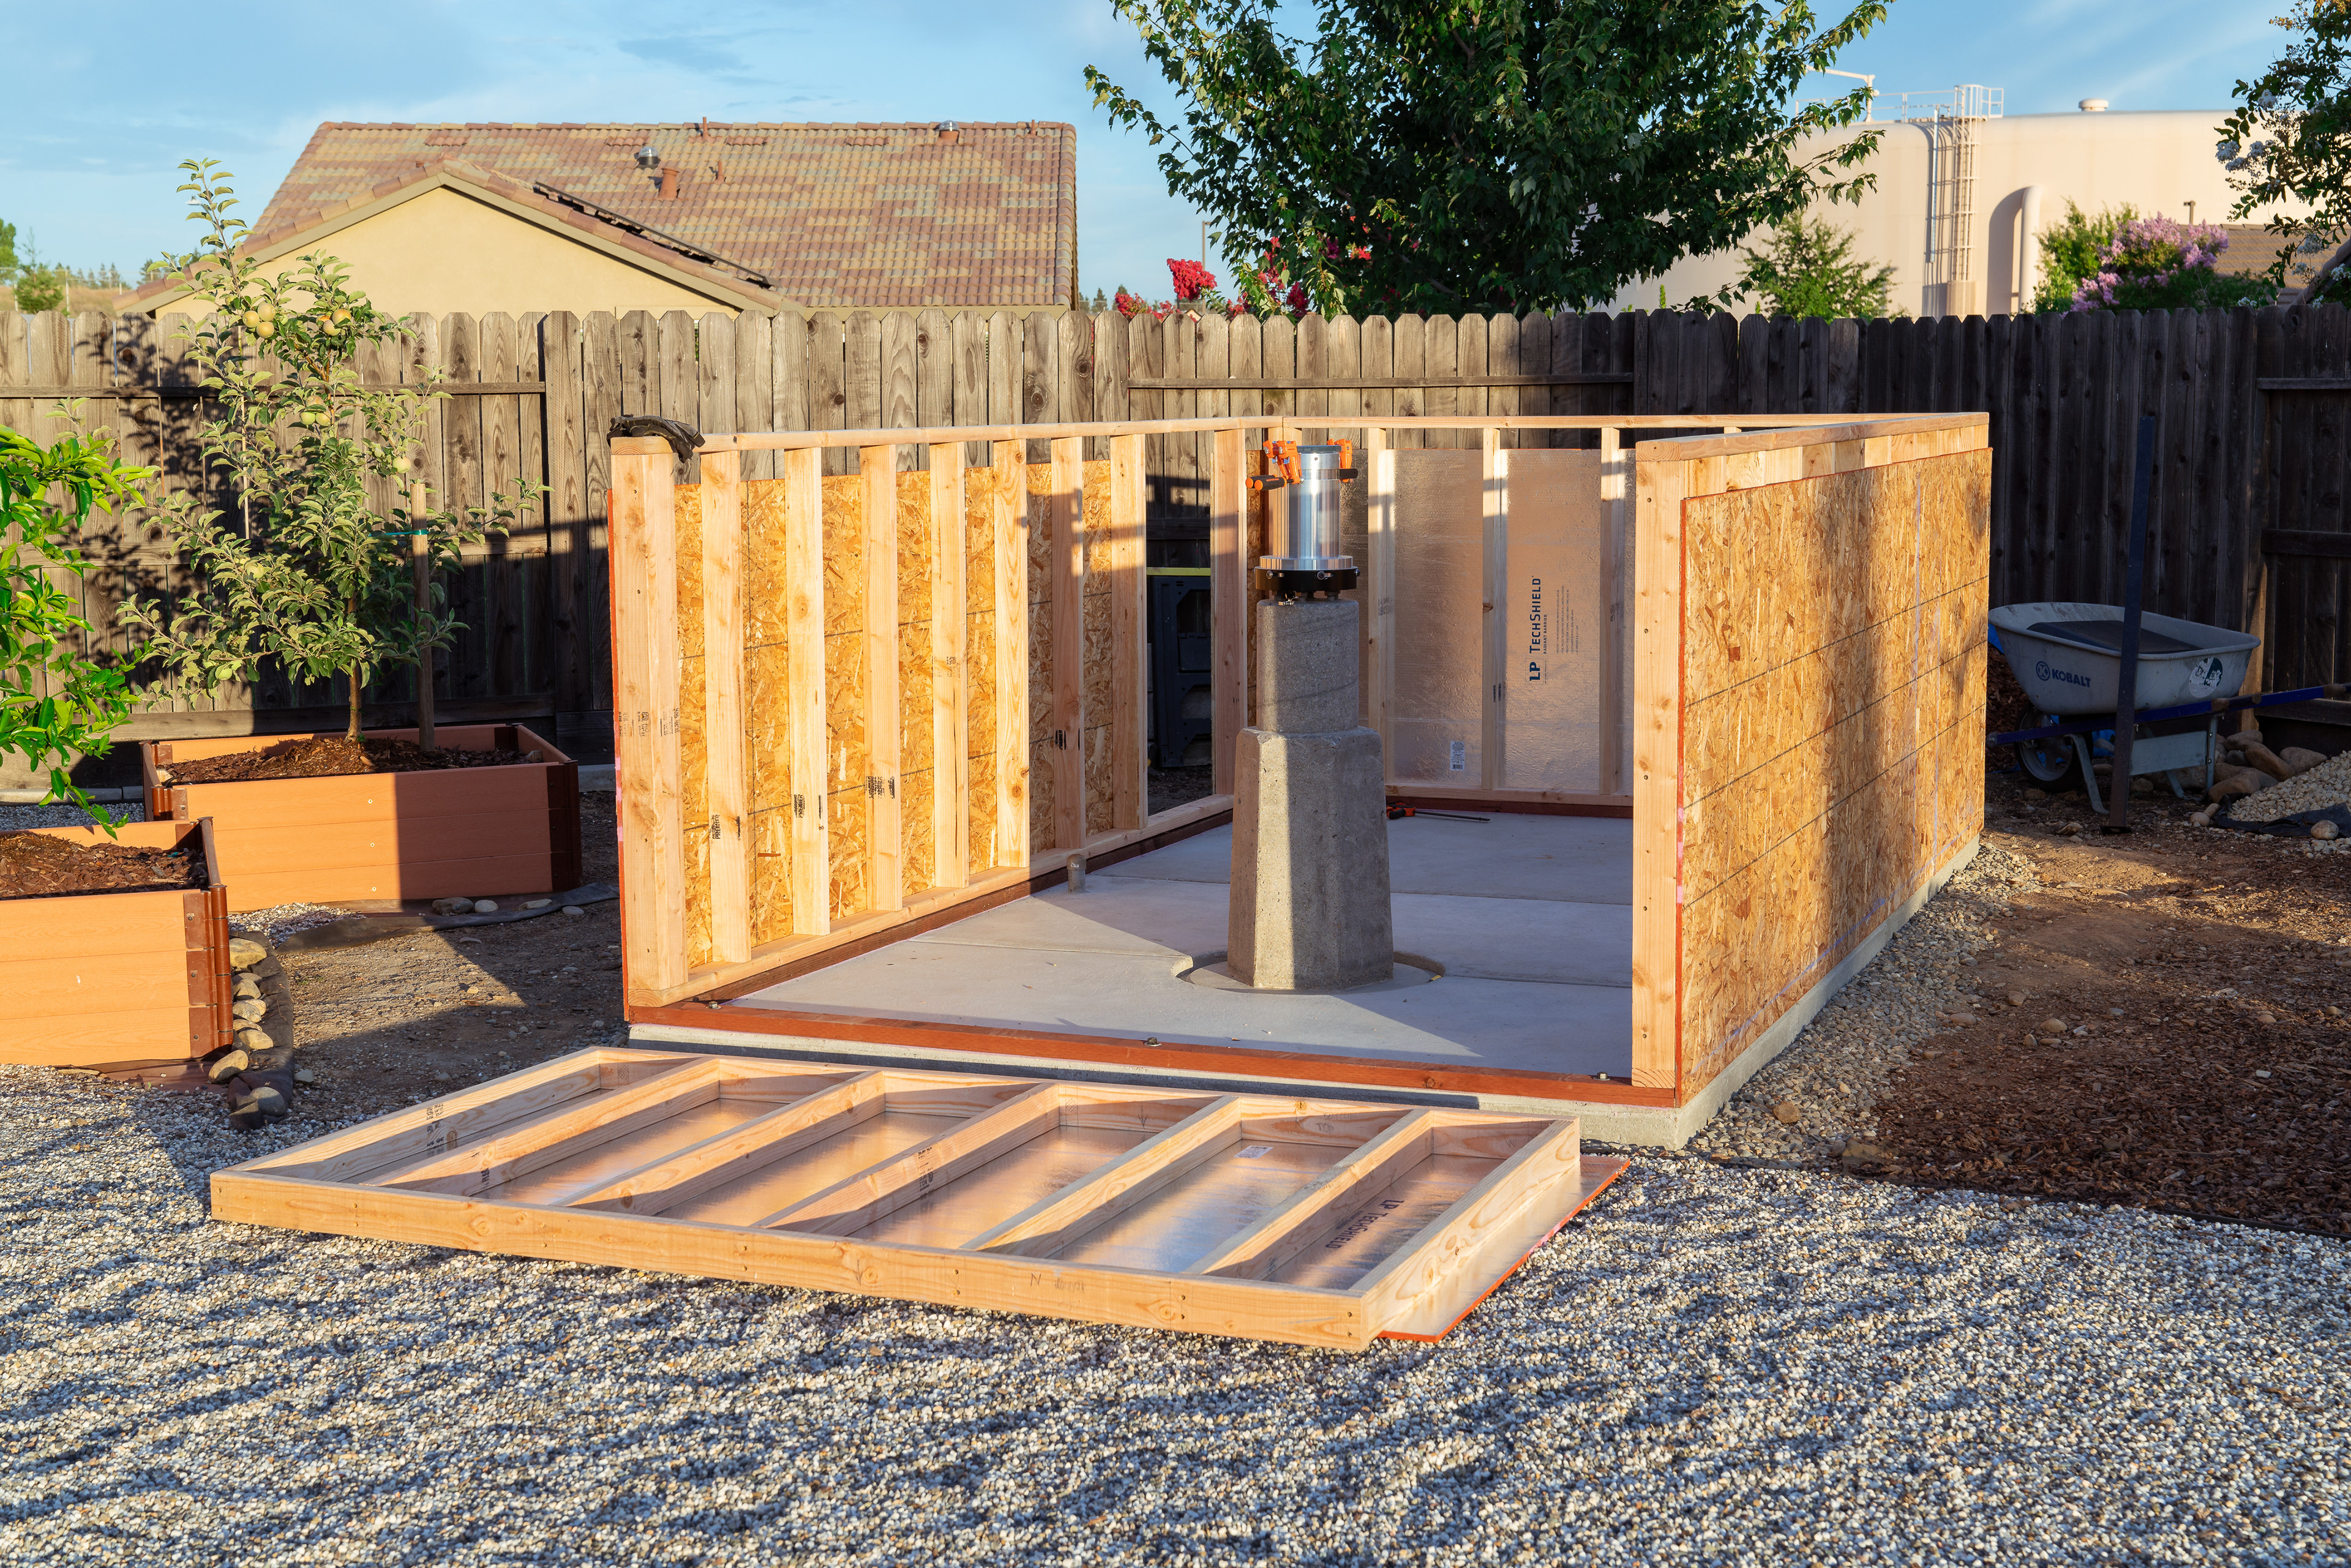
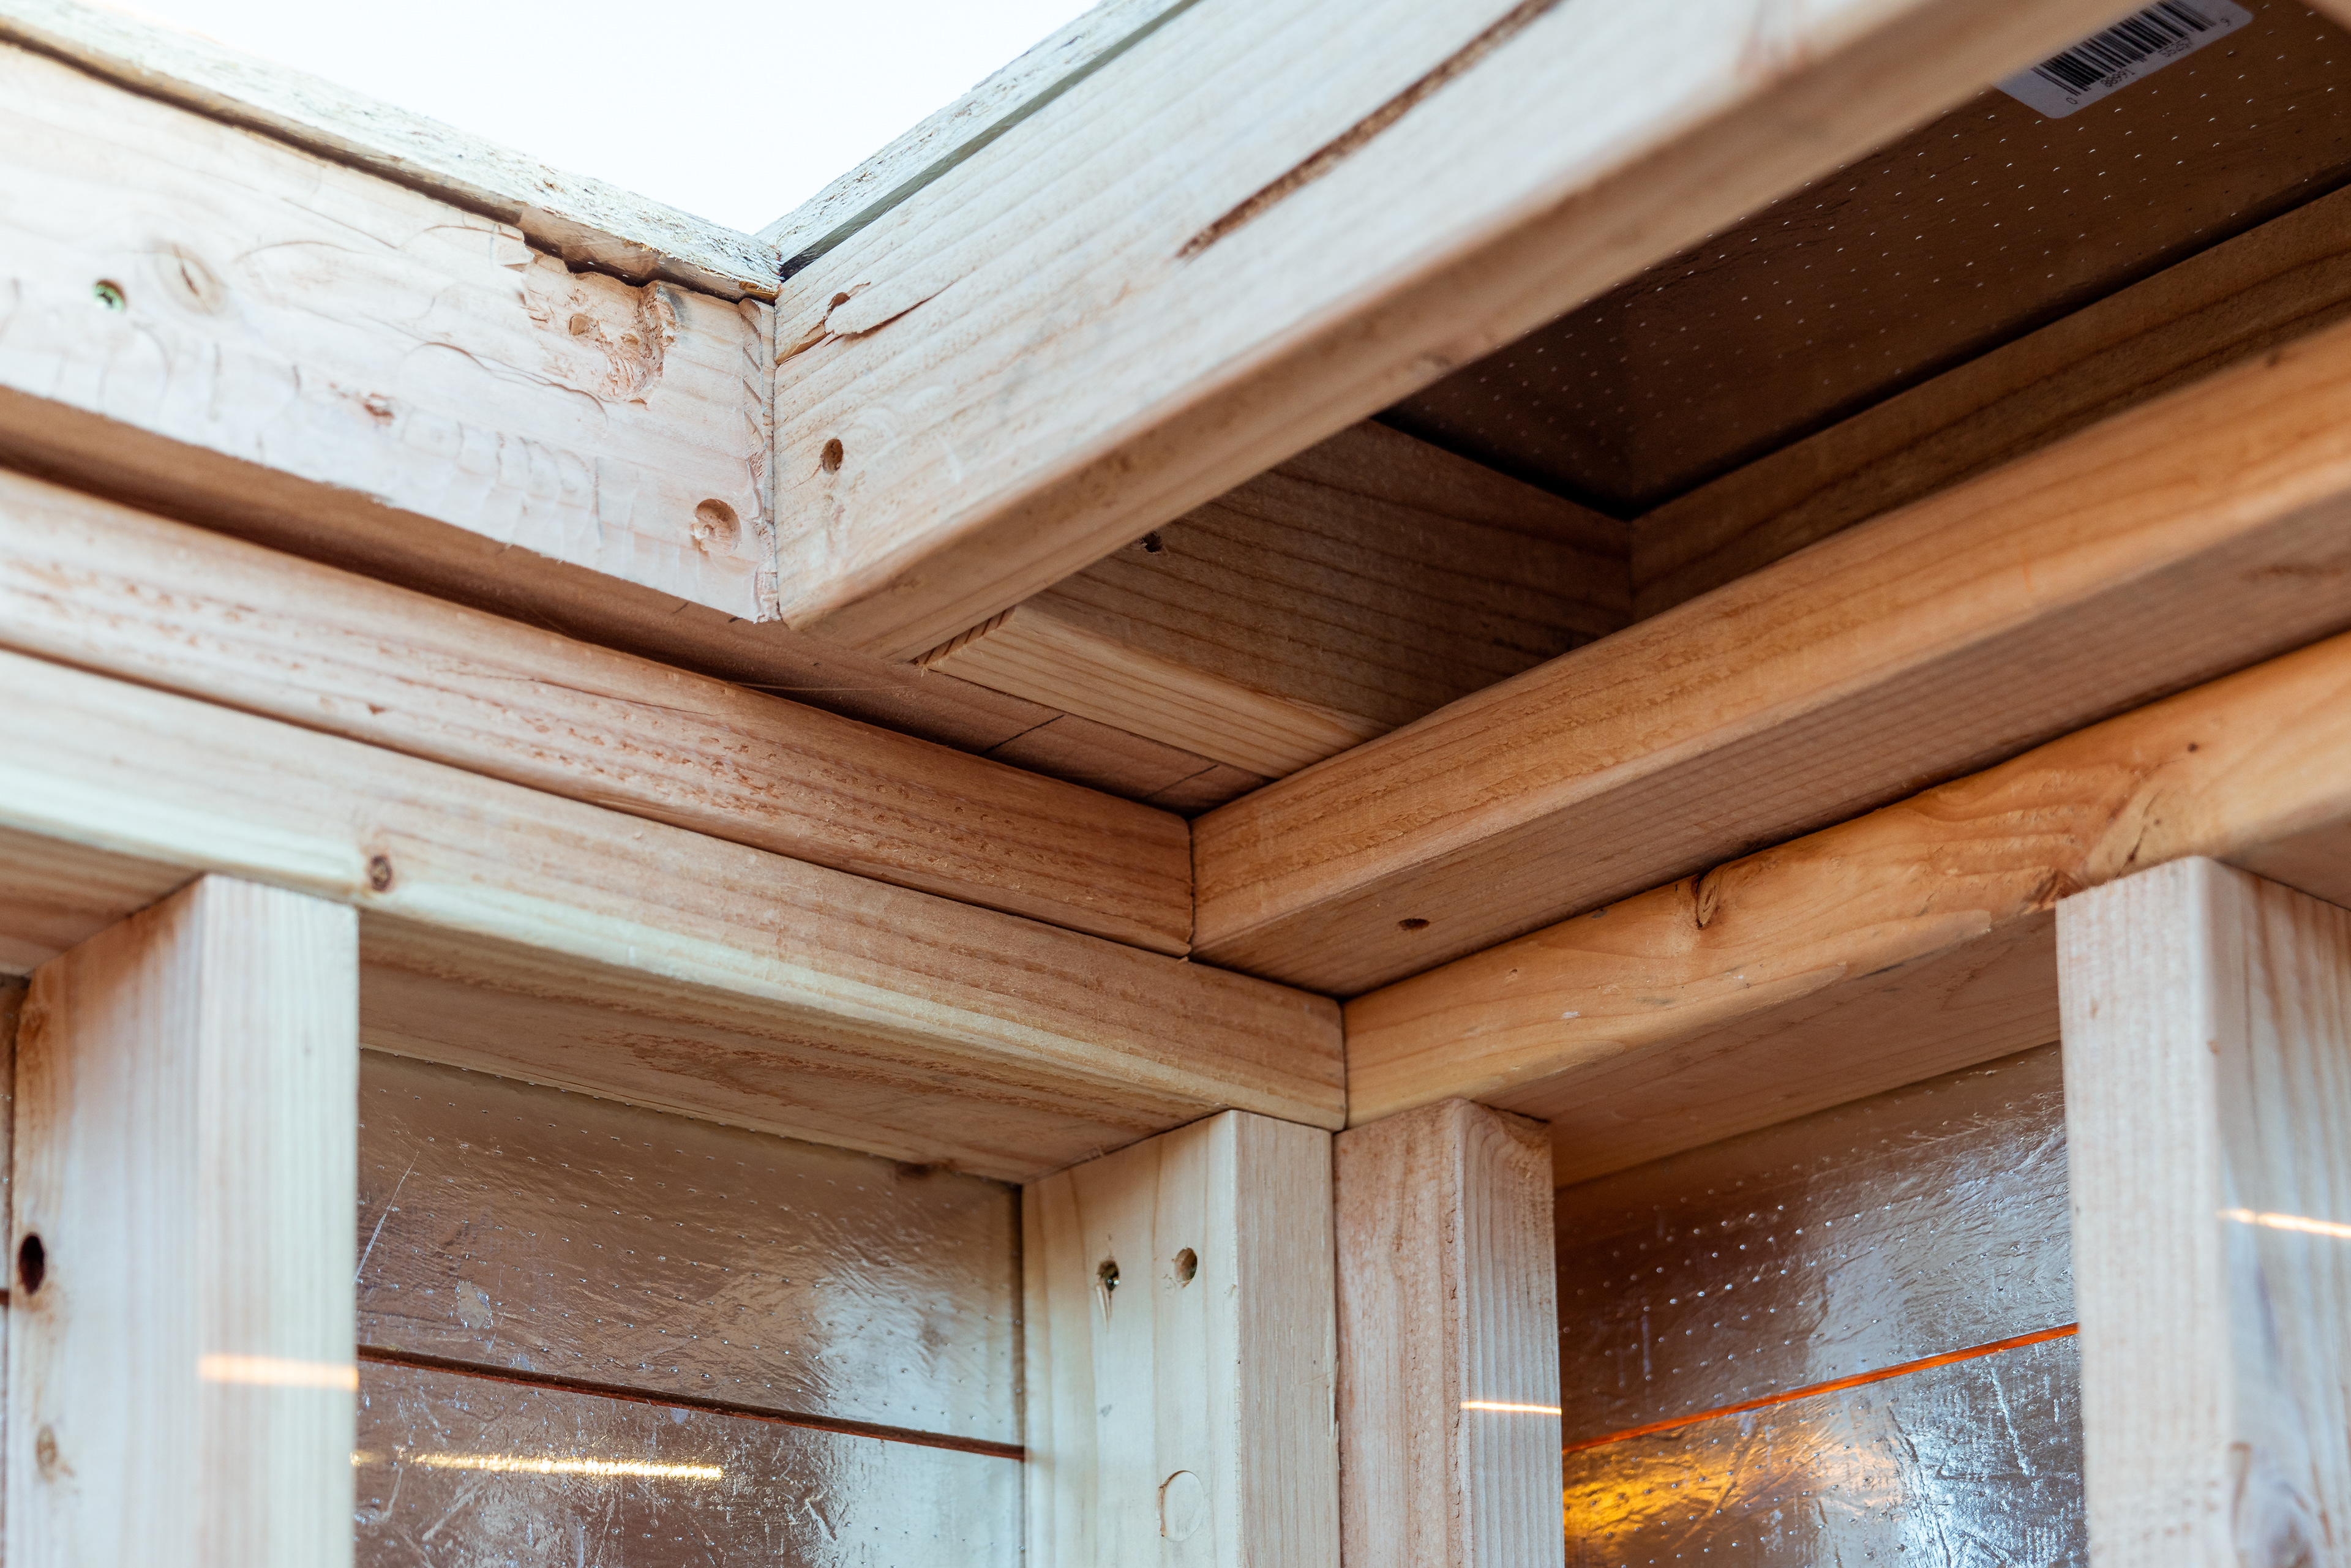
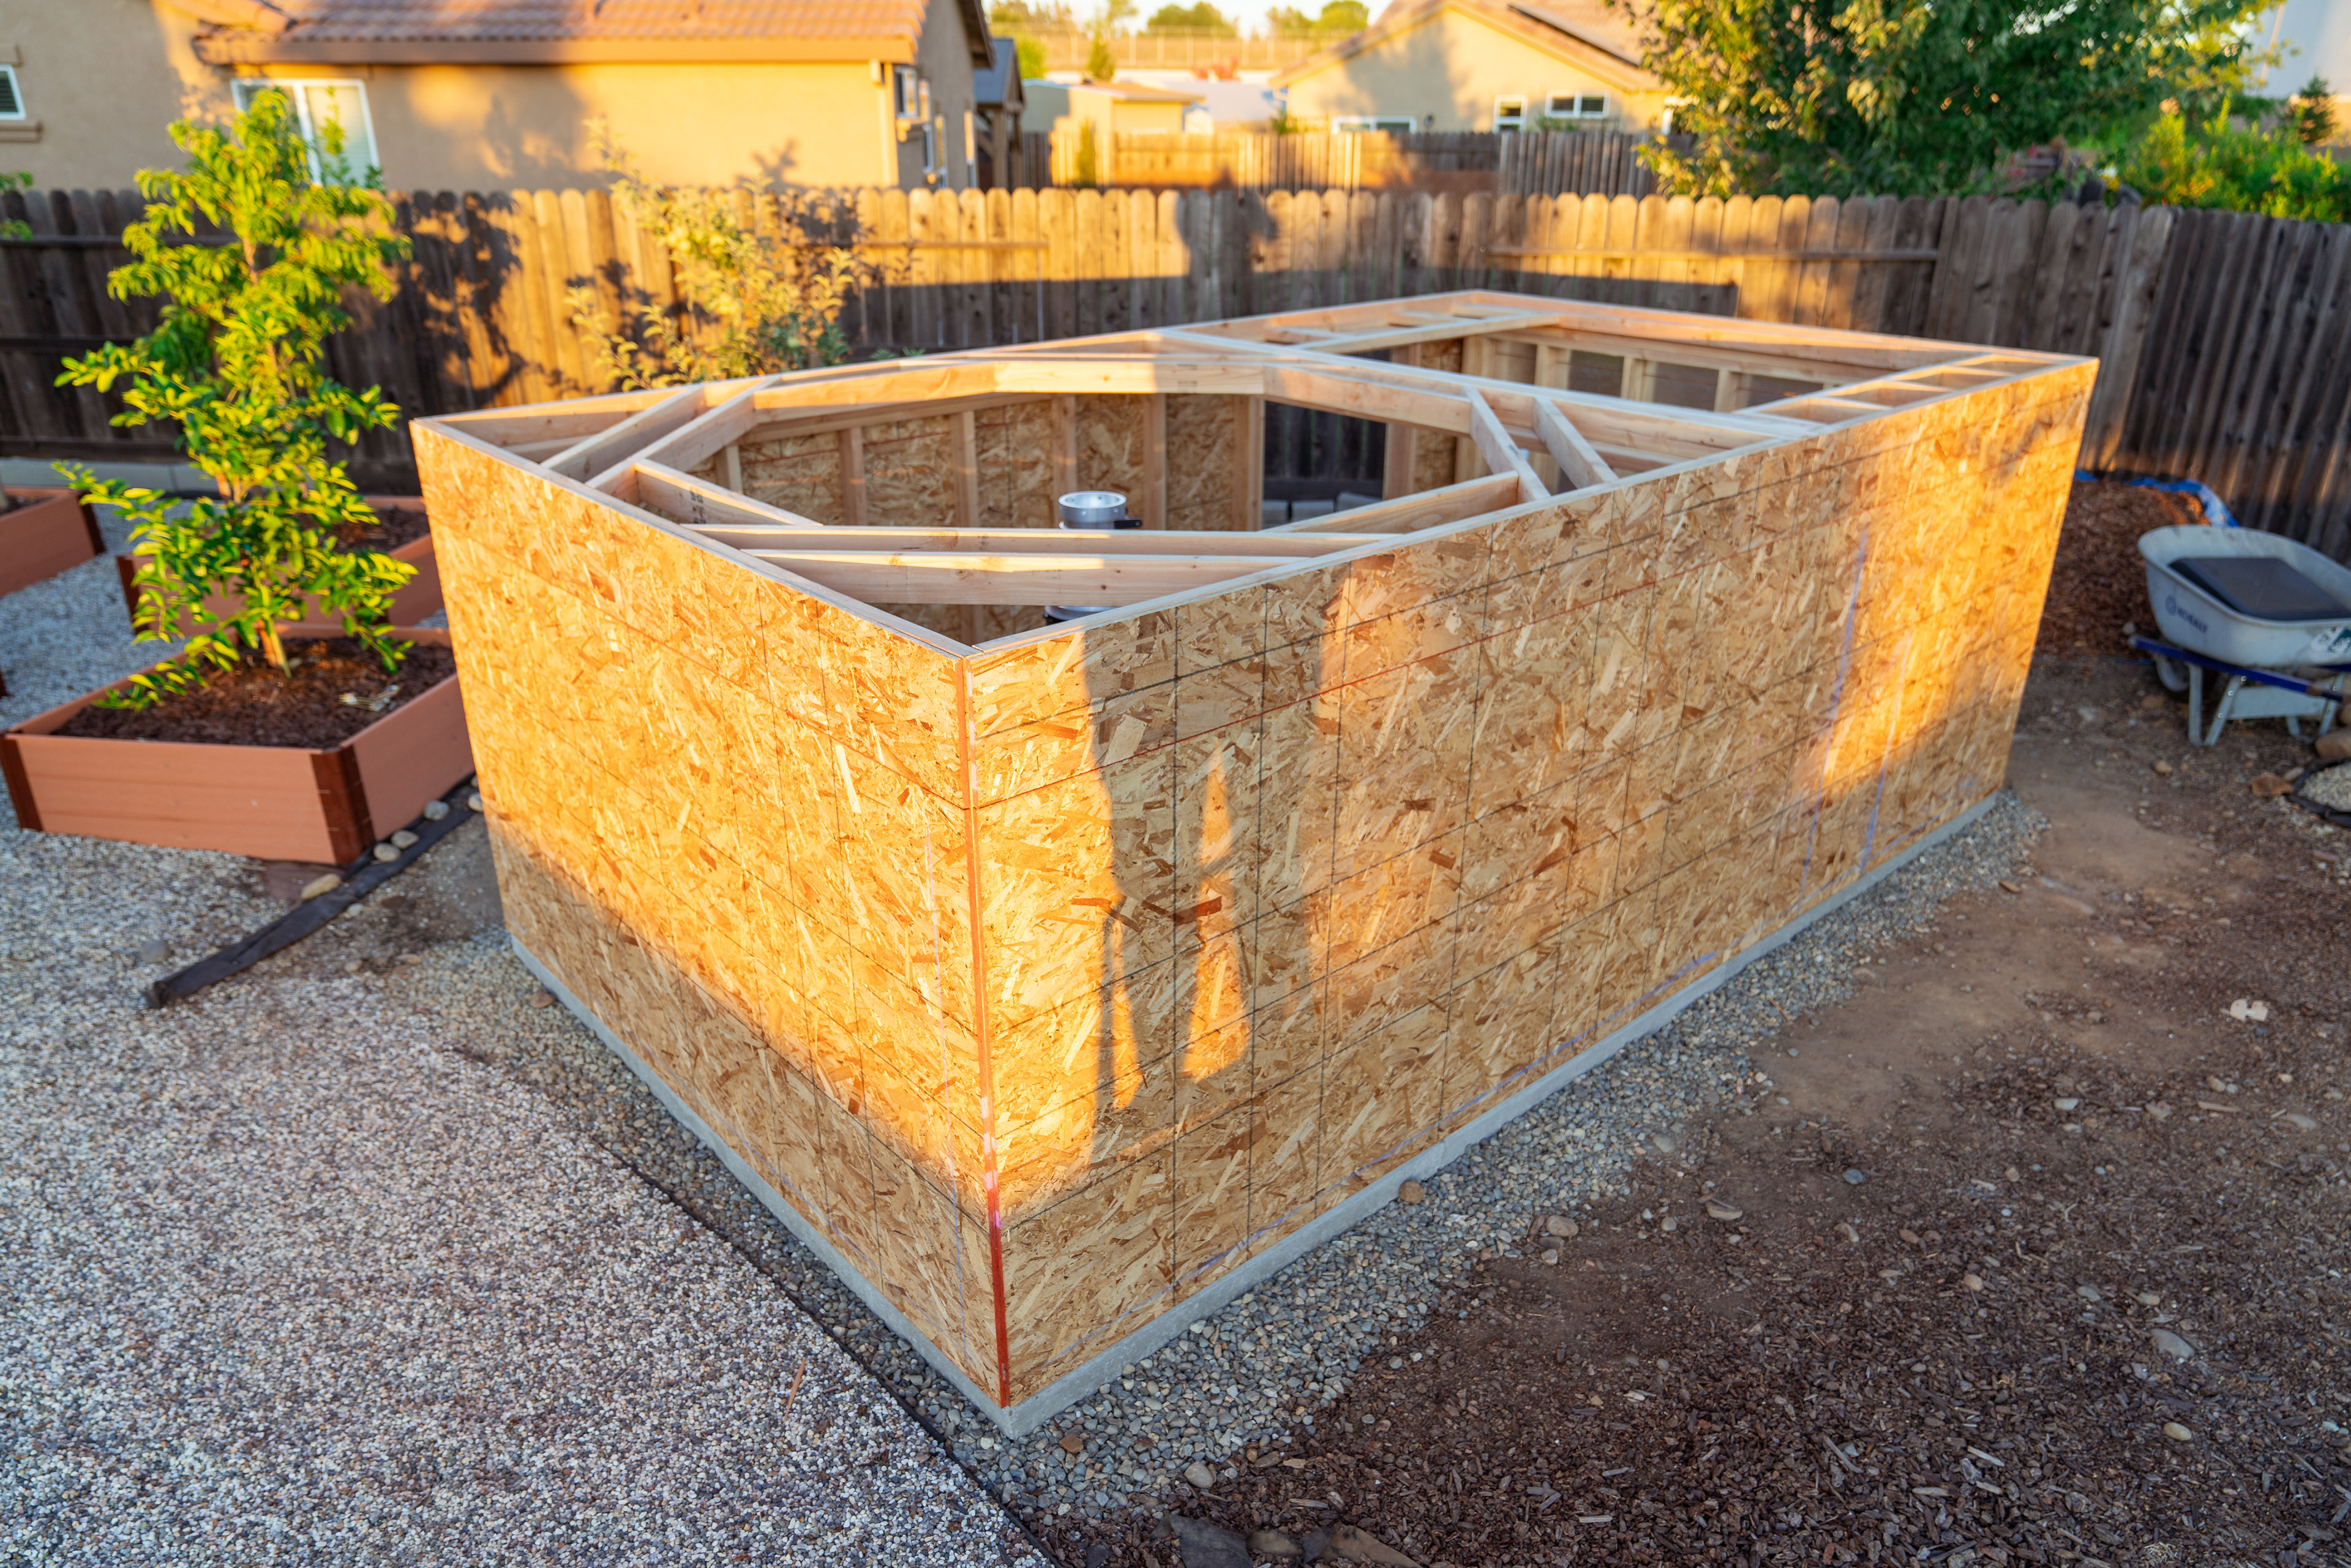
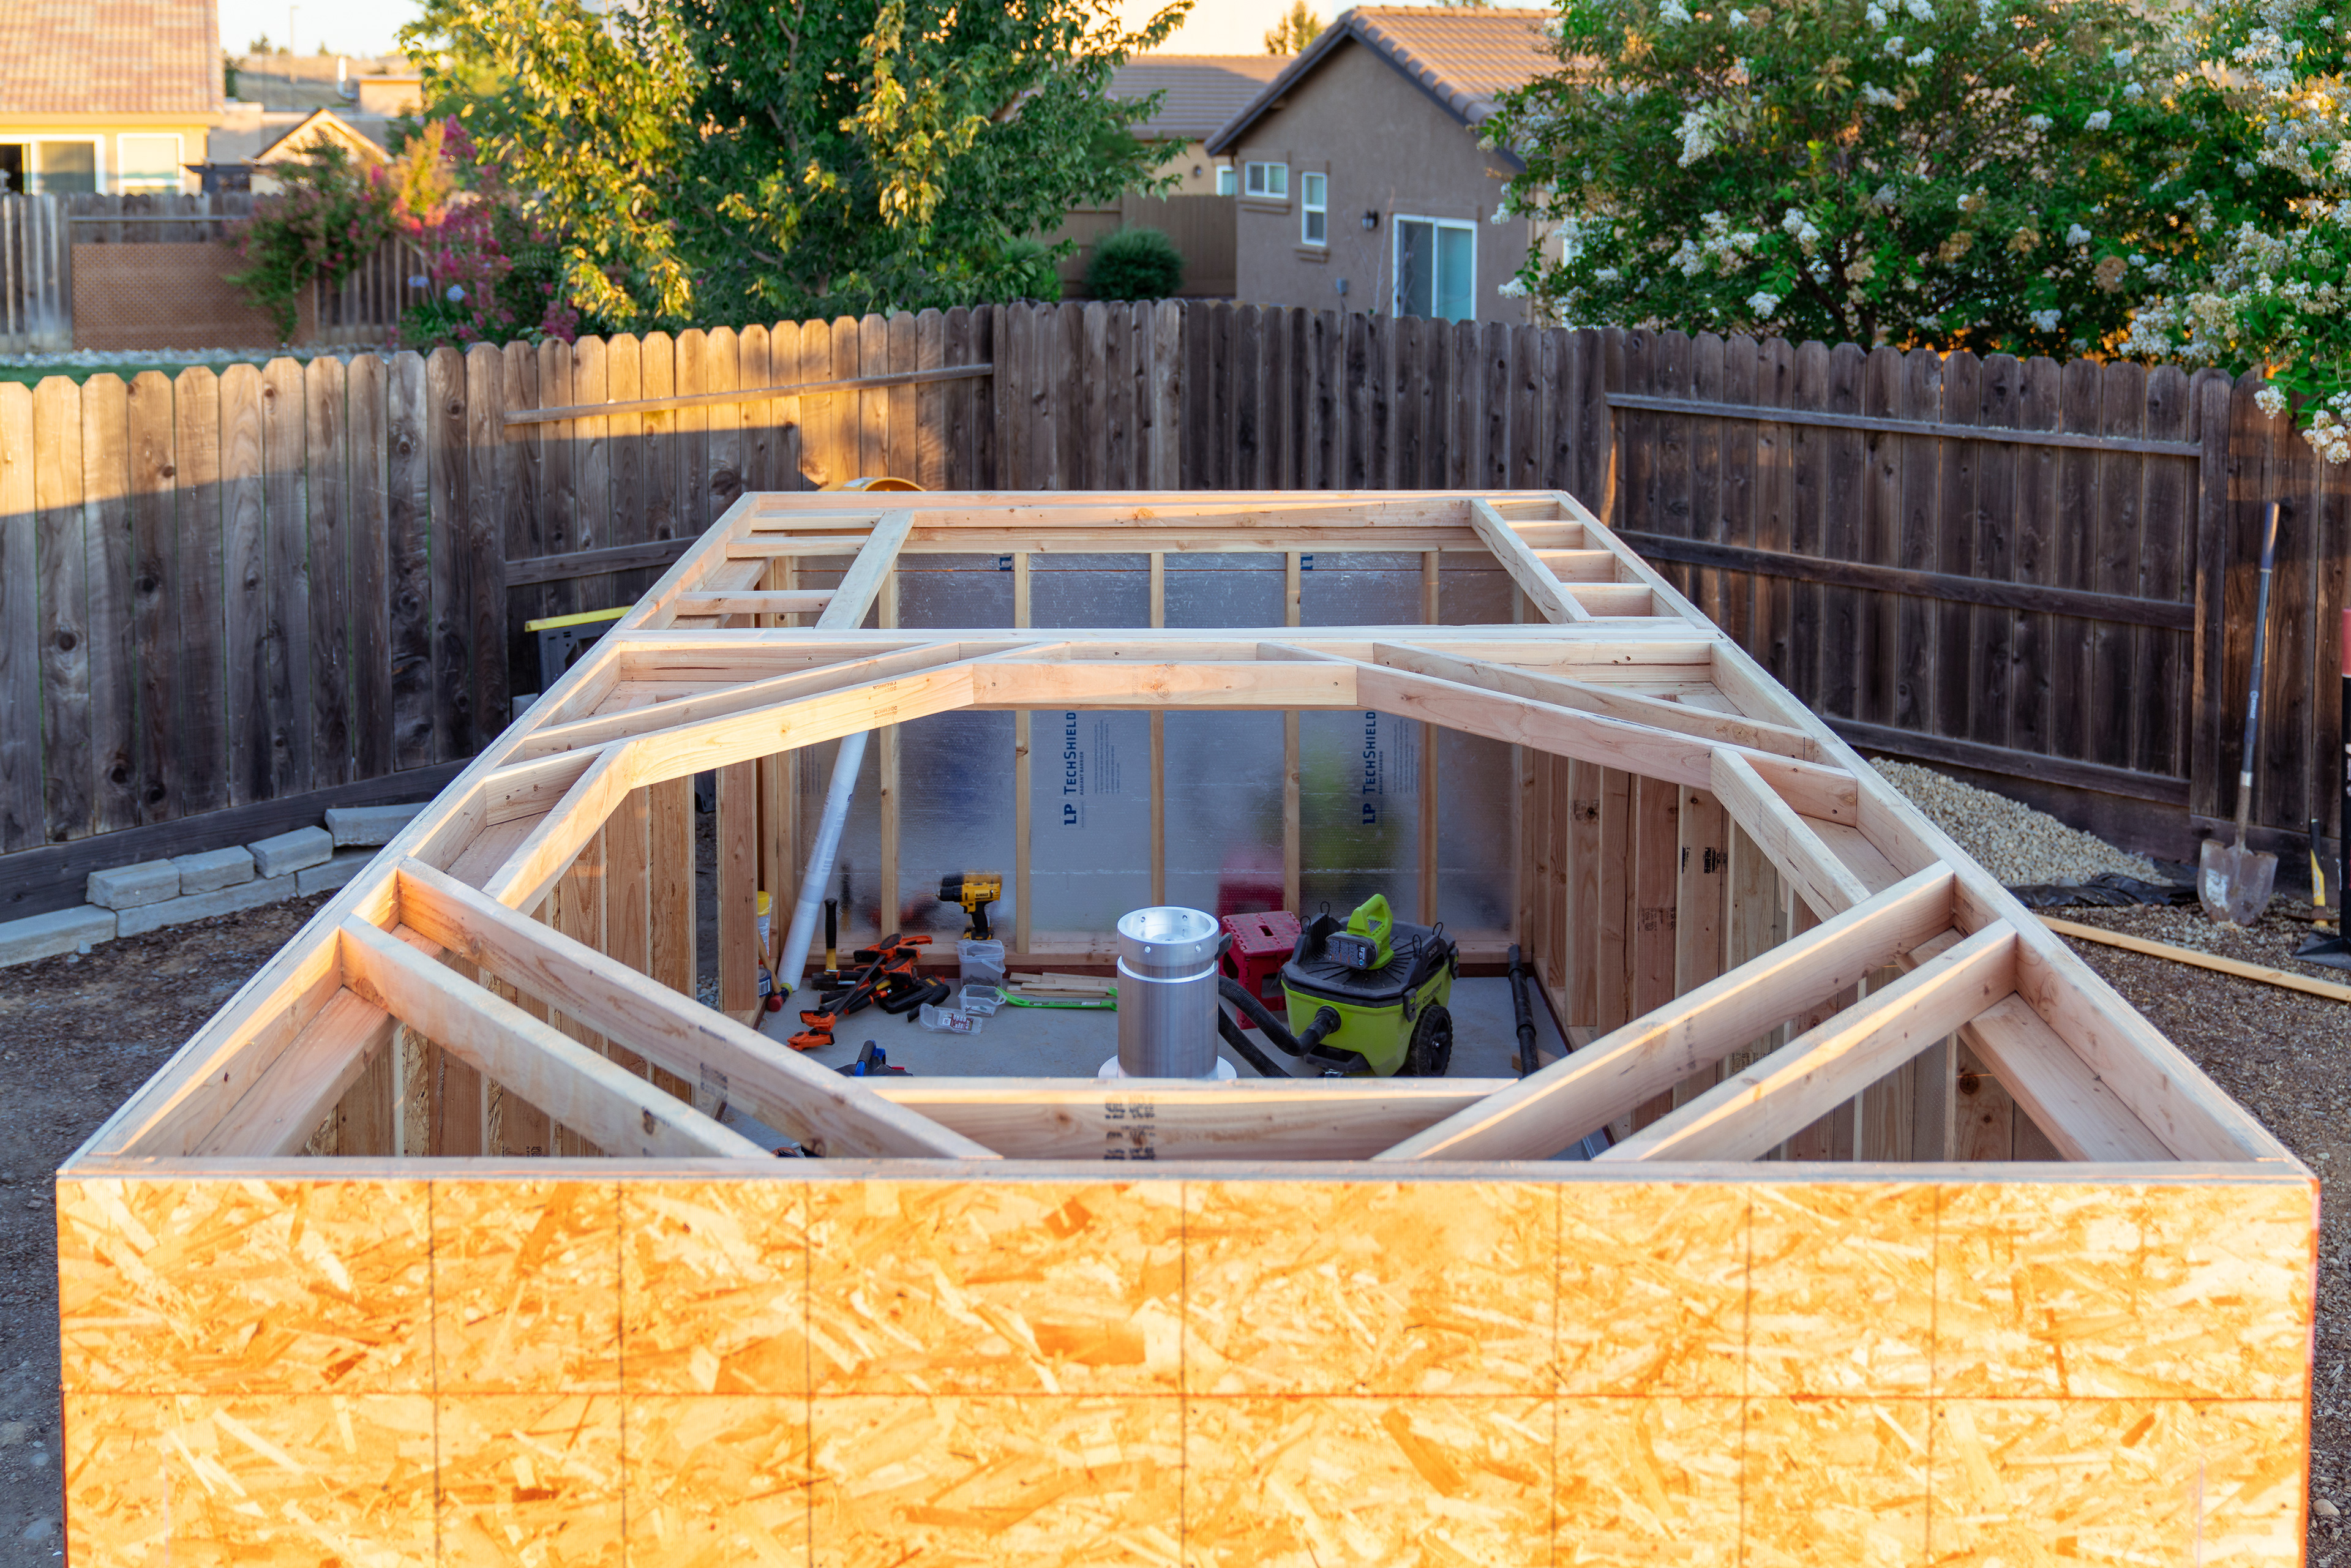
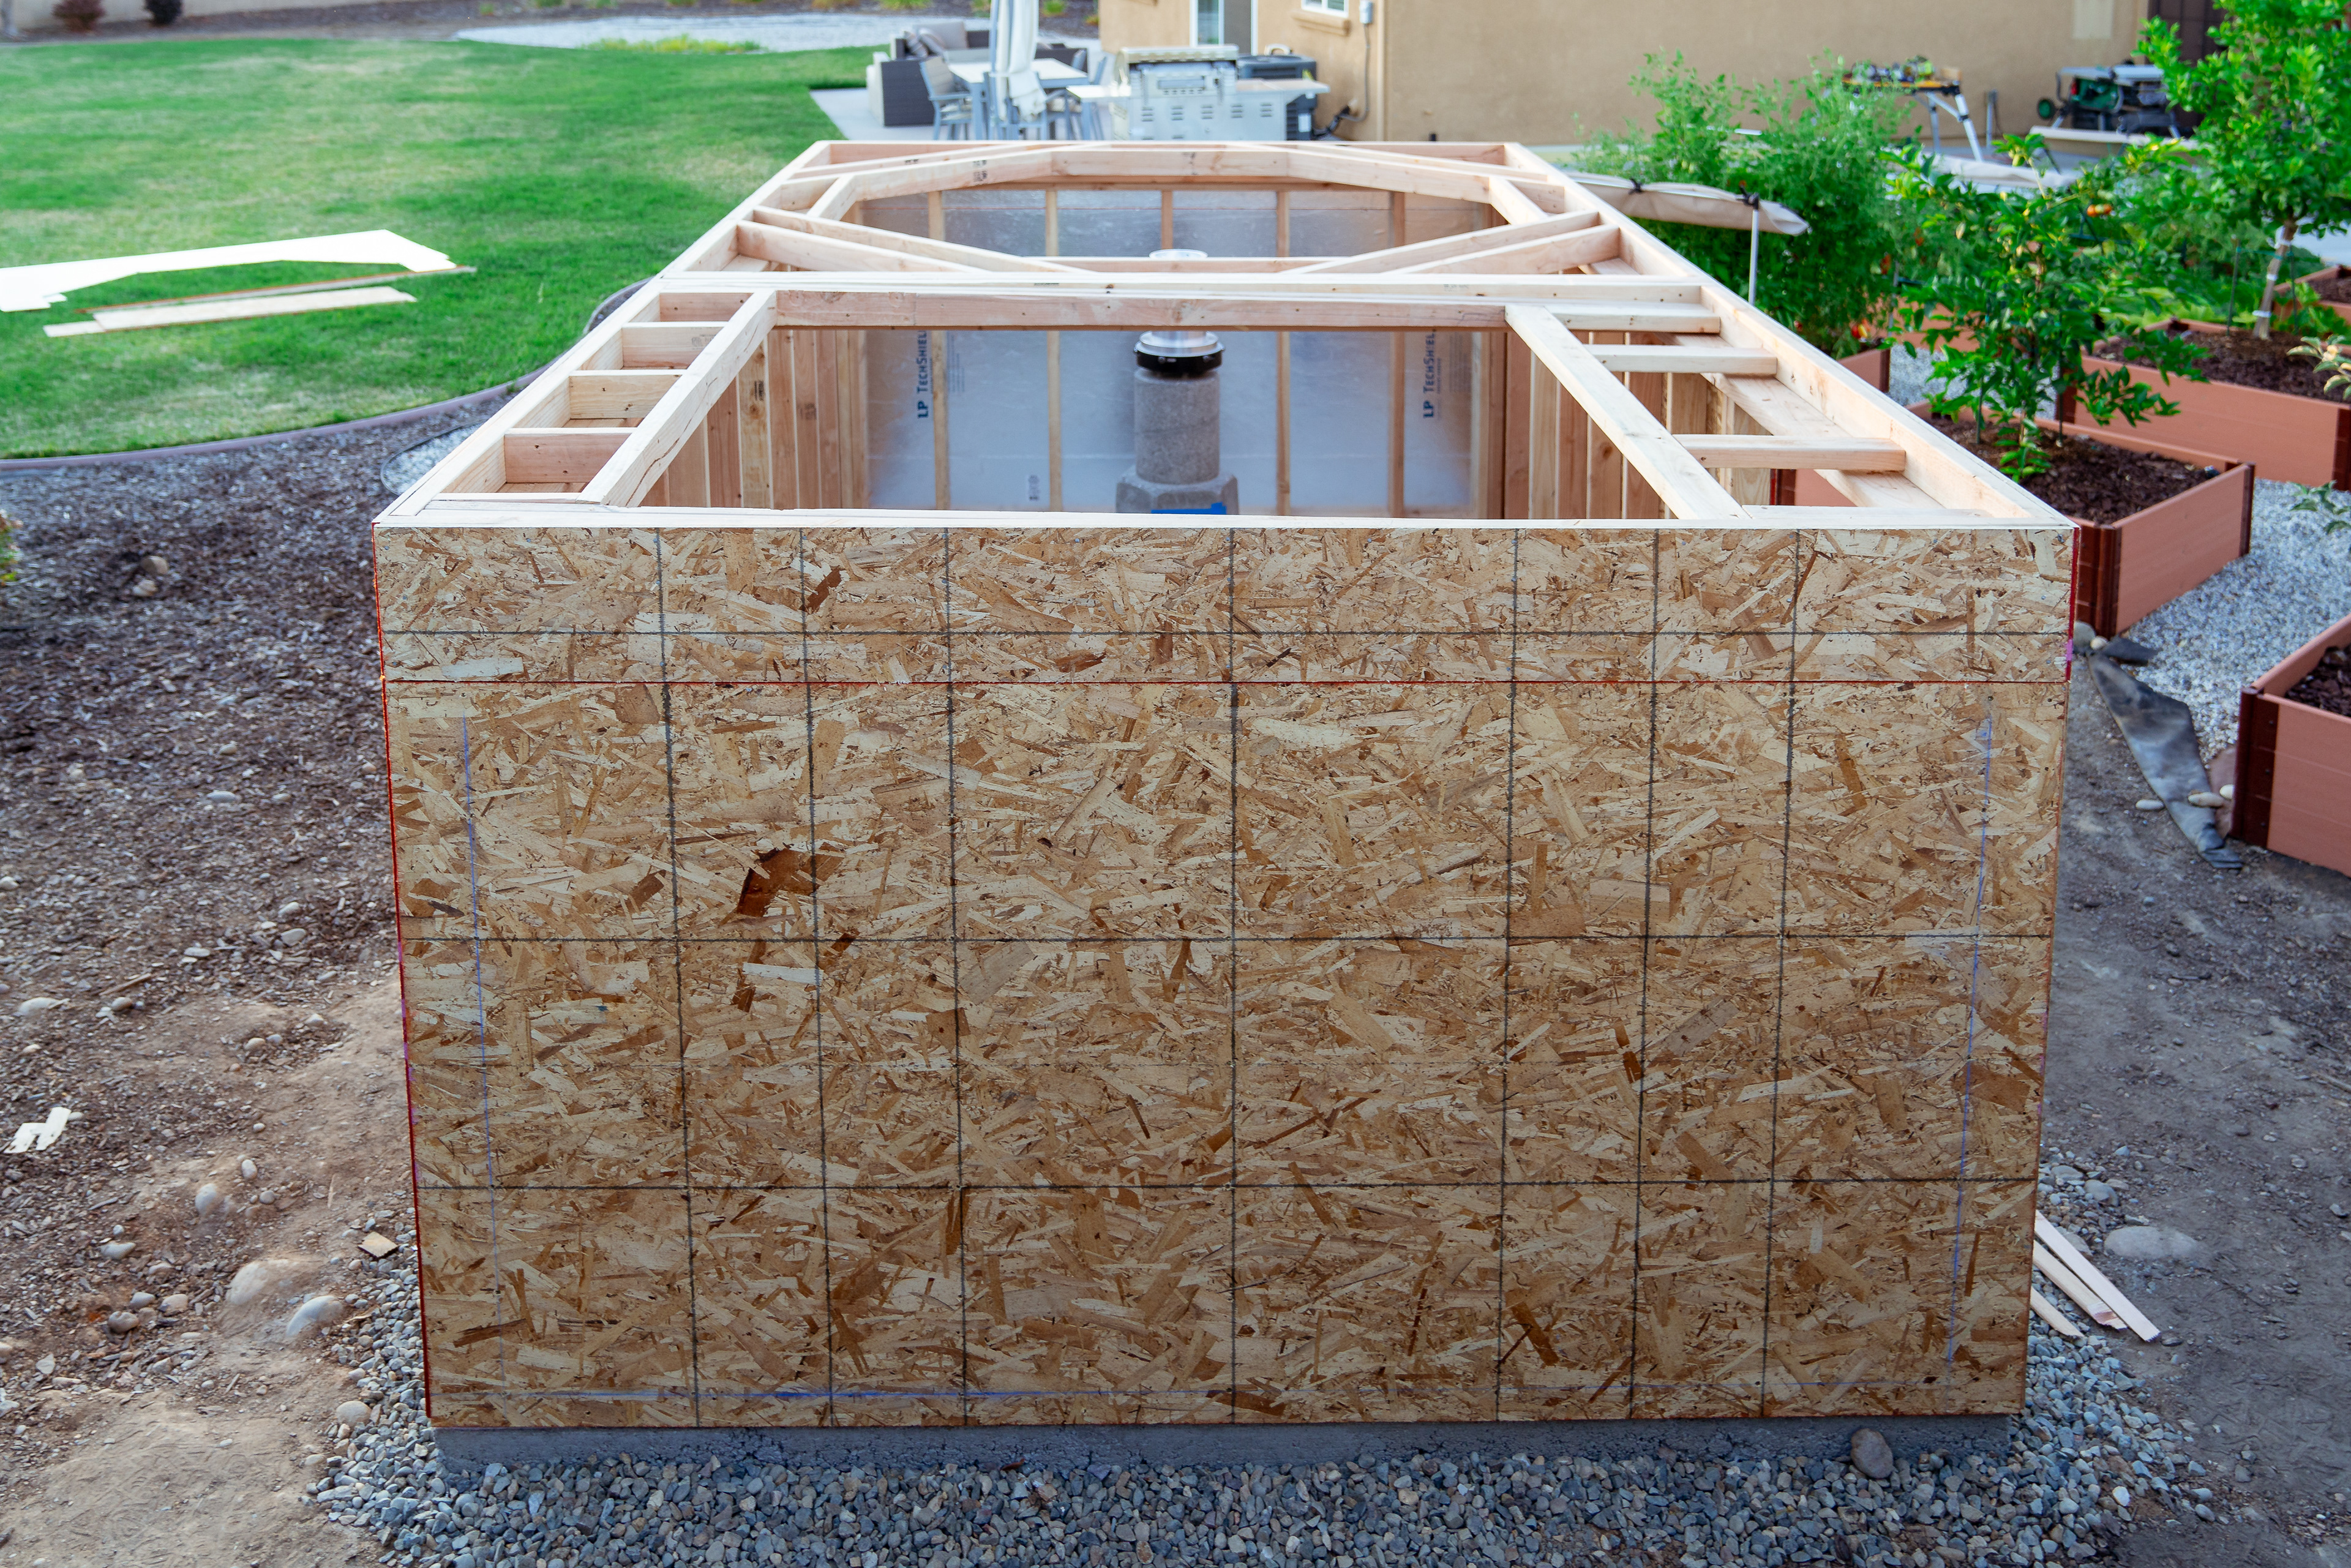
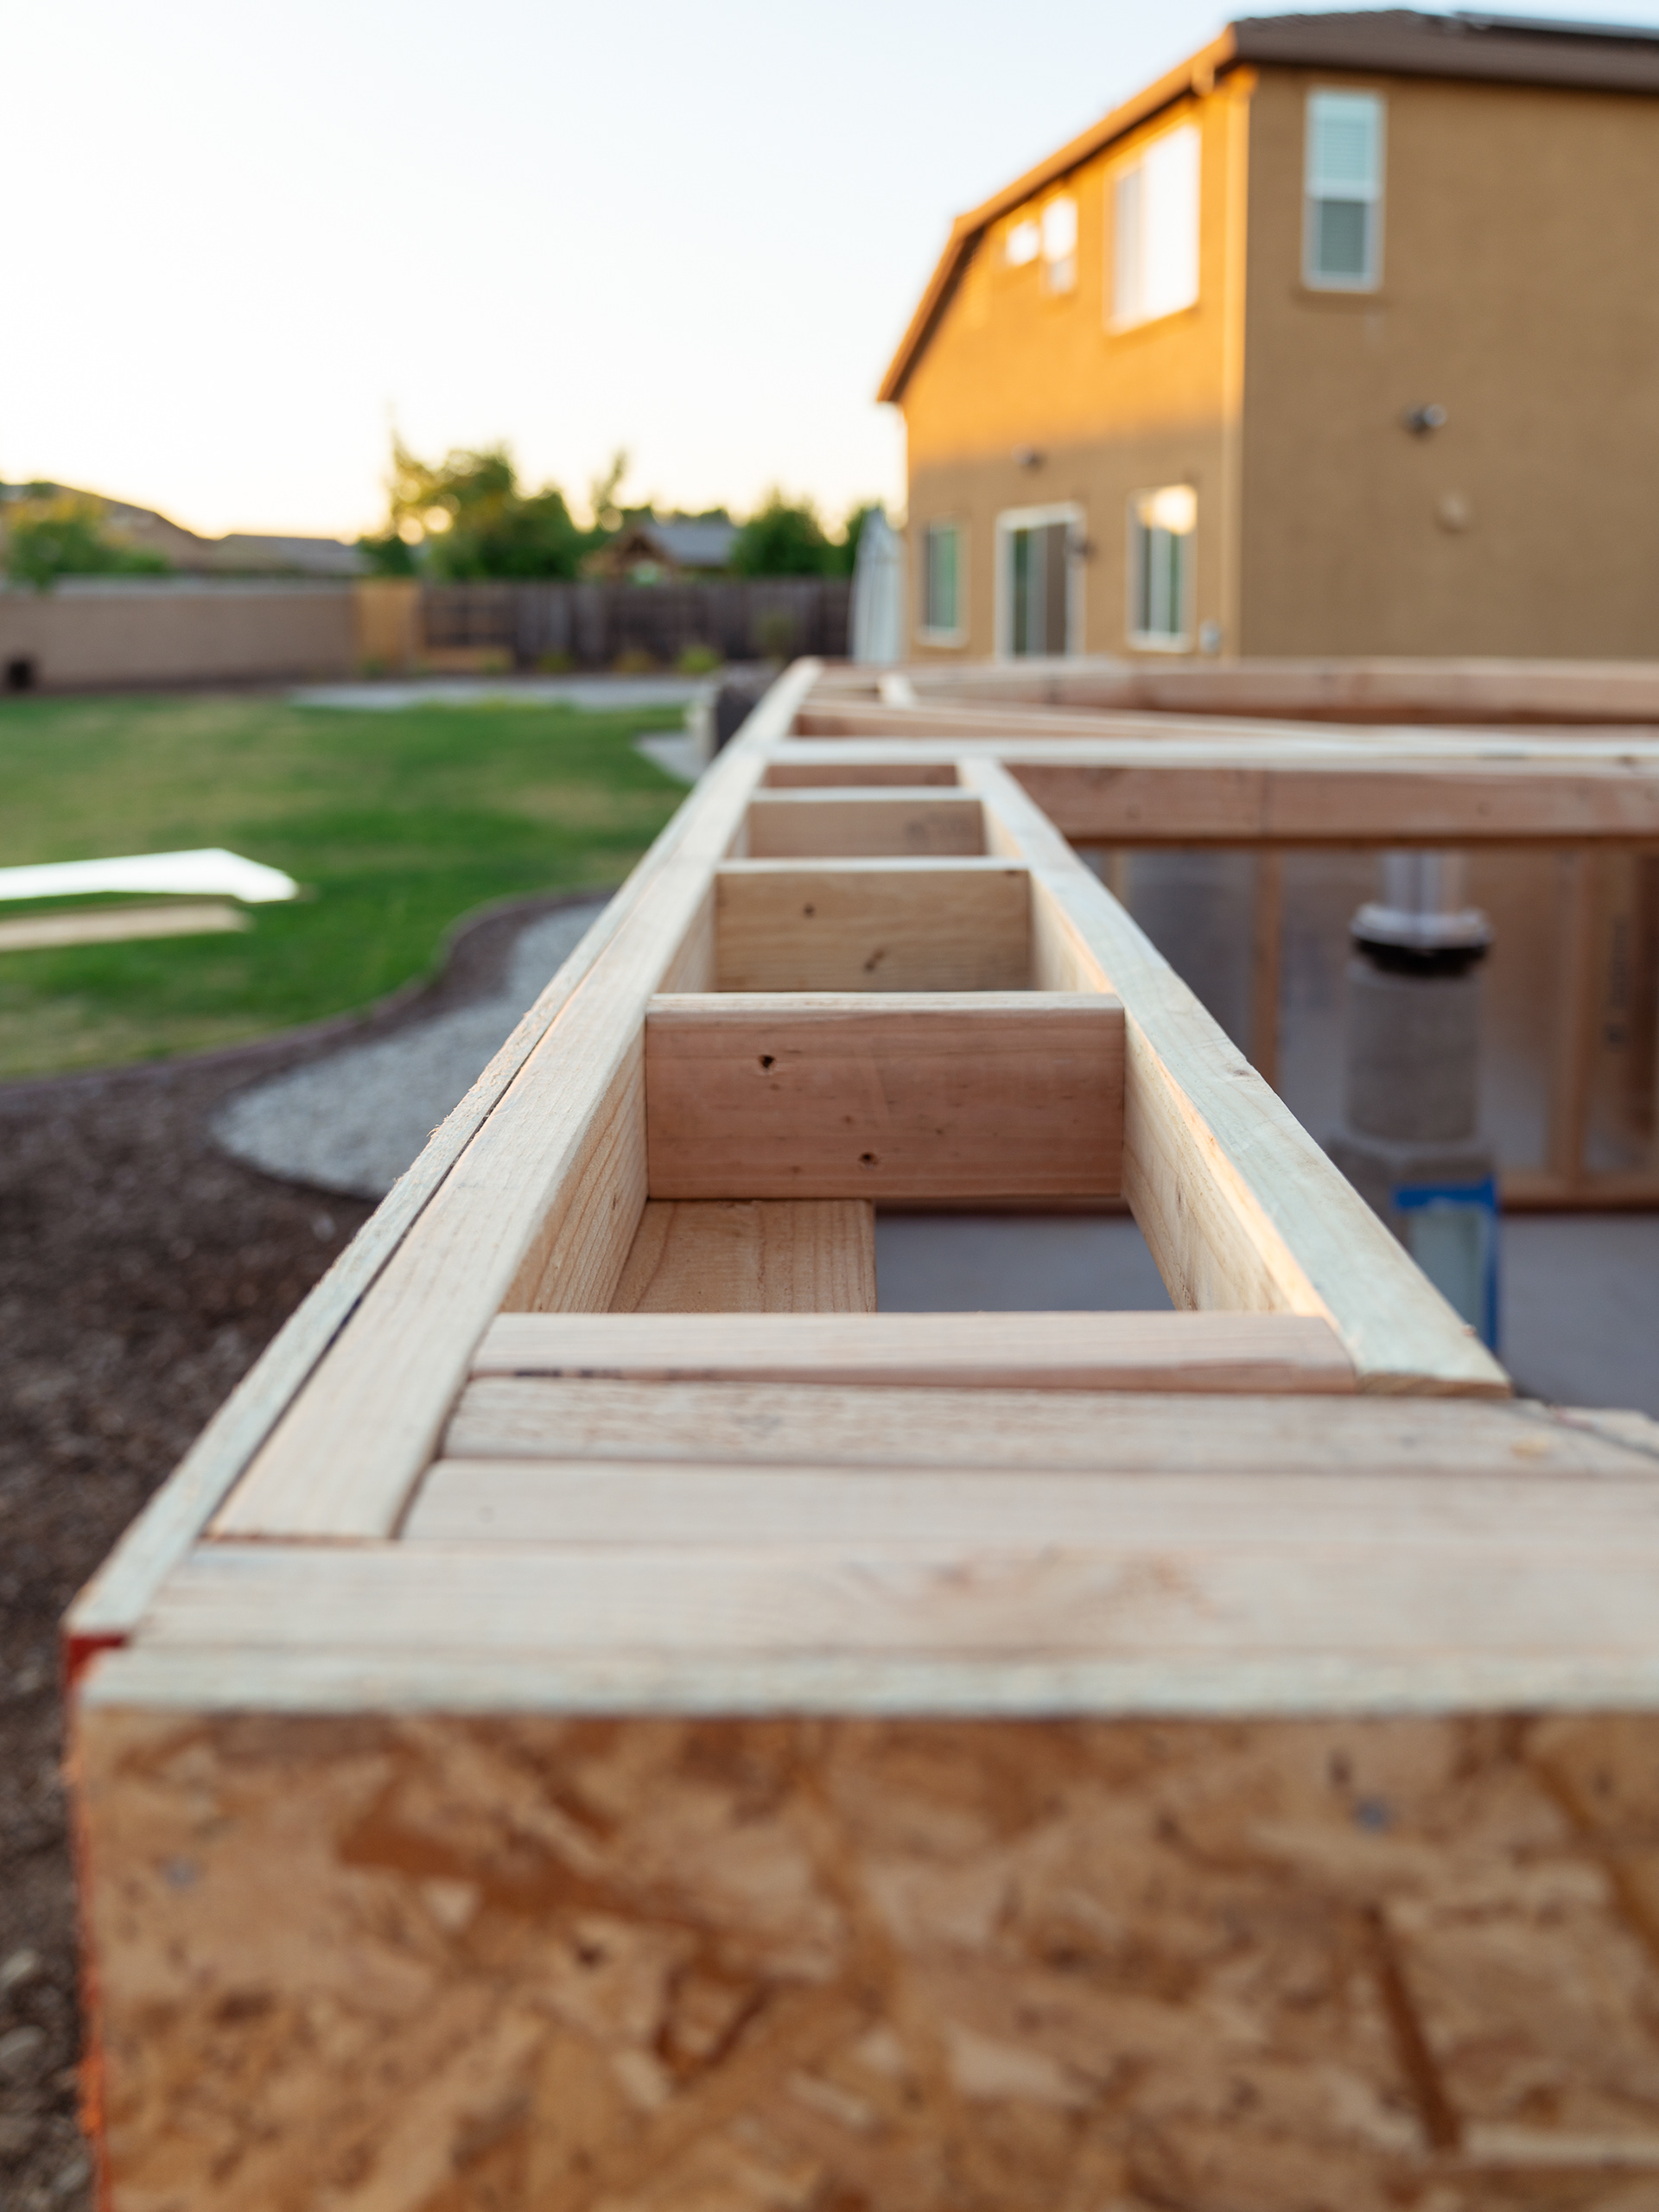
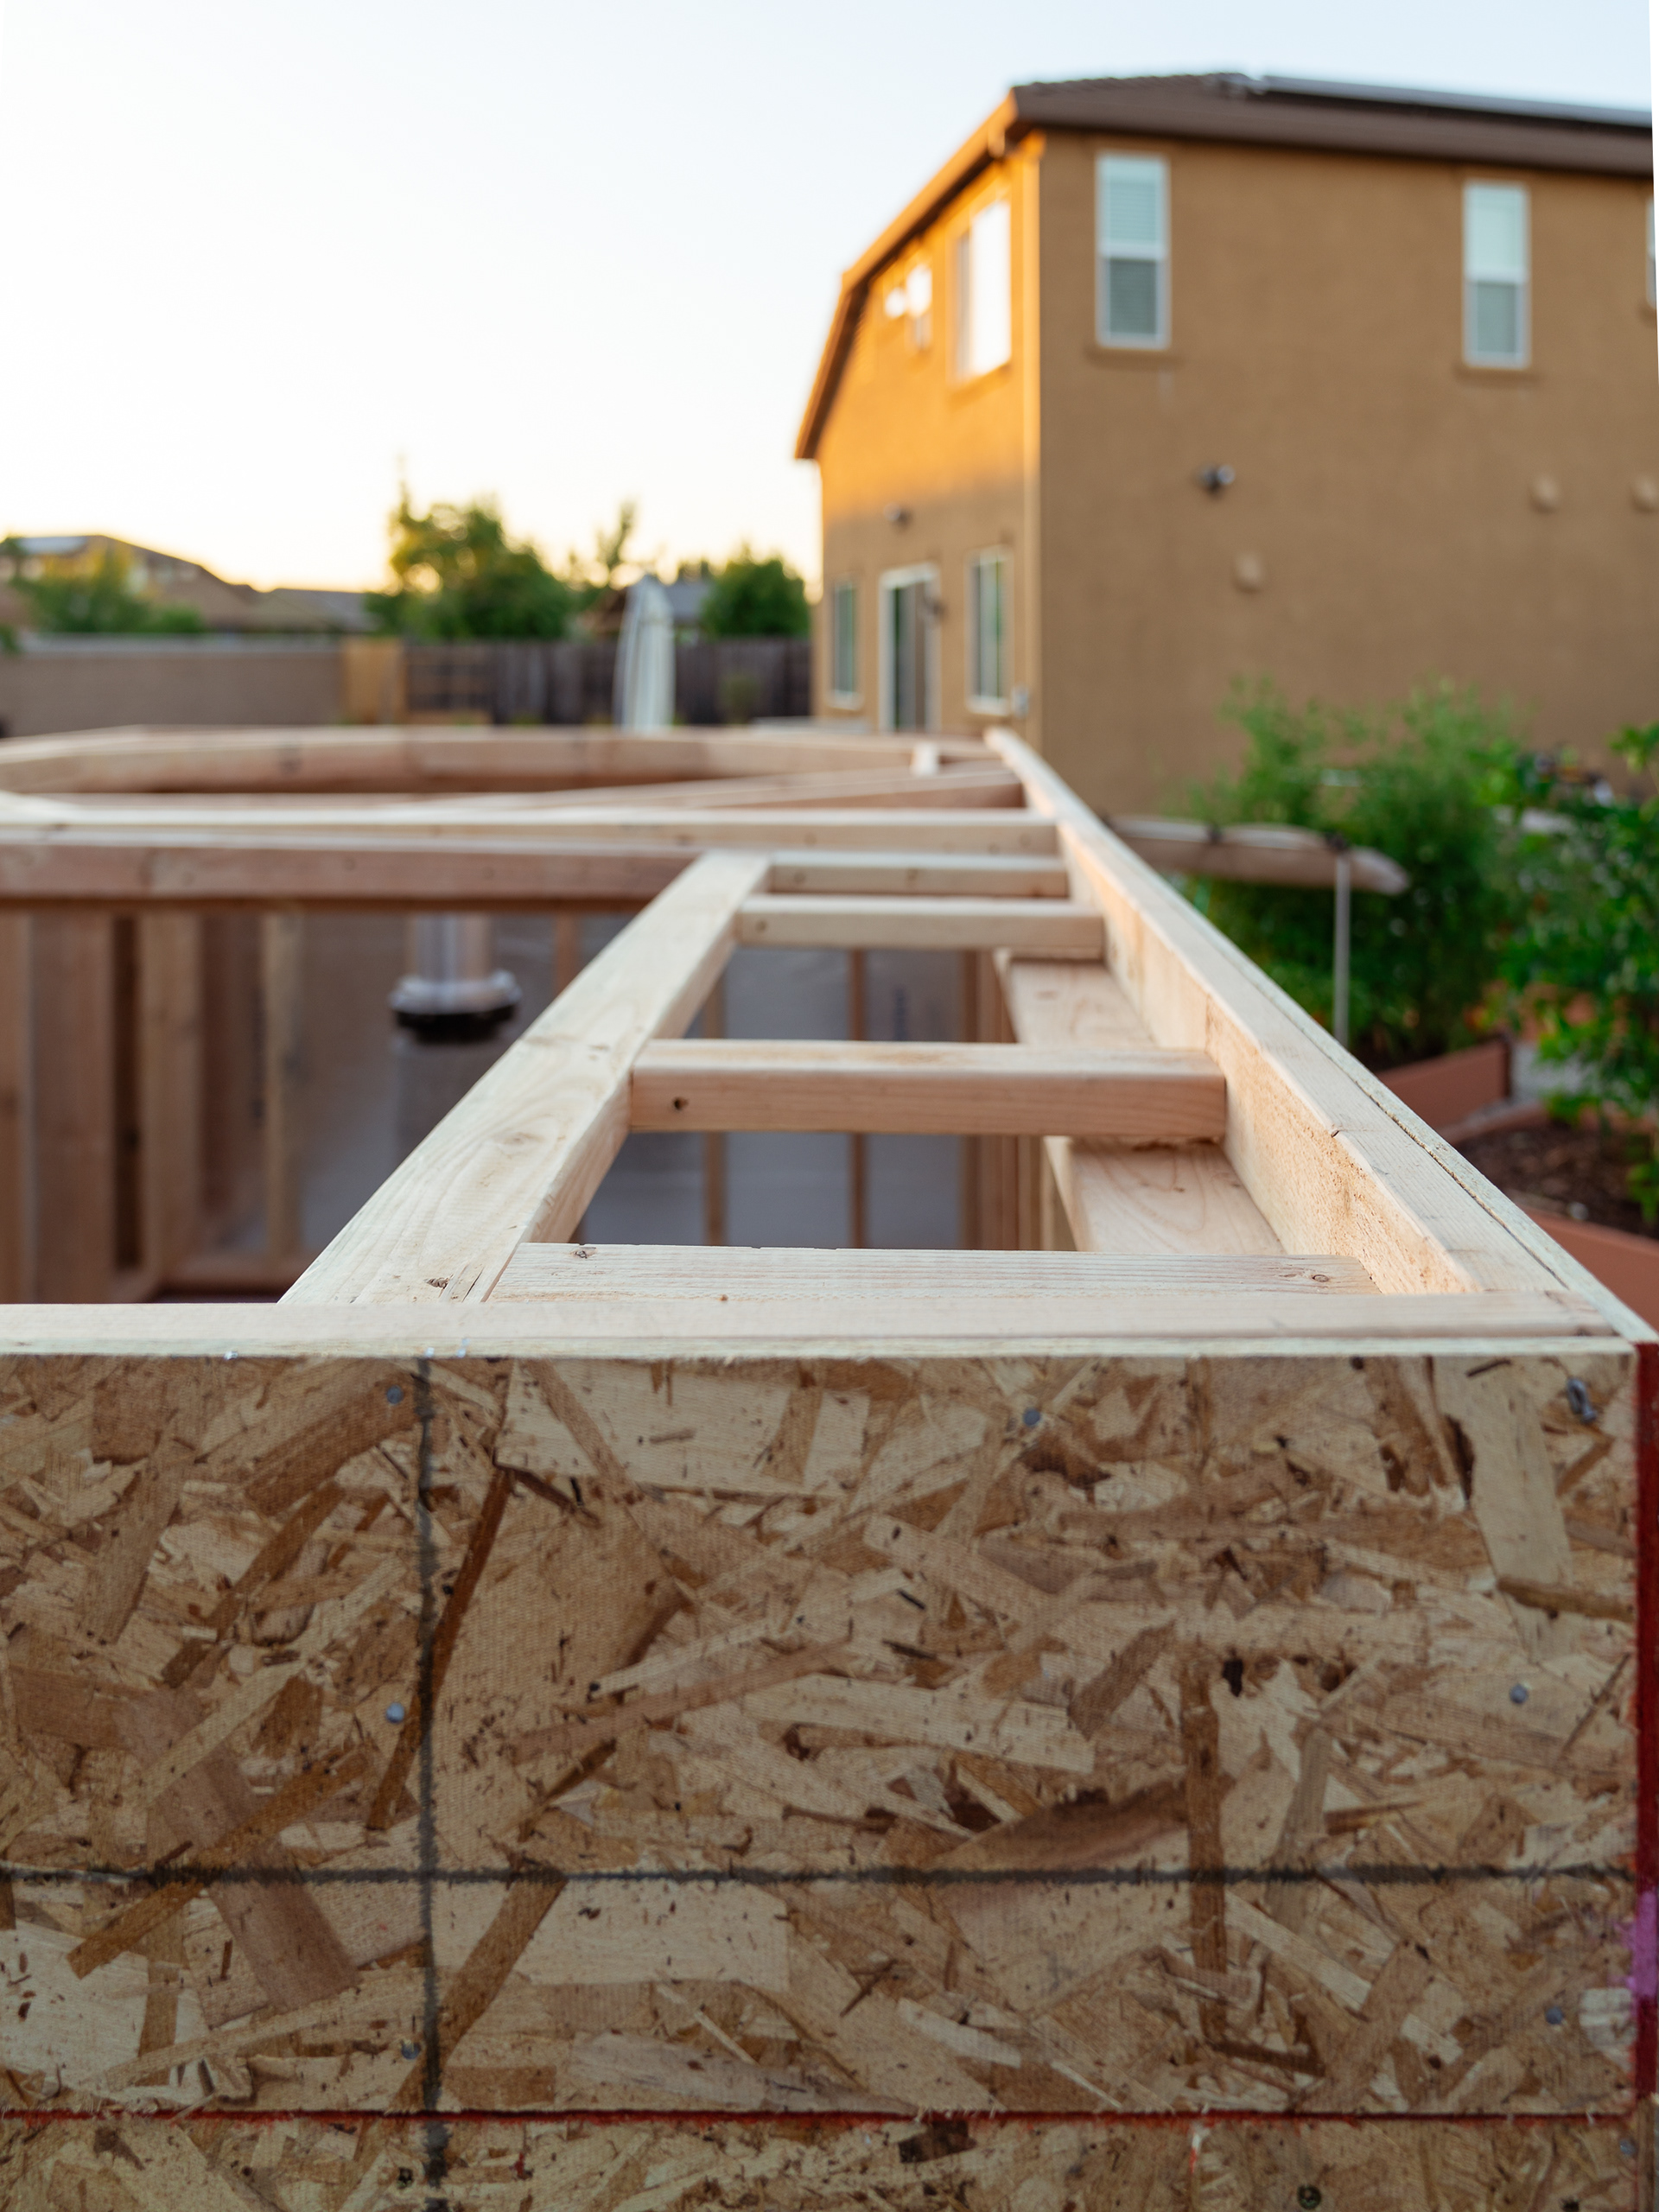
Wall framing was done following standard 16"-on-center pattern with 2"x4" studs, sheathed with 4'x8' OSB TechSield Radiant Barrier. I decided to simplify the process and made walls 4' high which reduced the amount of cutting required and made most other material decisions easy since most raw materials are available to accommodate 4'x8' dimensions. This height ended up being a good match for other design requirements (roll-off roof and solar panel slide-off rack) as well as put the mount at the correct (and convenient) height in relation to the dome opening and horizon clearance.
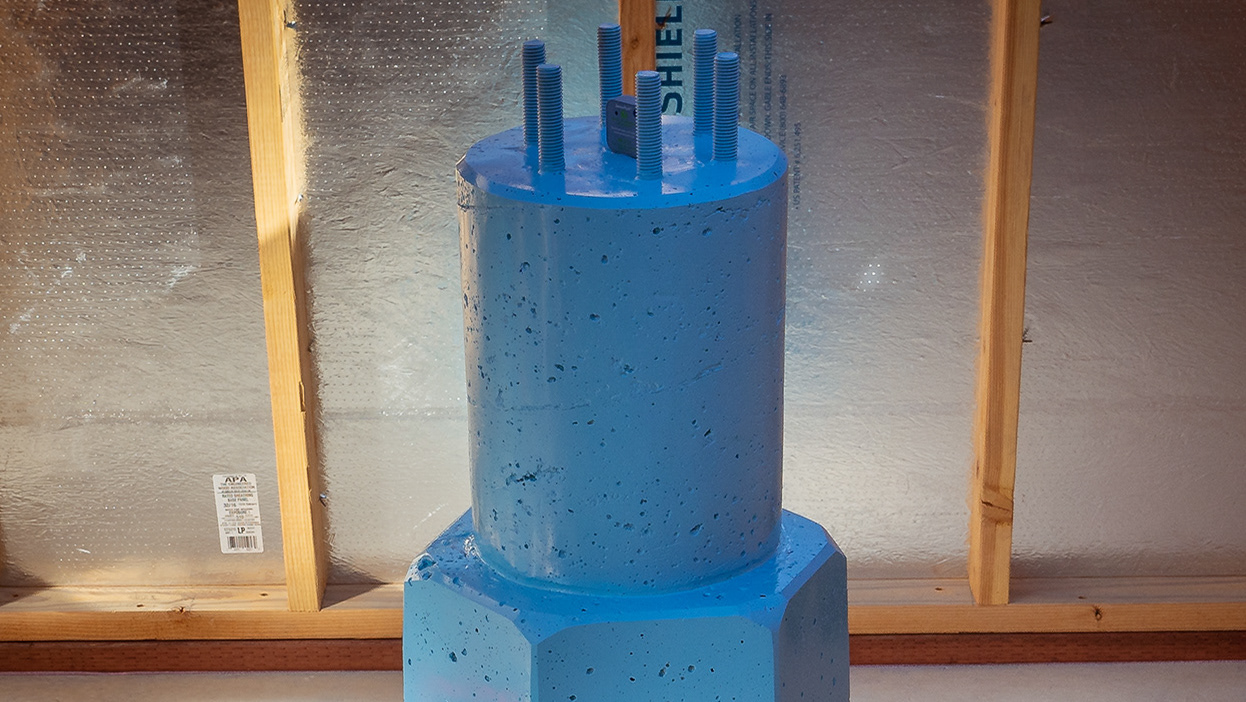
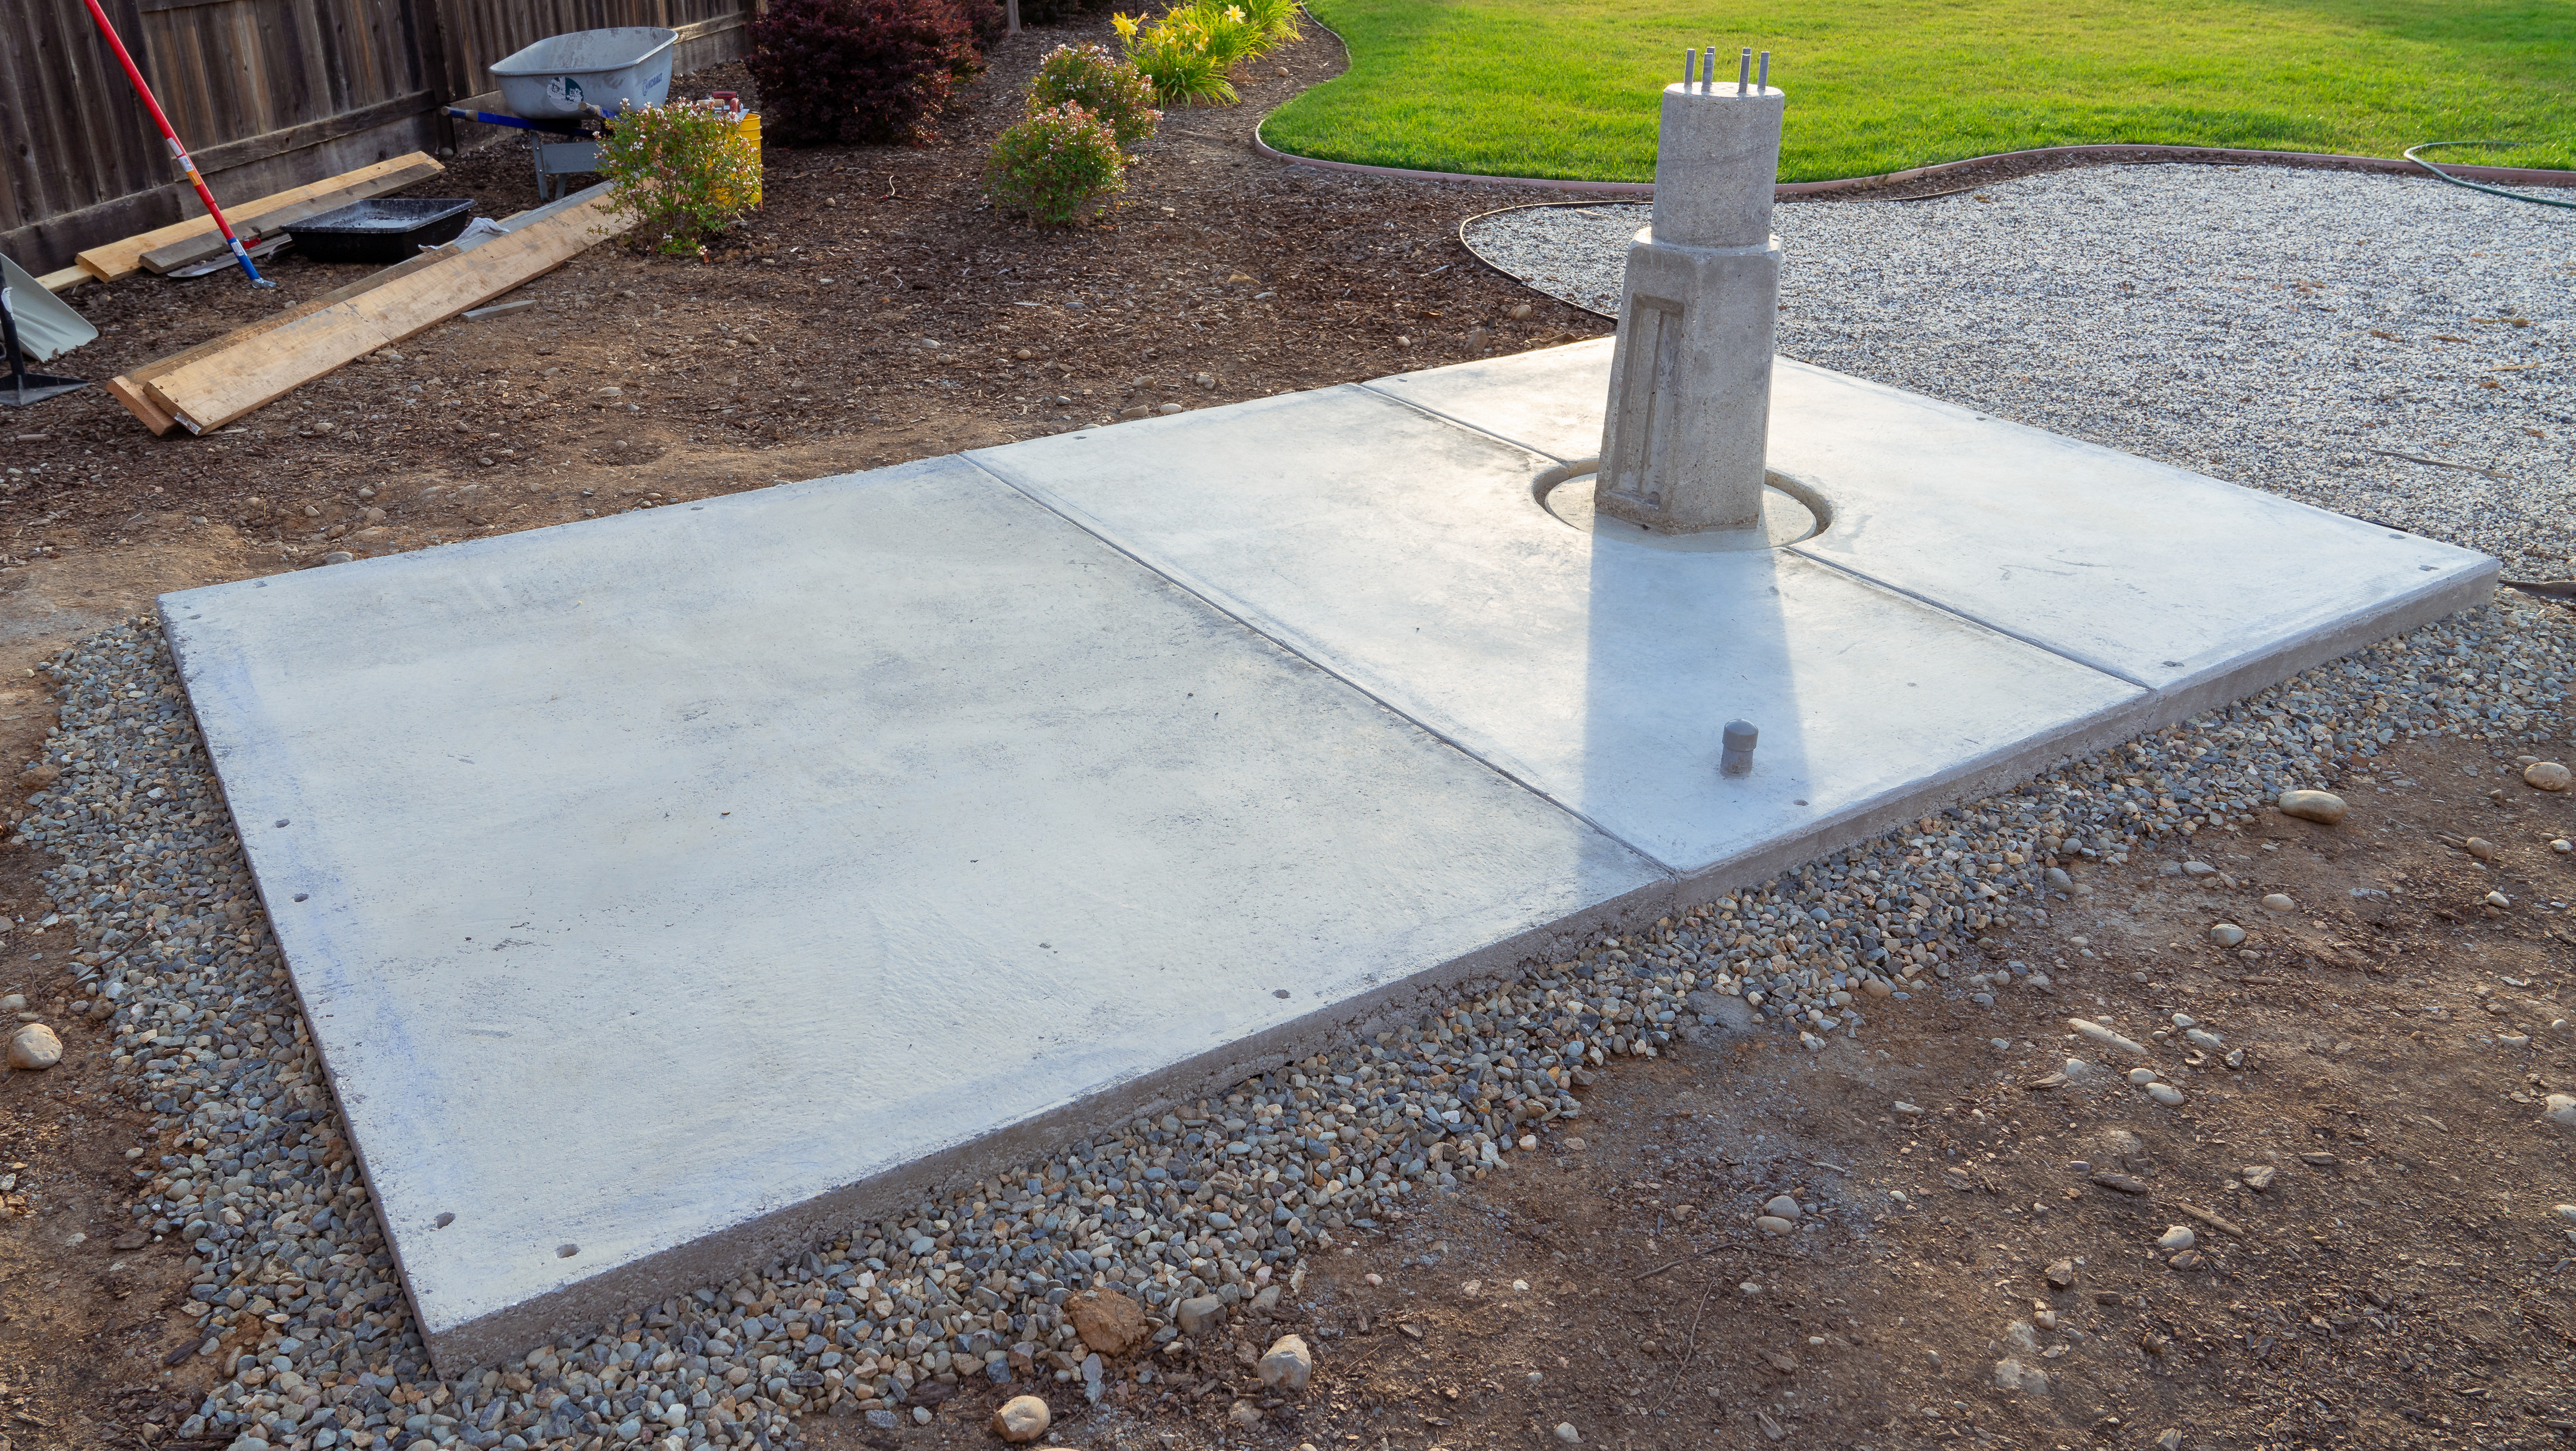
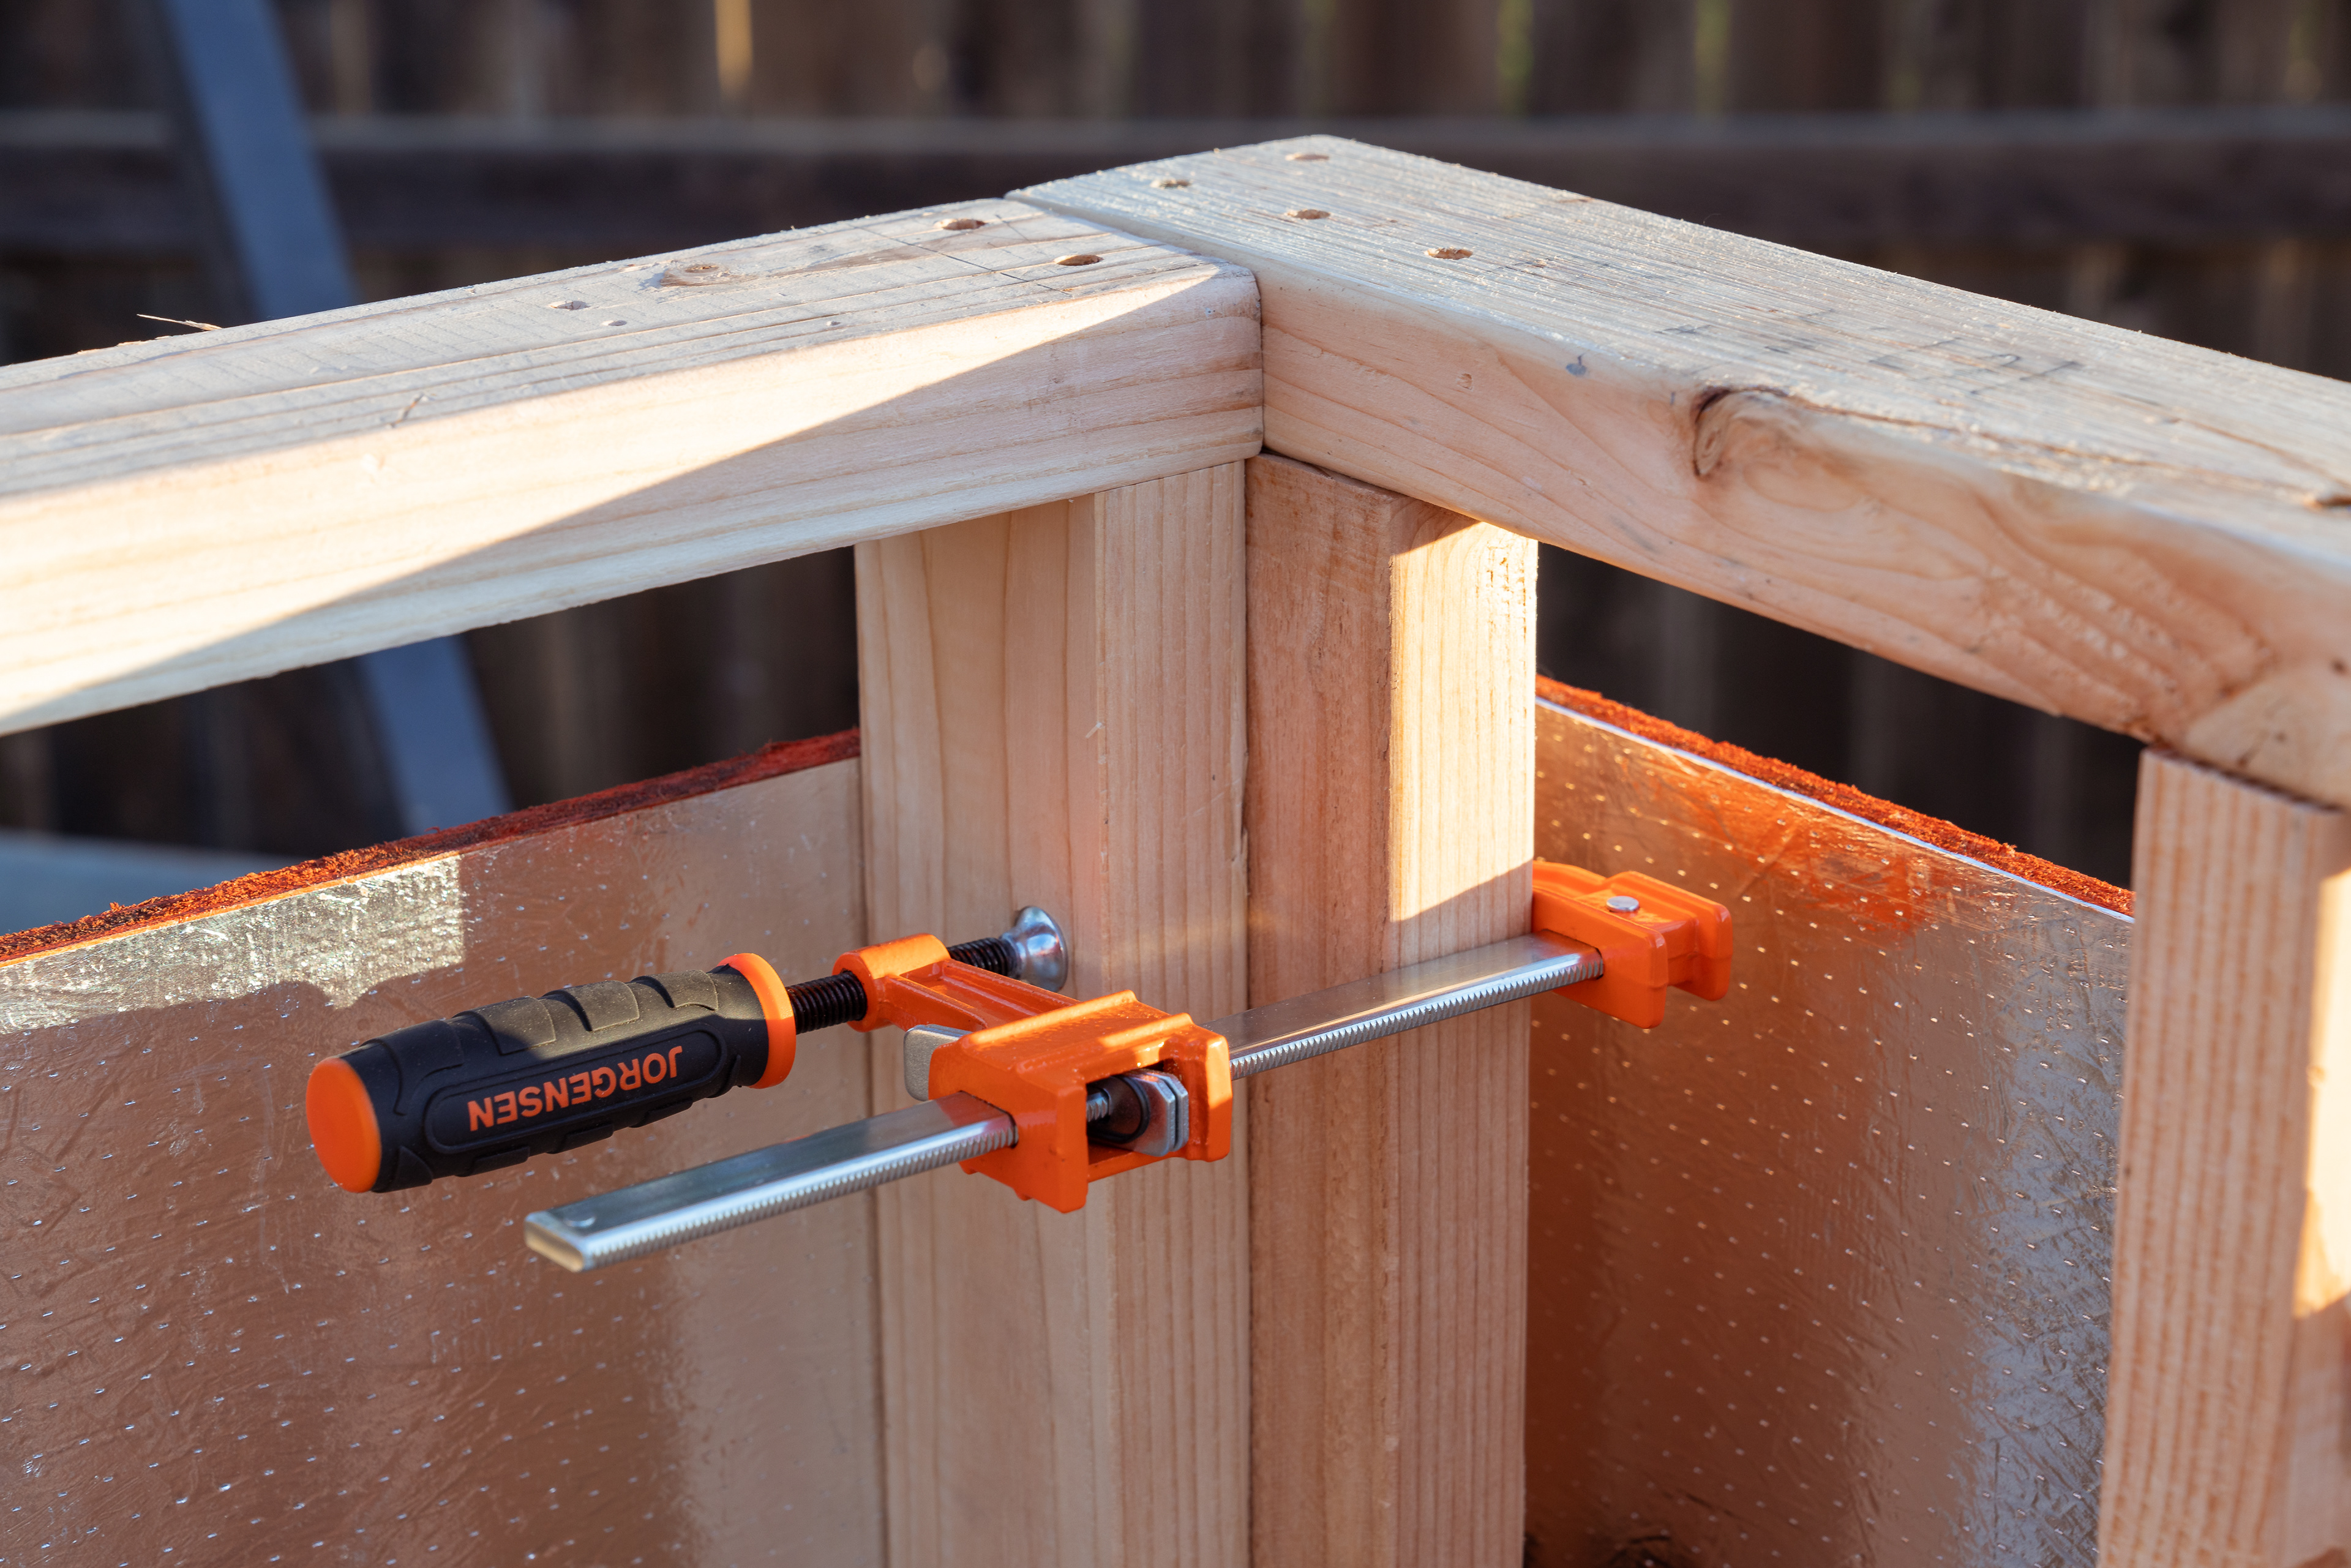
I've used GRK R4 screws for most of of framing, sheeting, and most other attachments... an expensive, but very secure and easy to use fastener. I followed the guides by NSM Construction to learn the basics of home building which were immensely helpful since I've never done this sort of work in the past. The walls were attached to the 2"x4" pressure treated sill which itself was secured to the concrete pad via 14 anchor bolts which I drilled and epoxied in earlier.
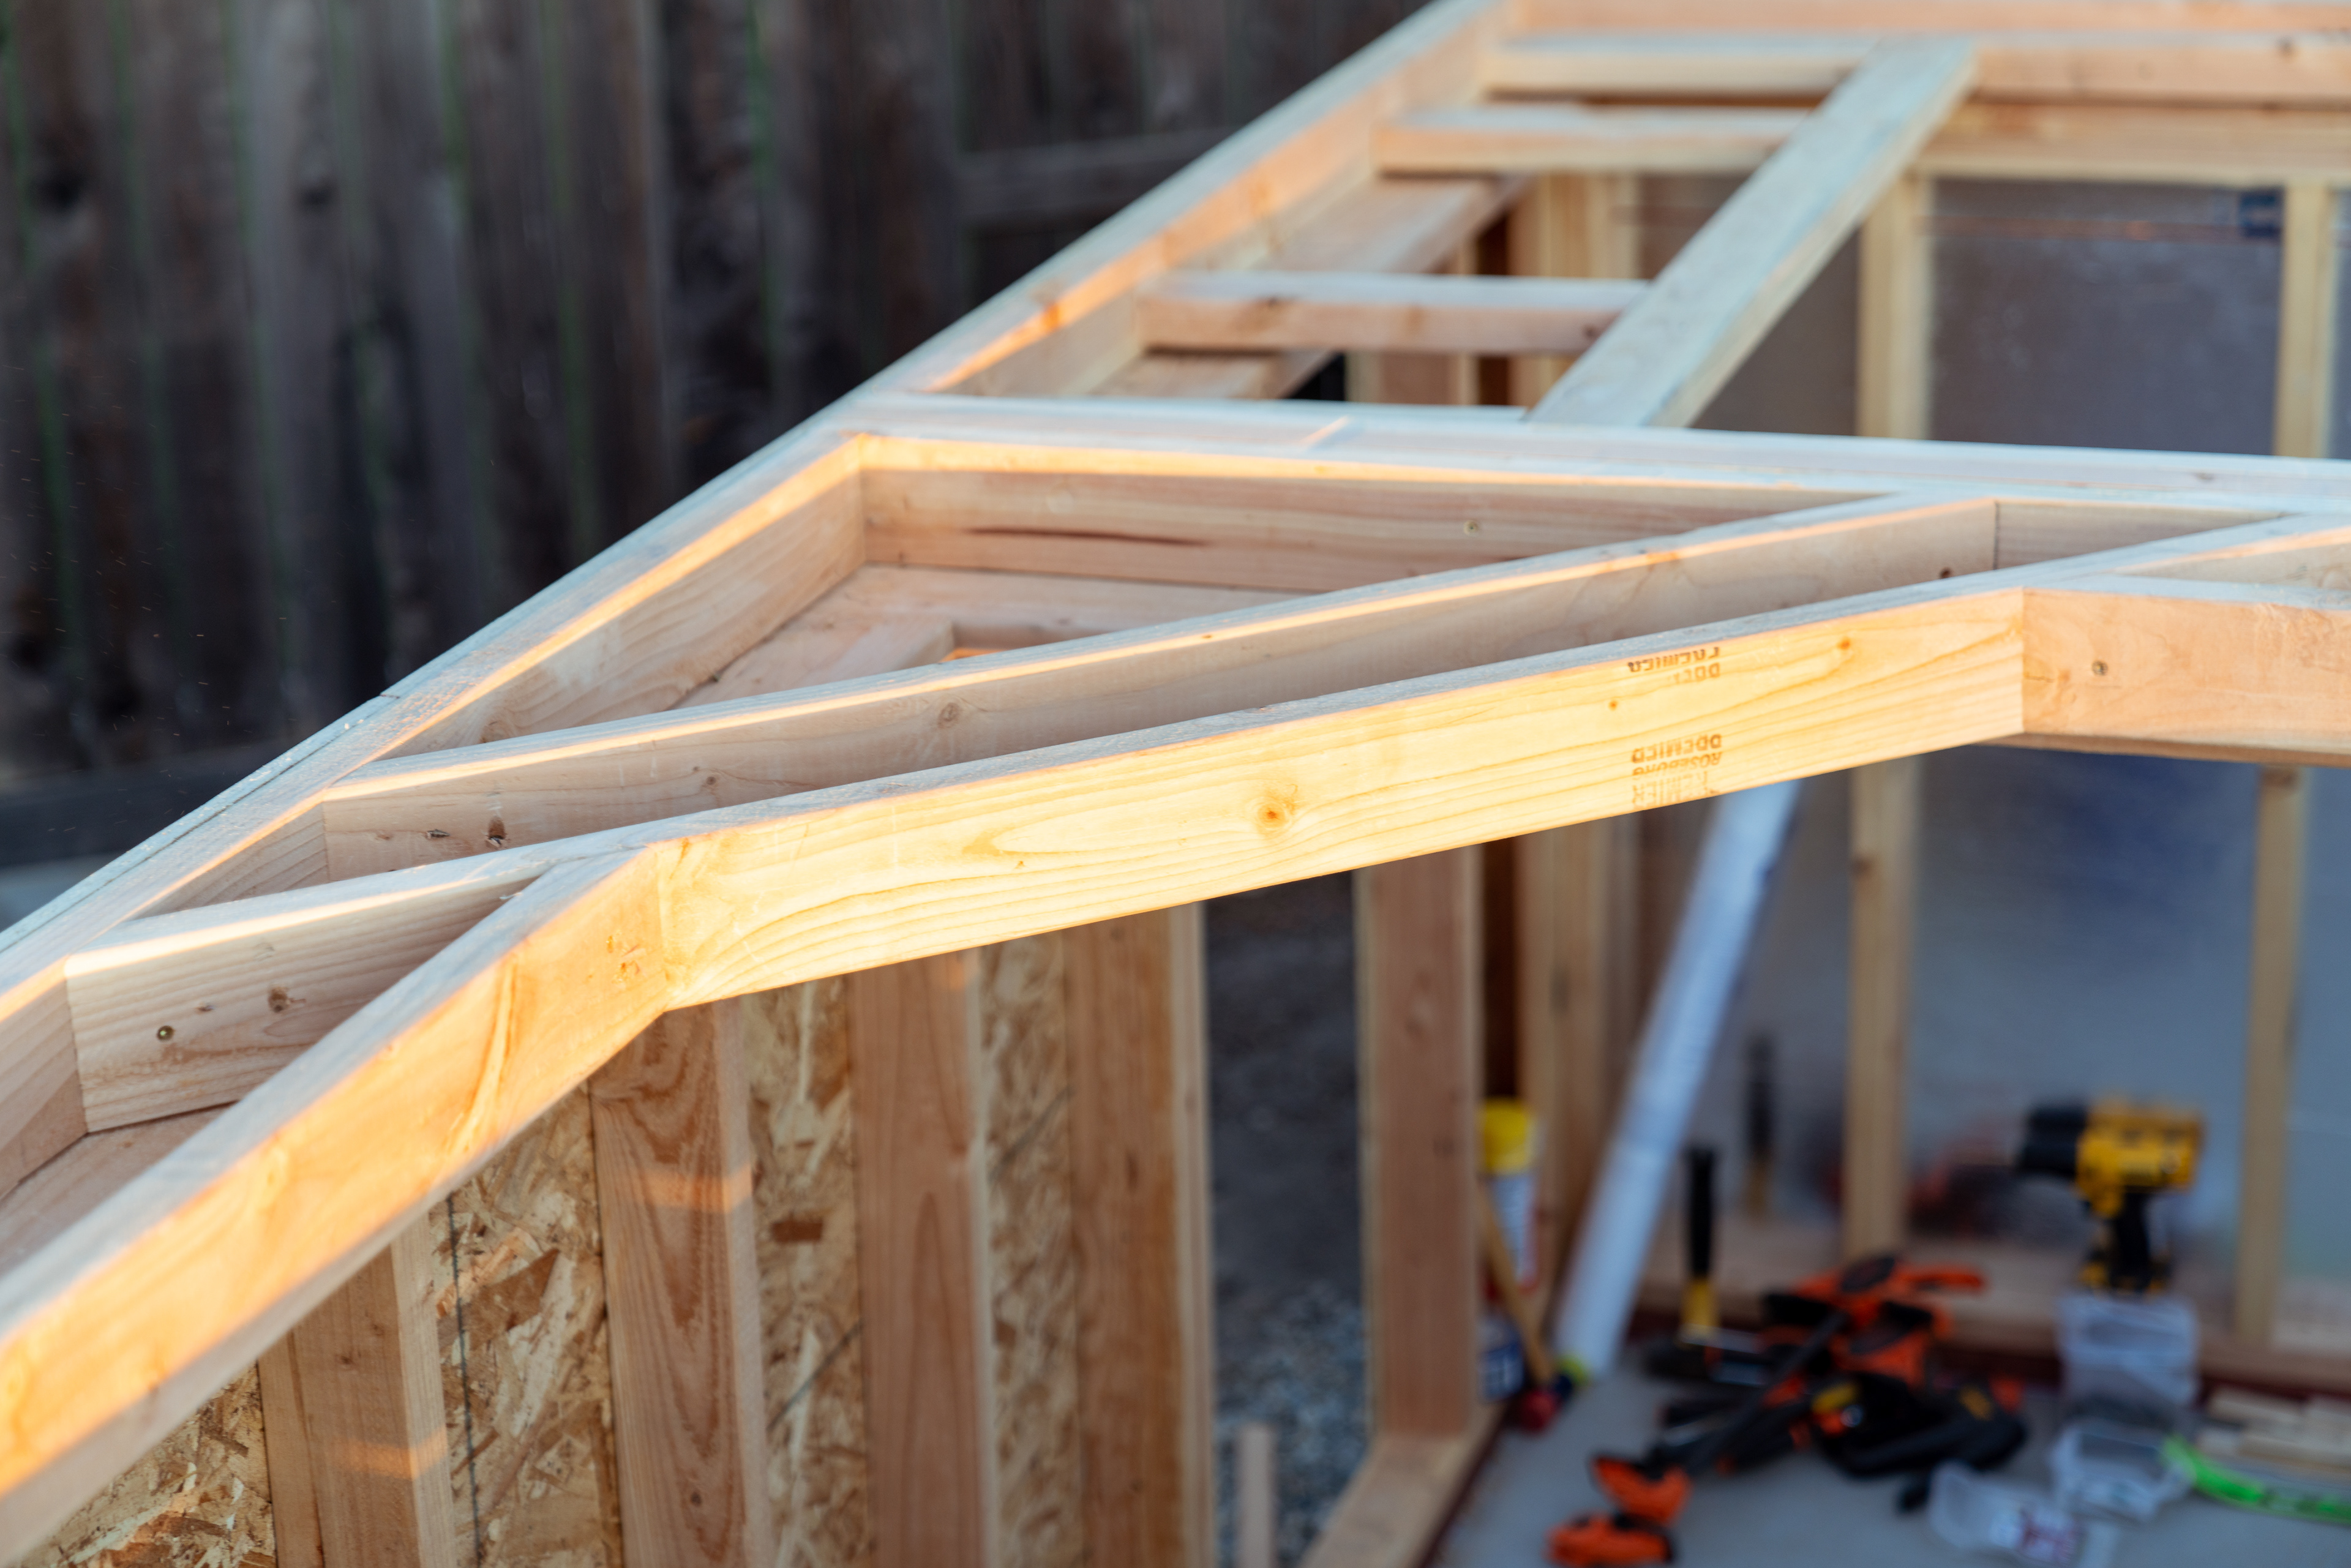
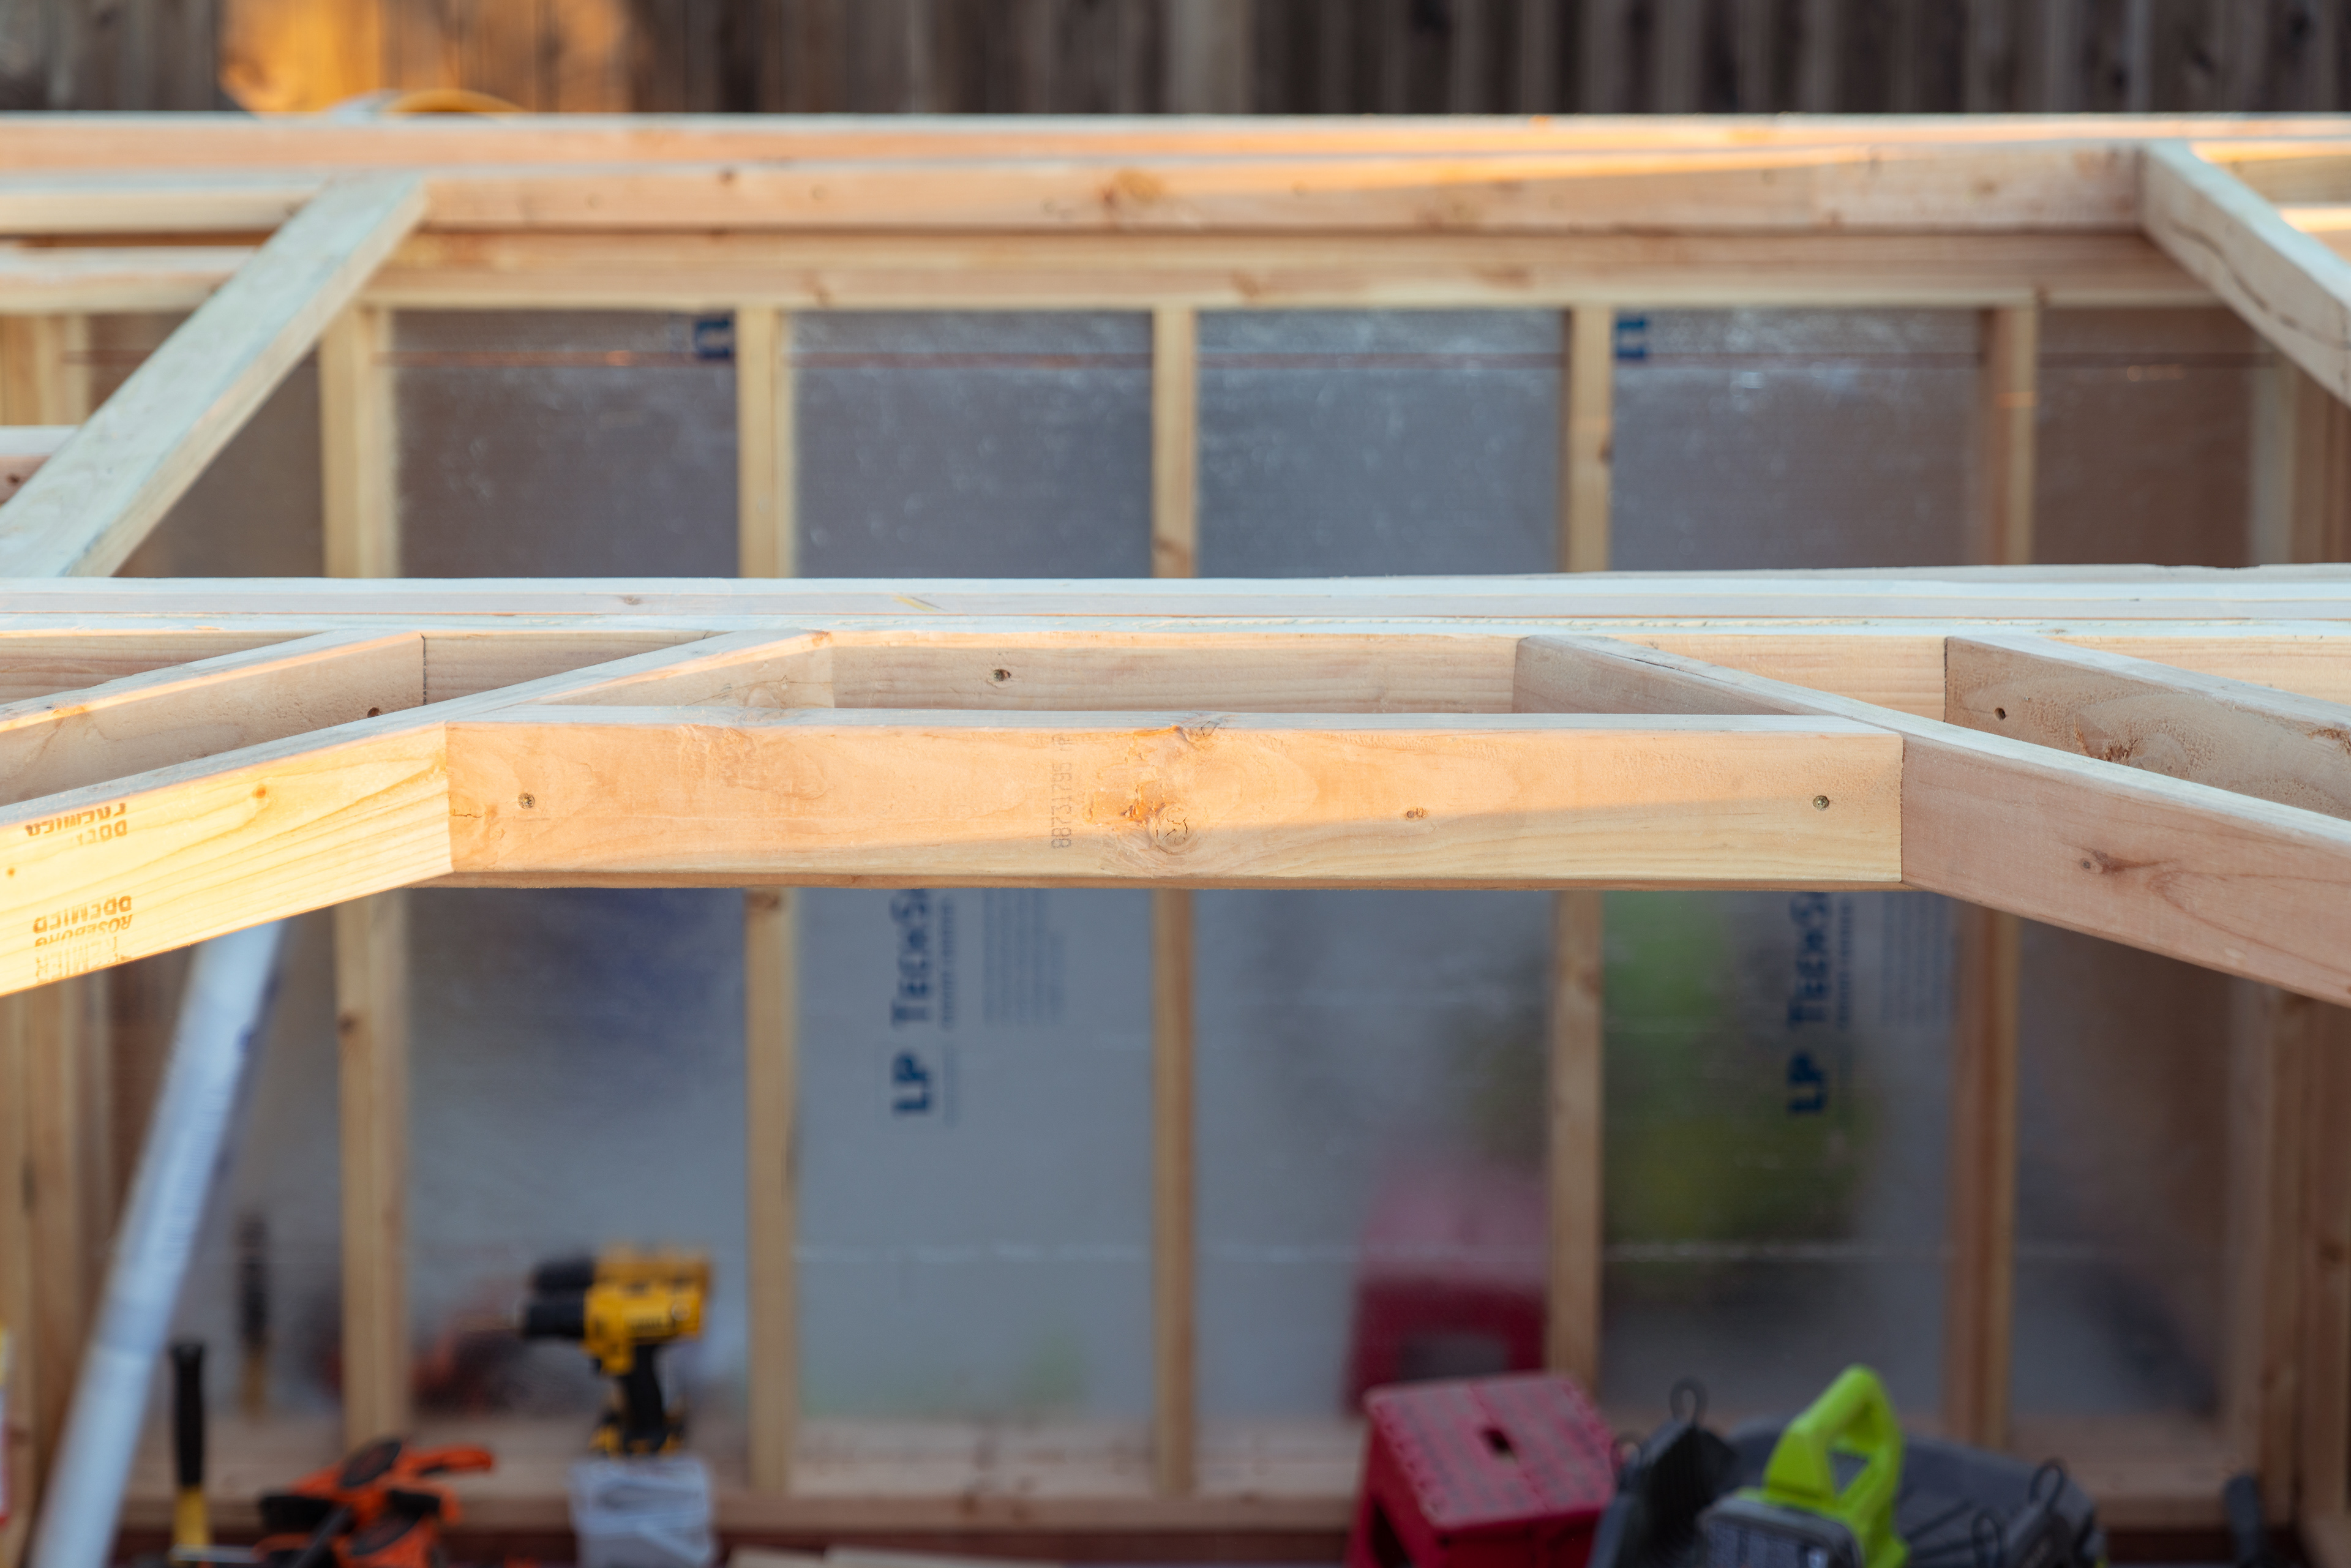
Next I framed roof support and reinforced where I thought it made sense. The most complex part was to design and frame the unique slope requirements for the roll-off part of the roof, which I've changed a couple of times as I went along.
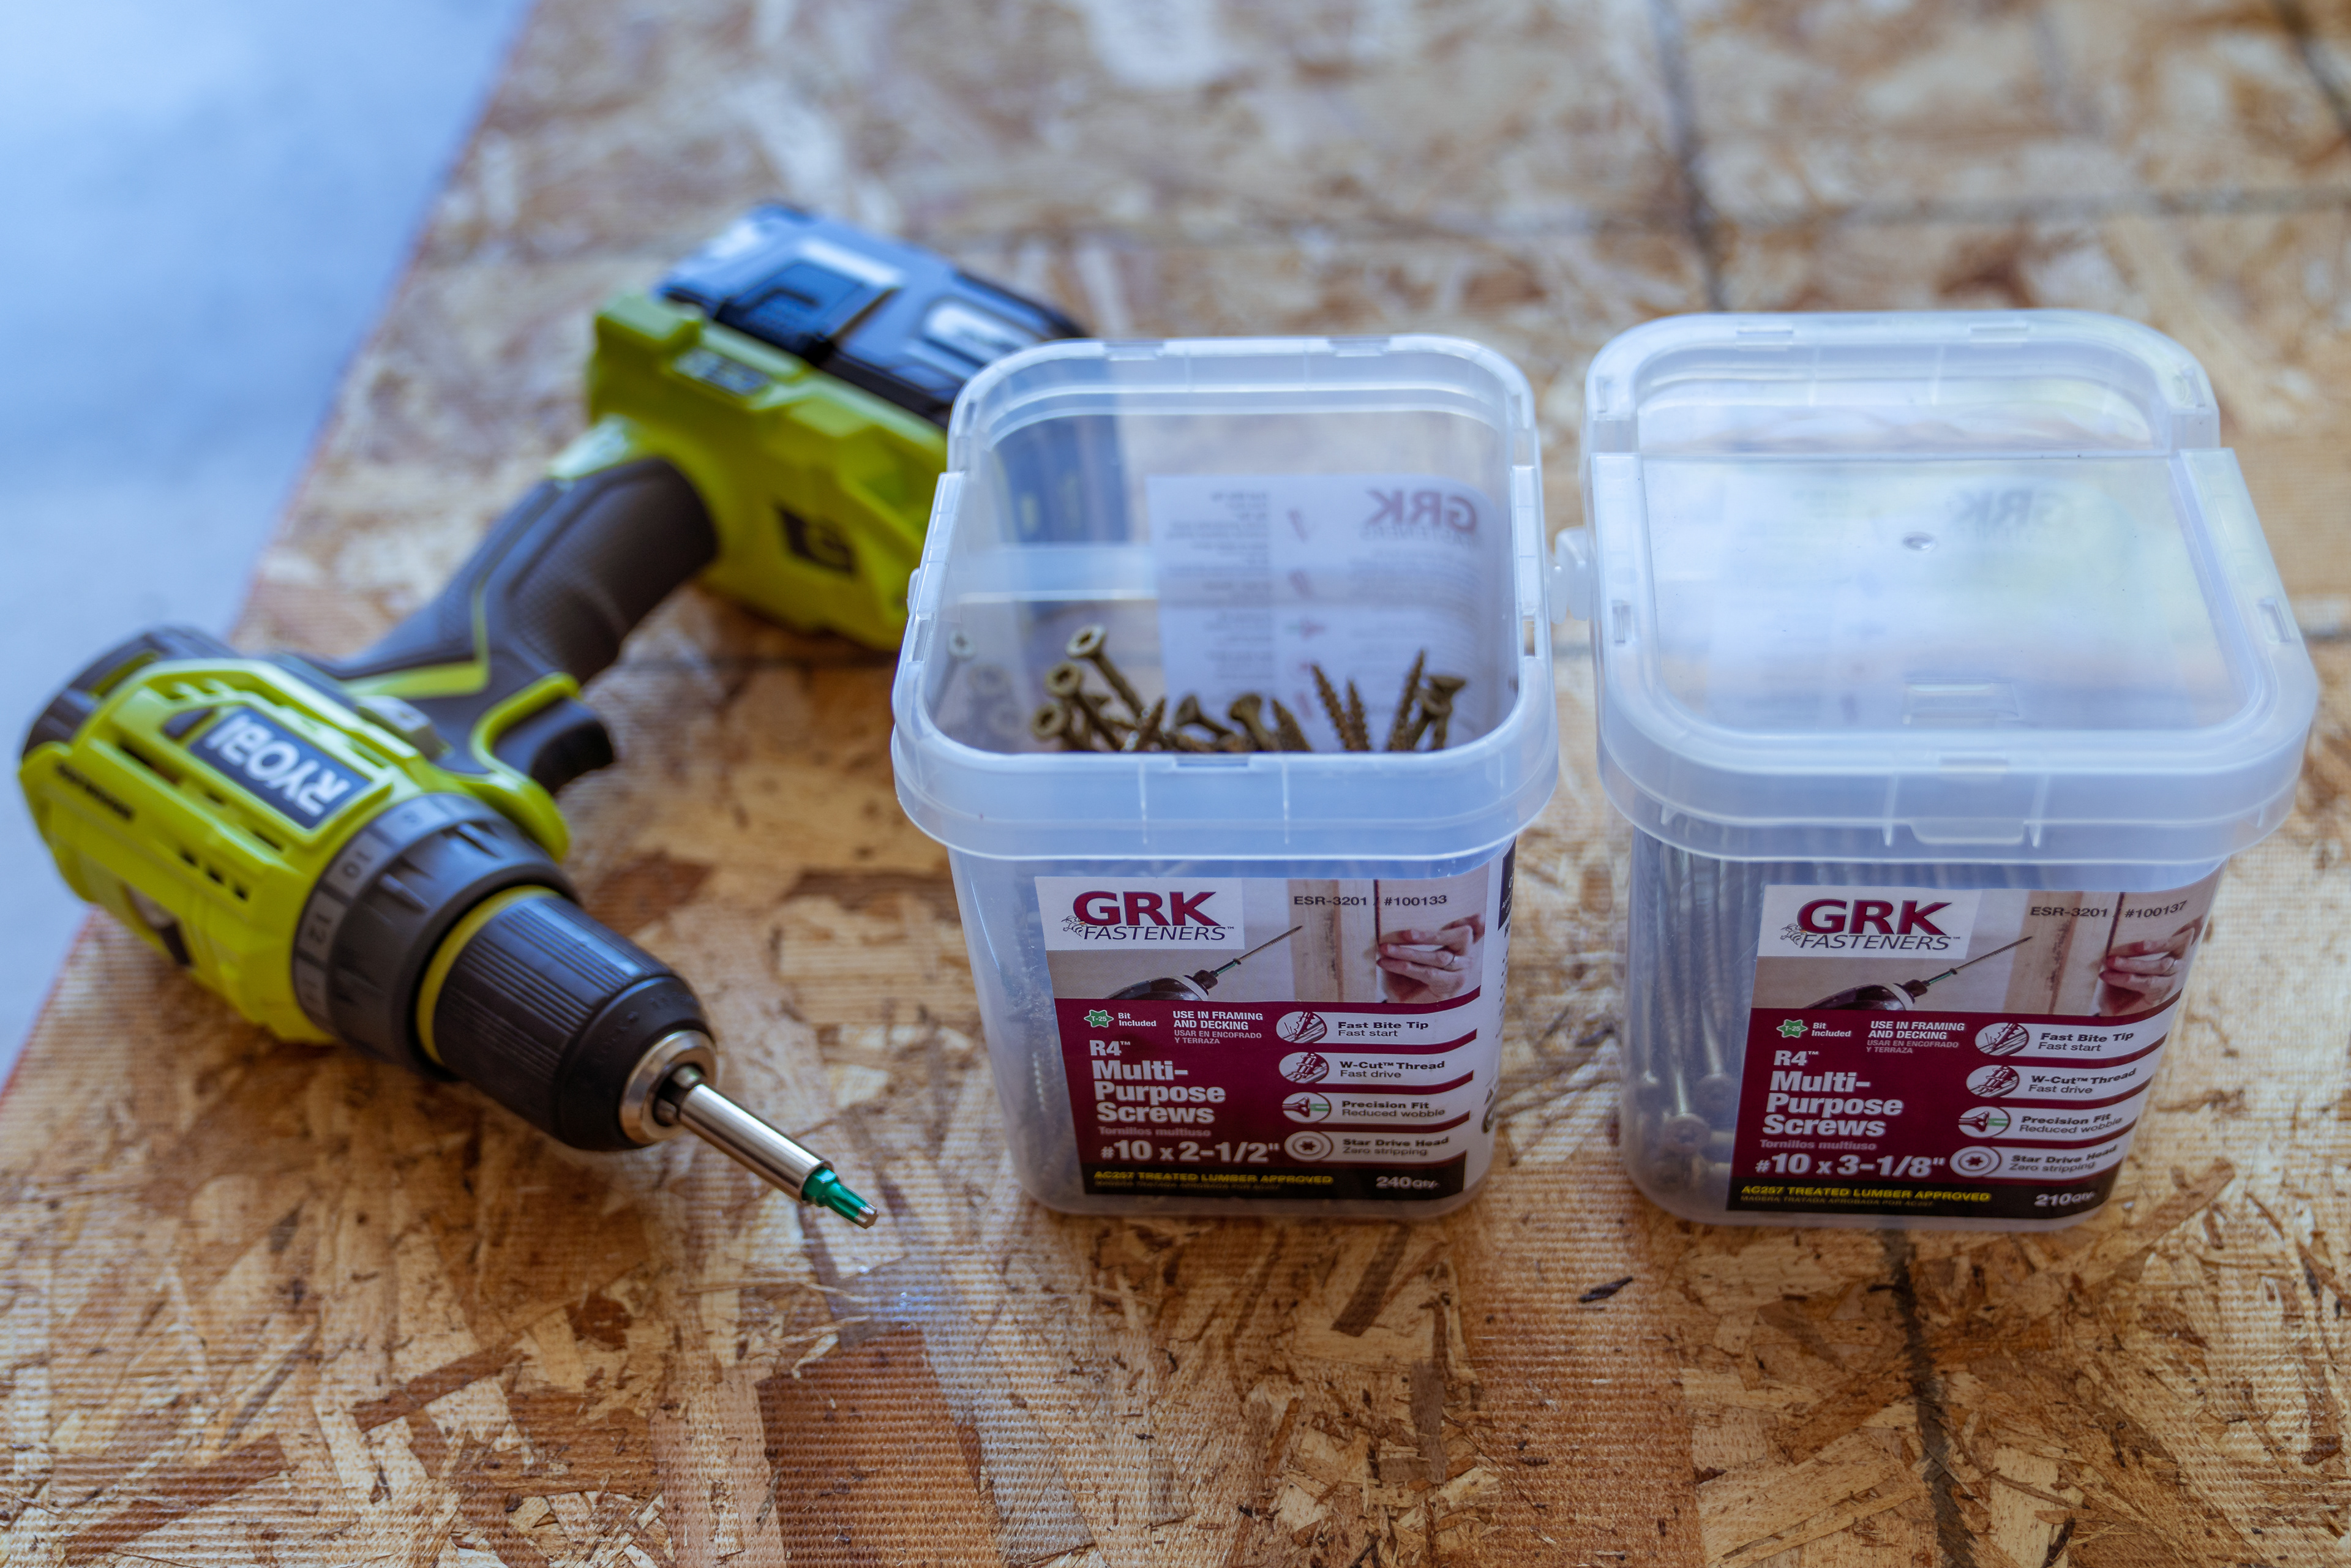
GRK hardware - my favorite screws
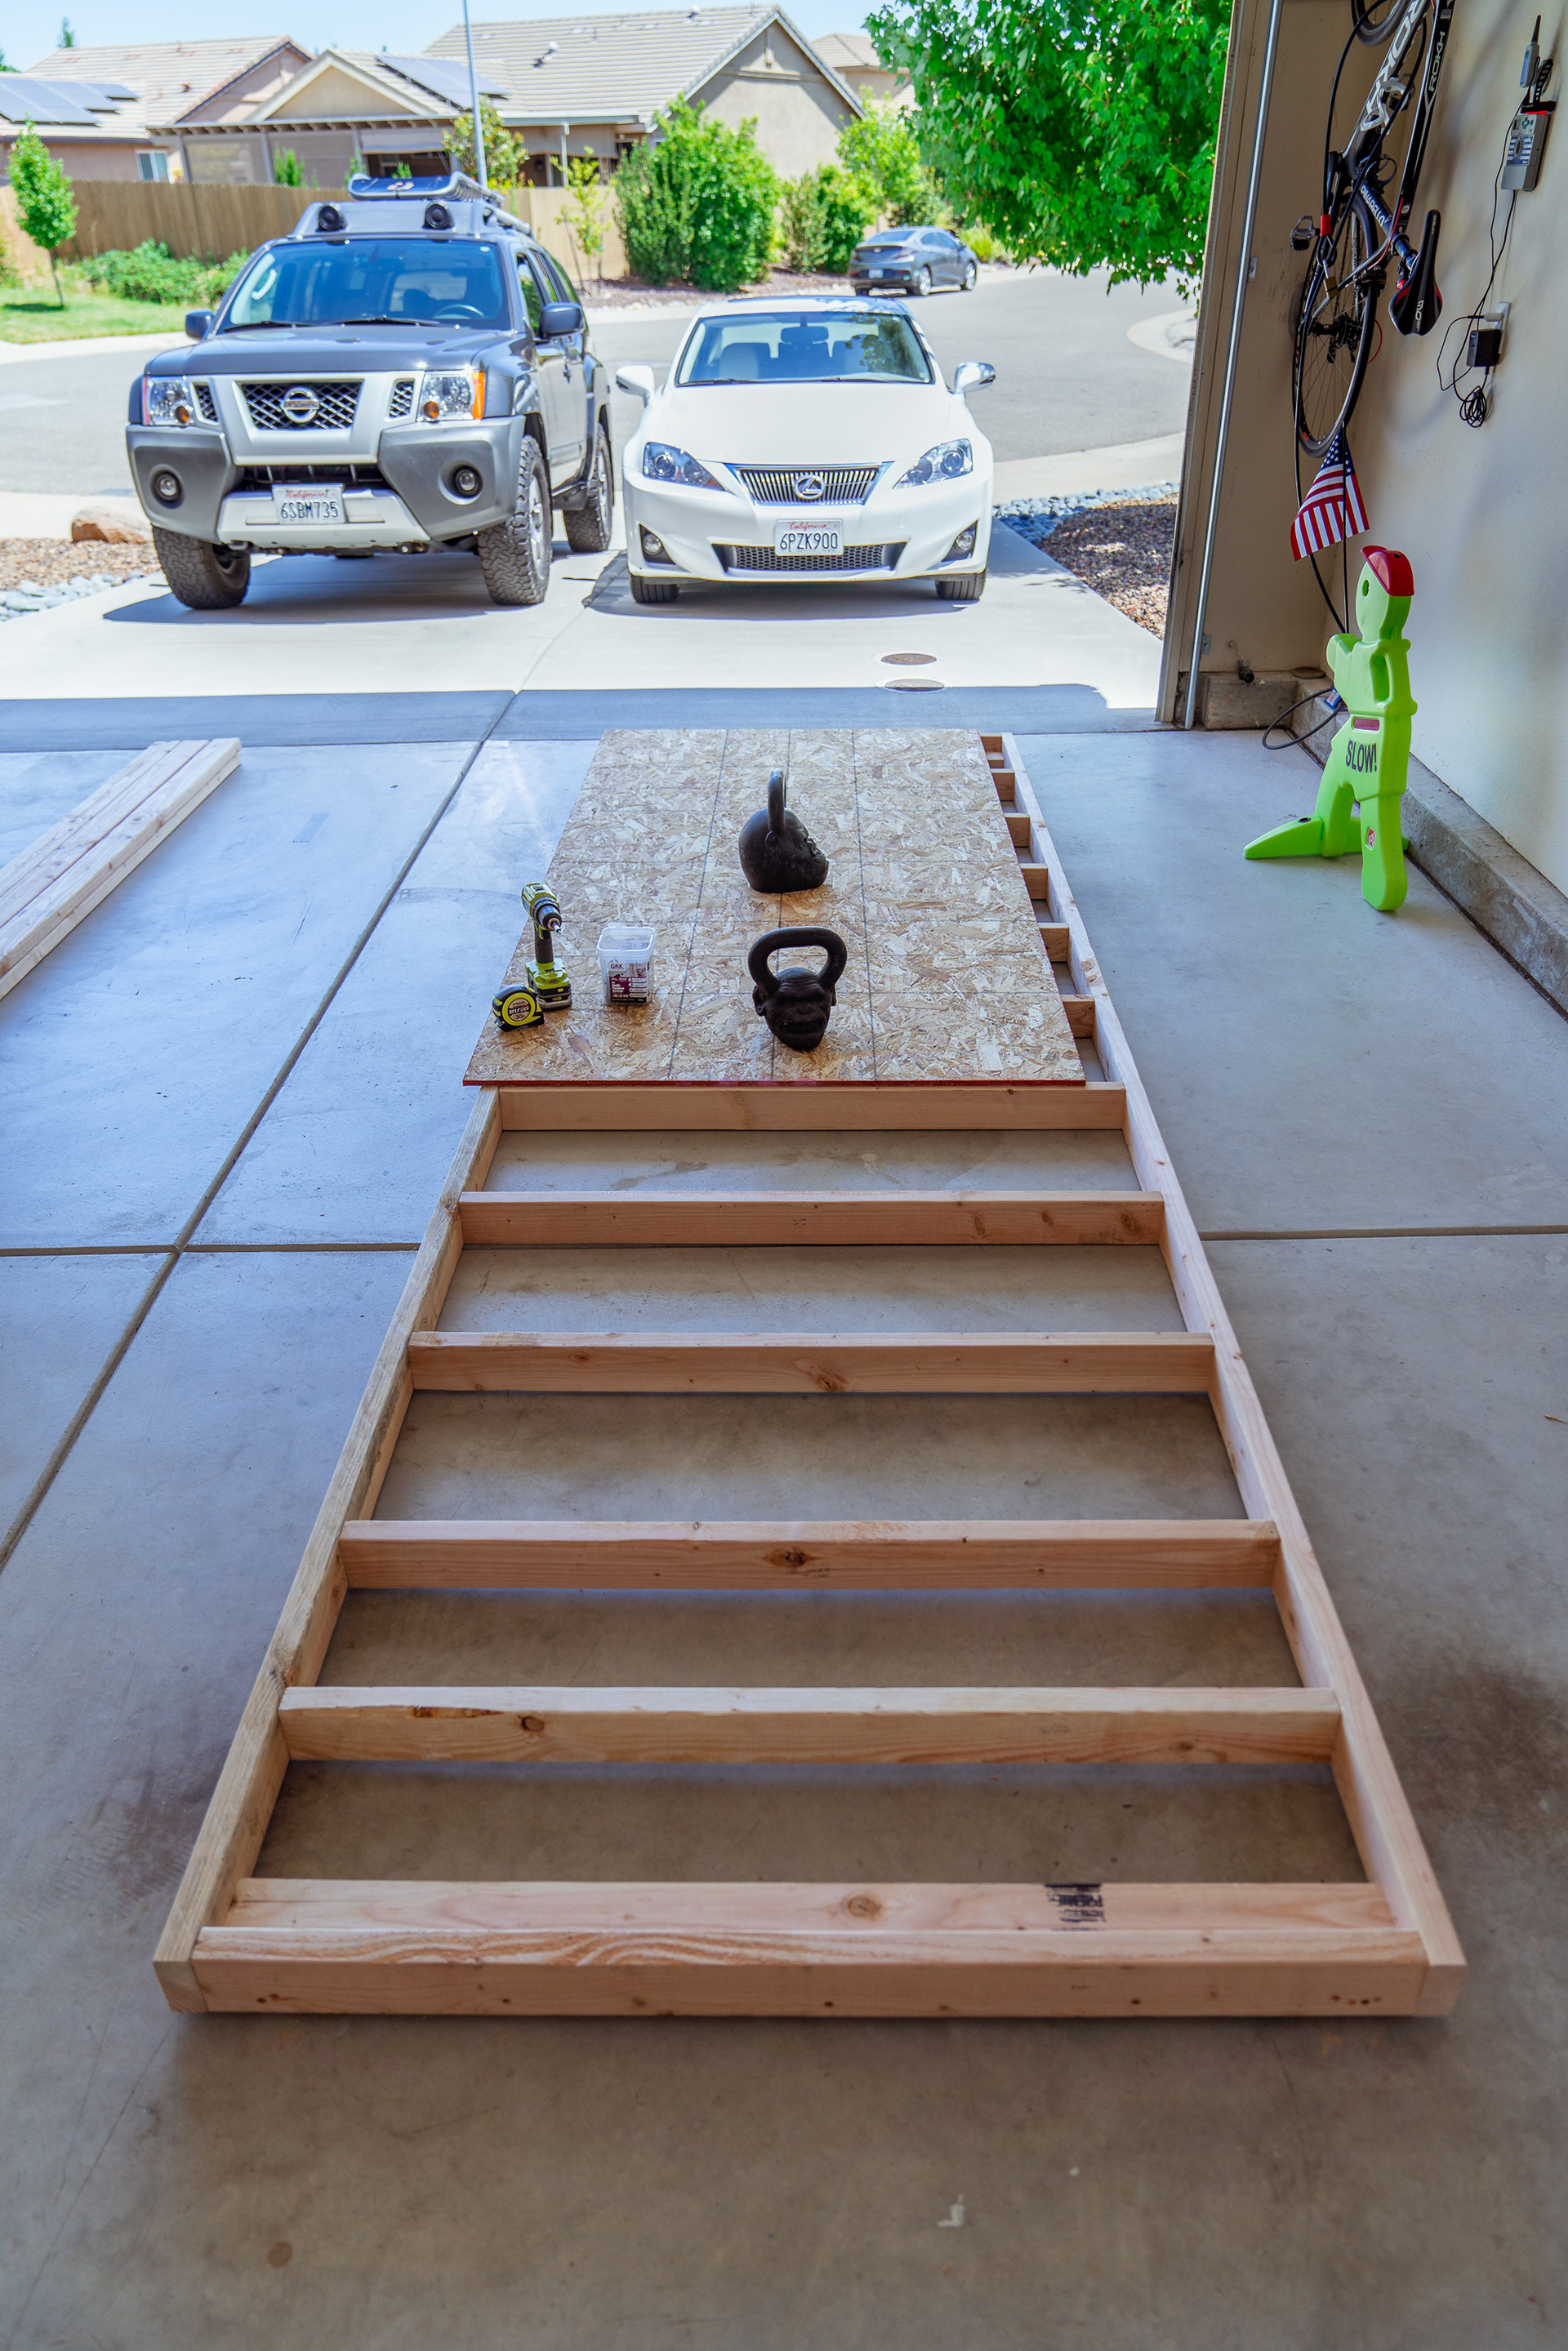
Wall framing done in the garage
Clean cuts
Wall framing

3 done 1 more to go
Testing pier riser height
Well squared walls make installation simple
All squared and reinforced all over
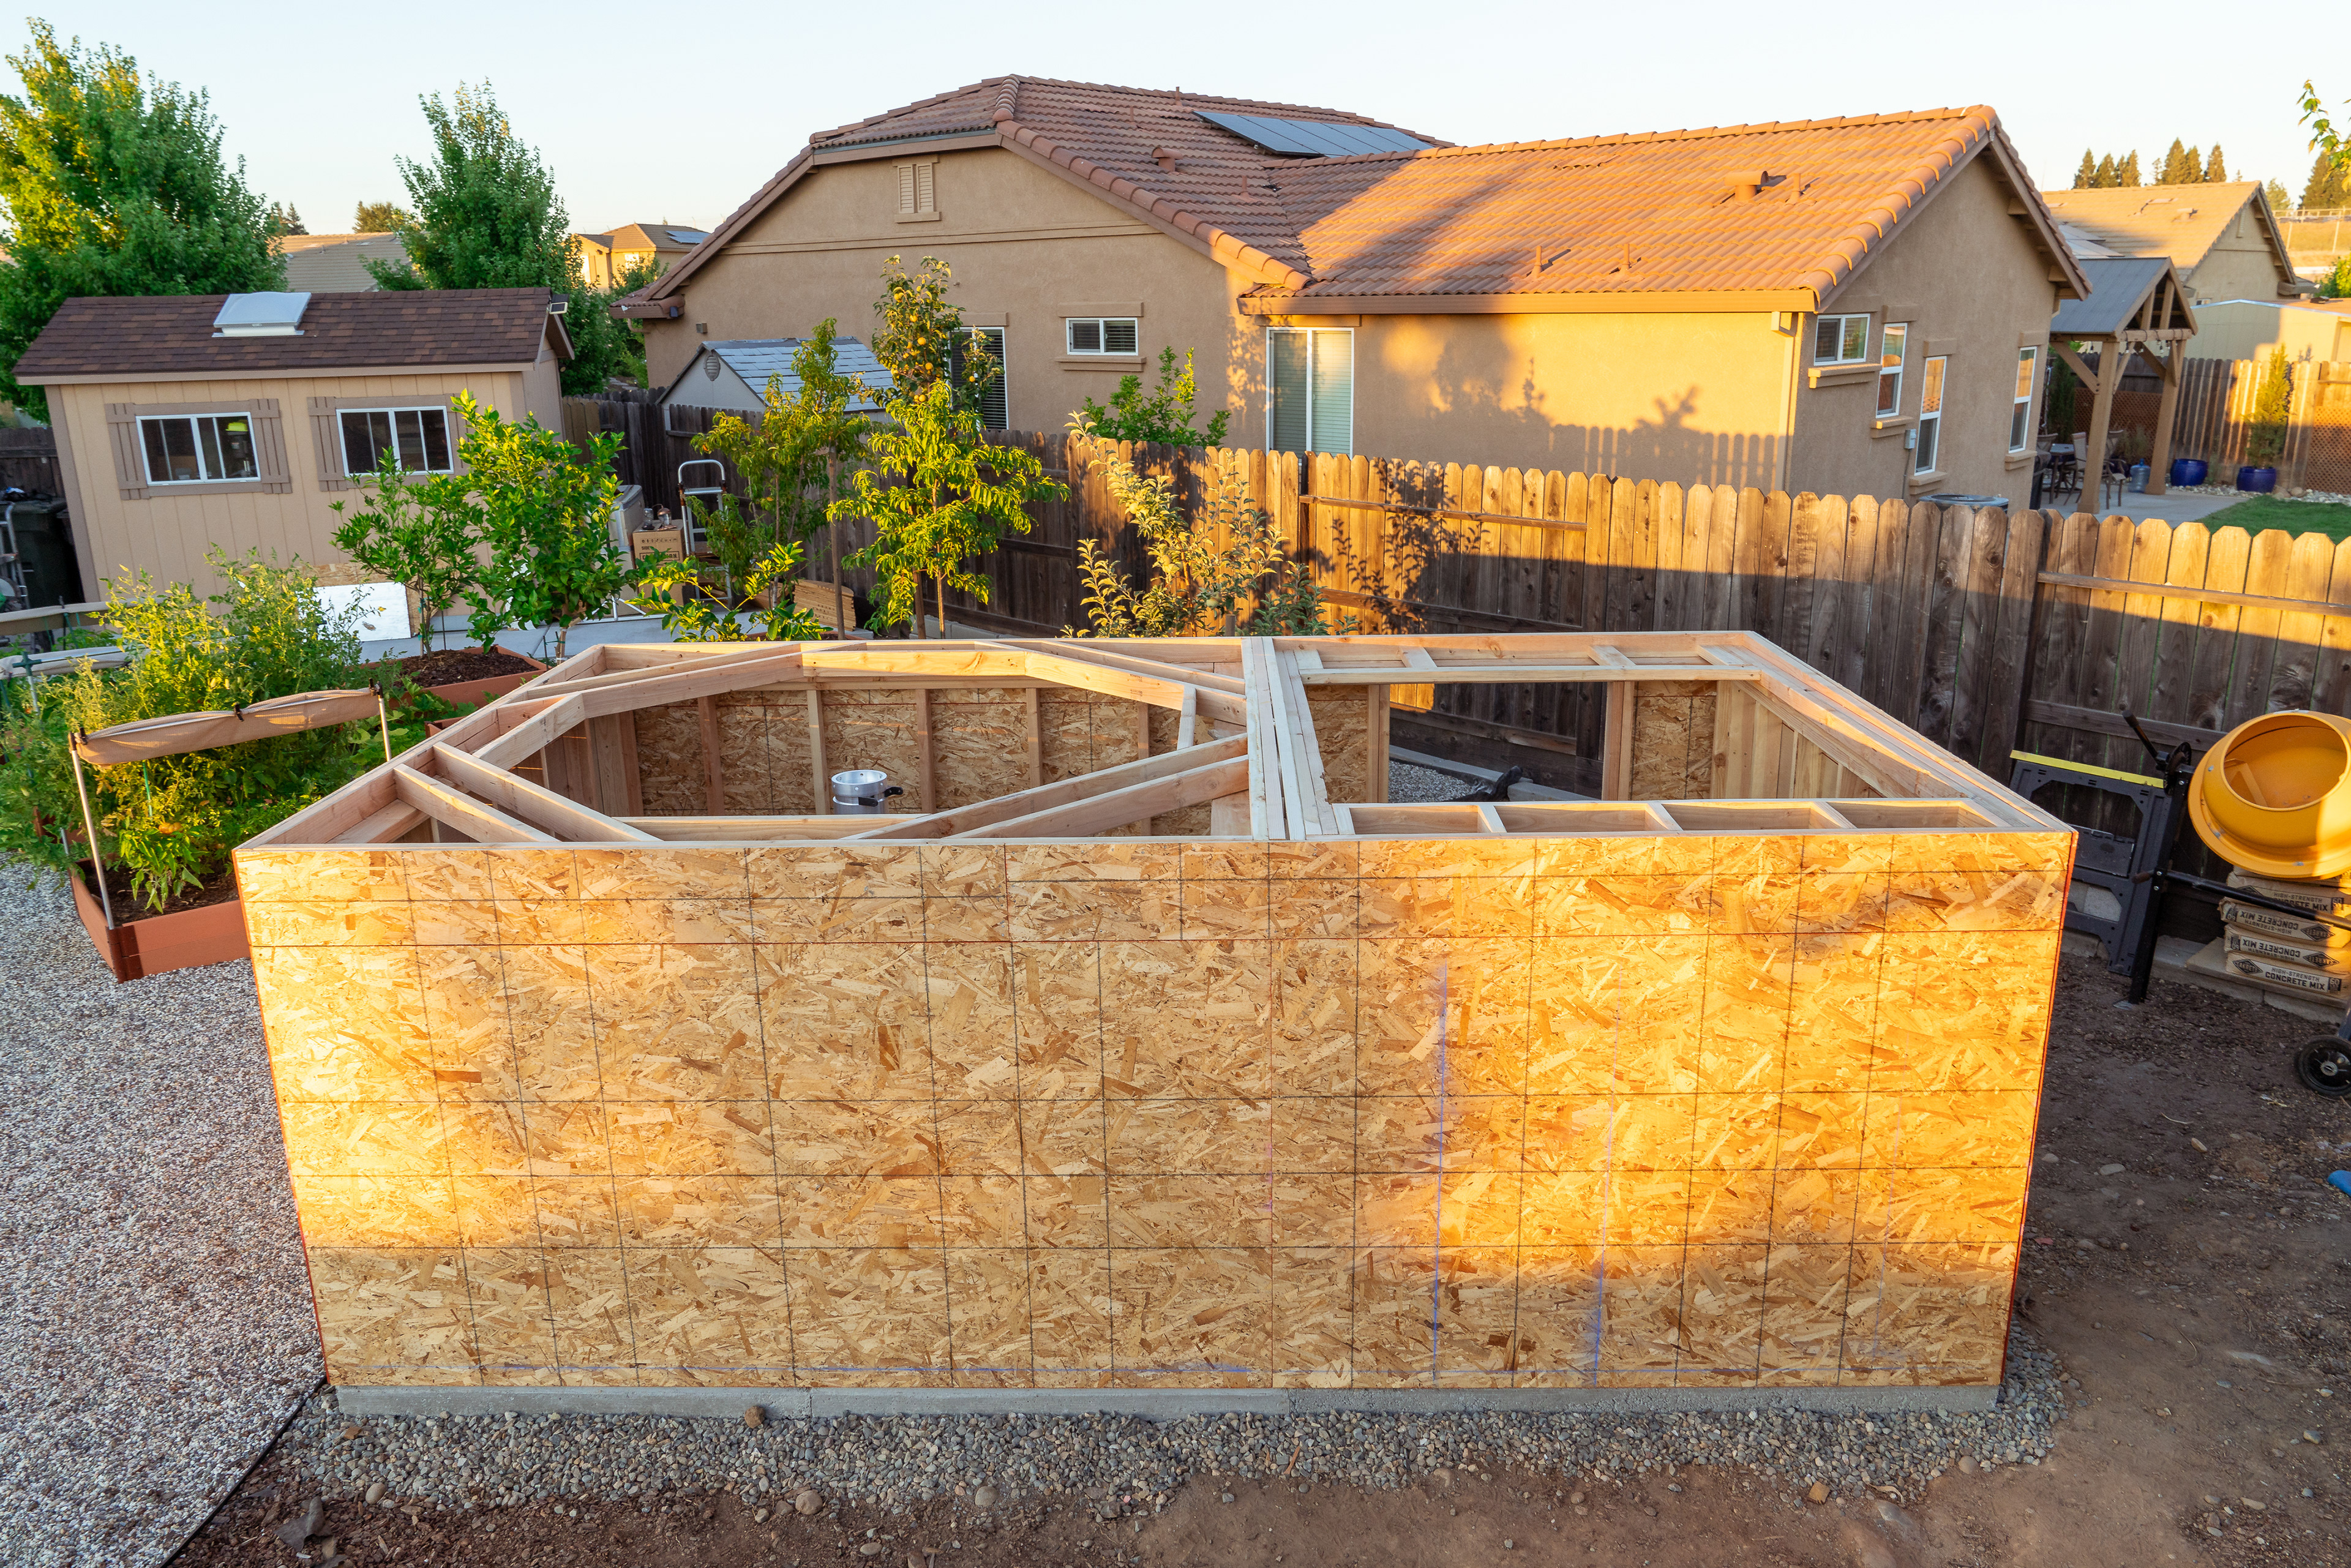
Wall and roof framing is done
Alternative view
Alternative view

Closeup of the dome roof framing
Alternative view
Alternative view
Done and done!
Roll-off framing
Unique angles to accomodate drainage
ROOFING...
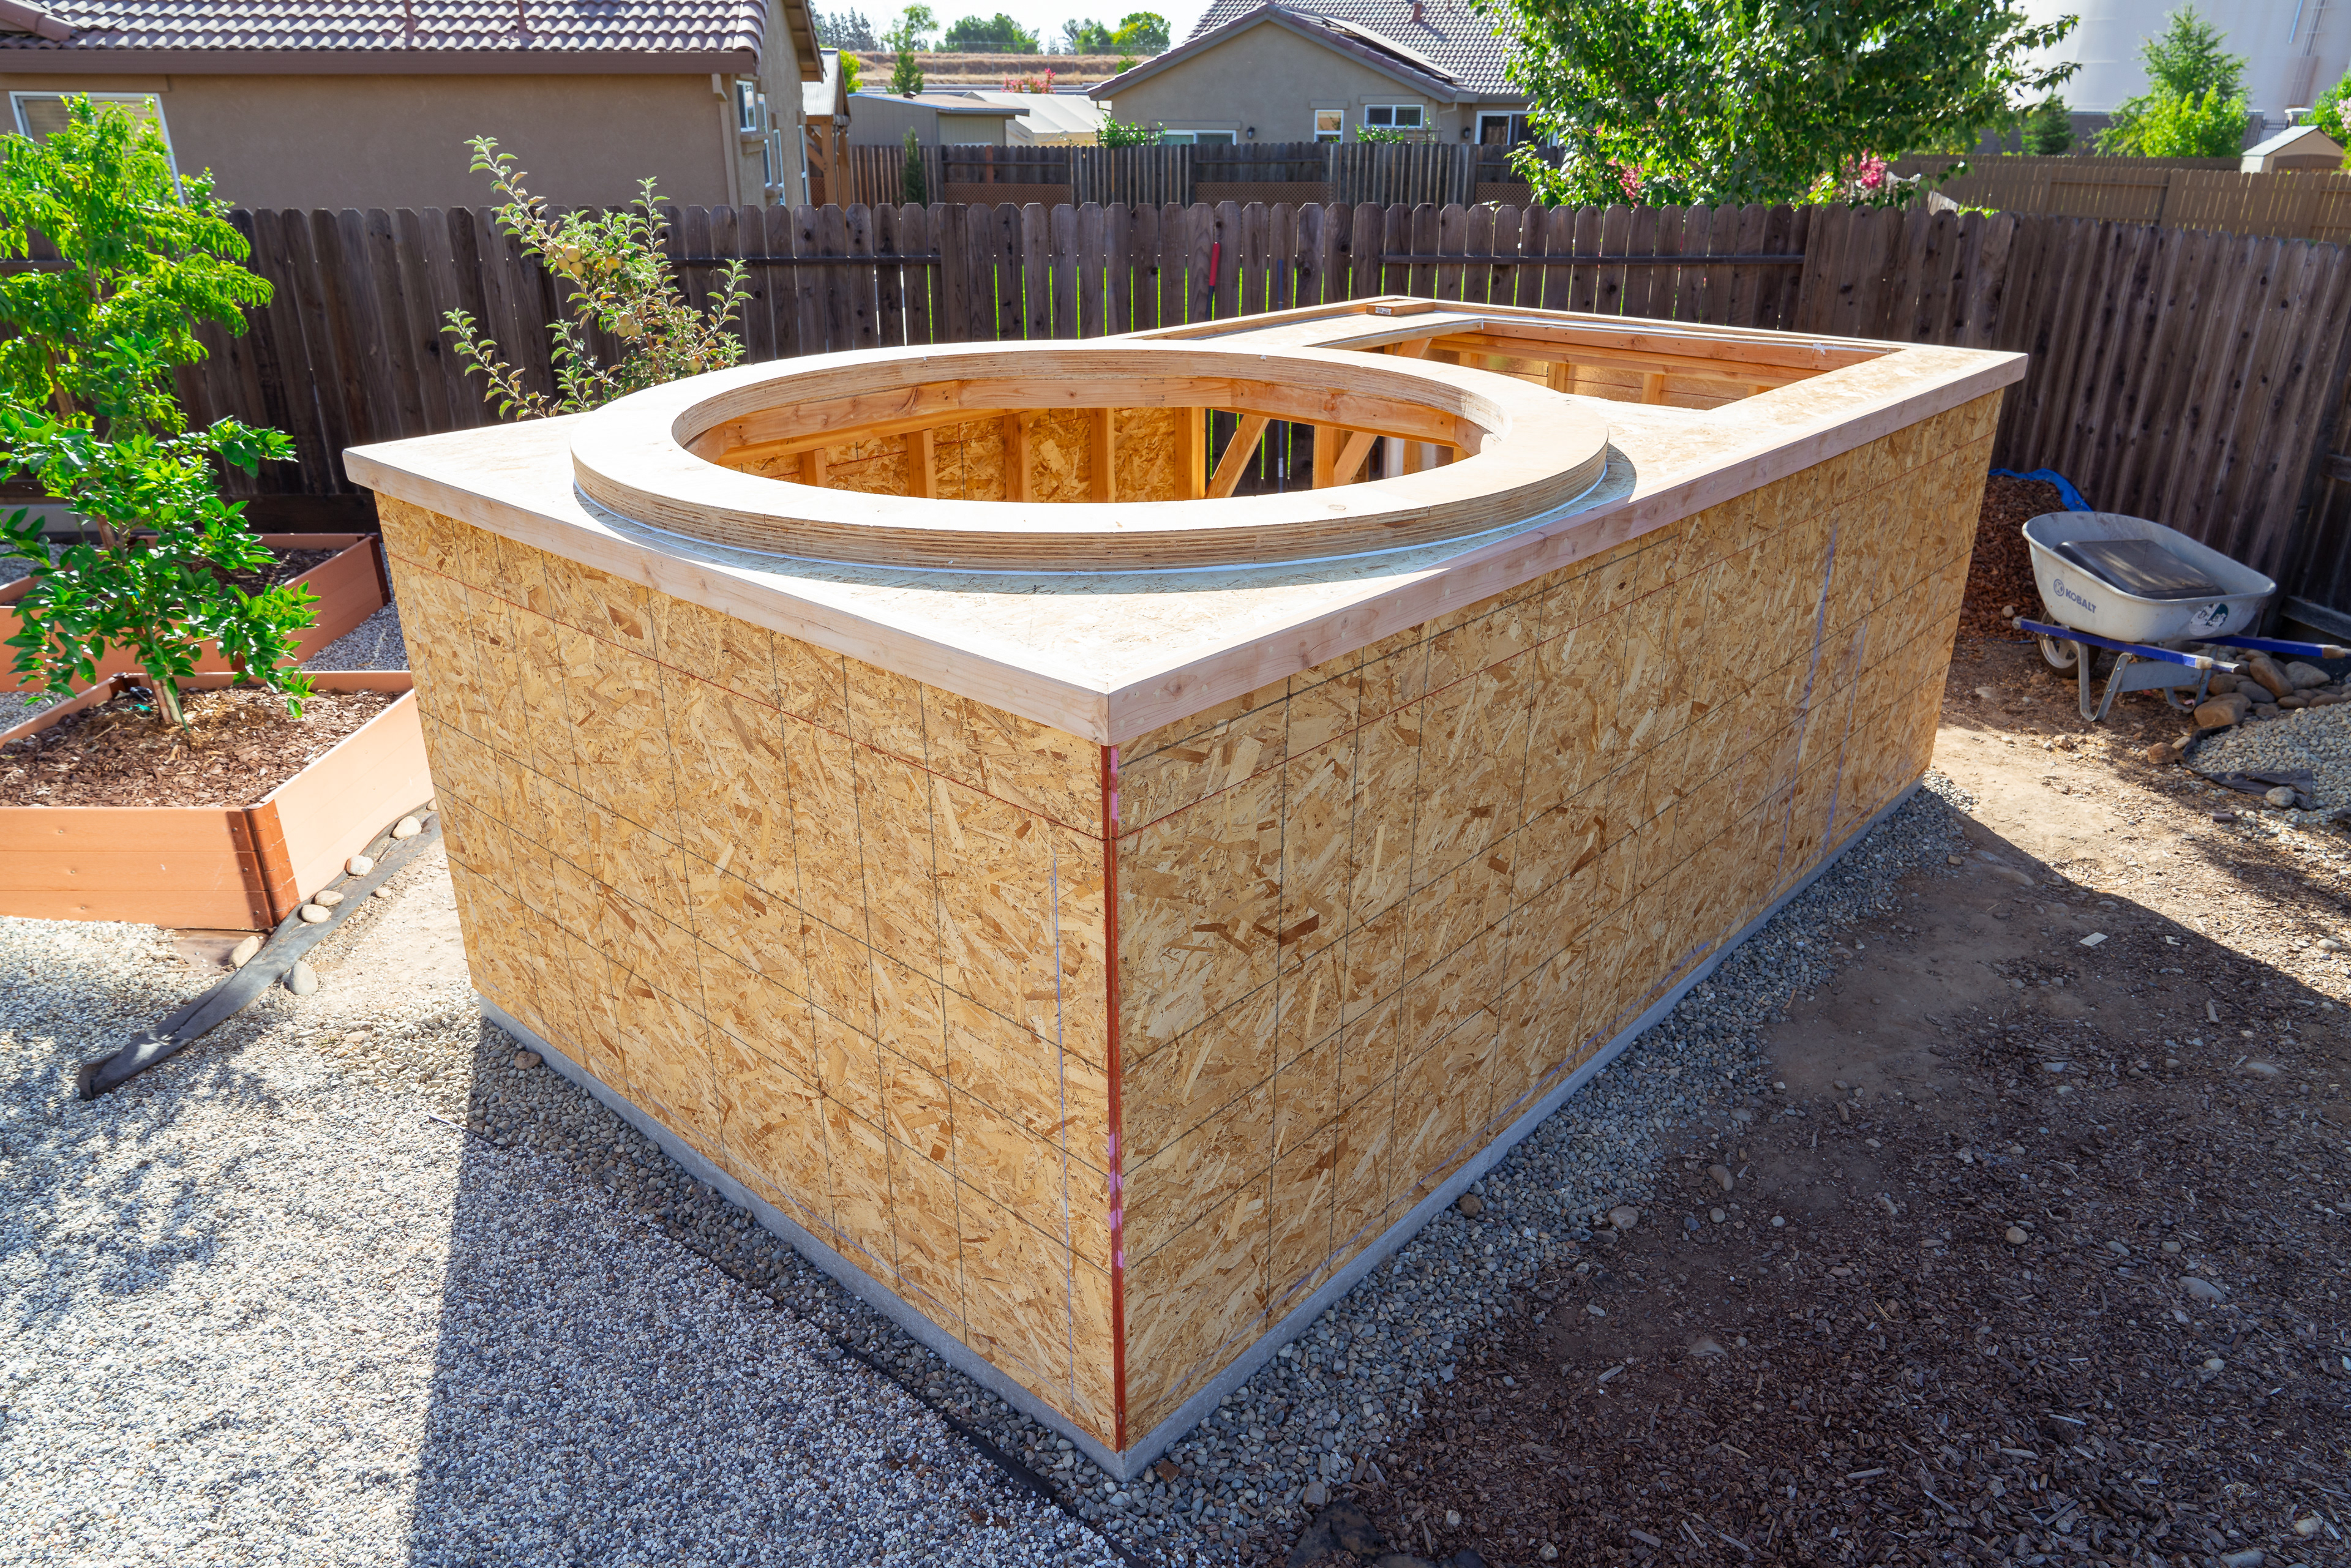
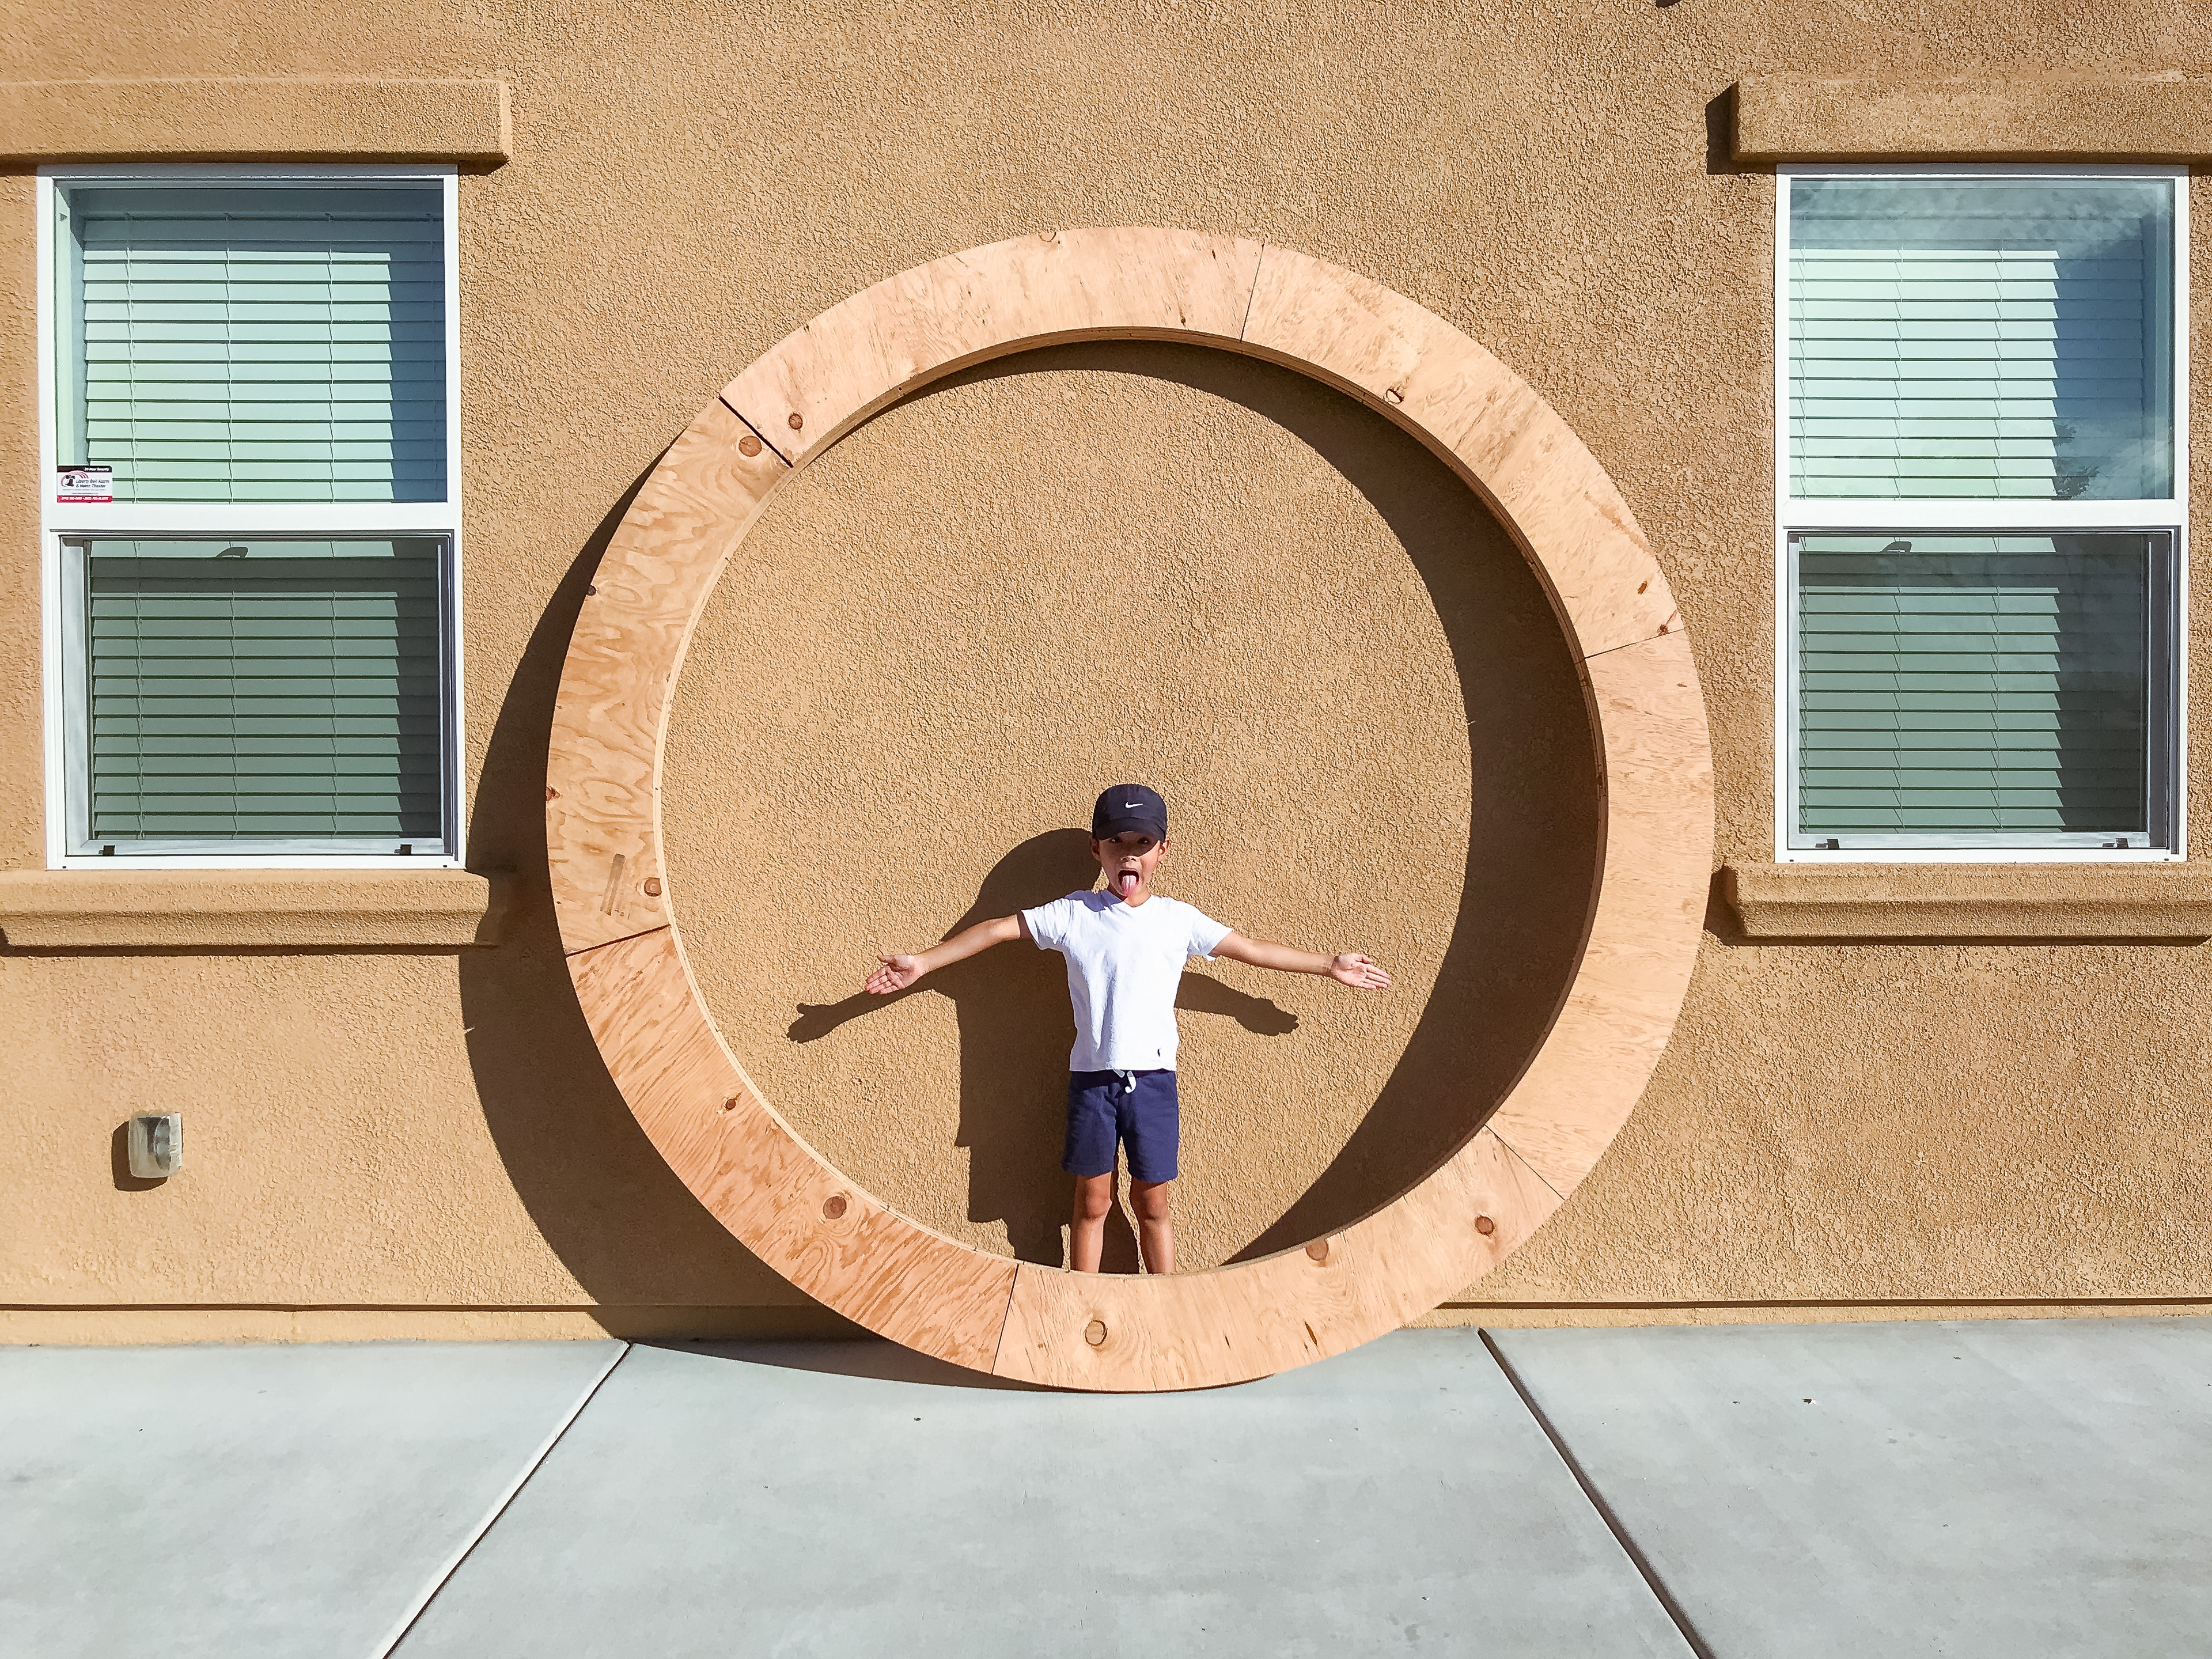
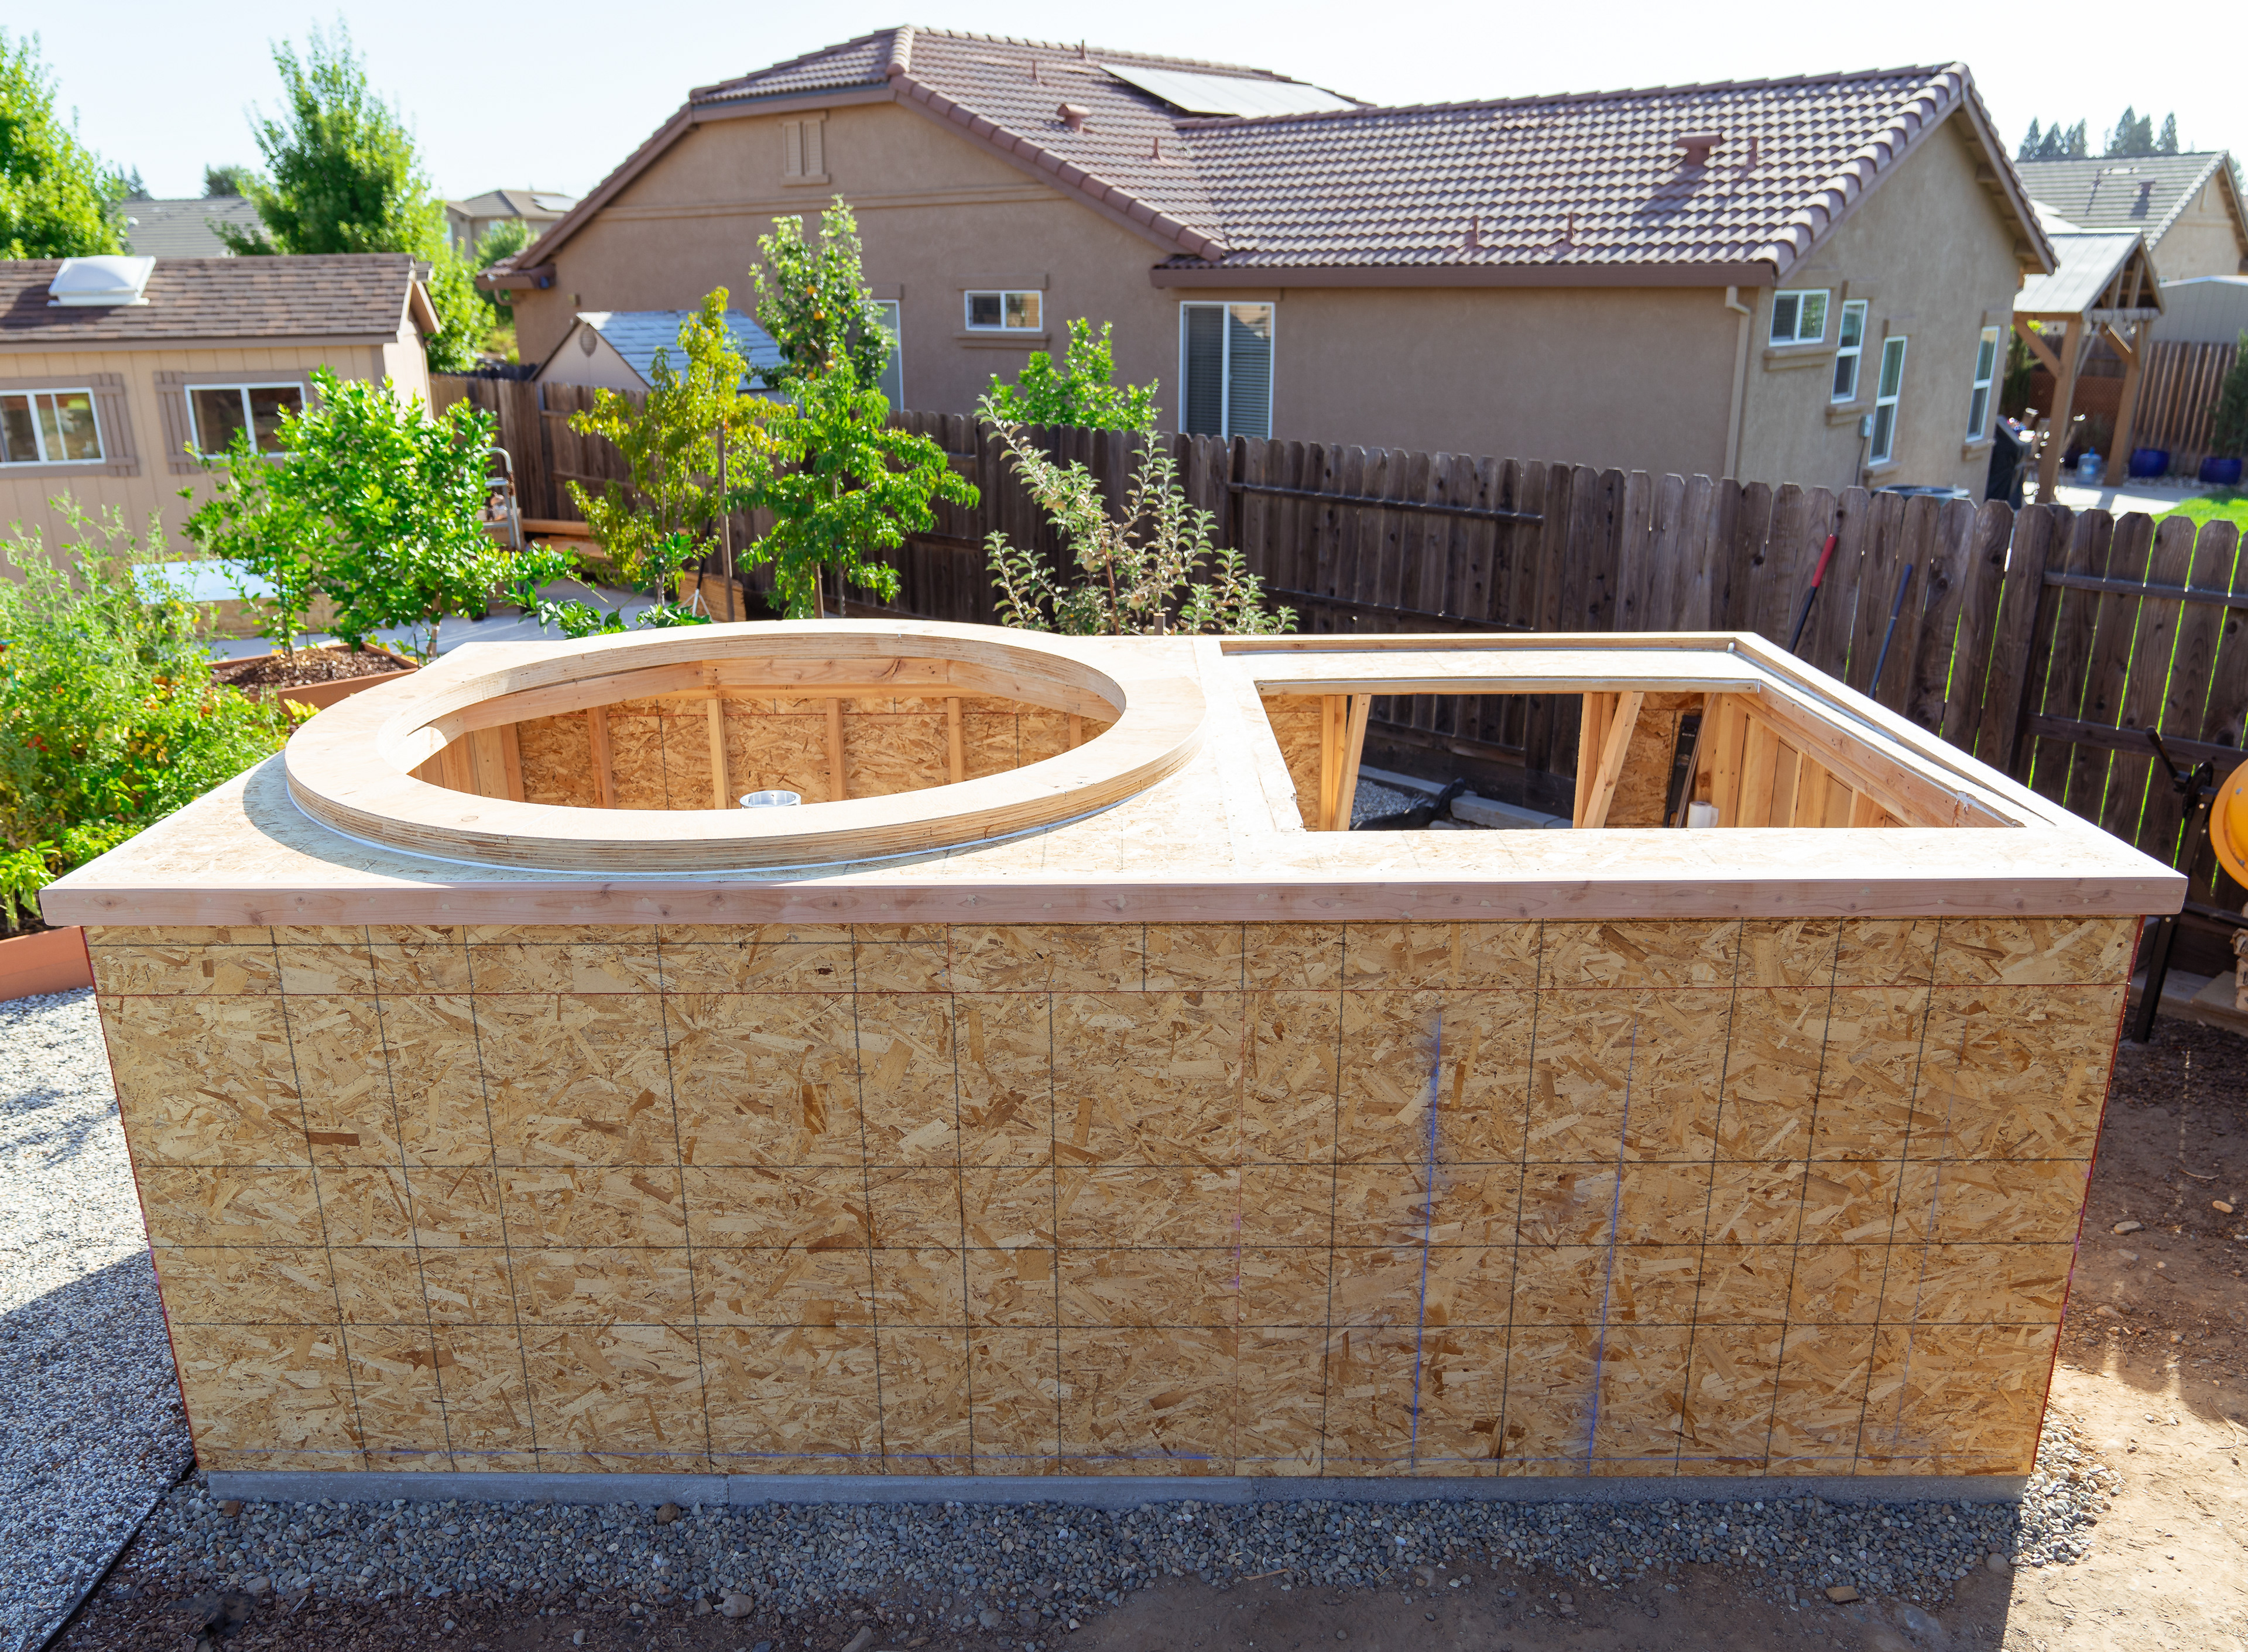
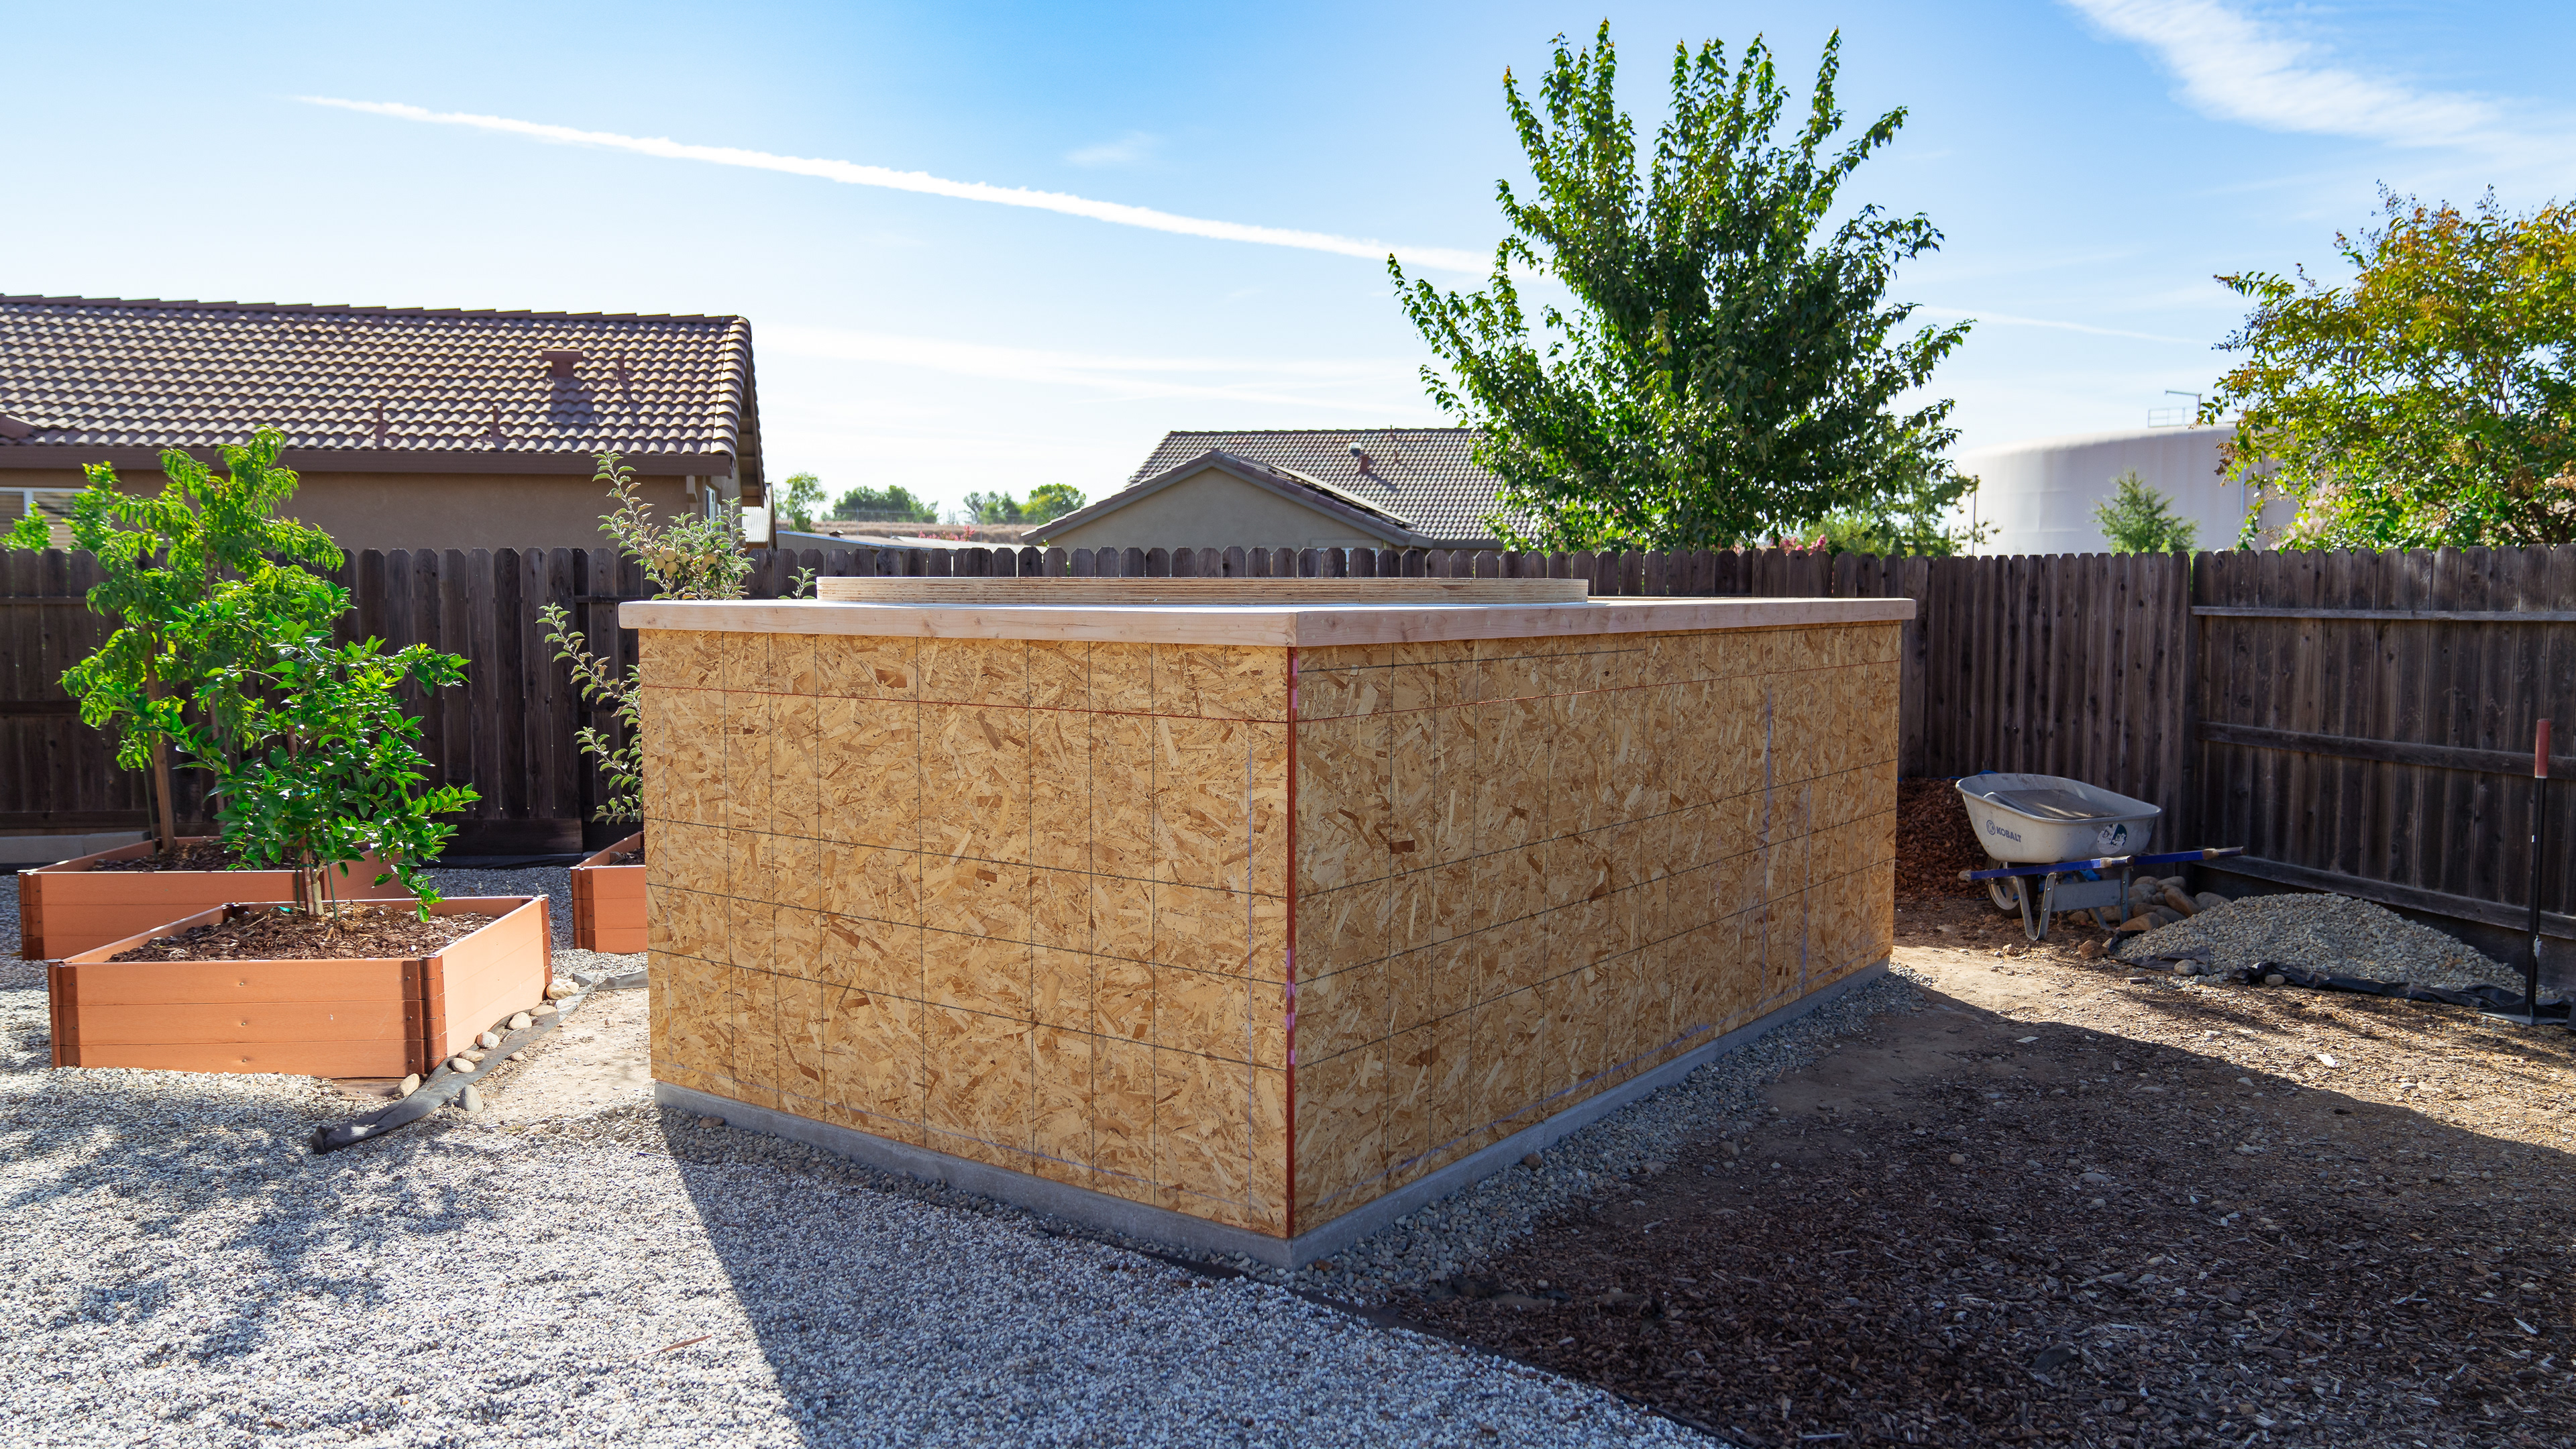
Once the walls were up, perfectly square and level, it was time to sheathe the roof, add "gutters", and build the ring platform for the dome ring. I've decided to slightly enlarge this platform on top of the dimensions specified by NexDome and significantly overbuilt the overall structure... even at this point of the build I began having significant doubts about quality of the NexDome ring and I wanted to have enough structure to accommodate some other solution if necessary in the future (more on this in the future post).
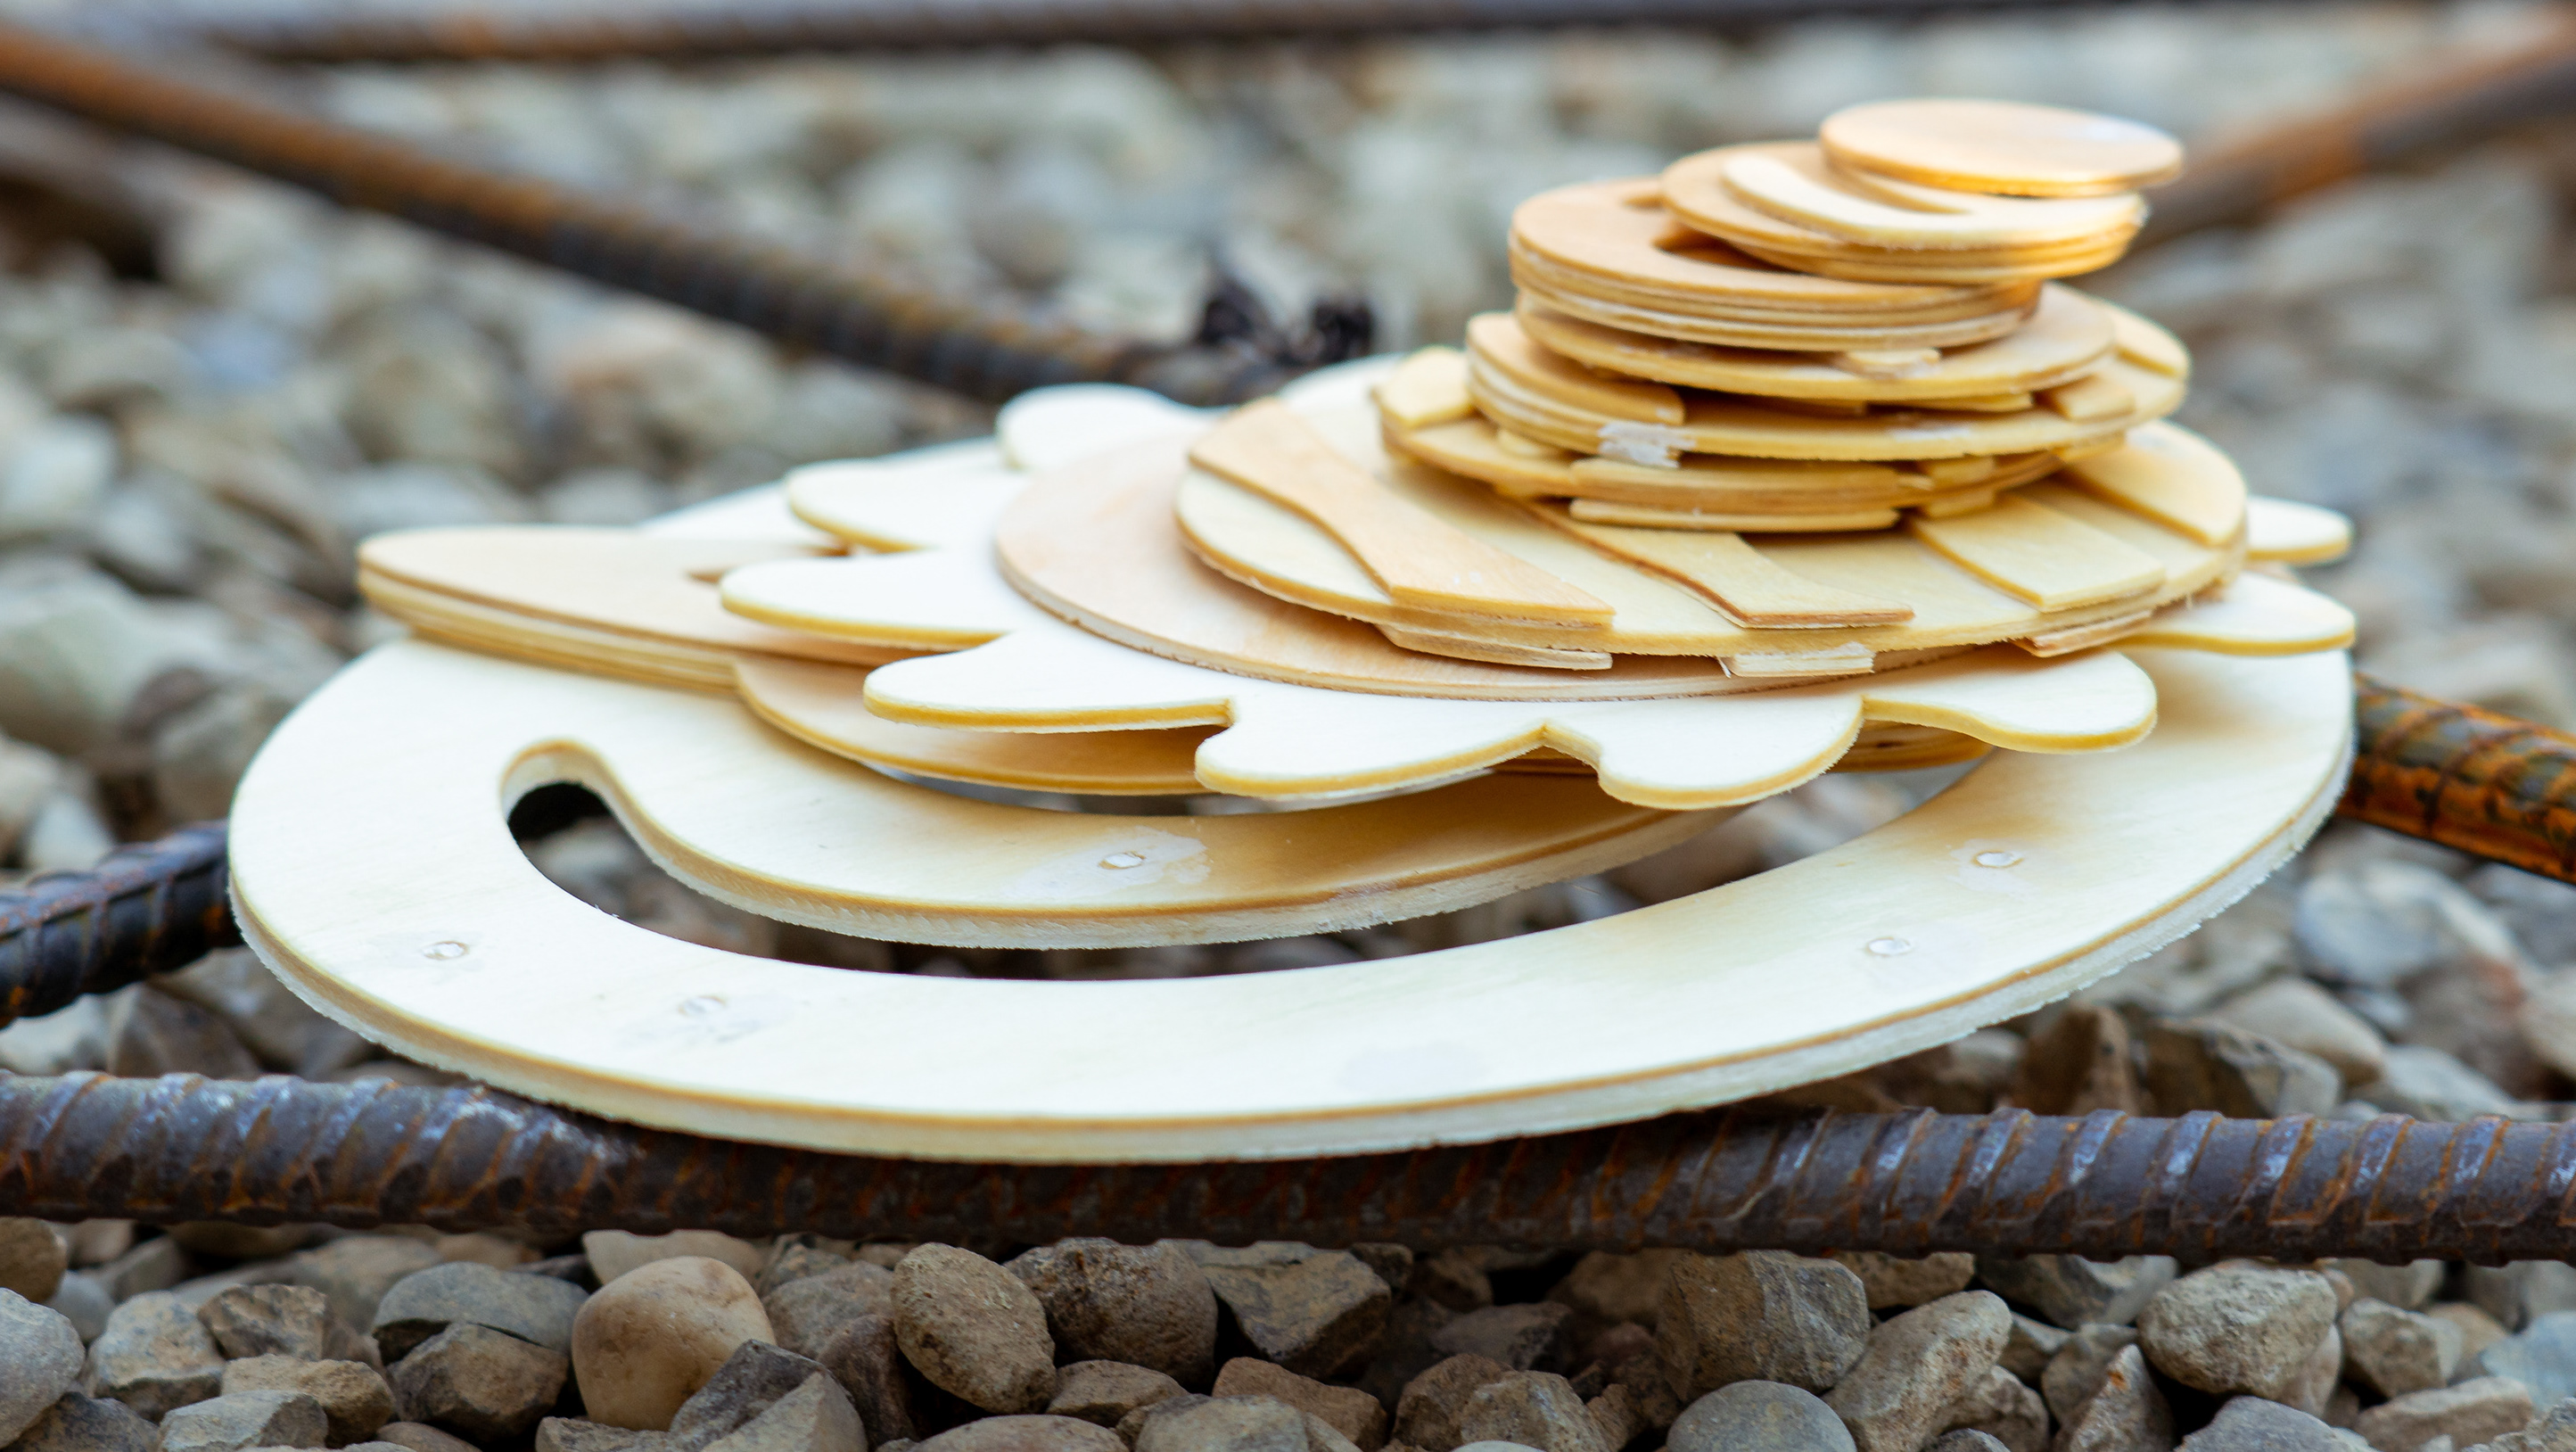
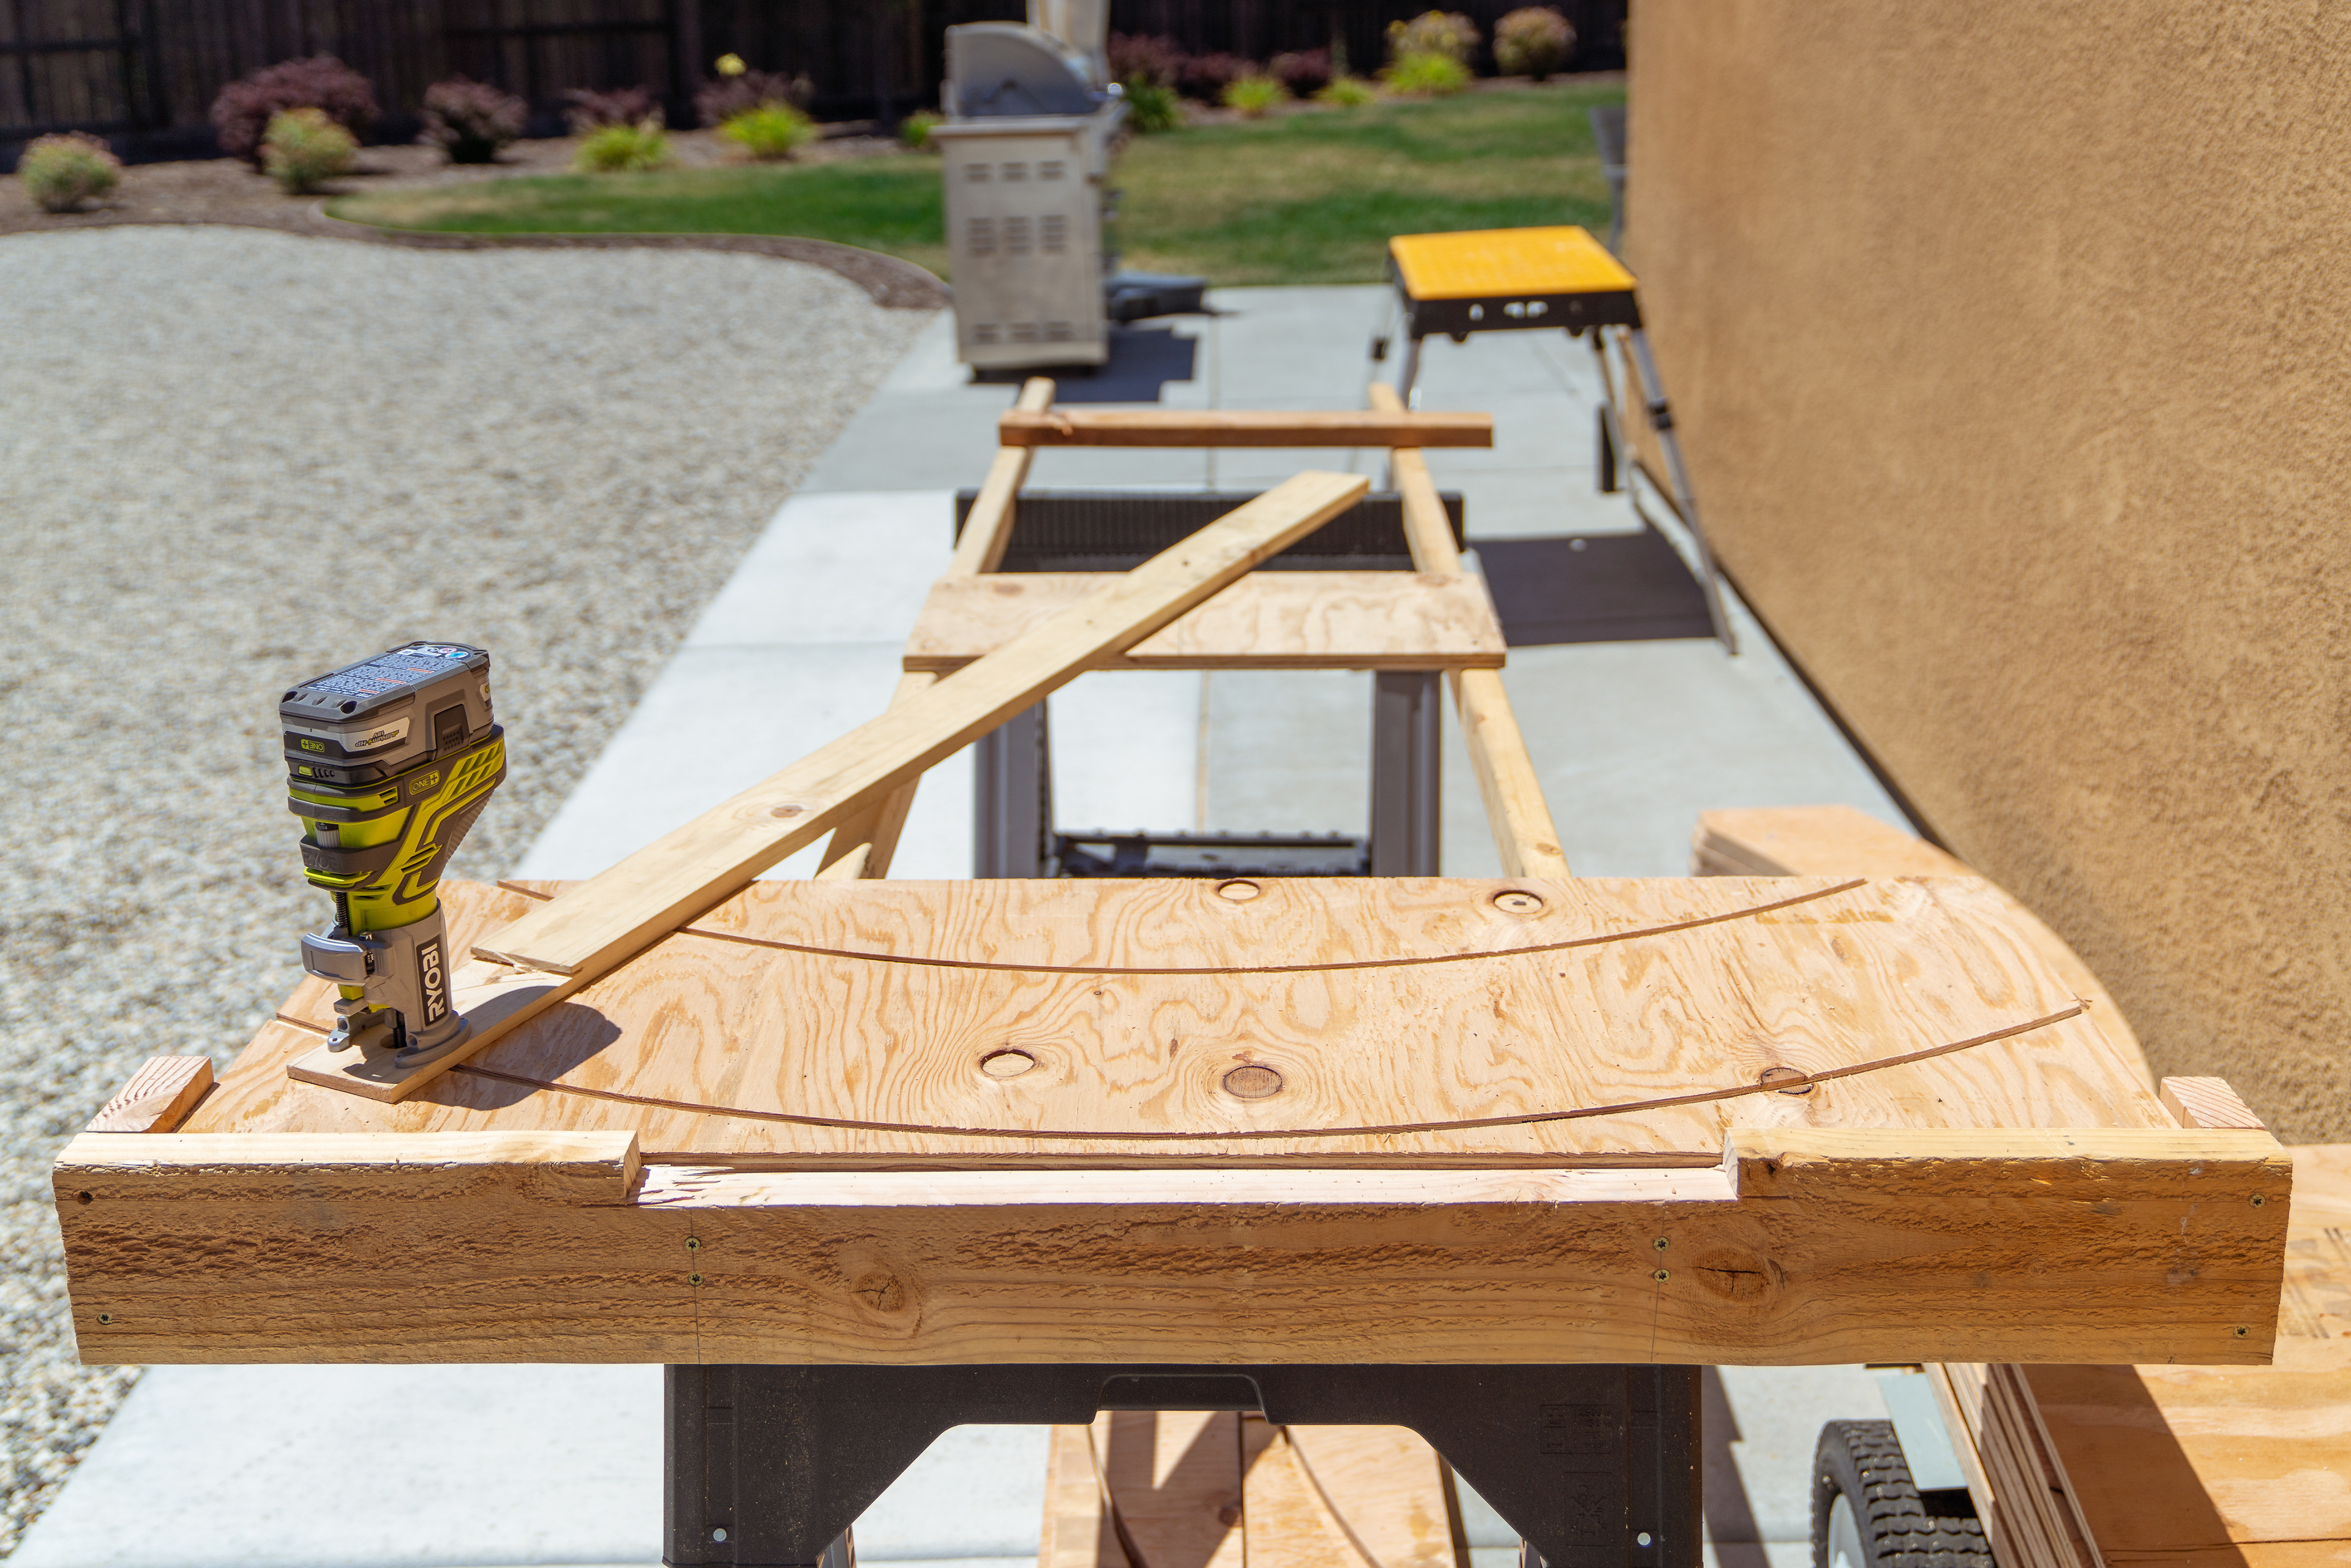
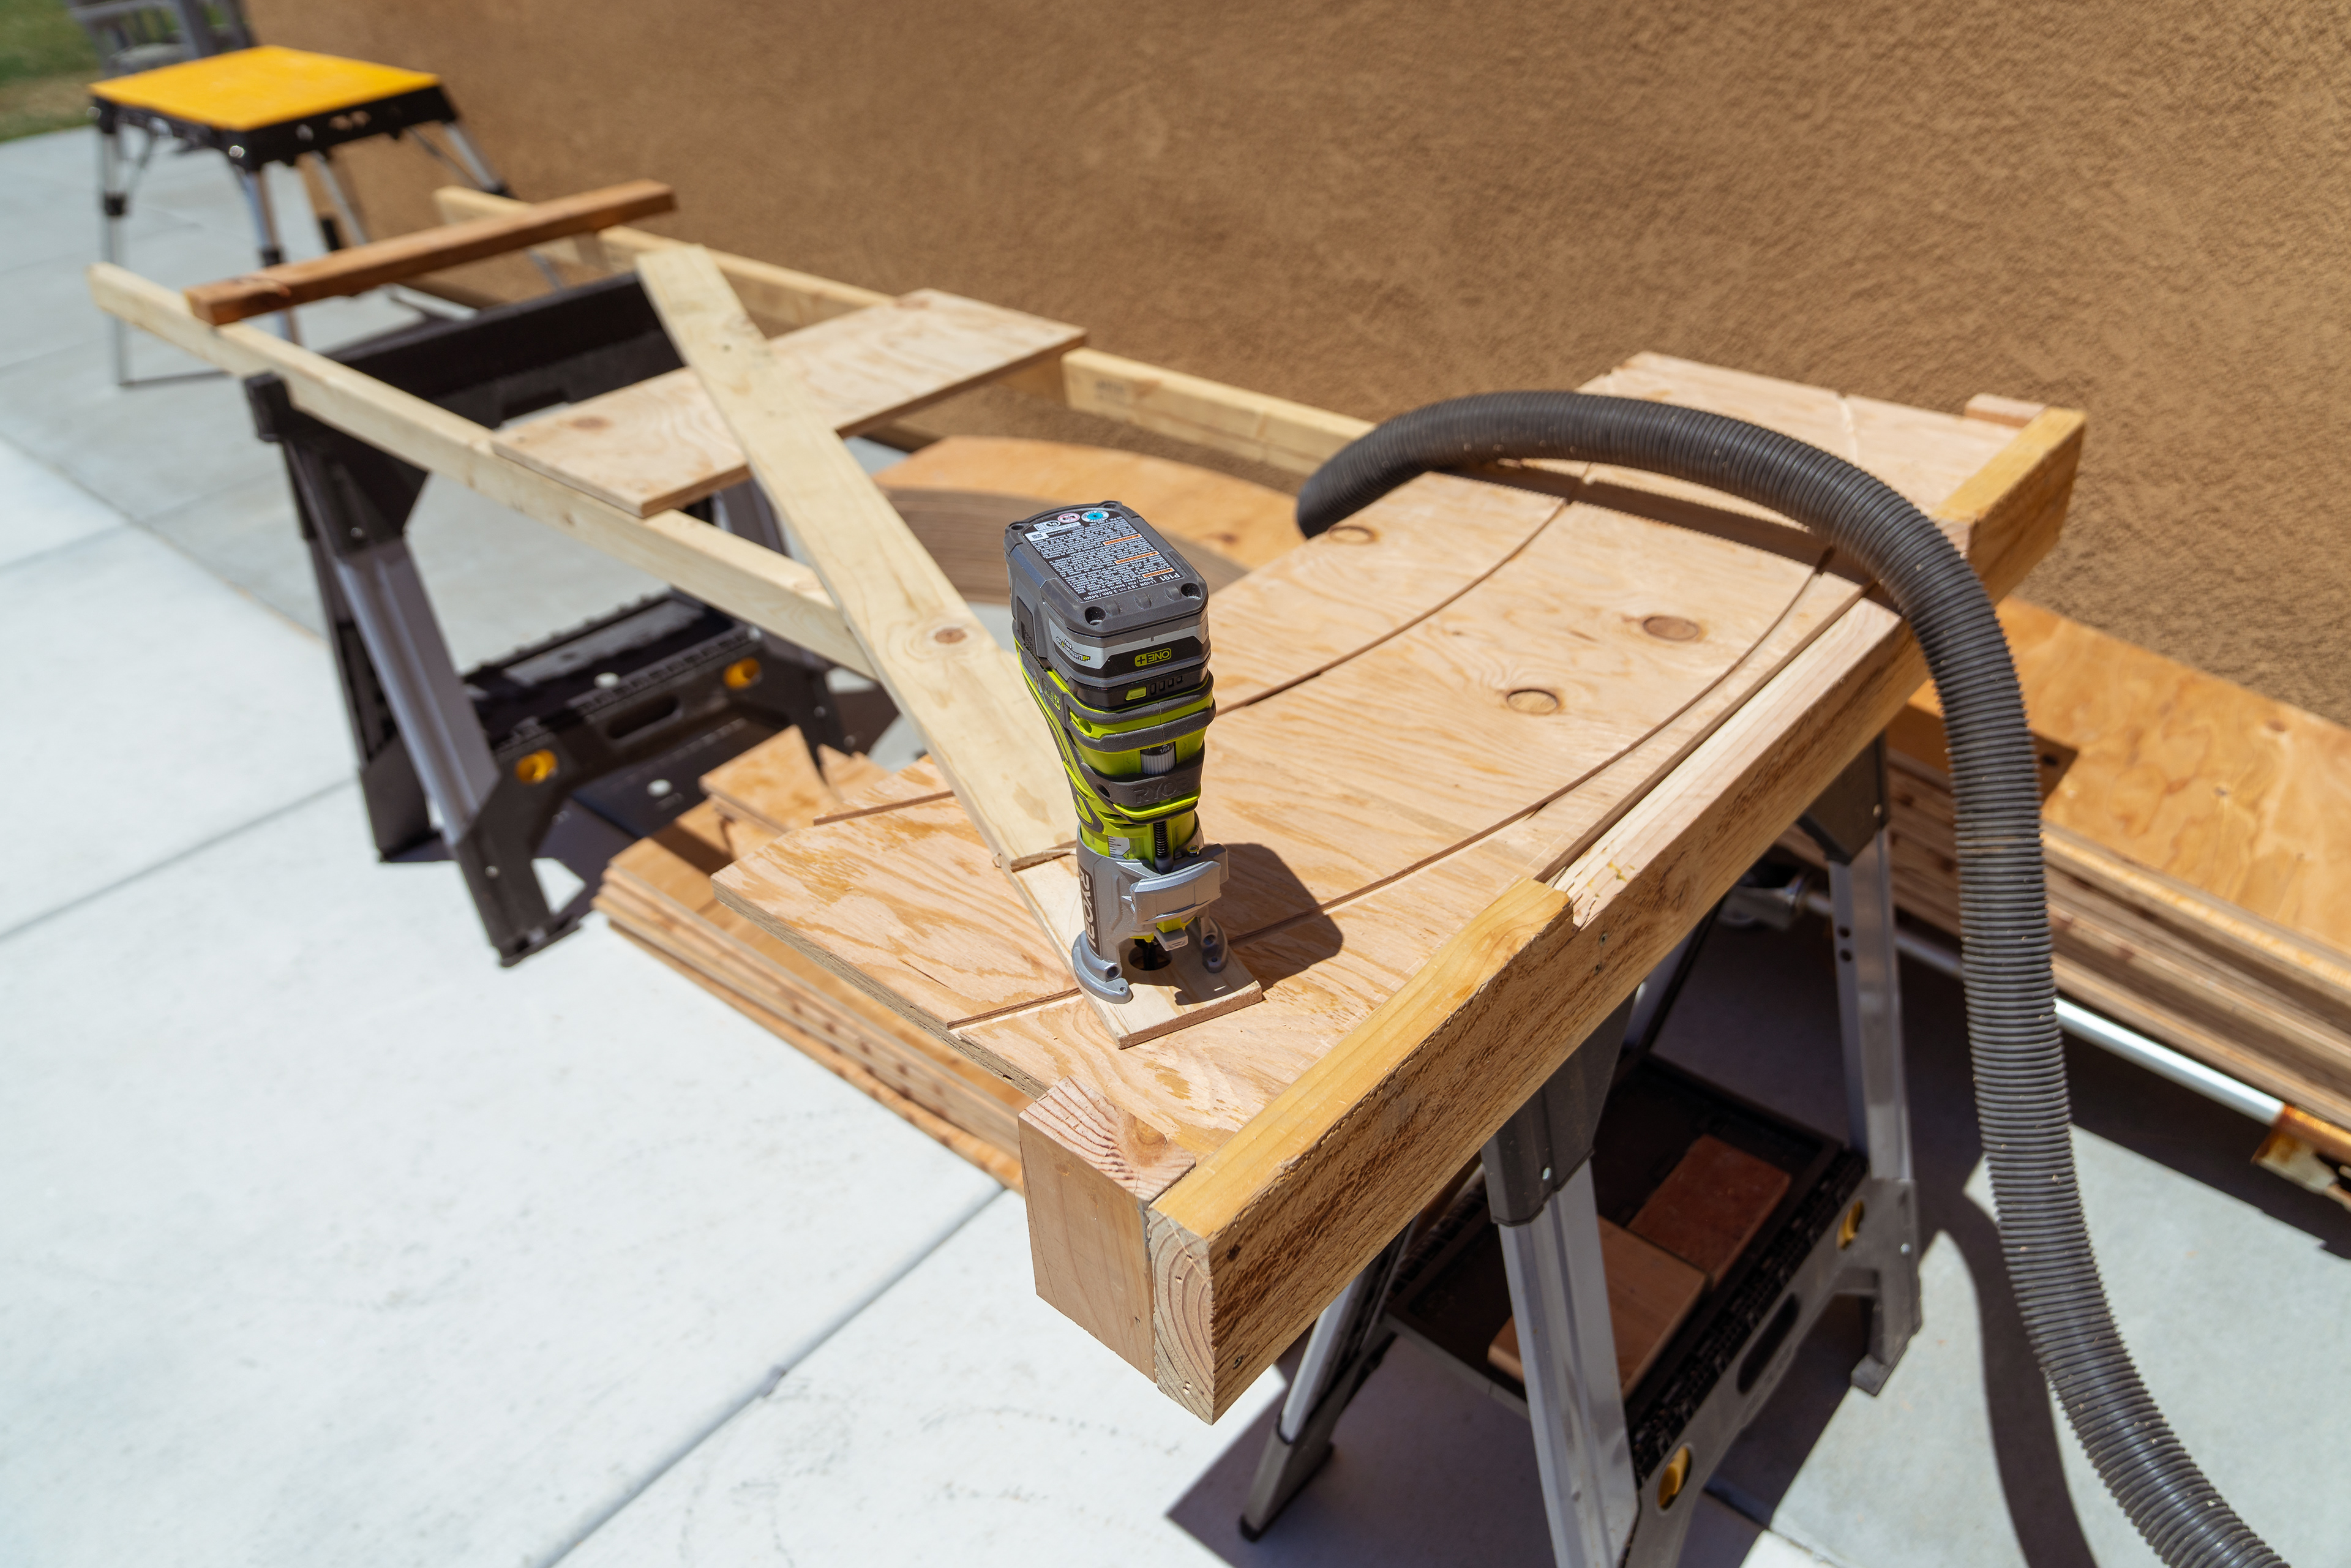
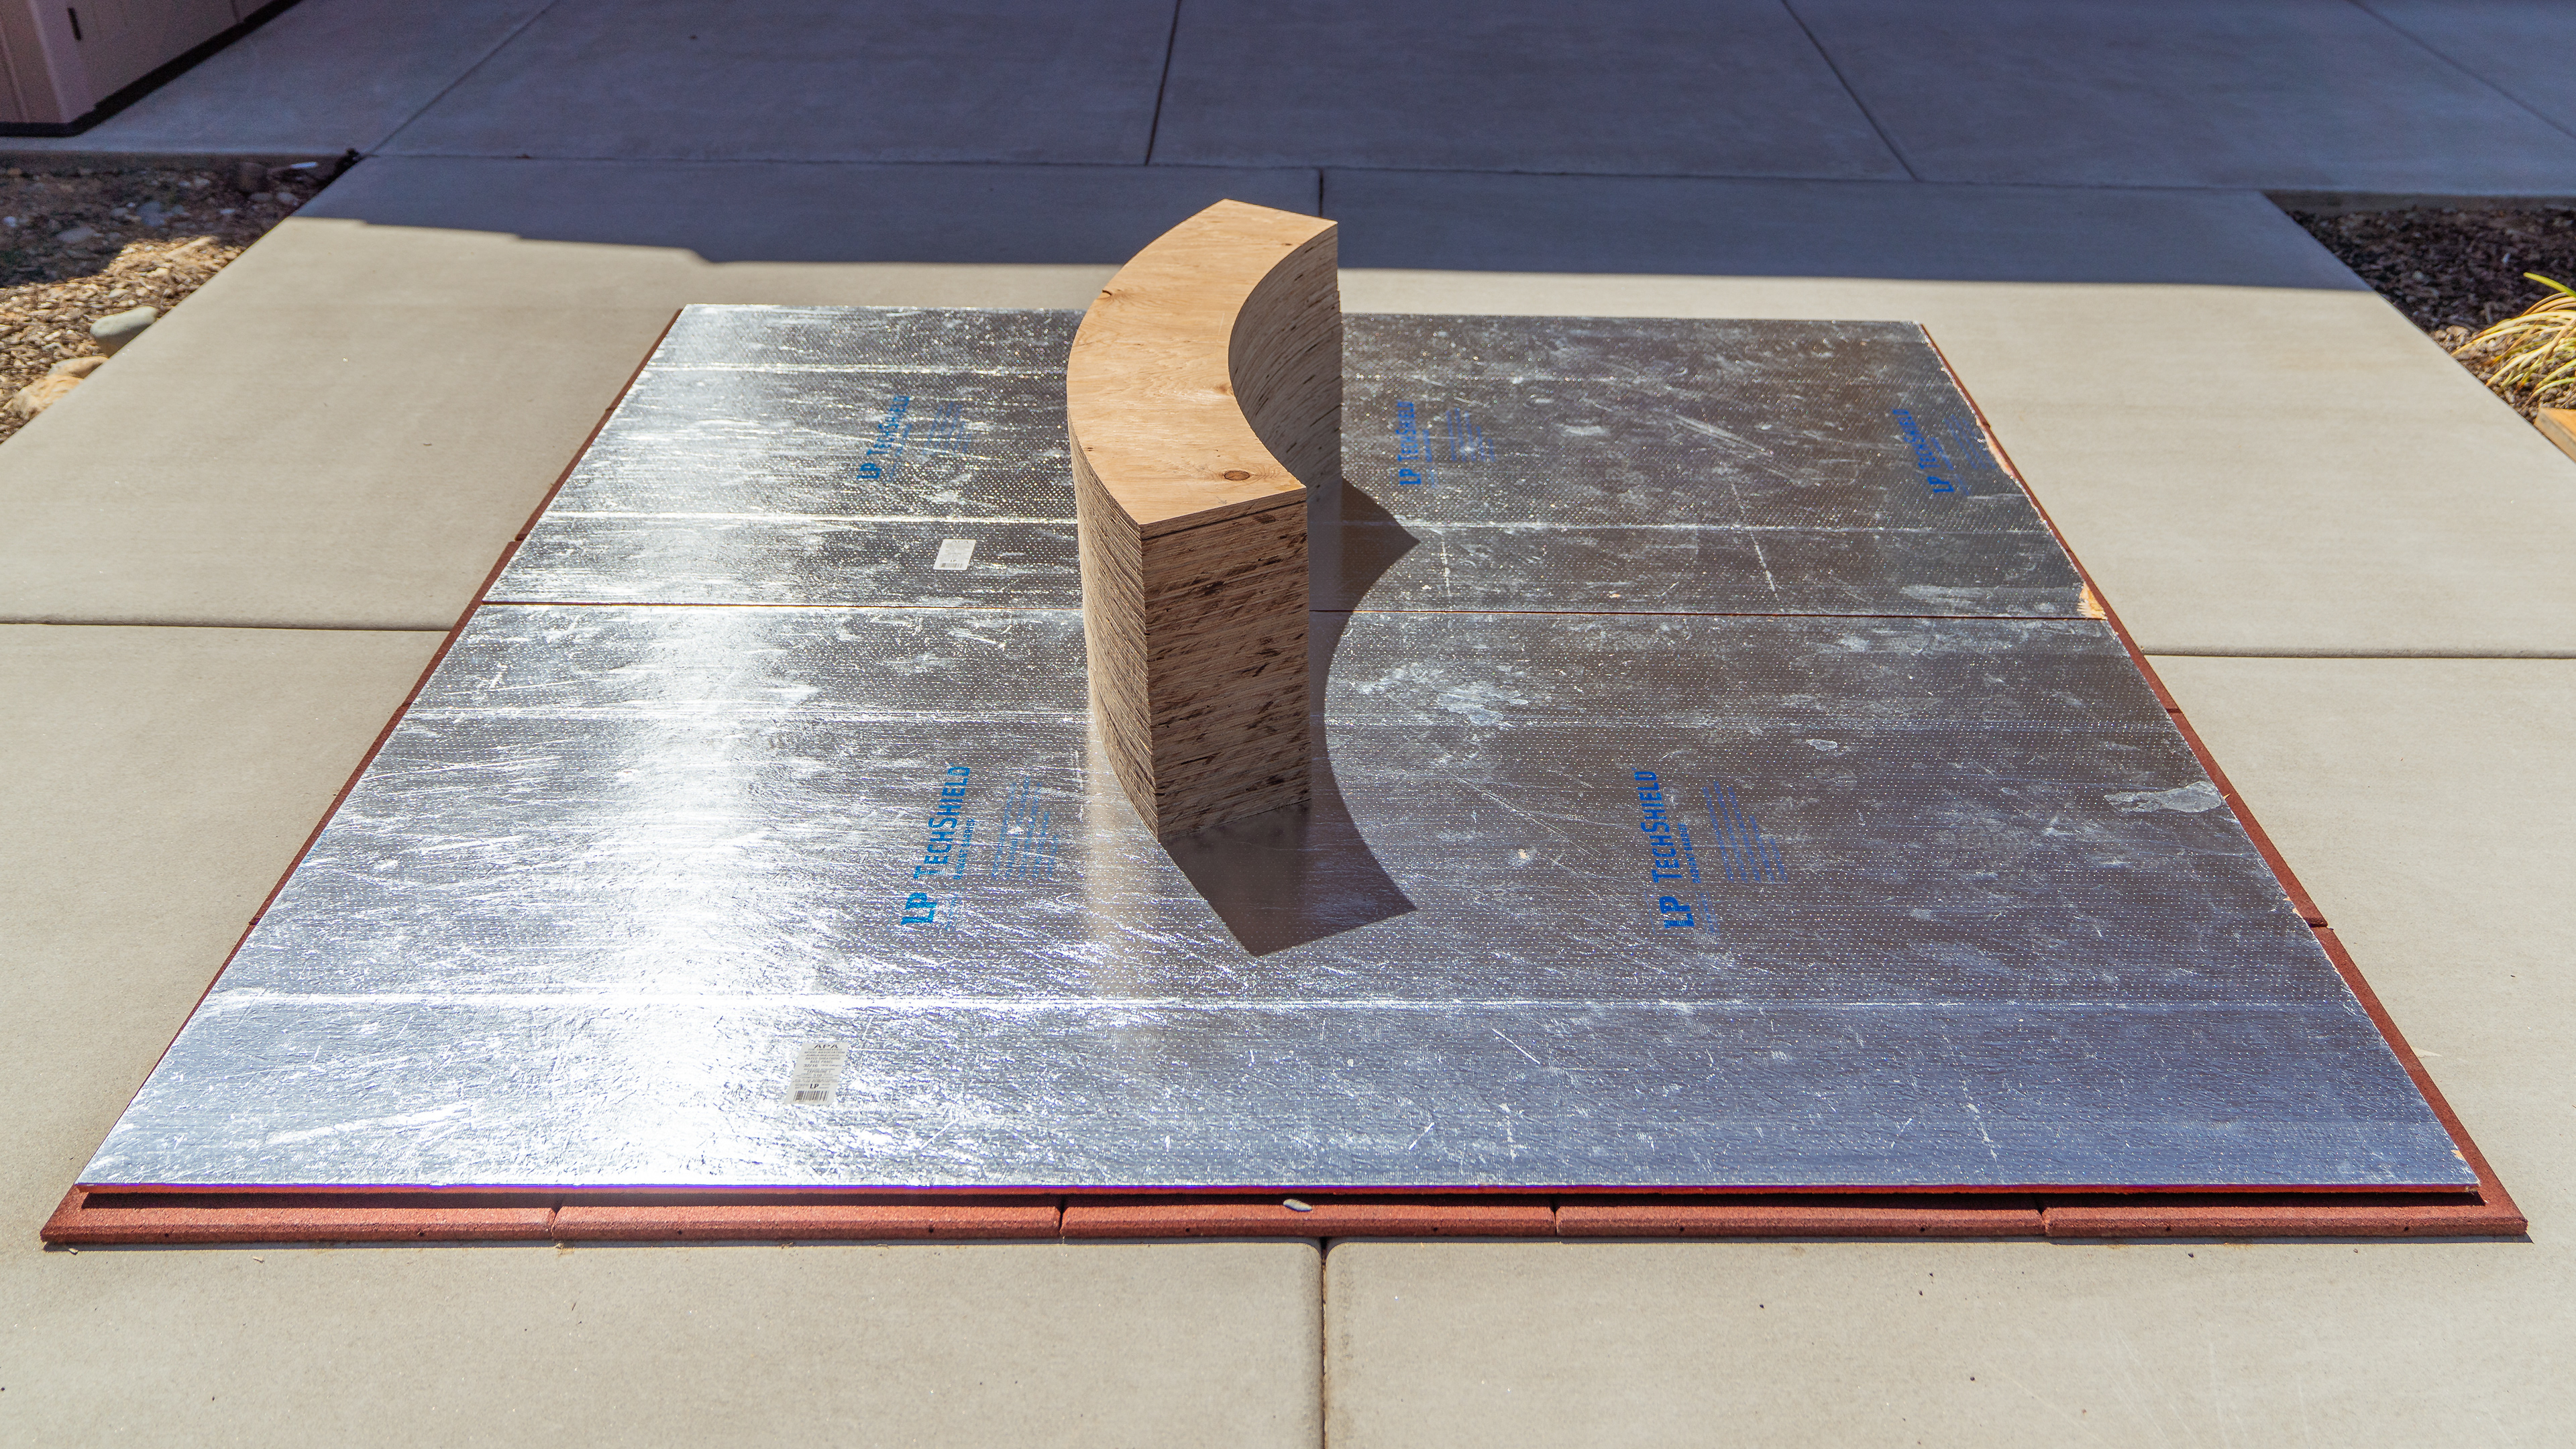
To cut the ring, I first had to build my own jig tool as there weren't any off-the-shelf jigs large enough to cut an 8' circle. I cut and screwed a simple jig platform, measured out the arm length for both the inner and outer diameter then attached a wireless router with a 1/4" bit. Next it was time to cut four 4'x8' plywood sheets into planks and then cut those planks into arcs that will soon be glued into a ring.
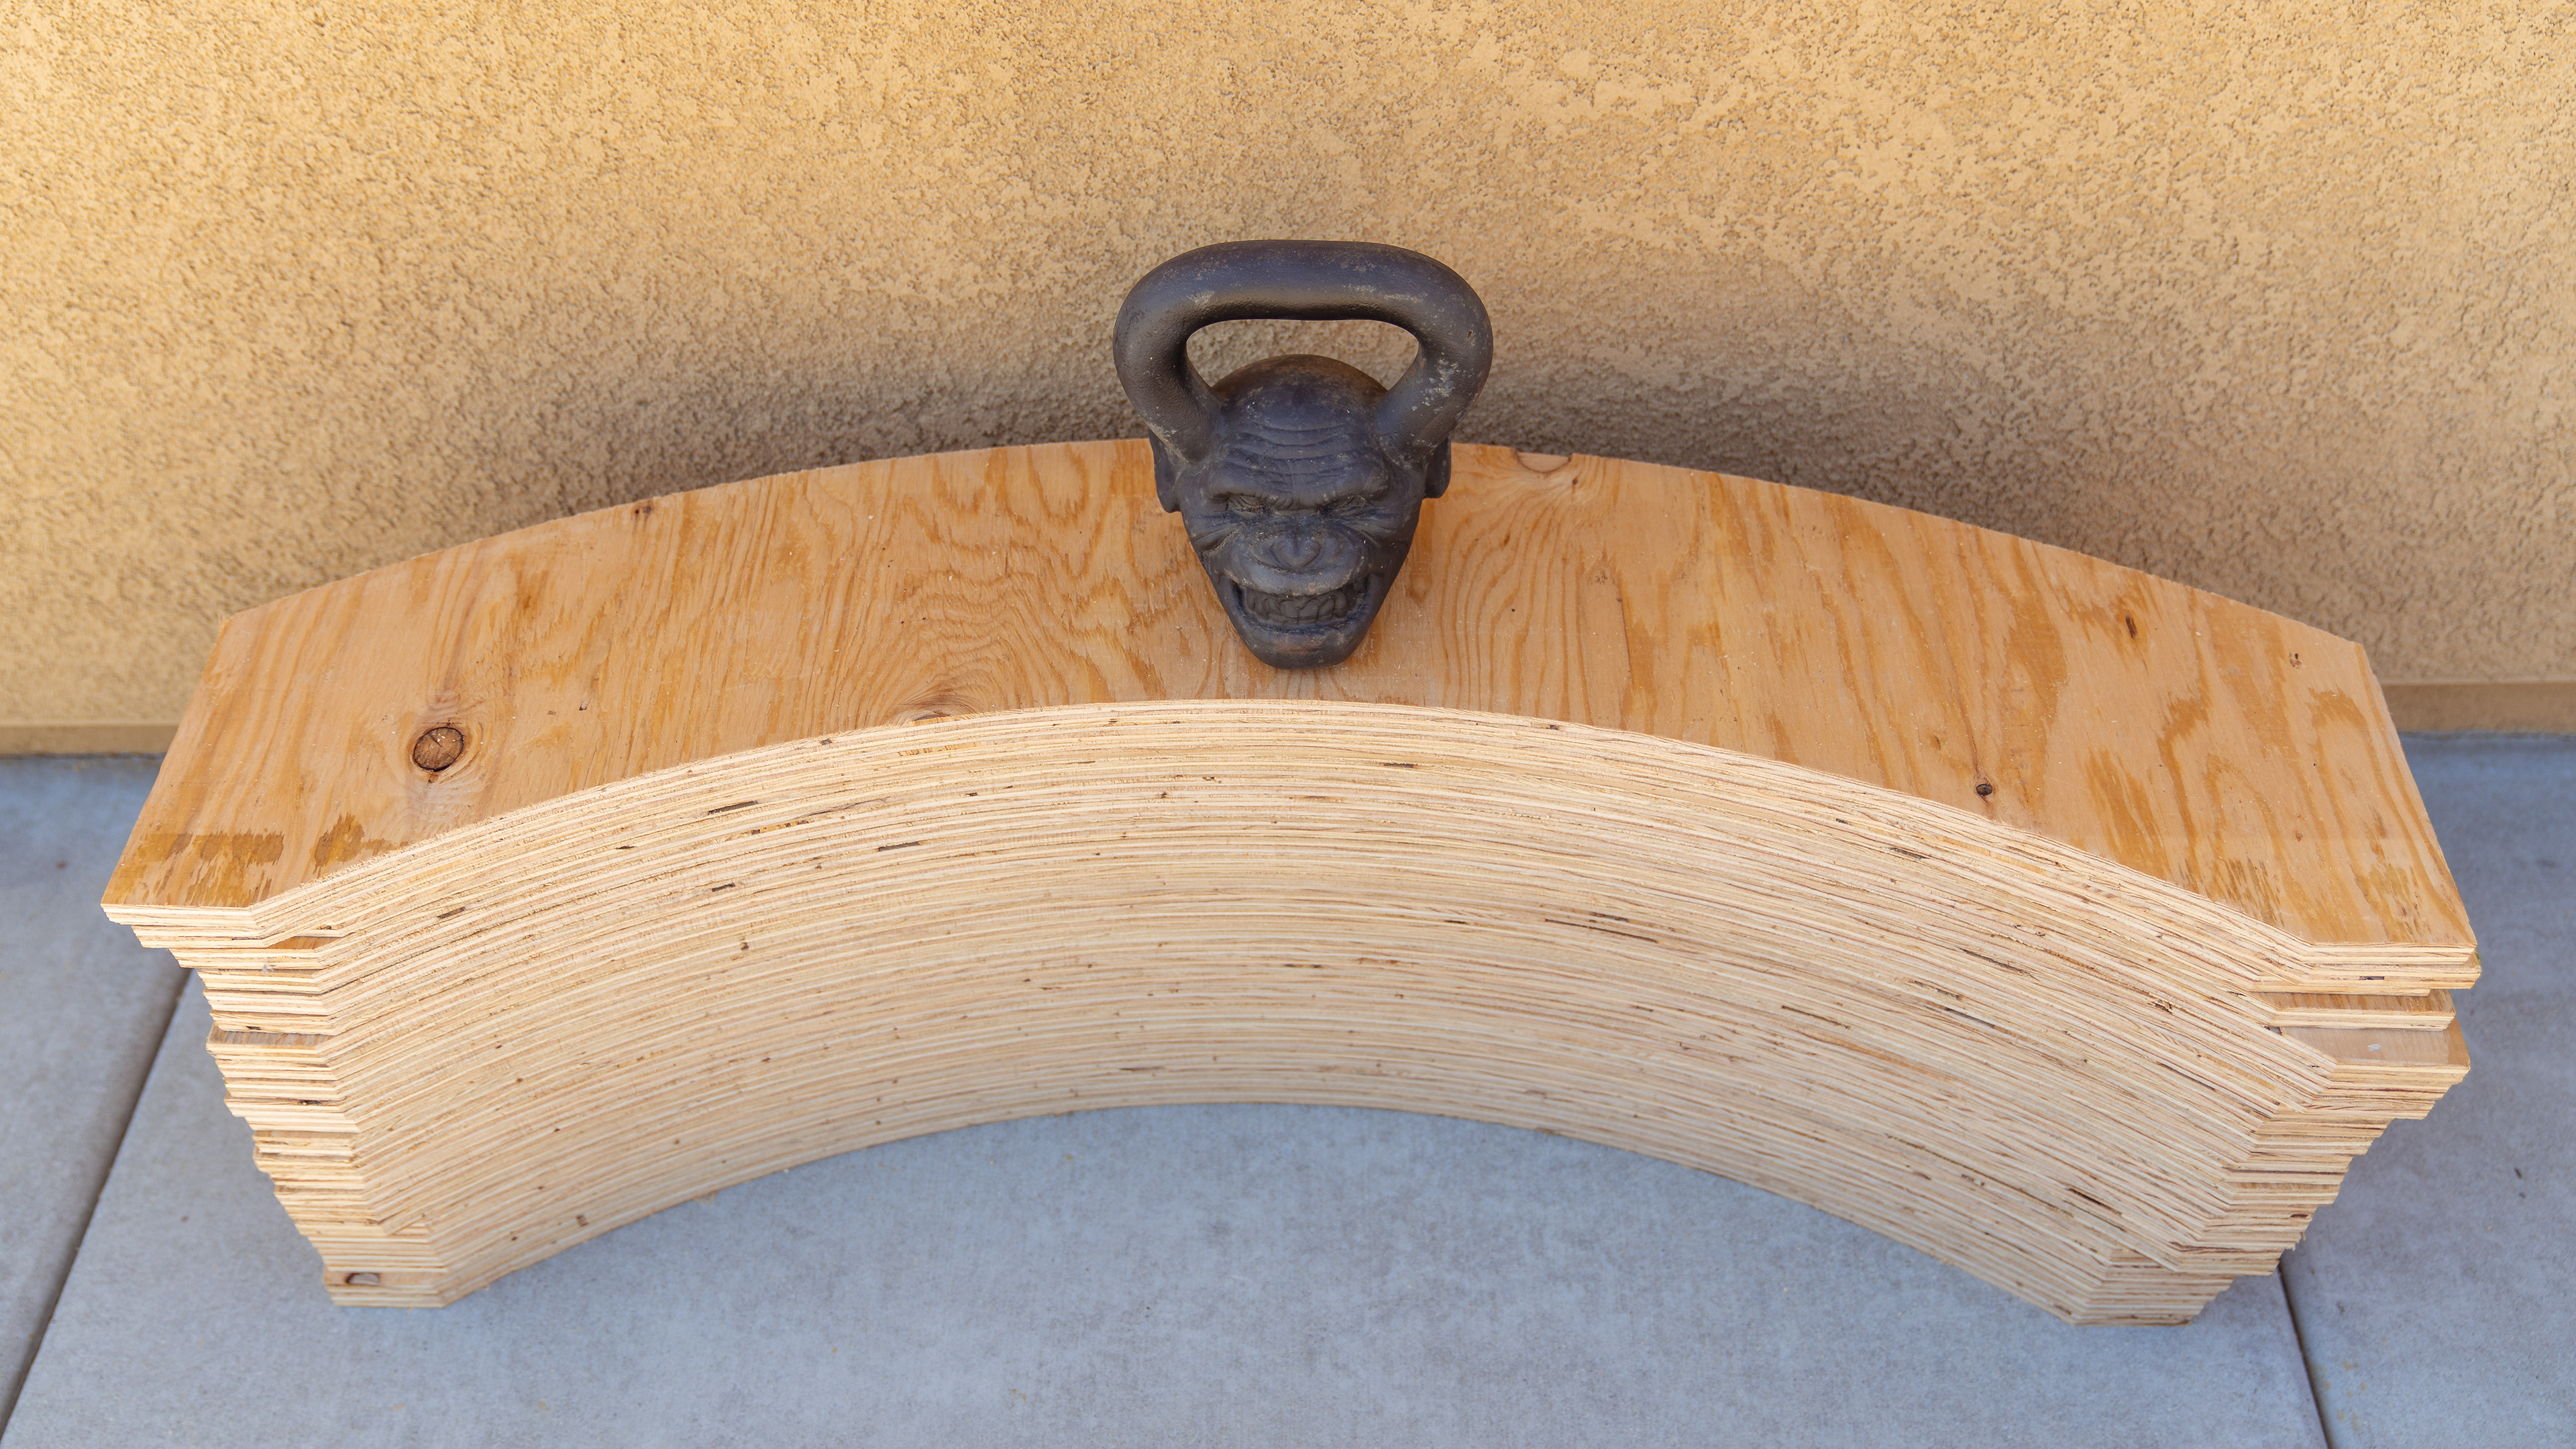
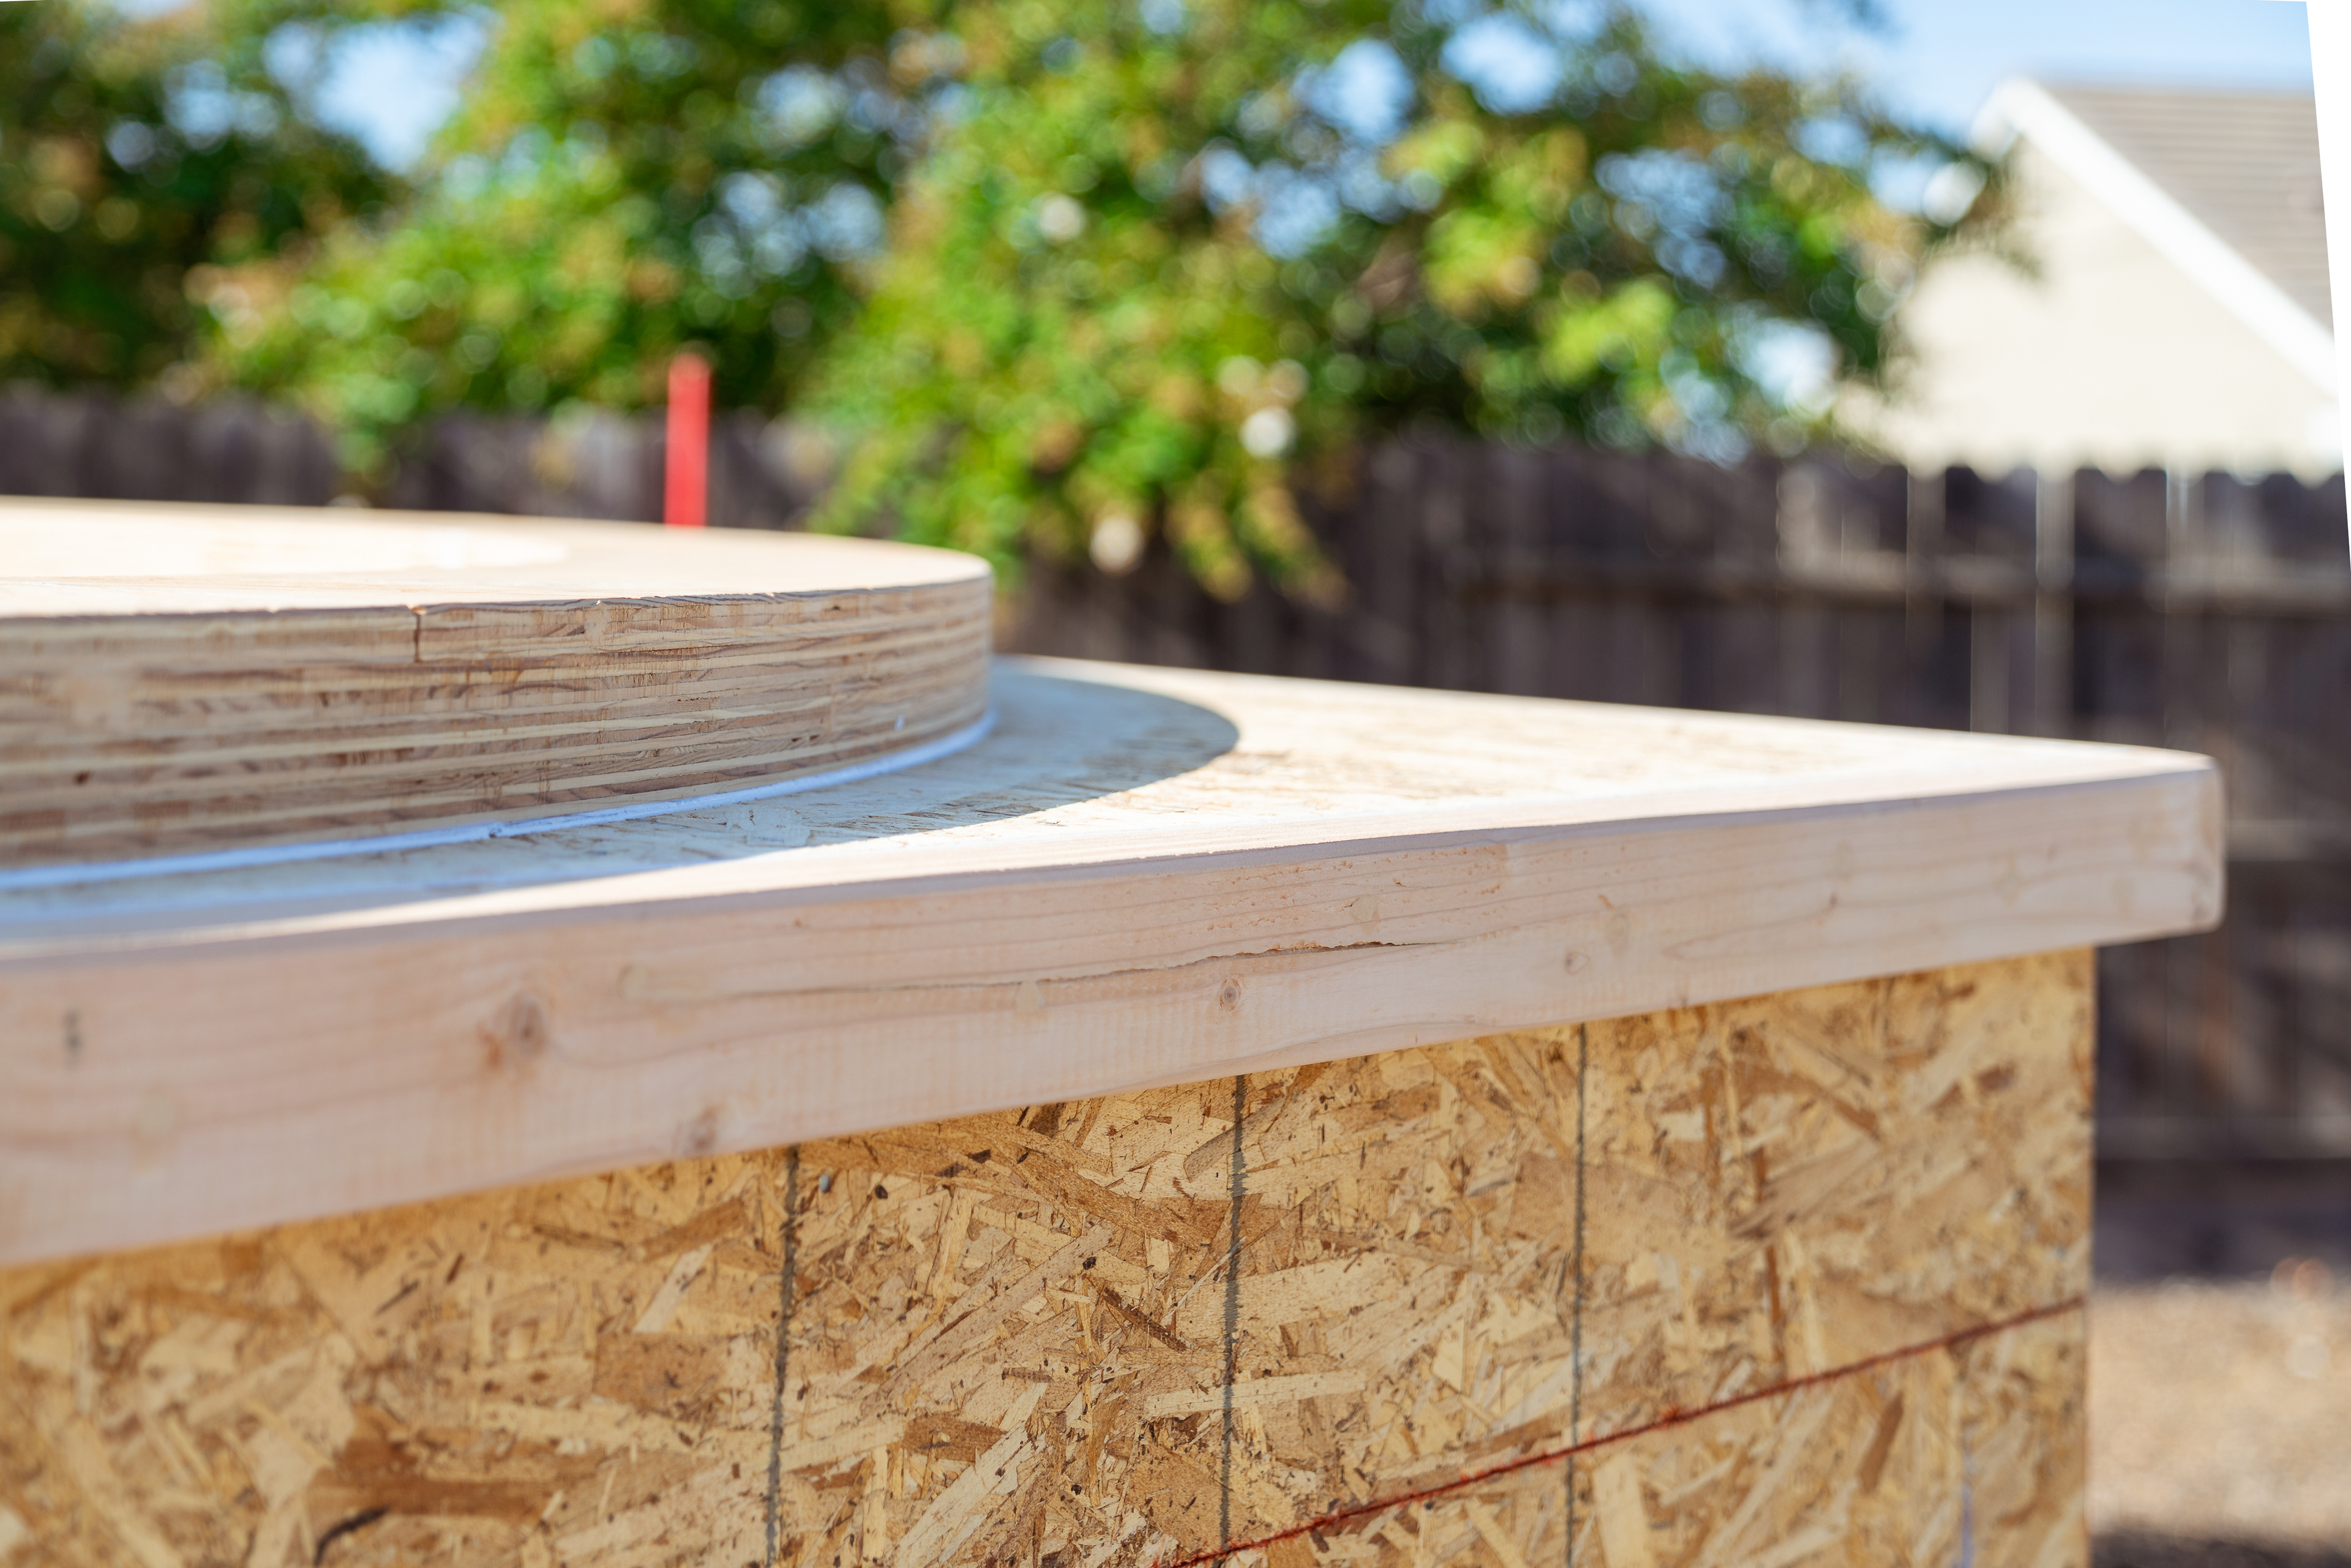
The process took me an entire weekend to finish... there's probably an easier method but this was the best I came up with. And it was effective: very little waste with consistent cuts. Once the the arcs were cut, I've glued and screwed them together 4 layers think into an 8' ring platform. I then secured the ring onto the roof frame with heavy duty fasteners and and sealed all of the gaps with wood filler and caulk and sanded to a smooth finish.
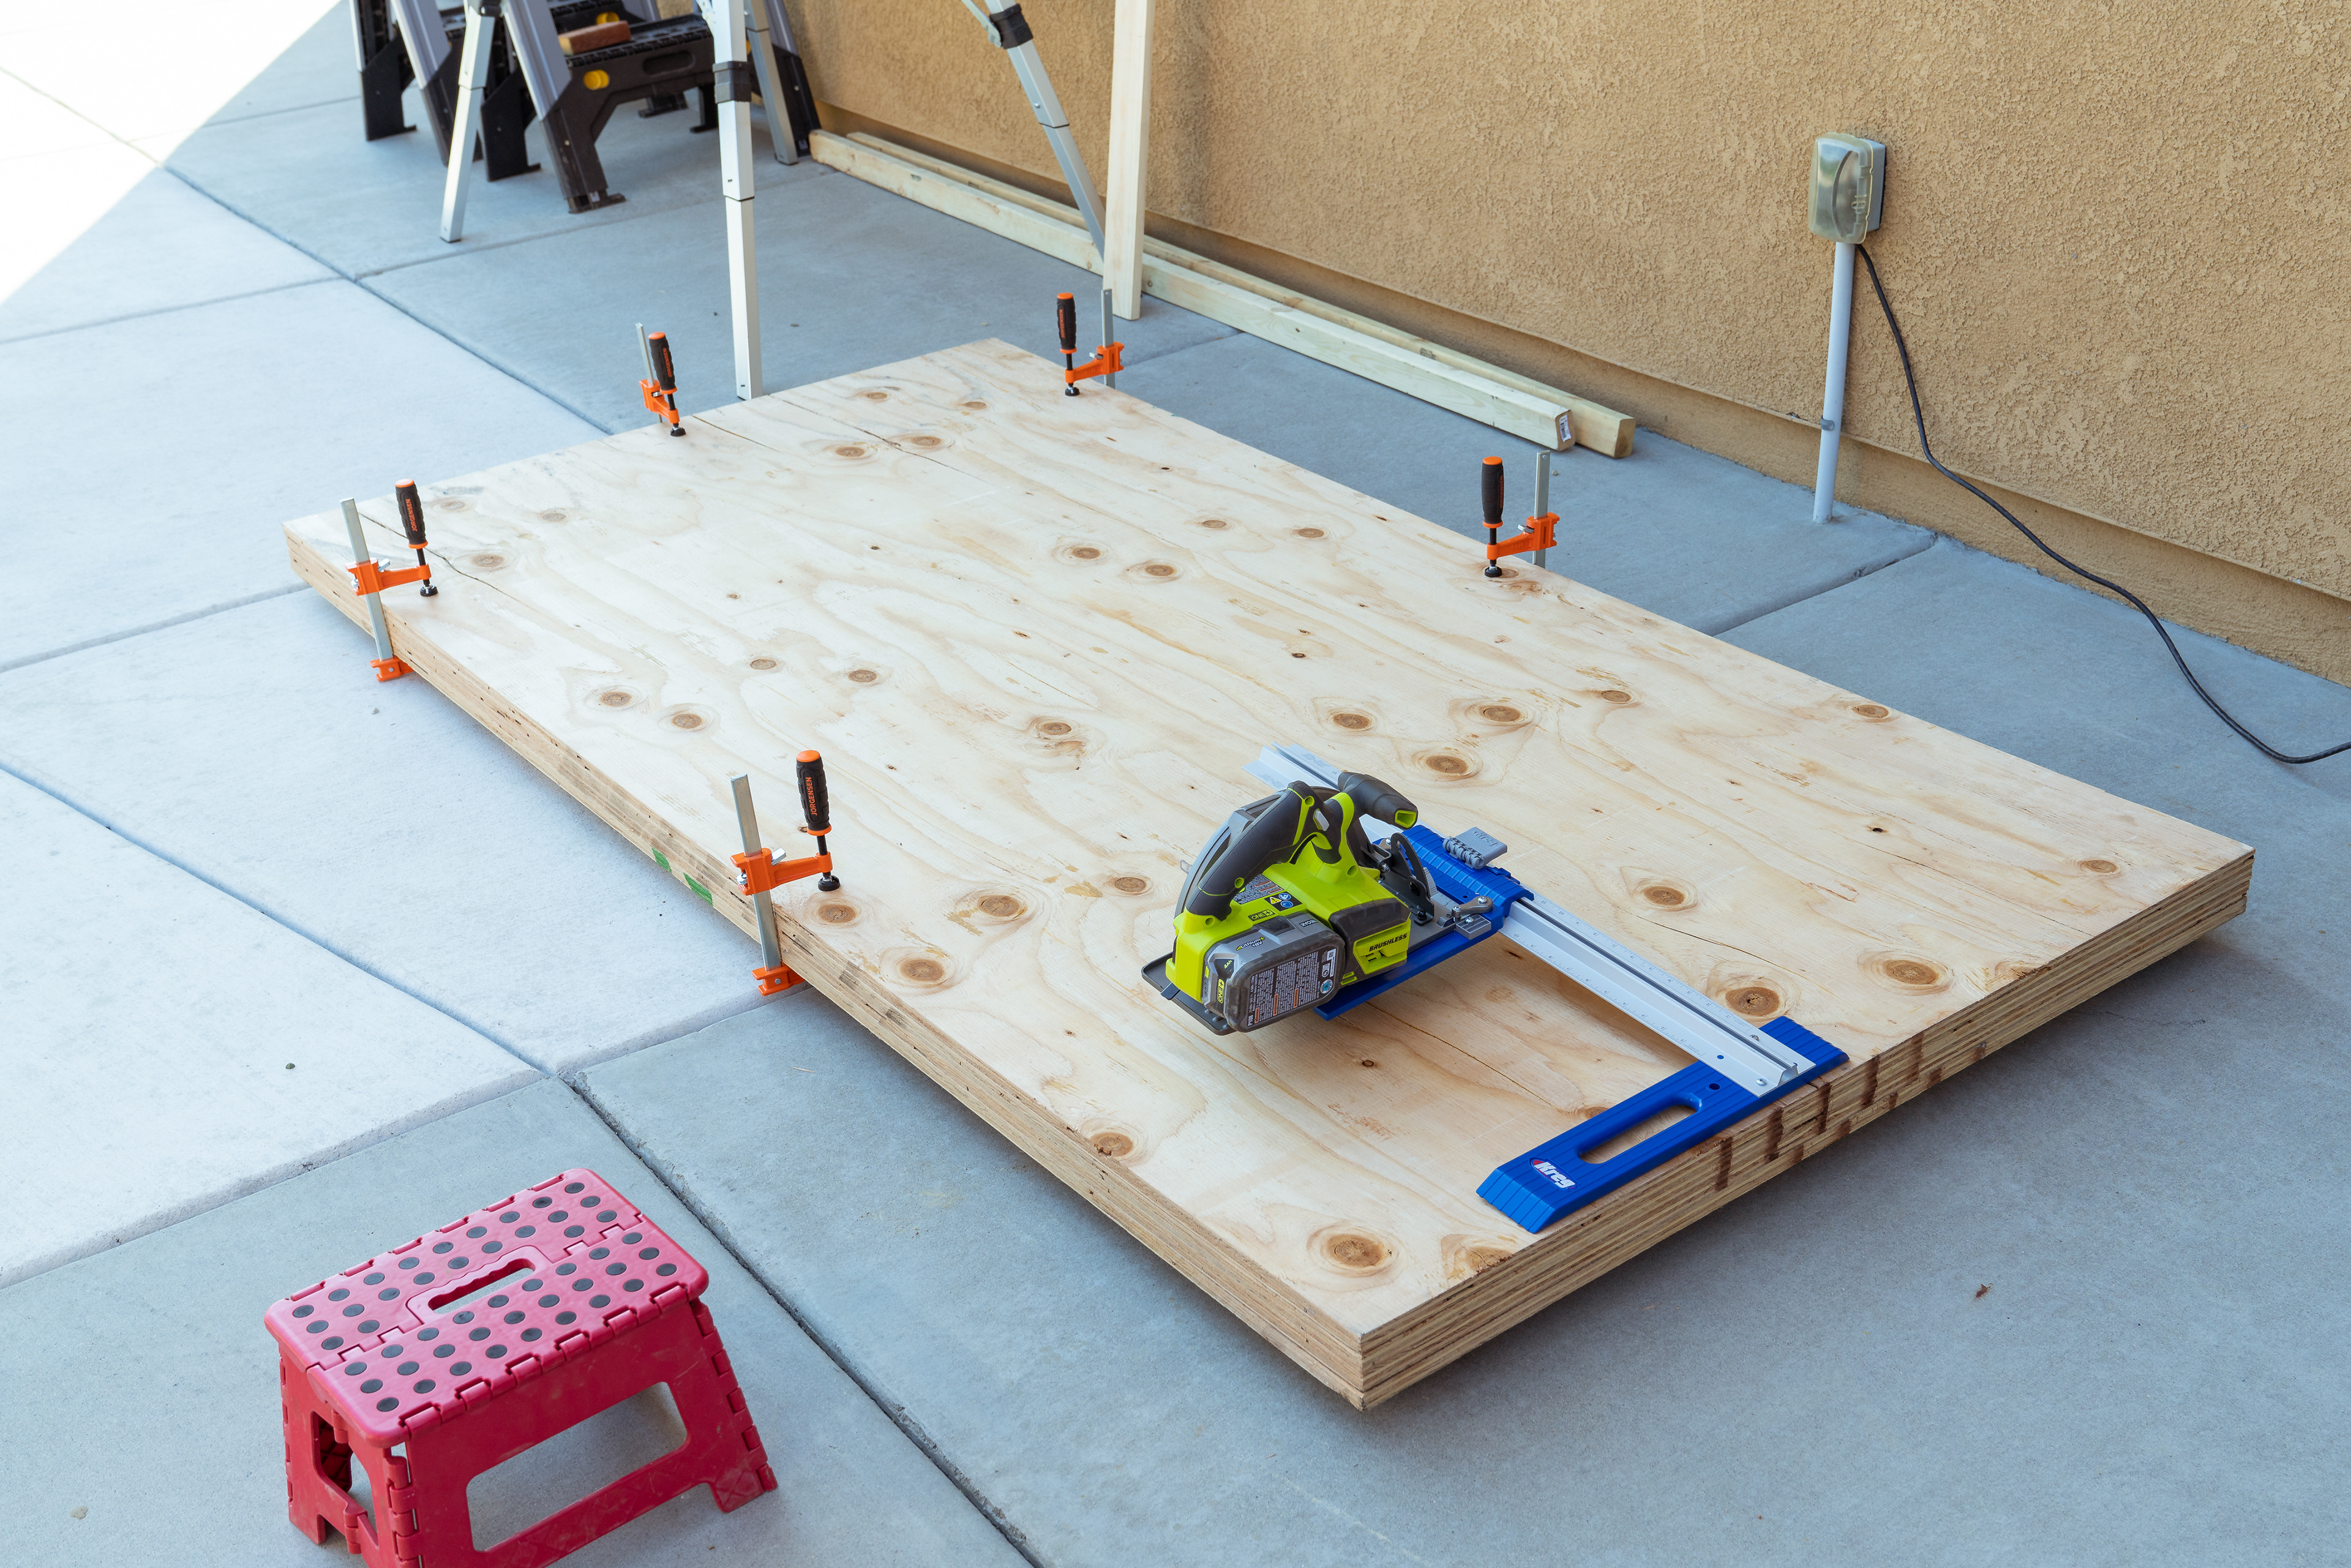
Plywood ready to be cut
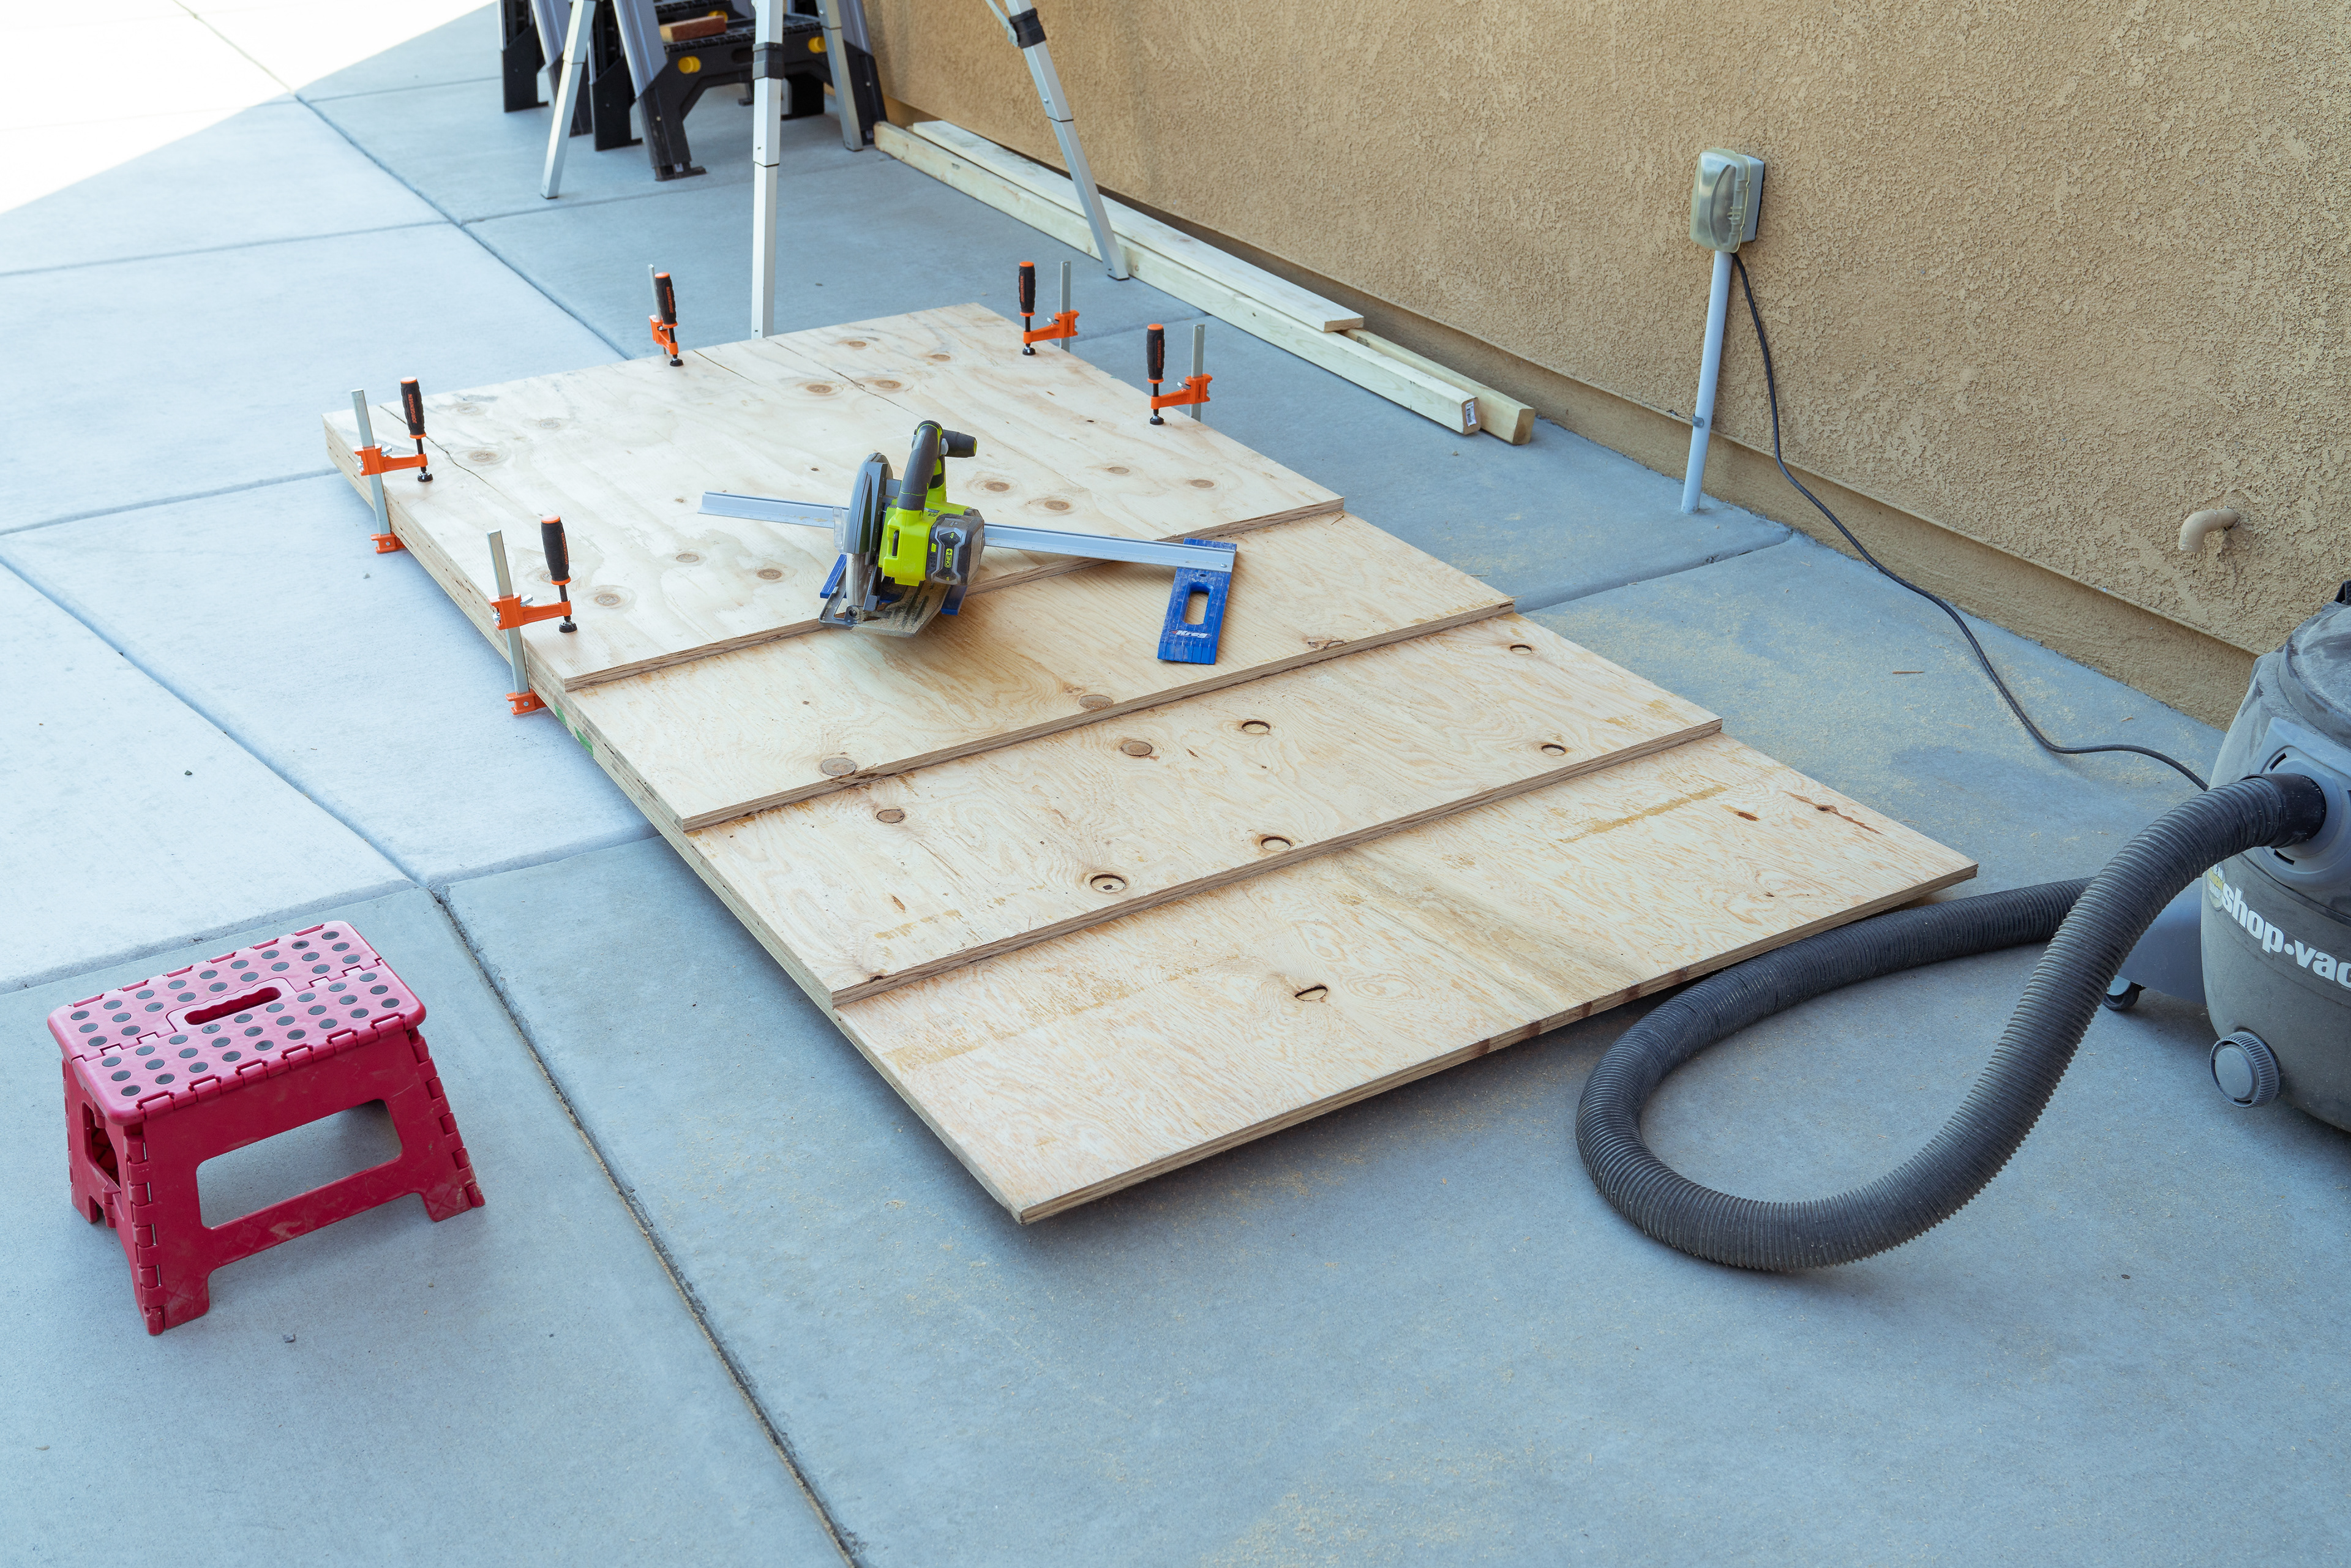
One by one

Consistent cuts are a must
Homemade jig
Messy job - shop vac helps
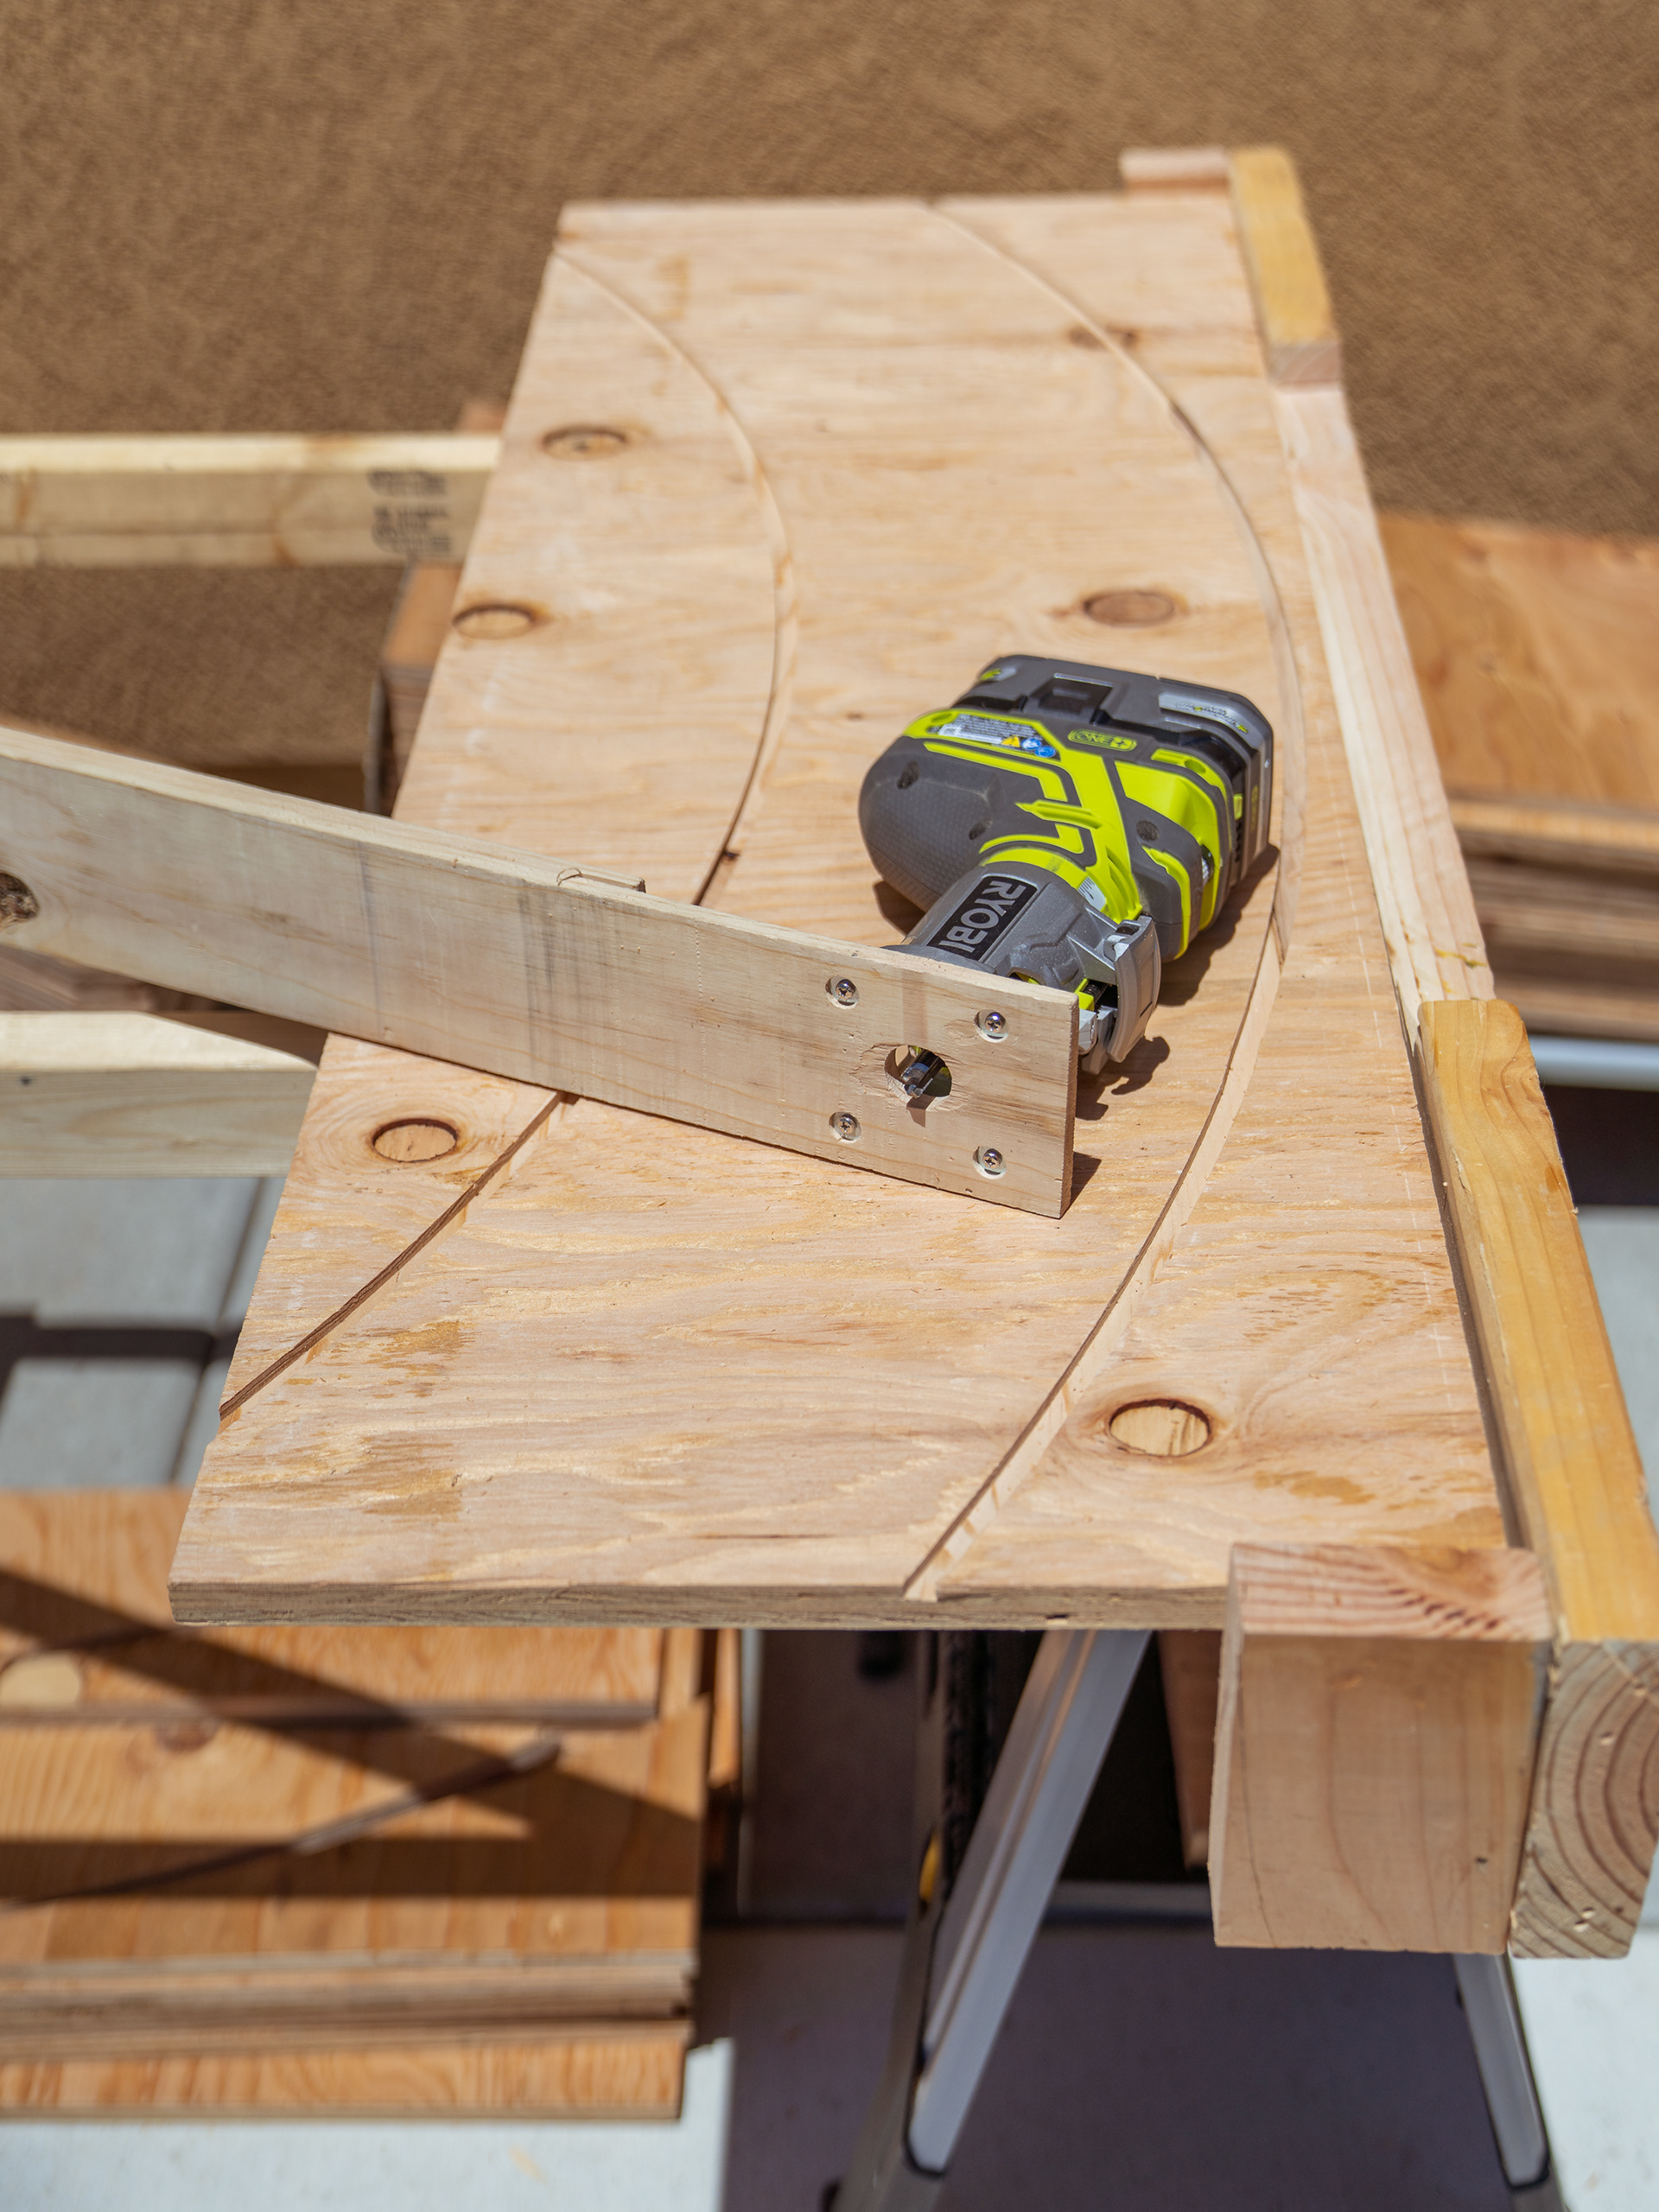
Look at how the router is attached
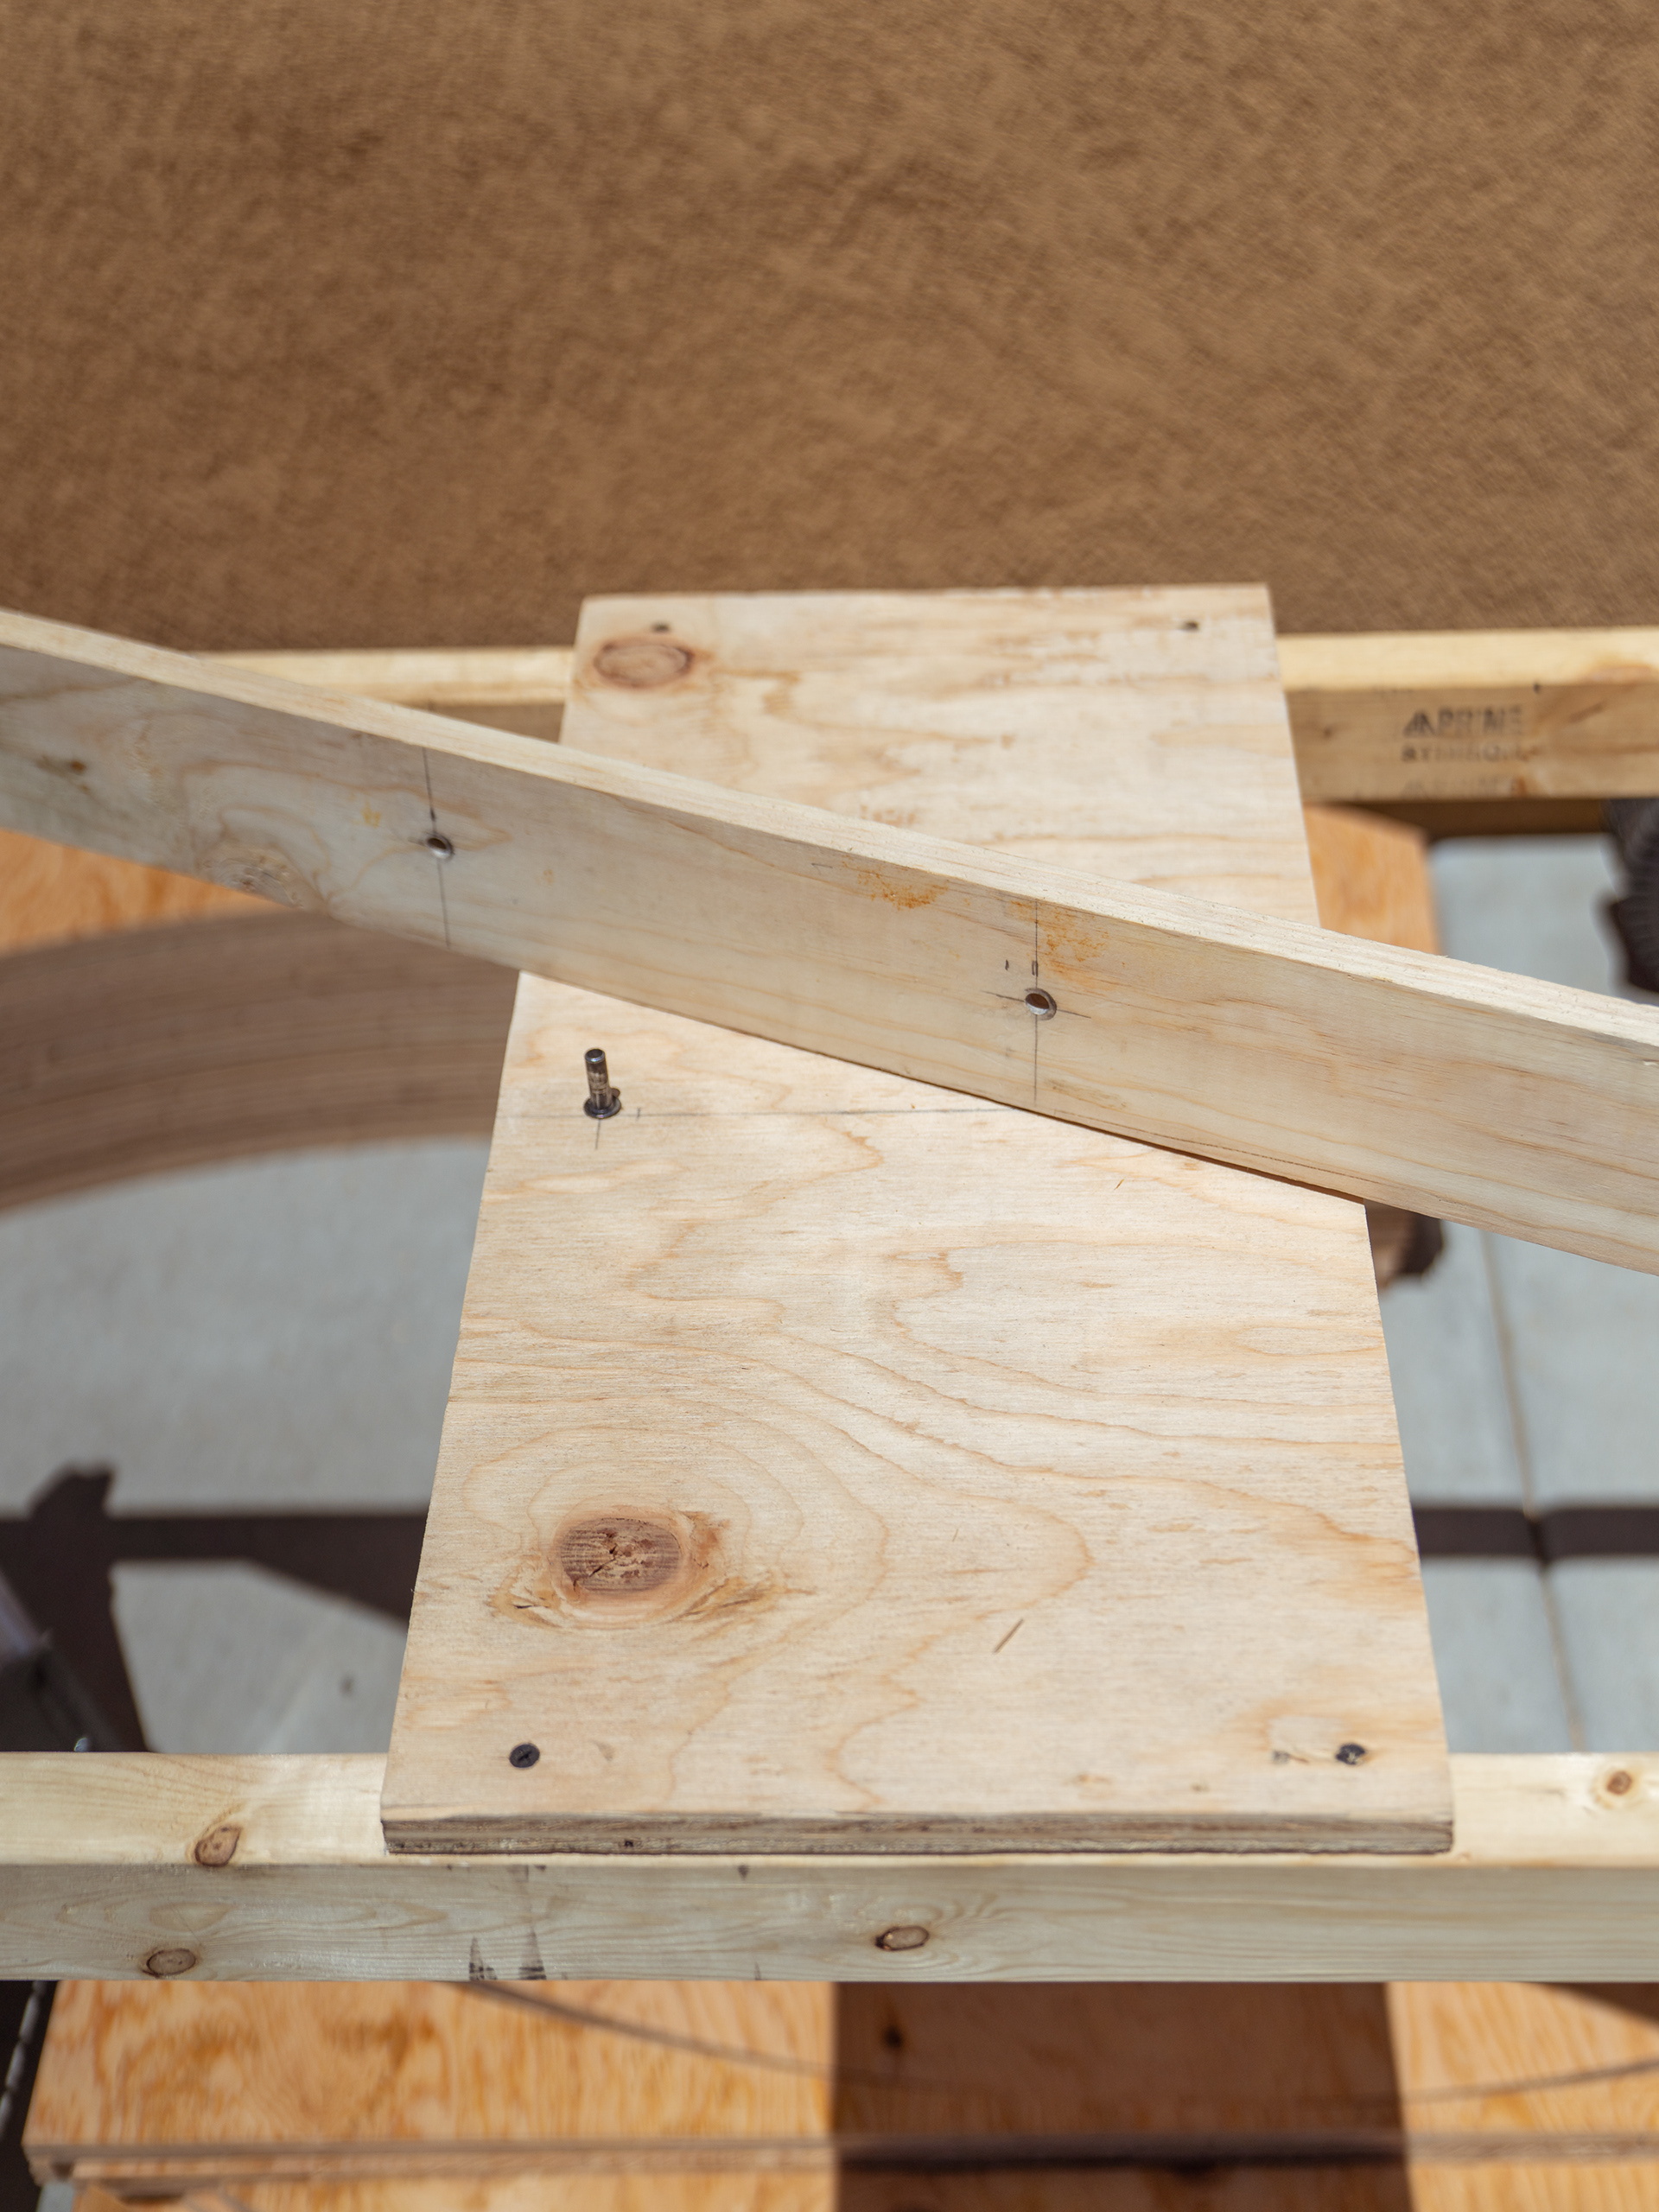
Pins for inner and outer diameter
Ready to be cut into proper size arcs
Ready for ring assembly

Consistent cuts made assembly easy
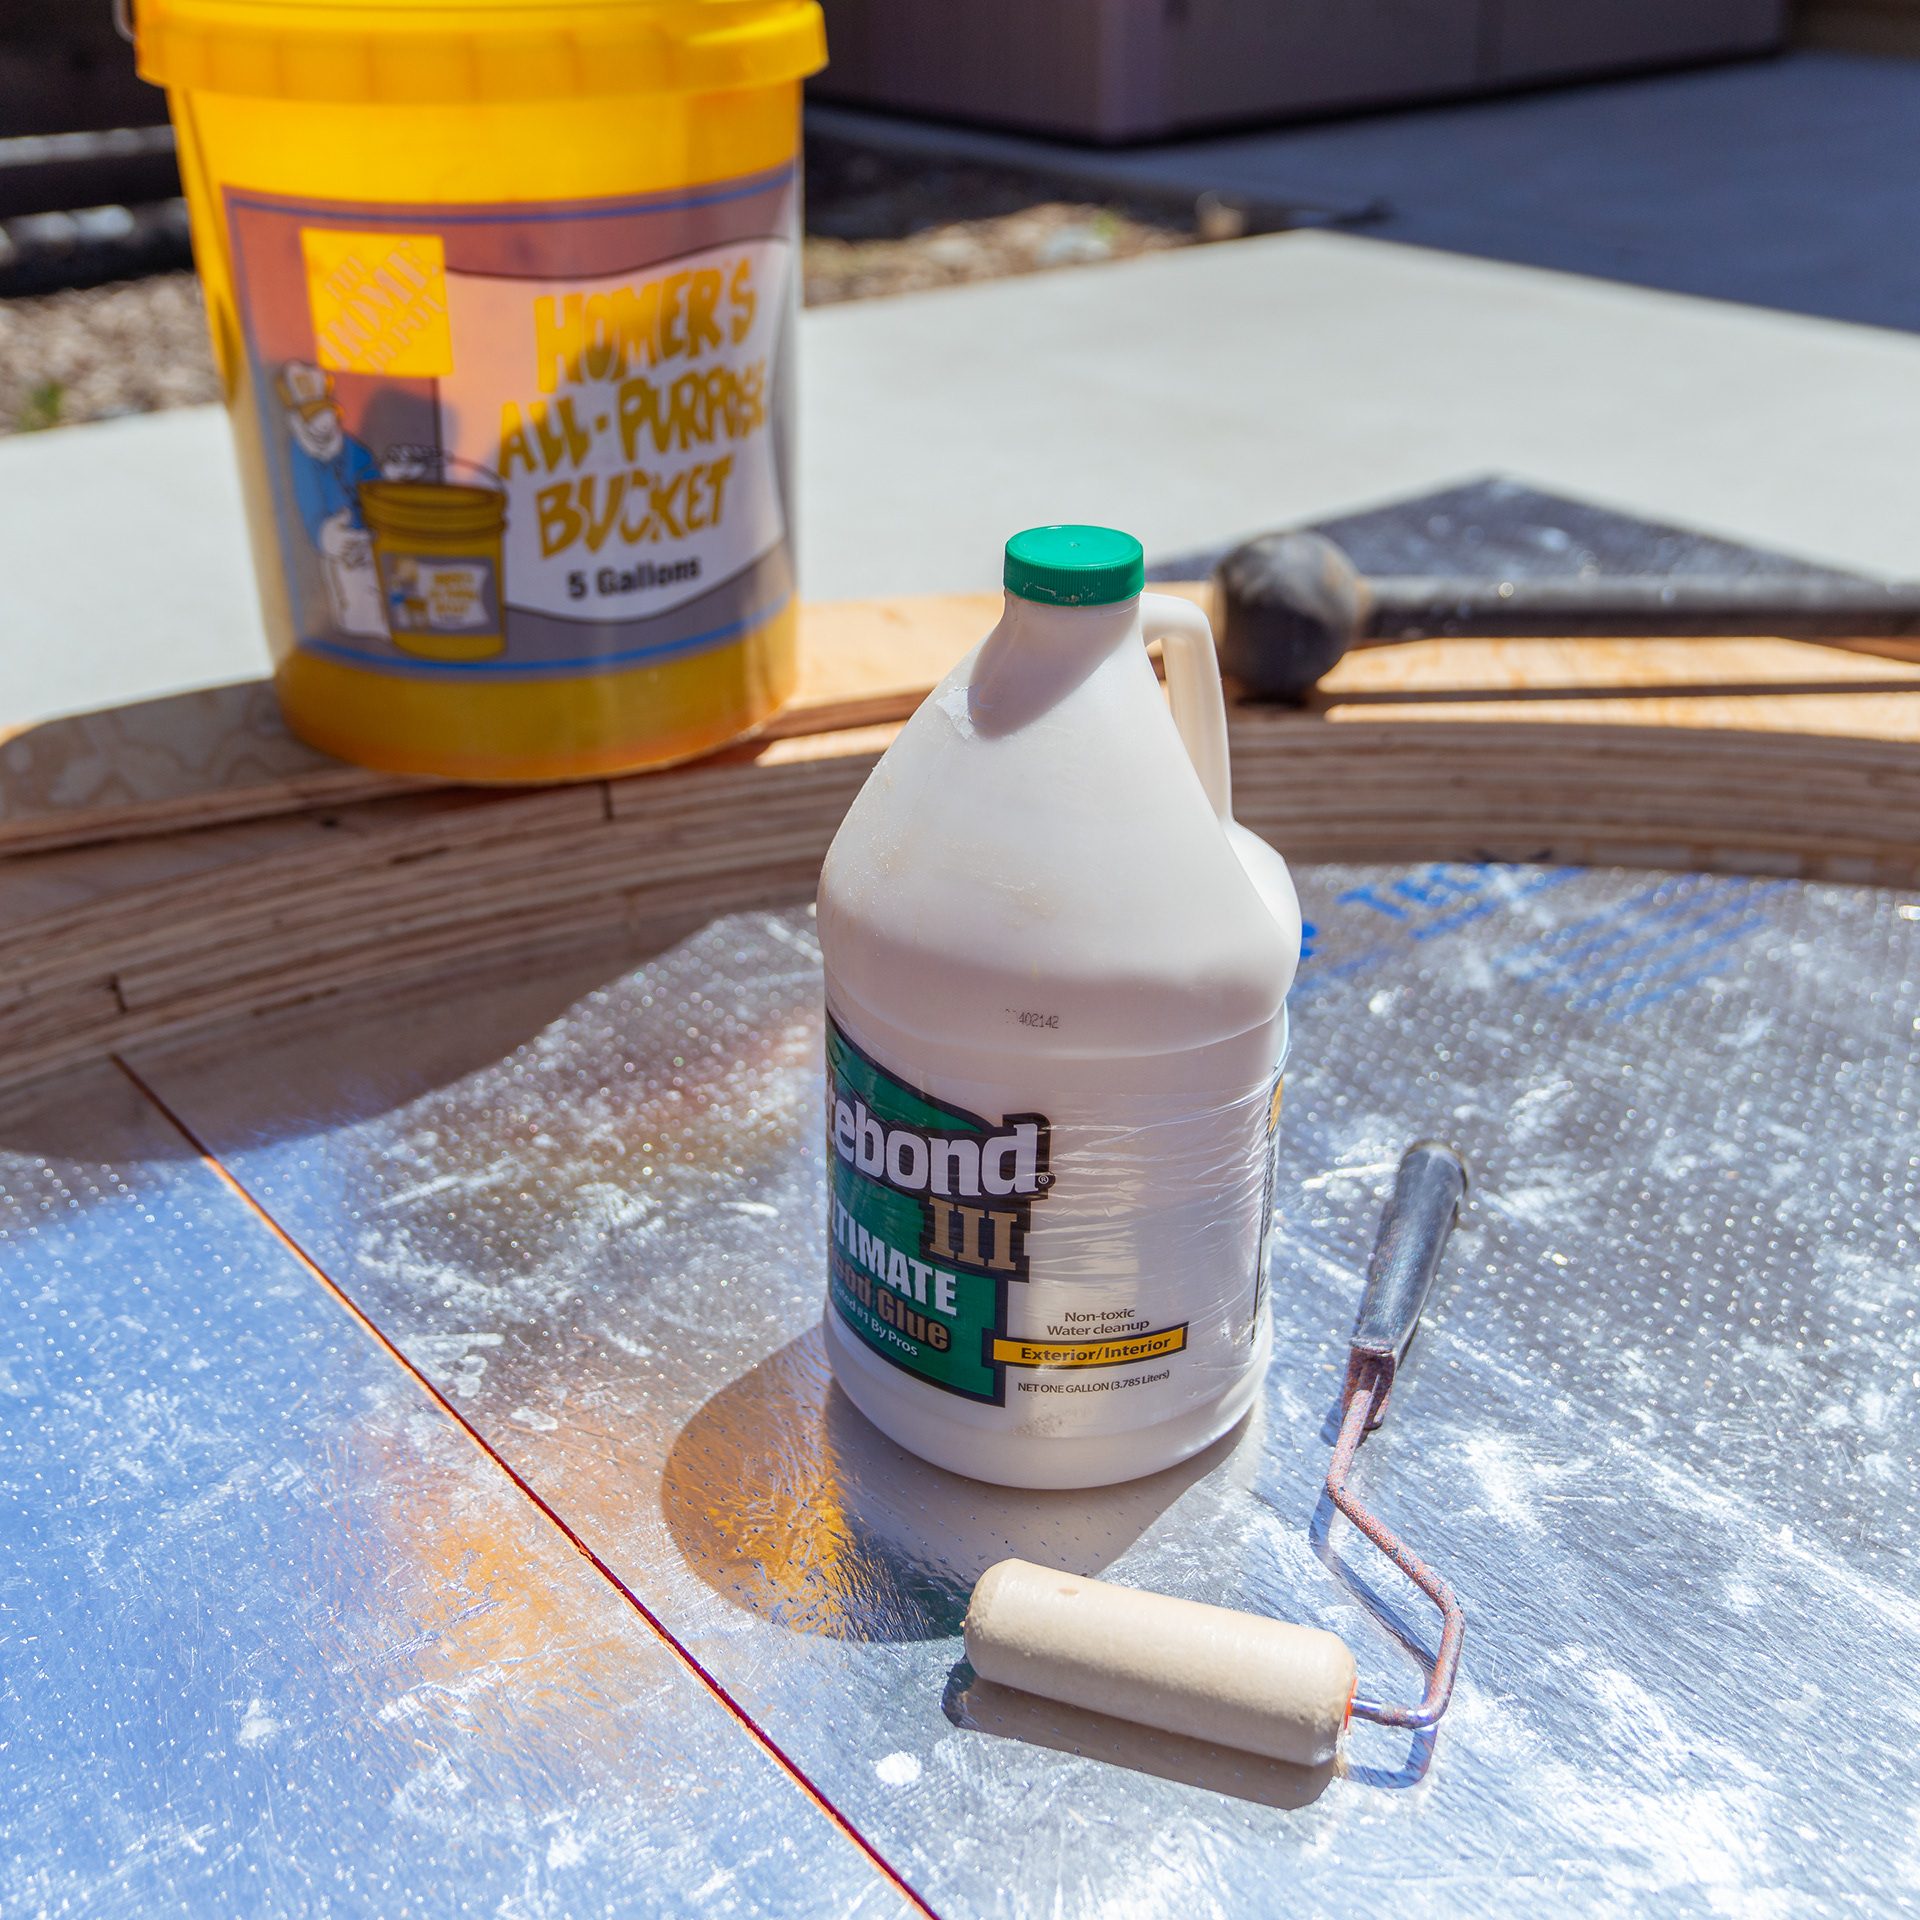
Wood glue
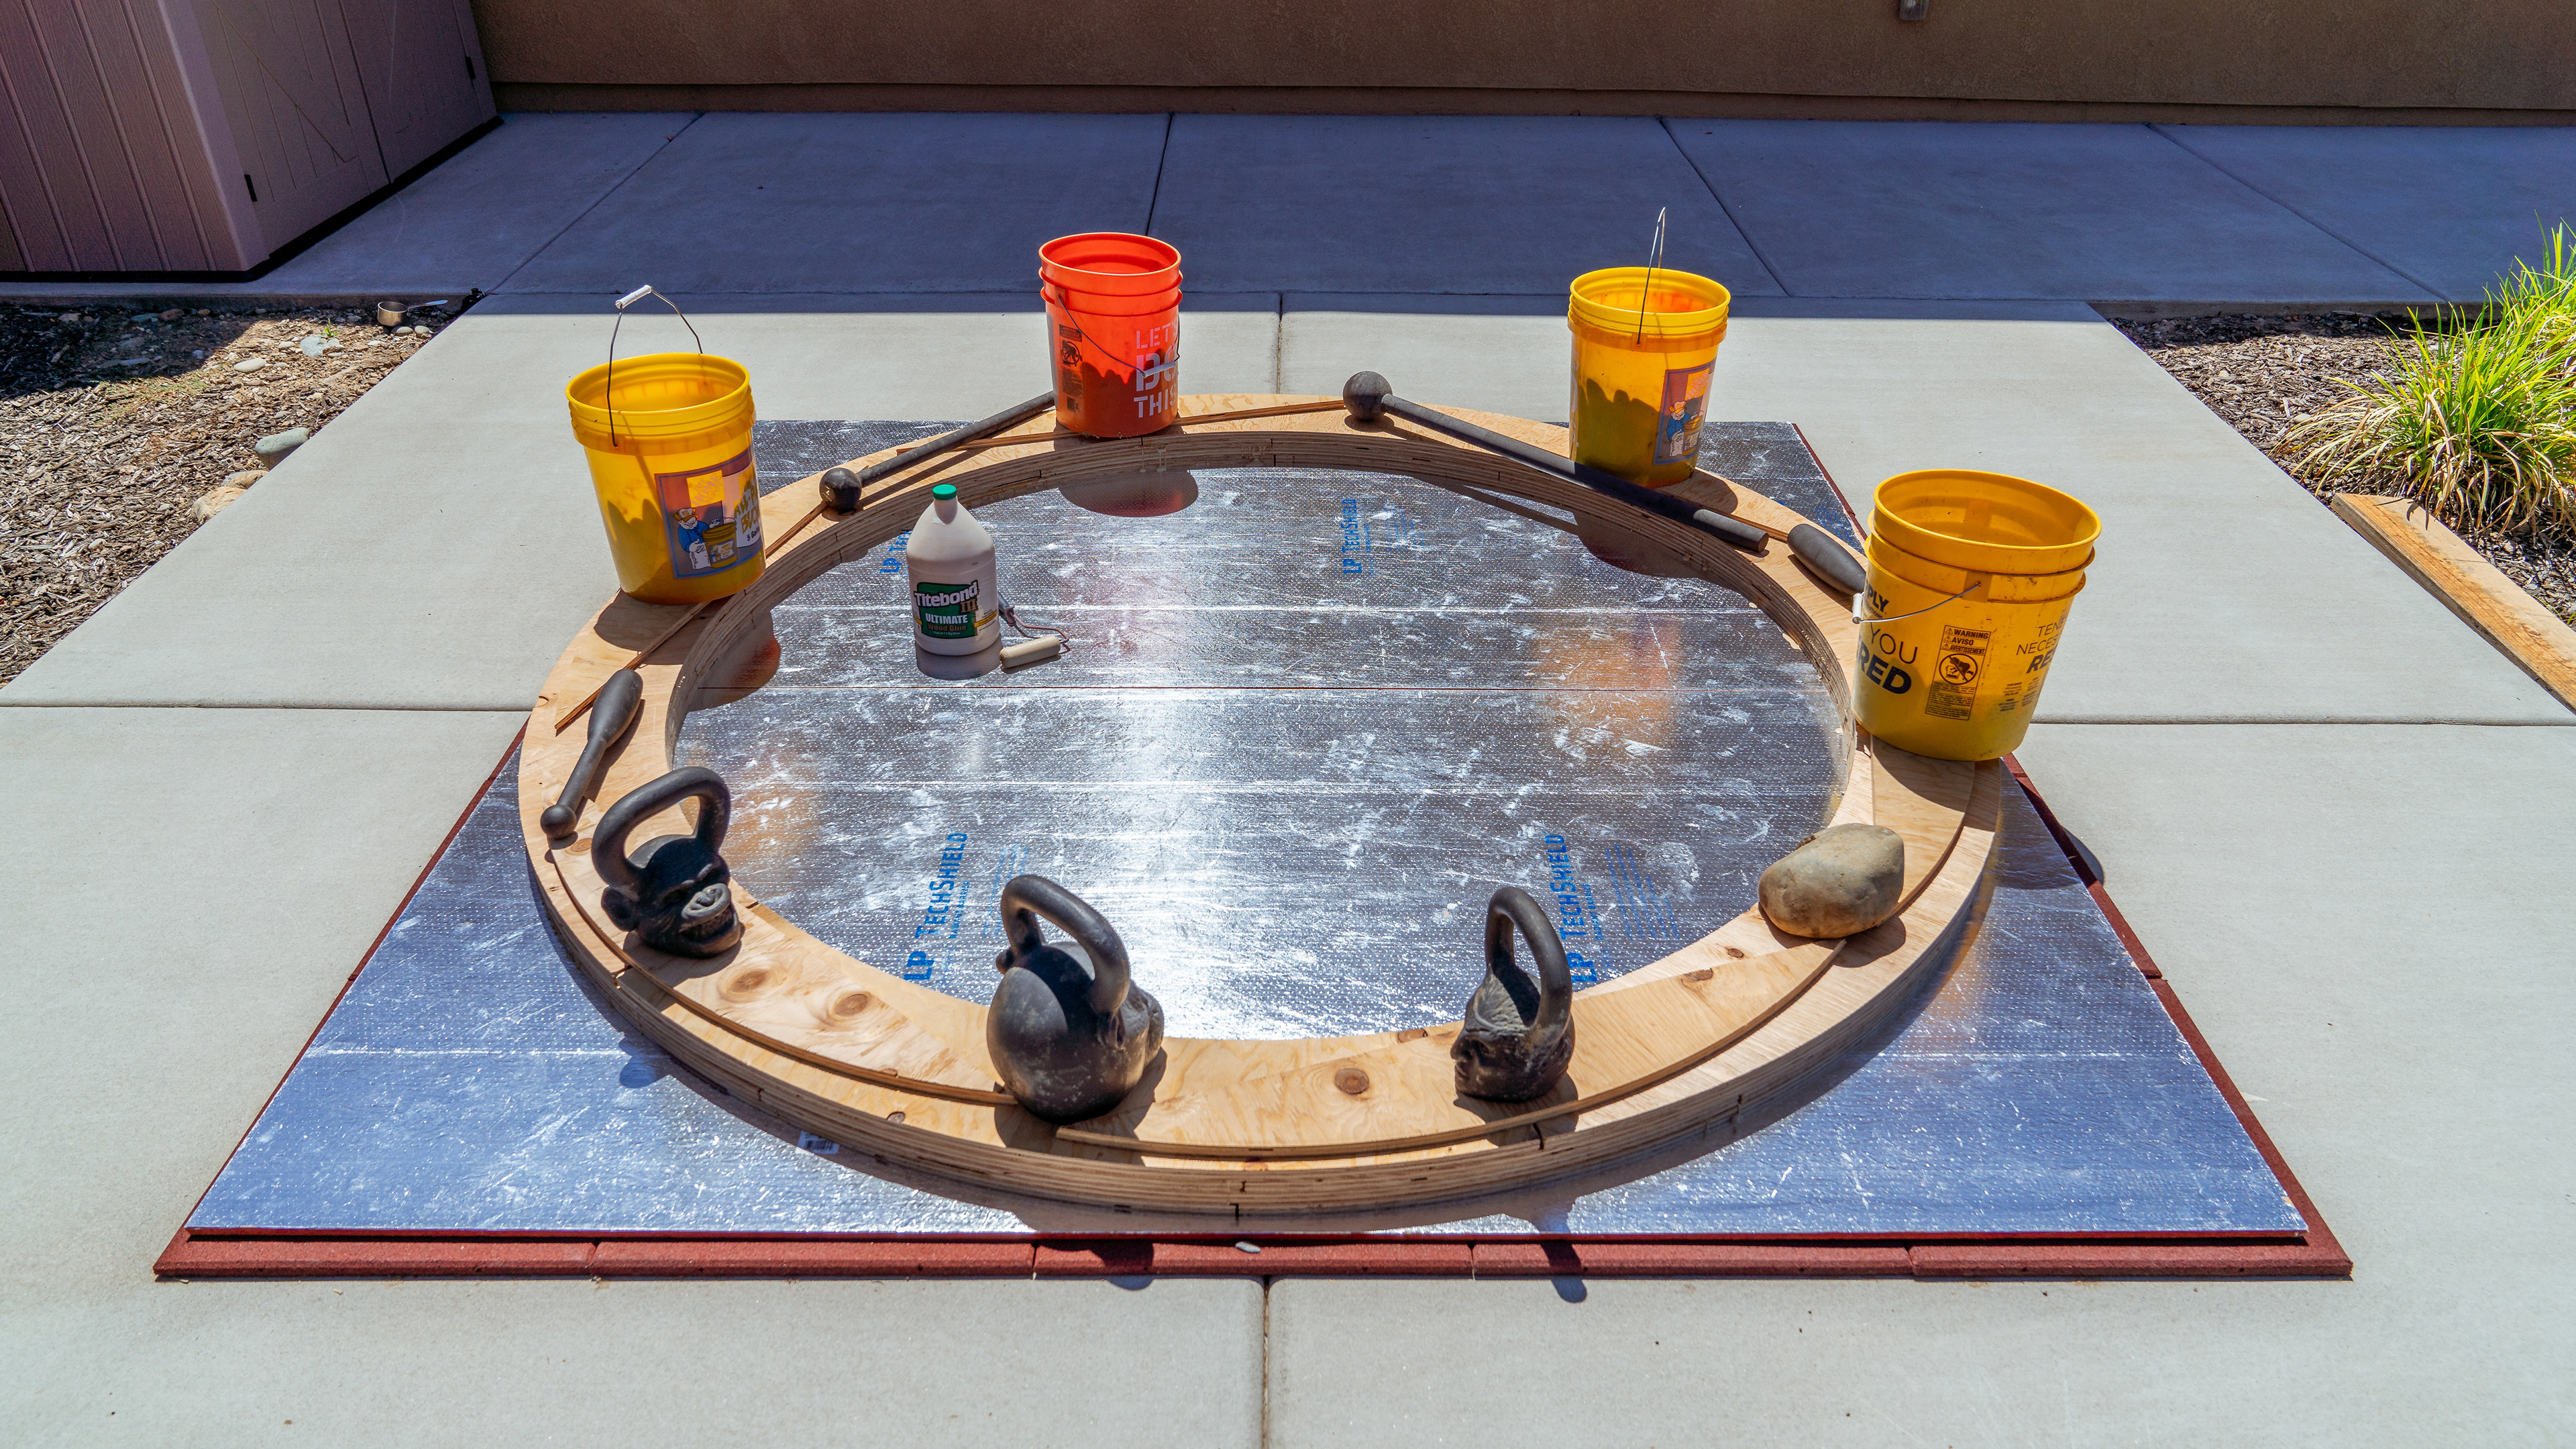
Glued and screwed together, now waiting for the glue to cure
Weighing it down
Done and ready to be installed
And we're in business
Sanded and sealed

Alternative view
Just under 4" high above the rest of the roof