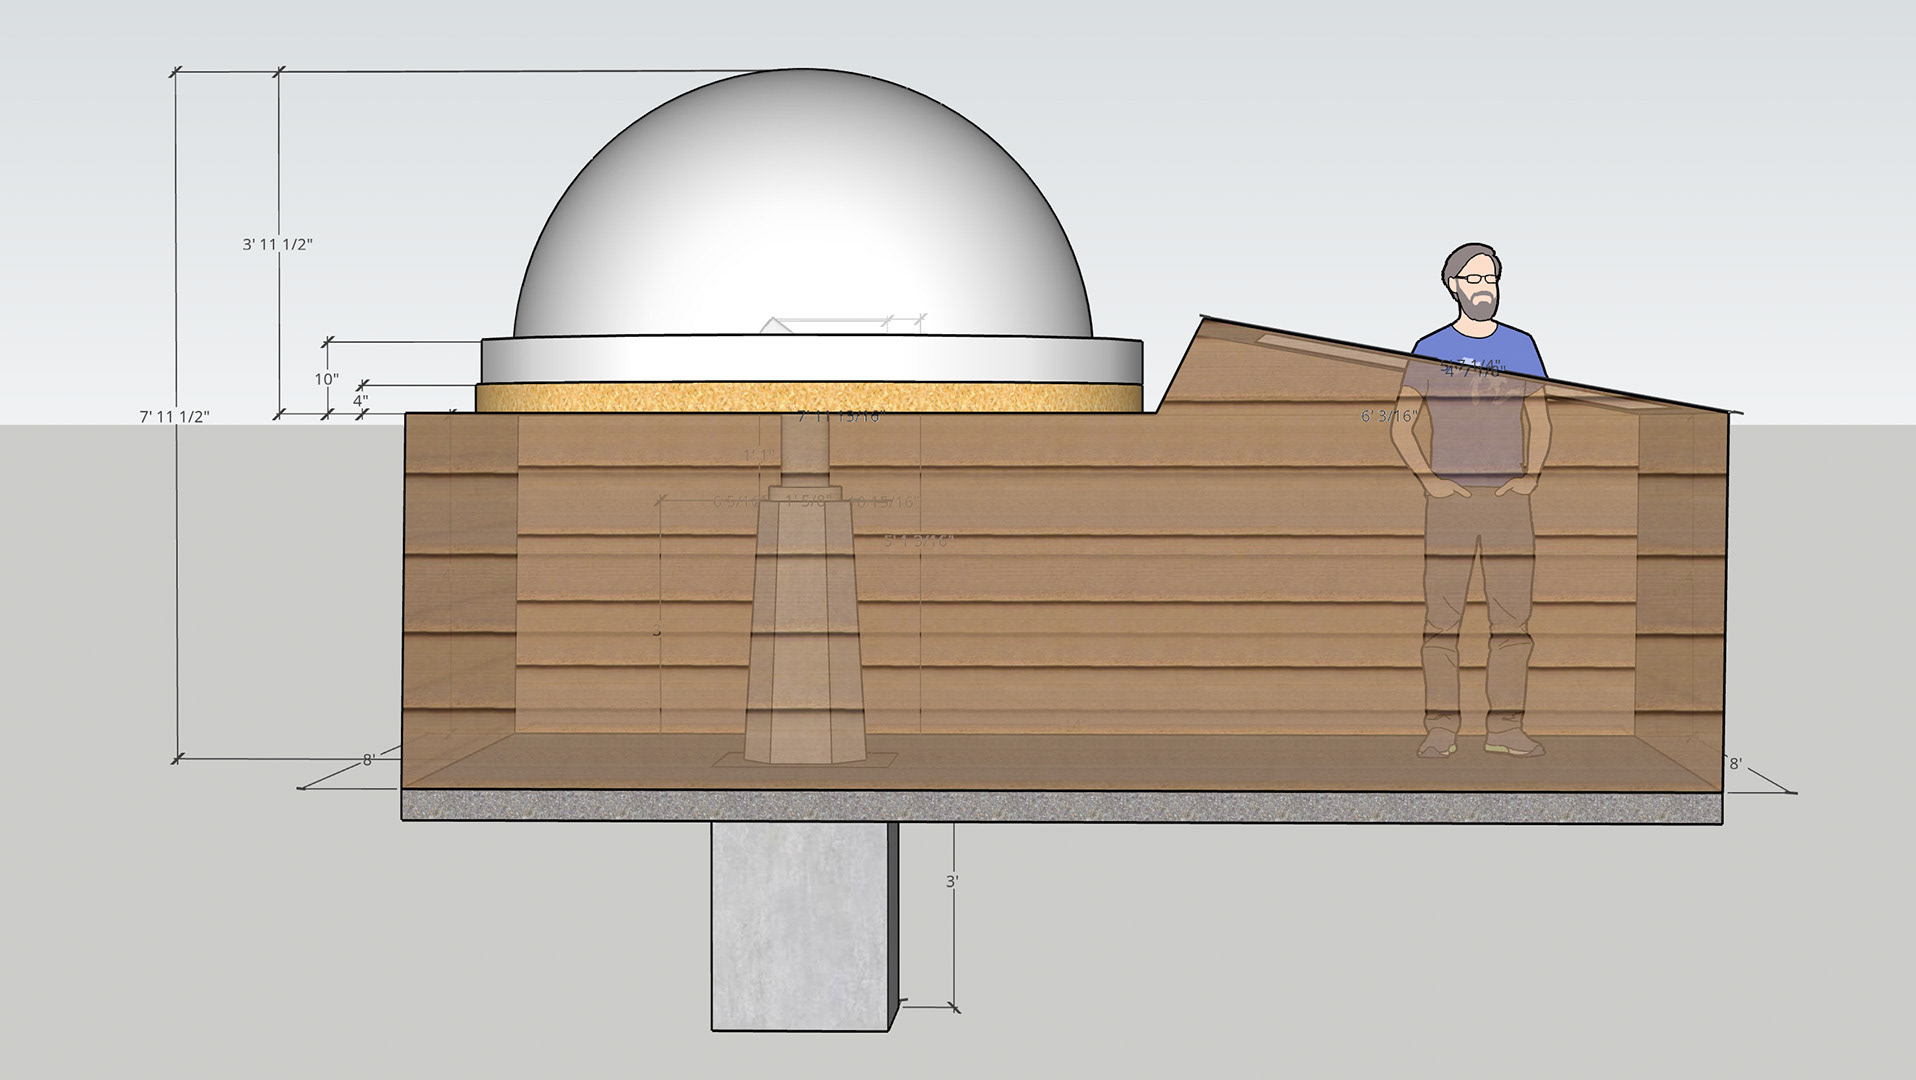
FINISHING UP EXTERIOR...
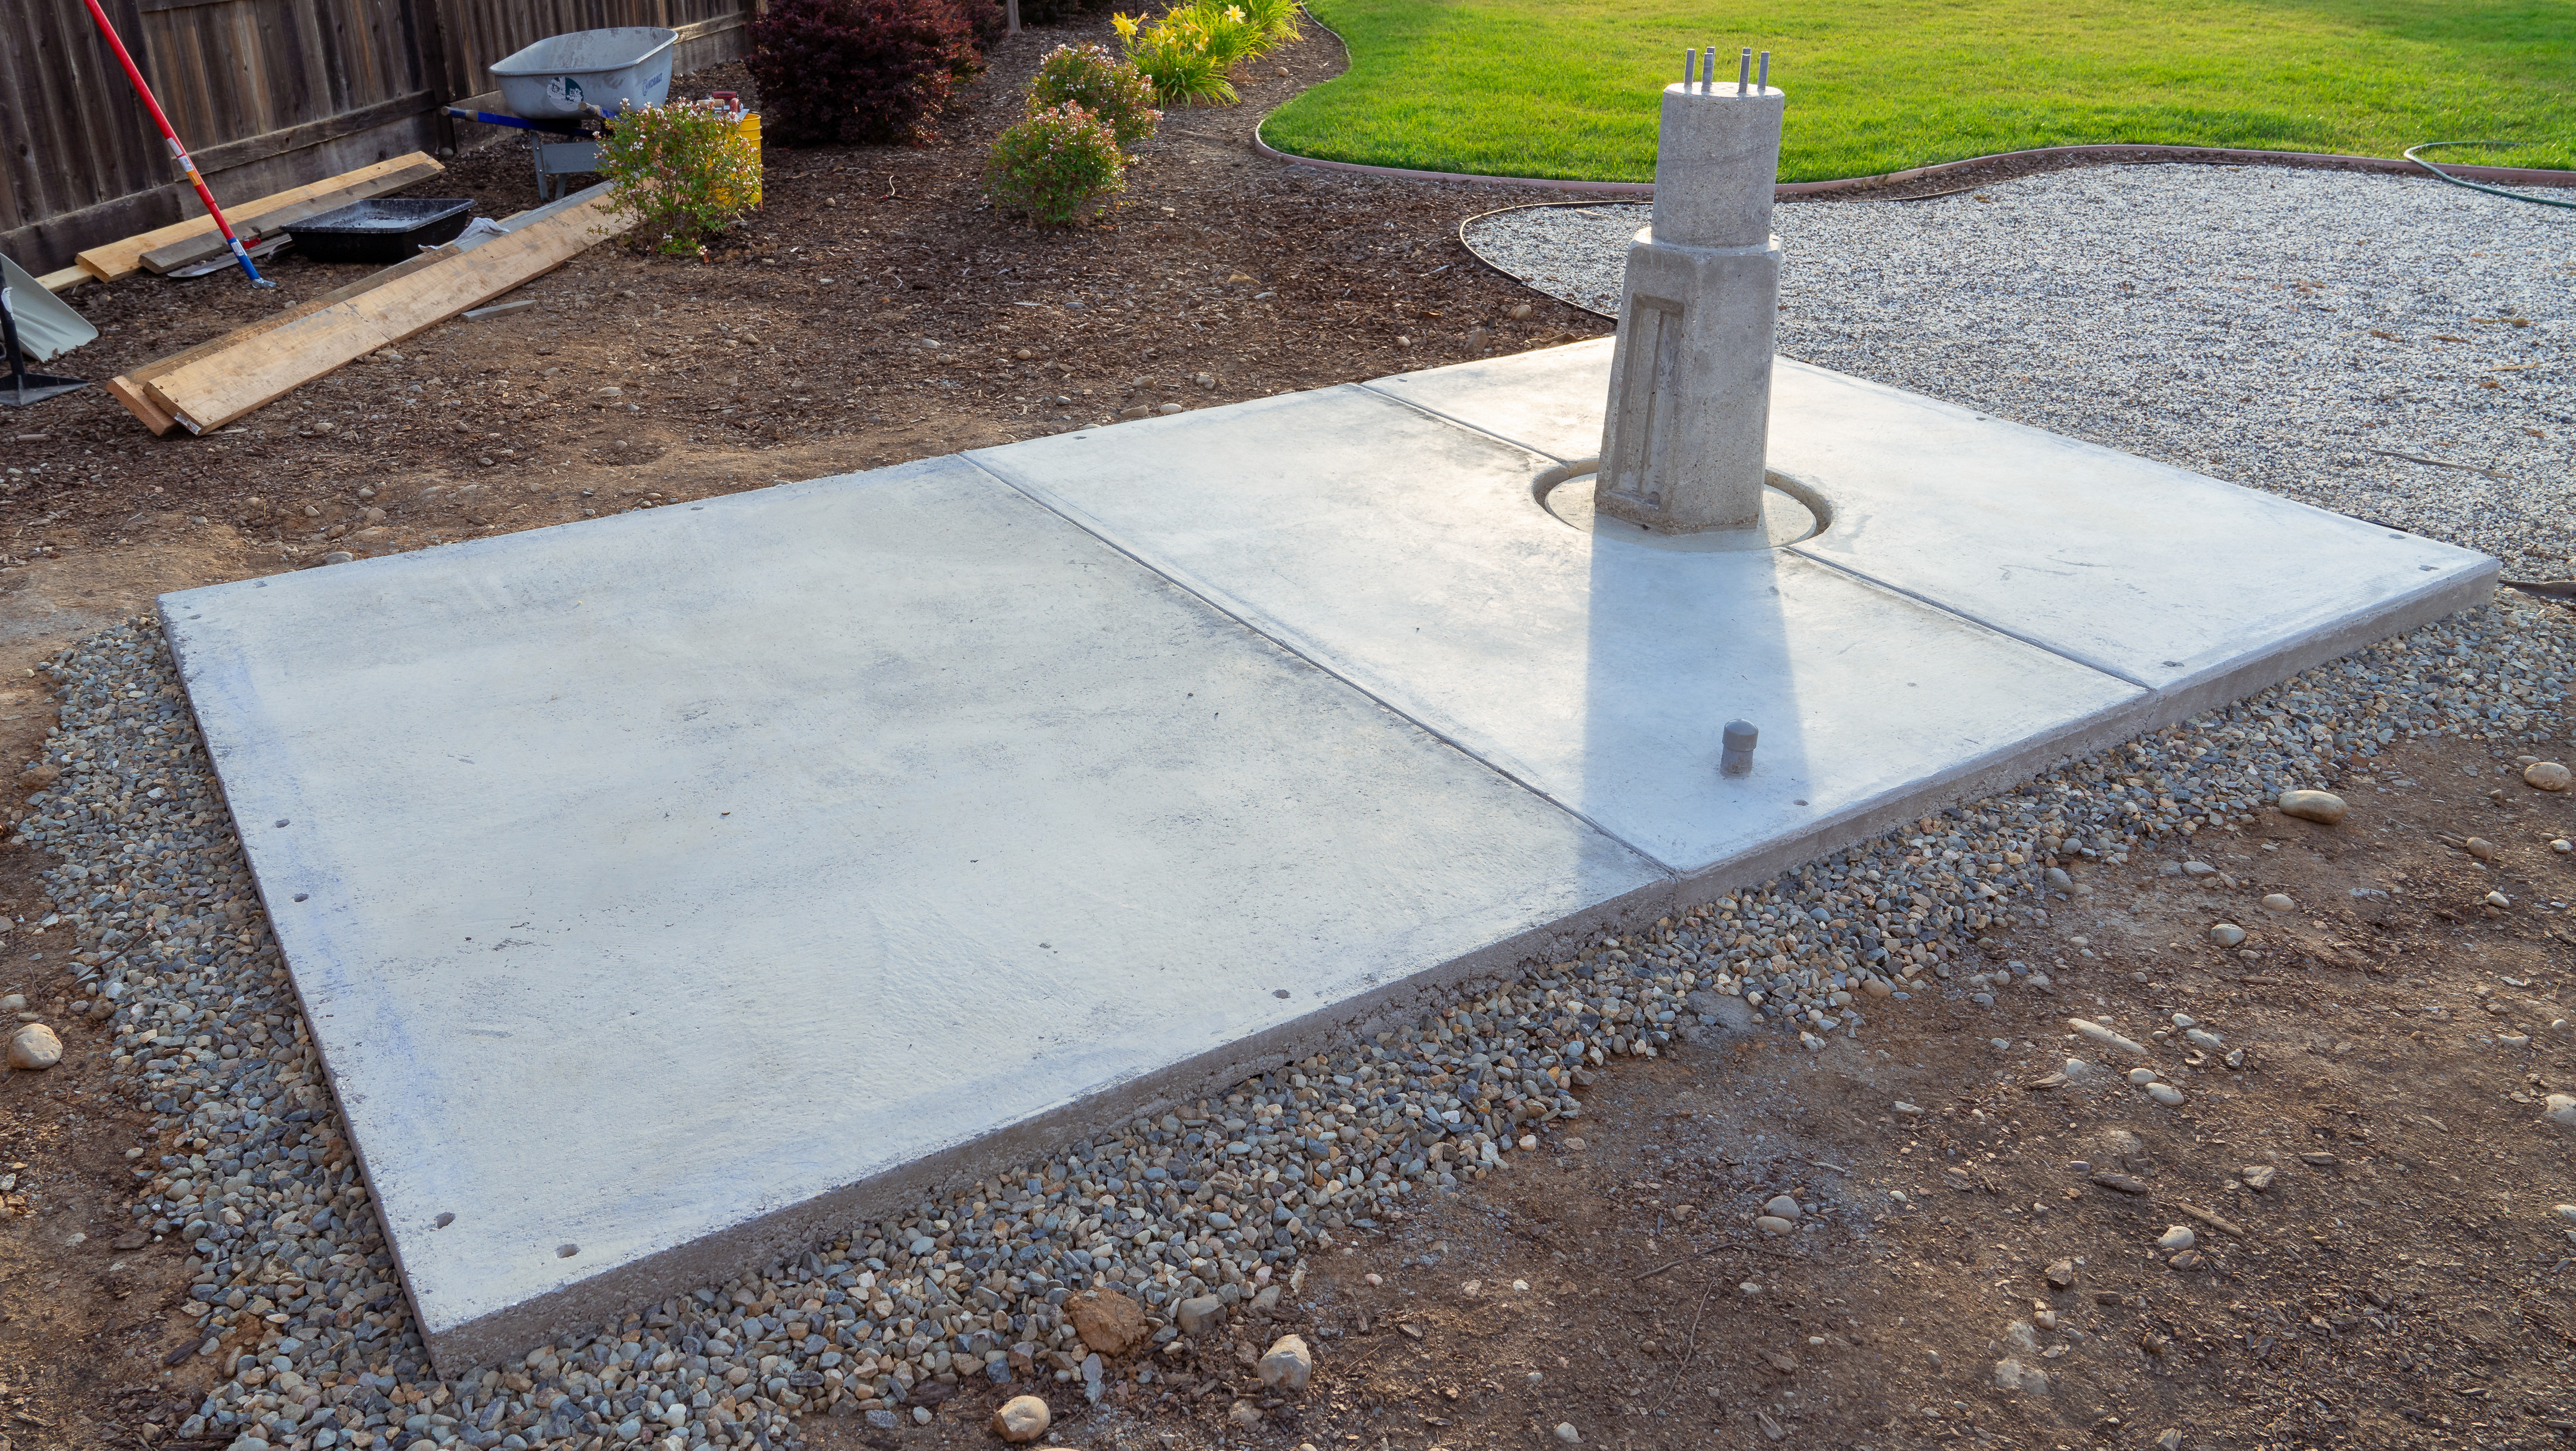
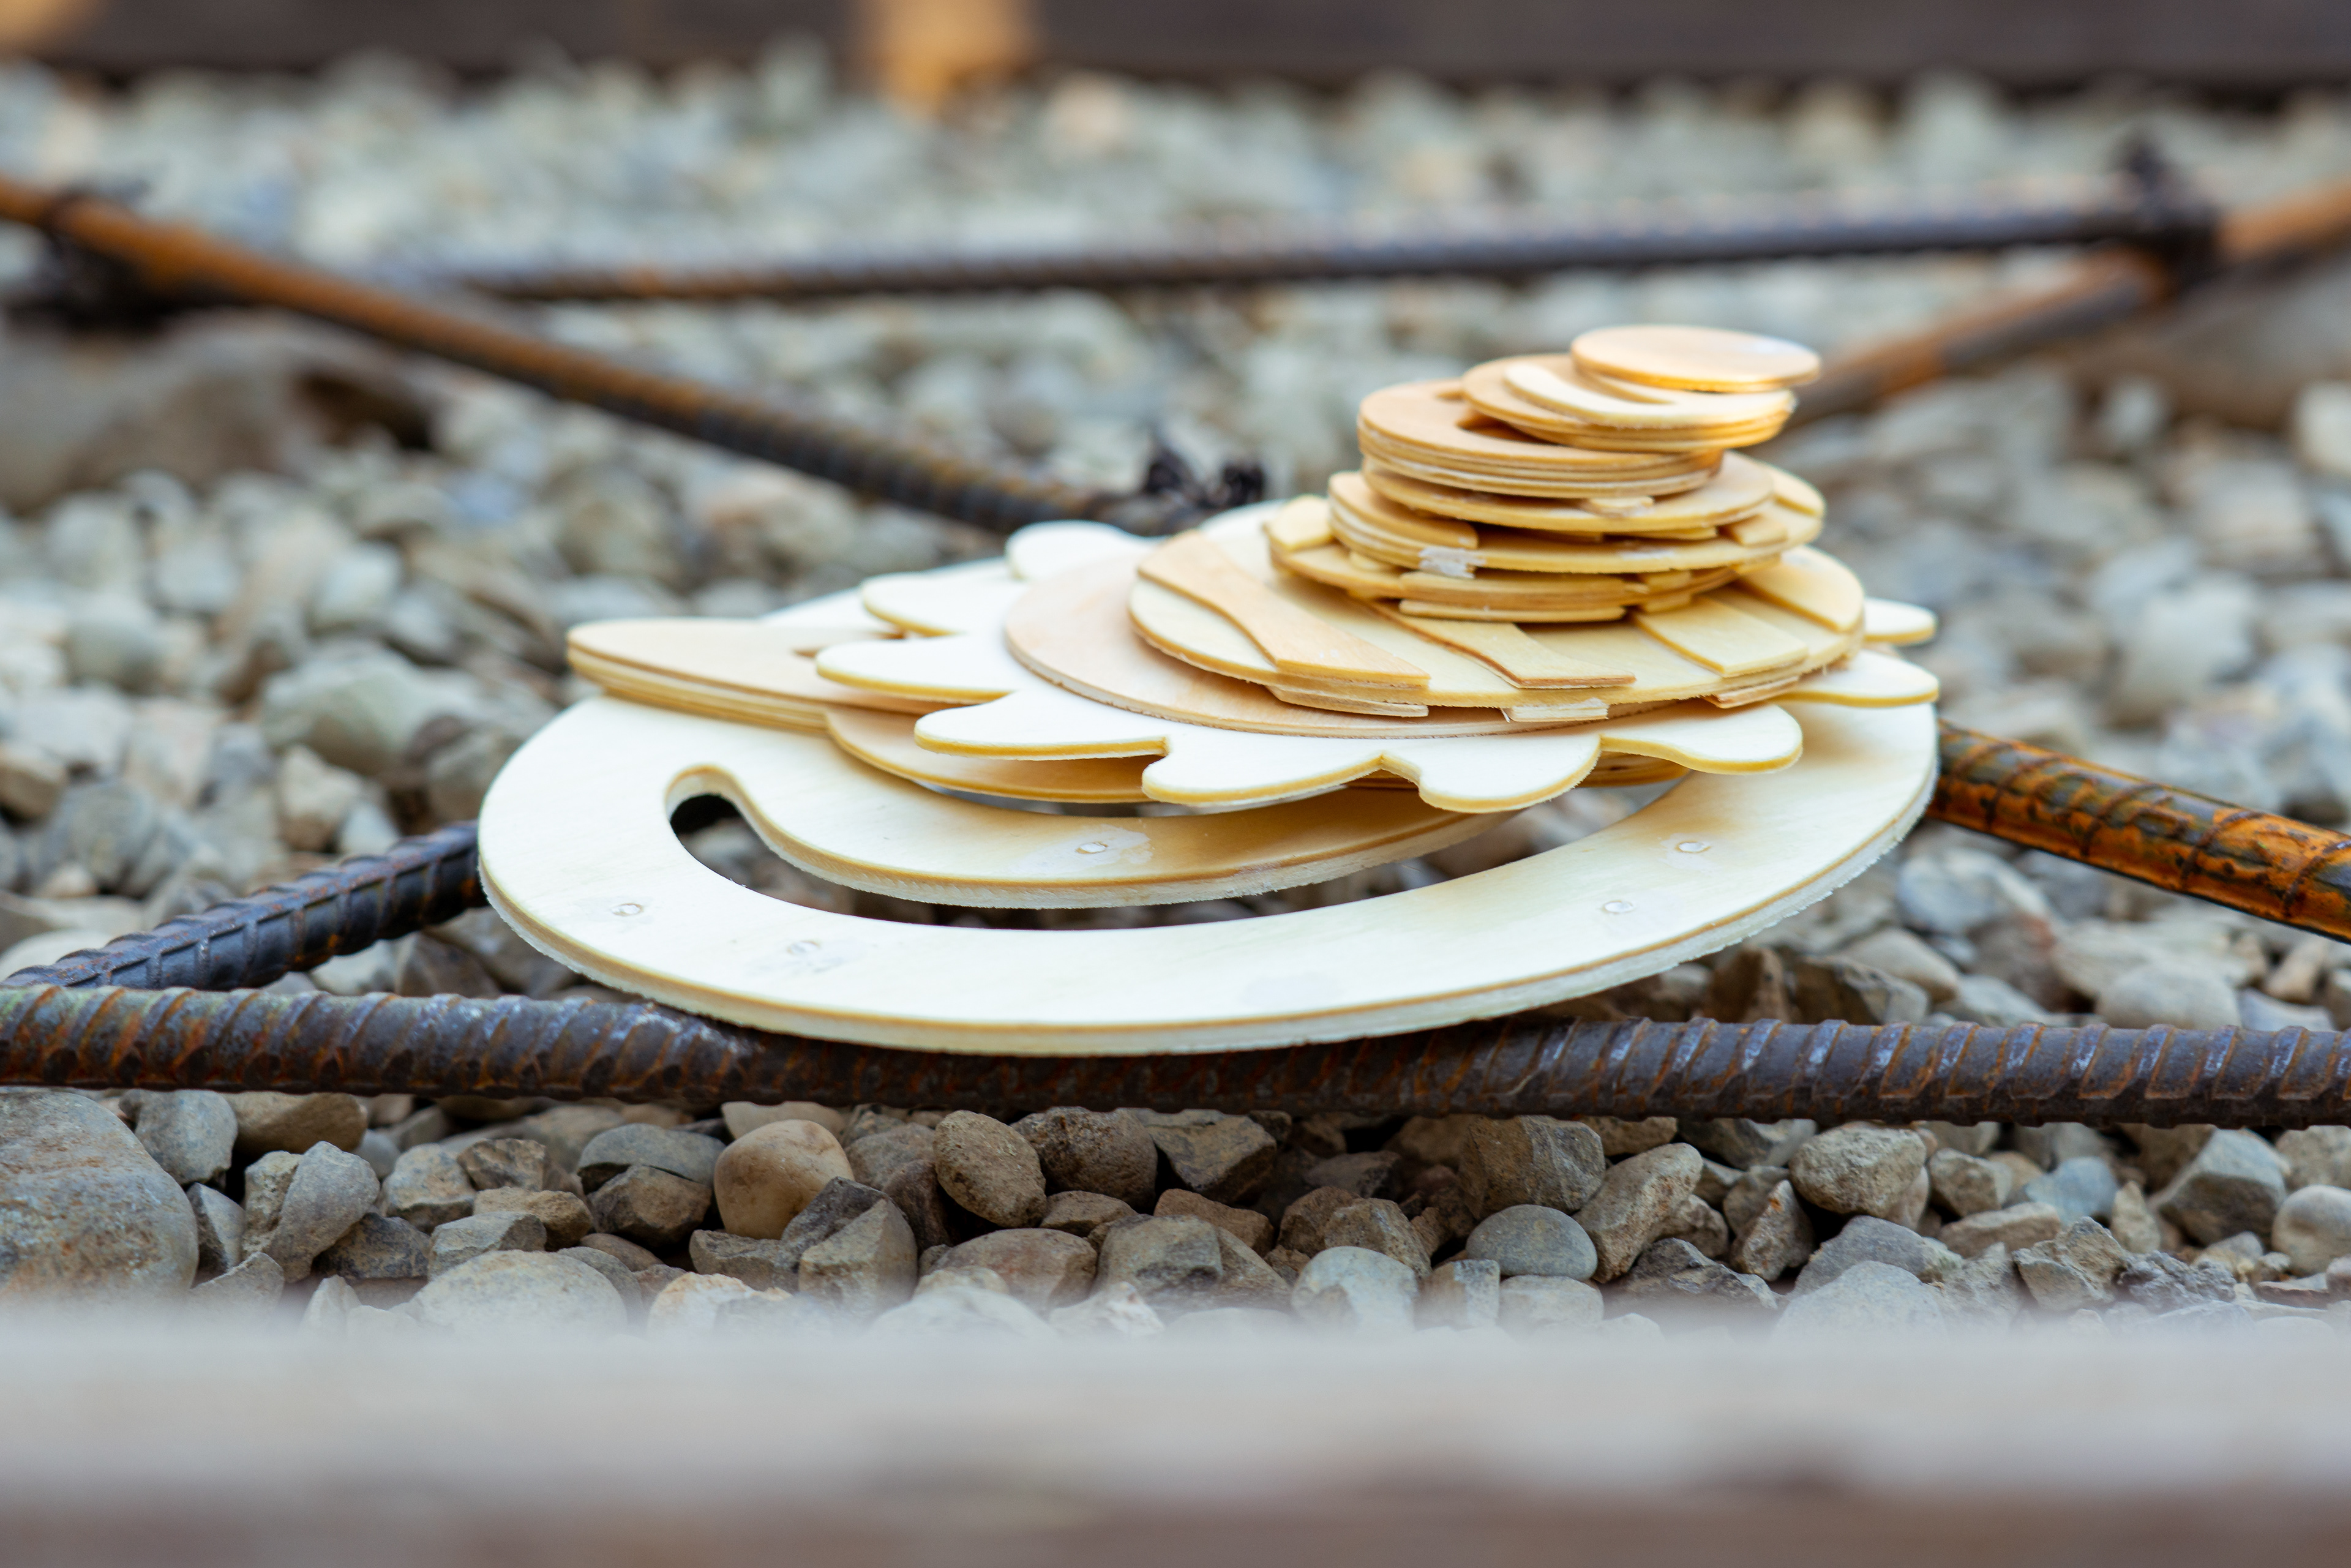
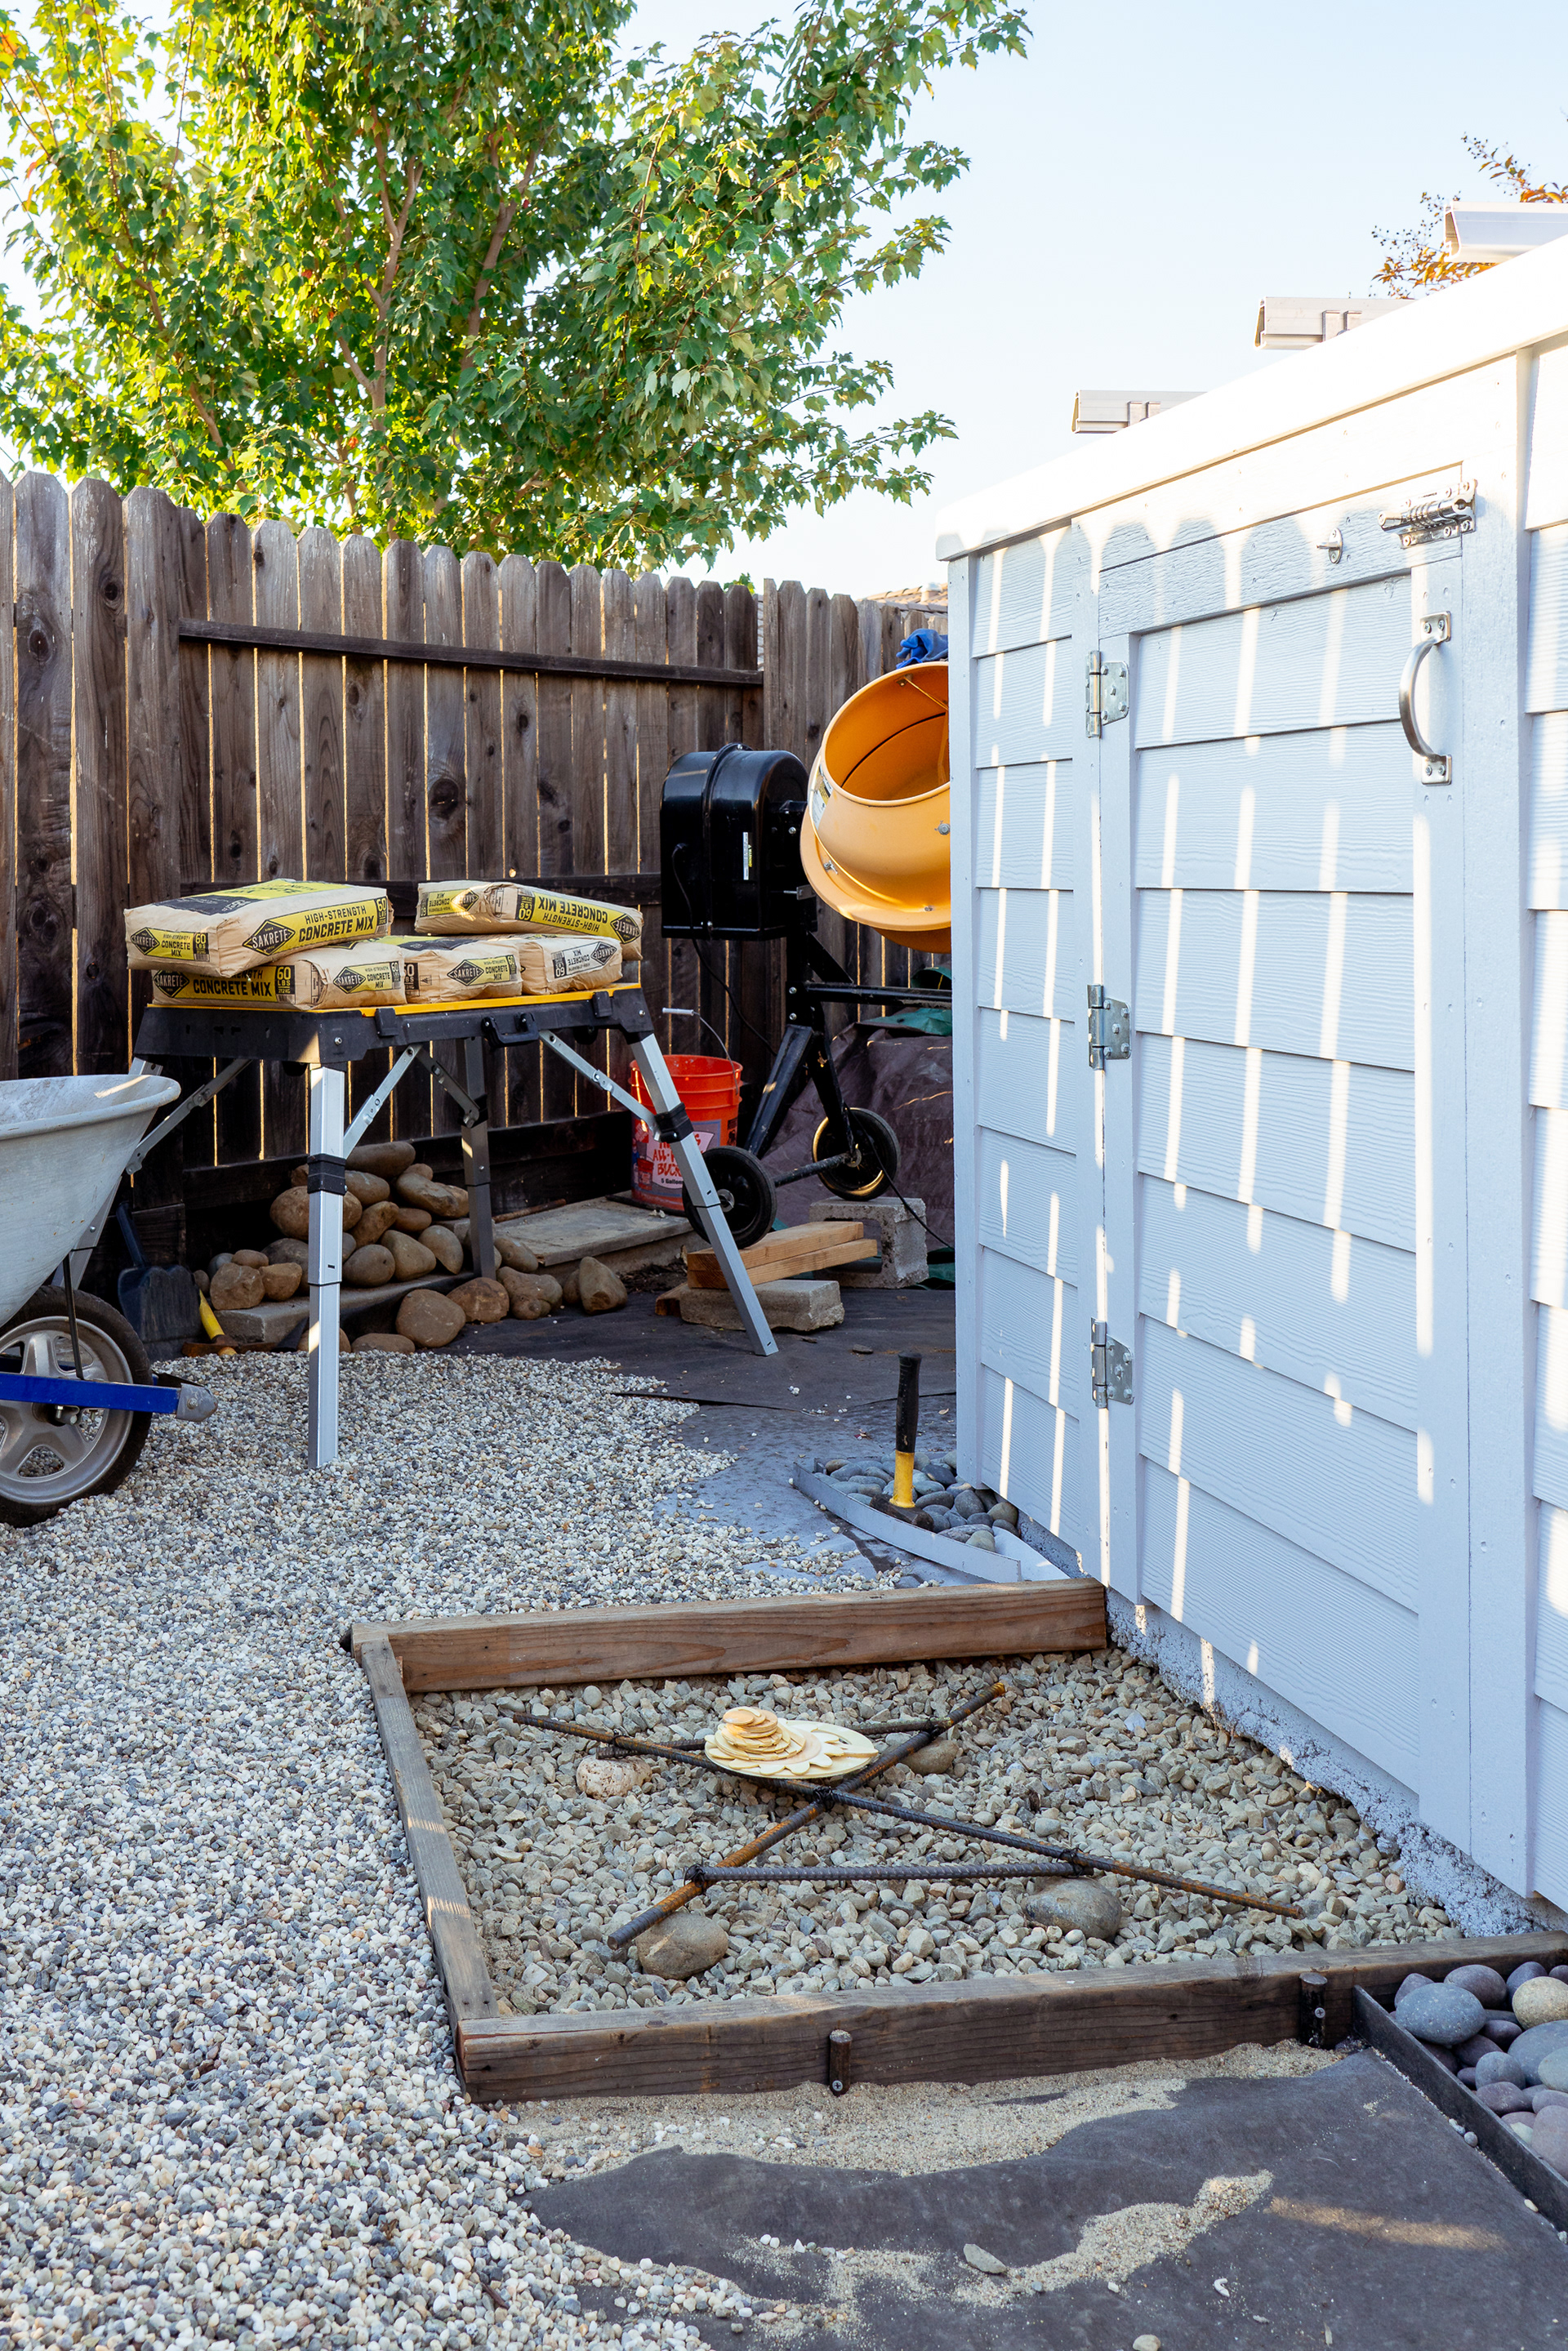
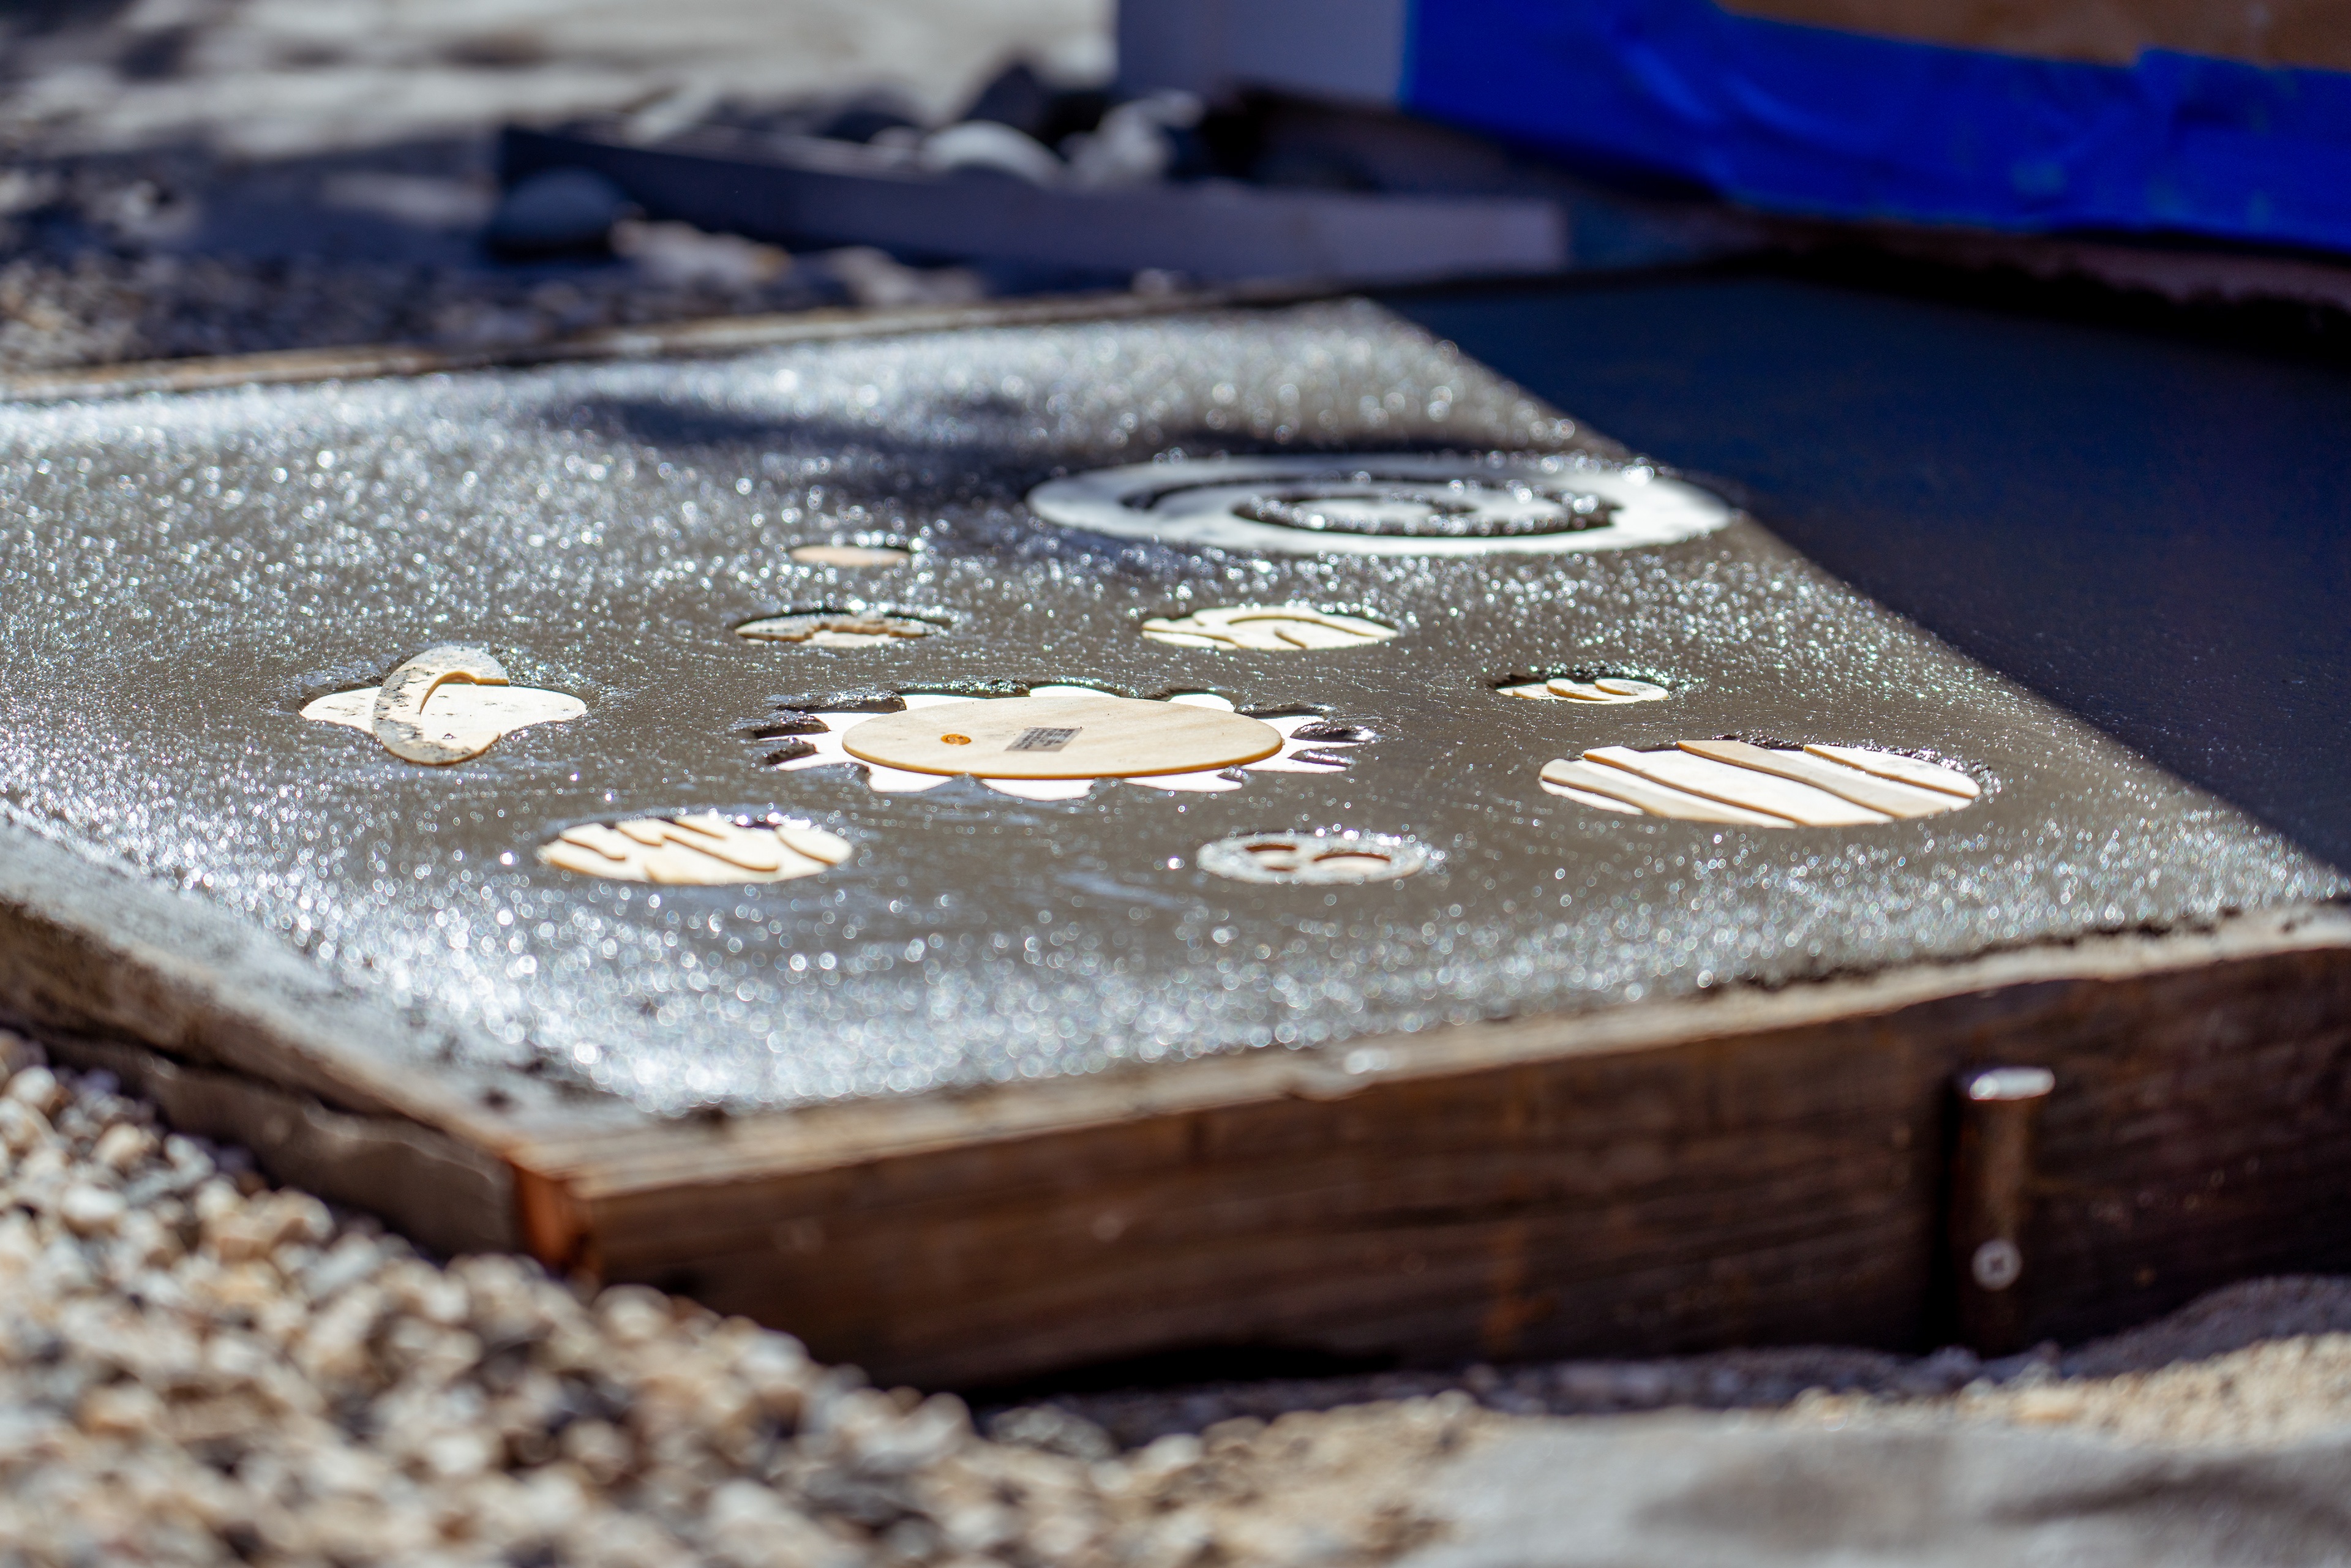
I wasn't sure what kind of entry pad to make, but finally decided on the tried-an-true simple concrete slab. The day of the pour I had a "great idea" of adding stamps to the slab with some astro-related artistry and found a little wooden solar system shape kit on-line. A quick call to a local crafts store confirmed that they had it stock as well so $8 later I was ready to do some stamping. The final result turned out OK... not as nice as I'd hoped for, but I think with some additional Dremel-ing I might make it look nice :)
Framed and ready for pour
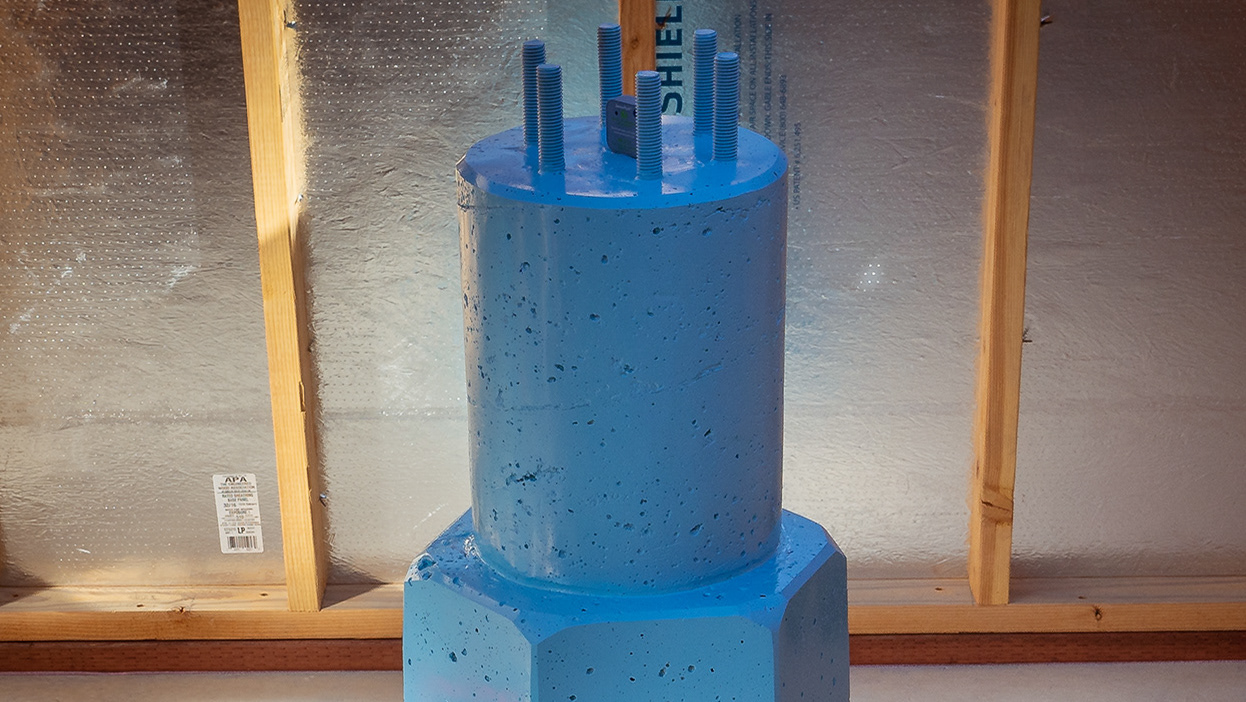
Let's hope it works
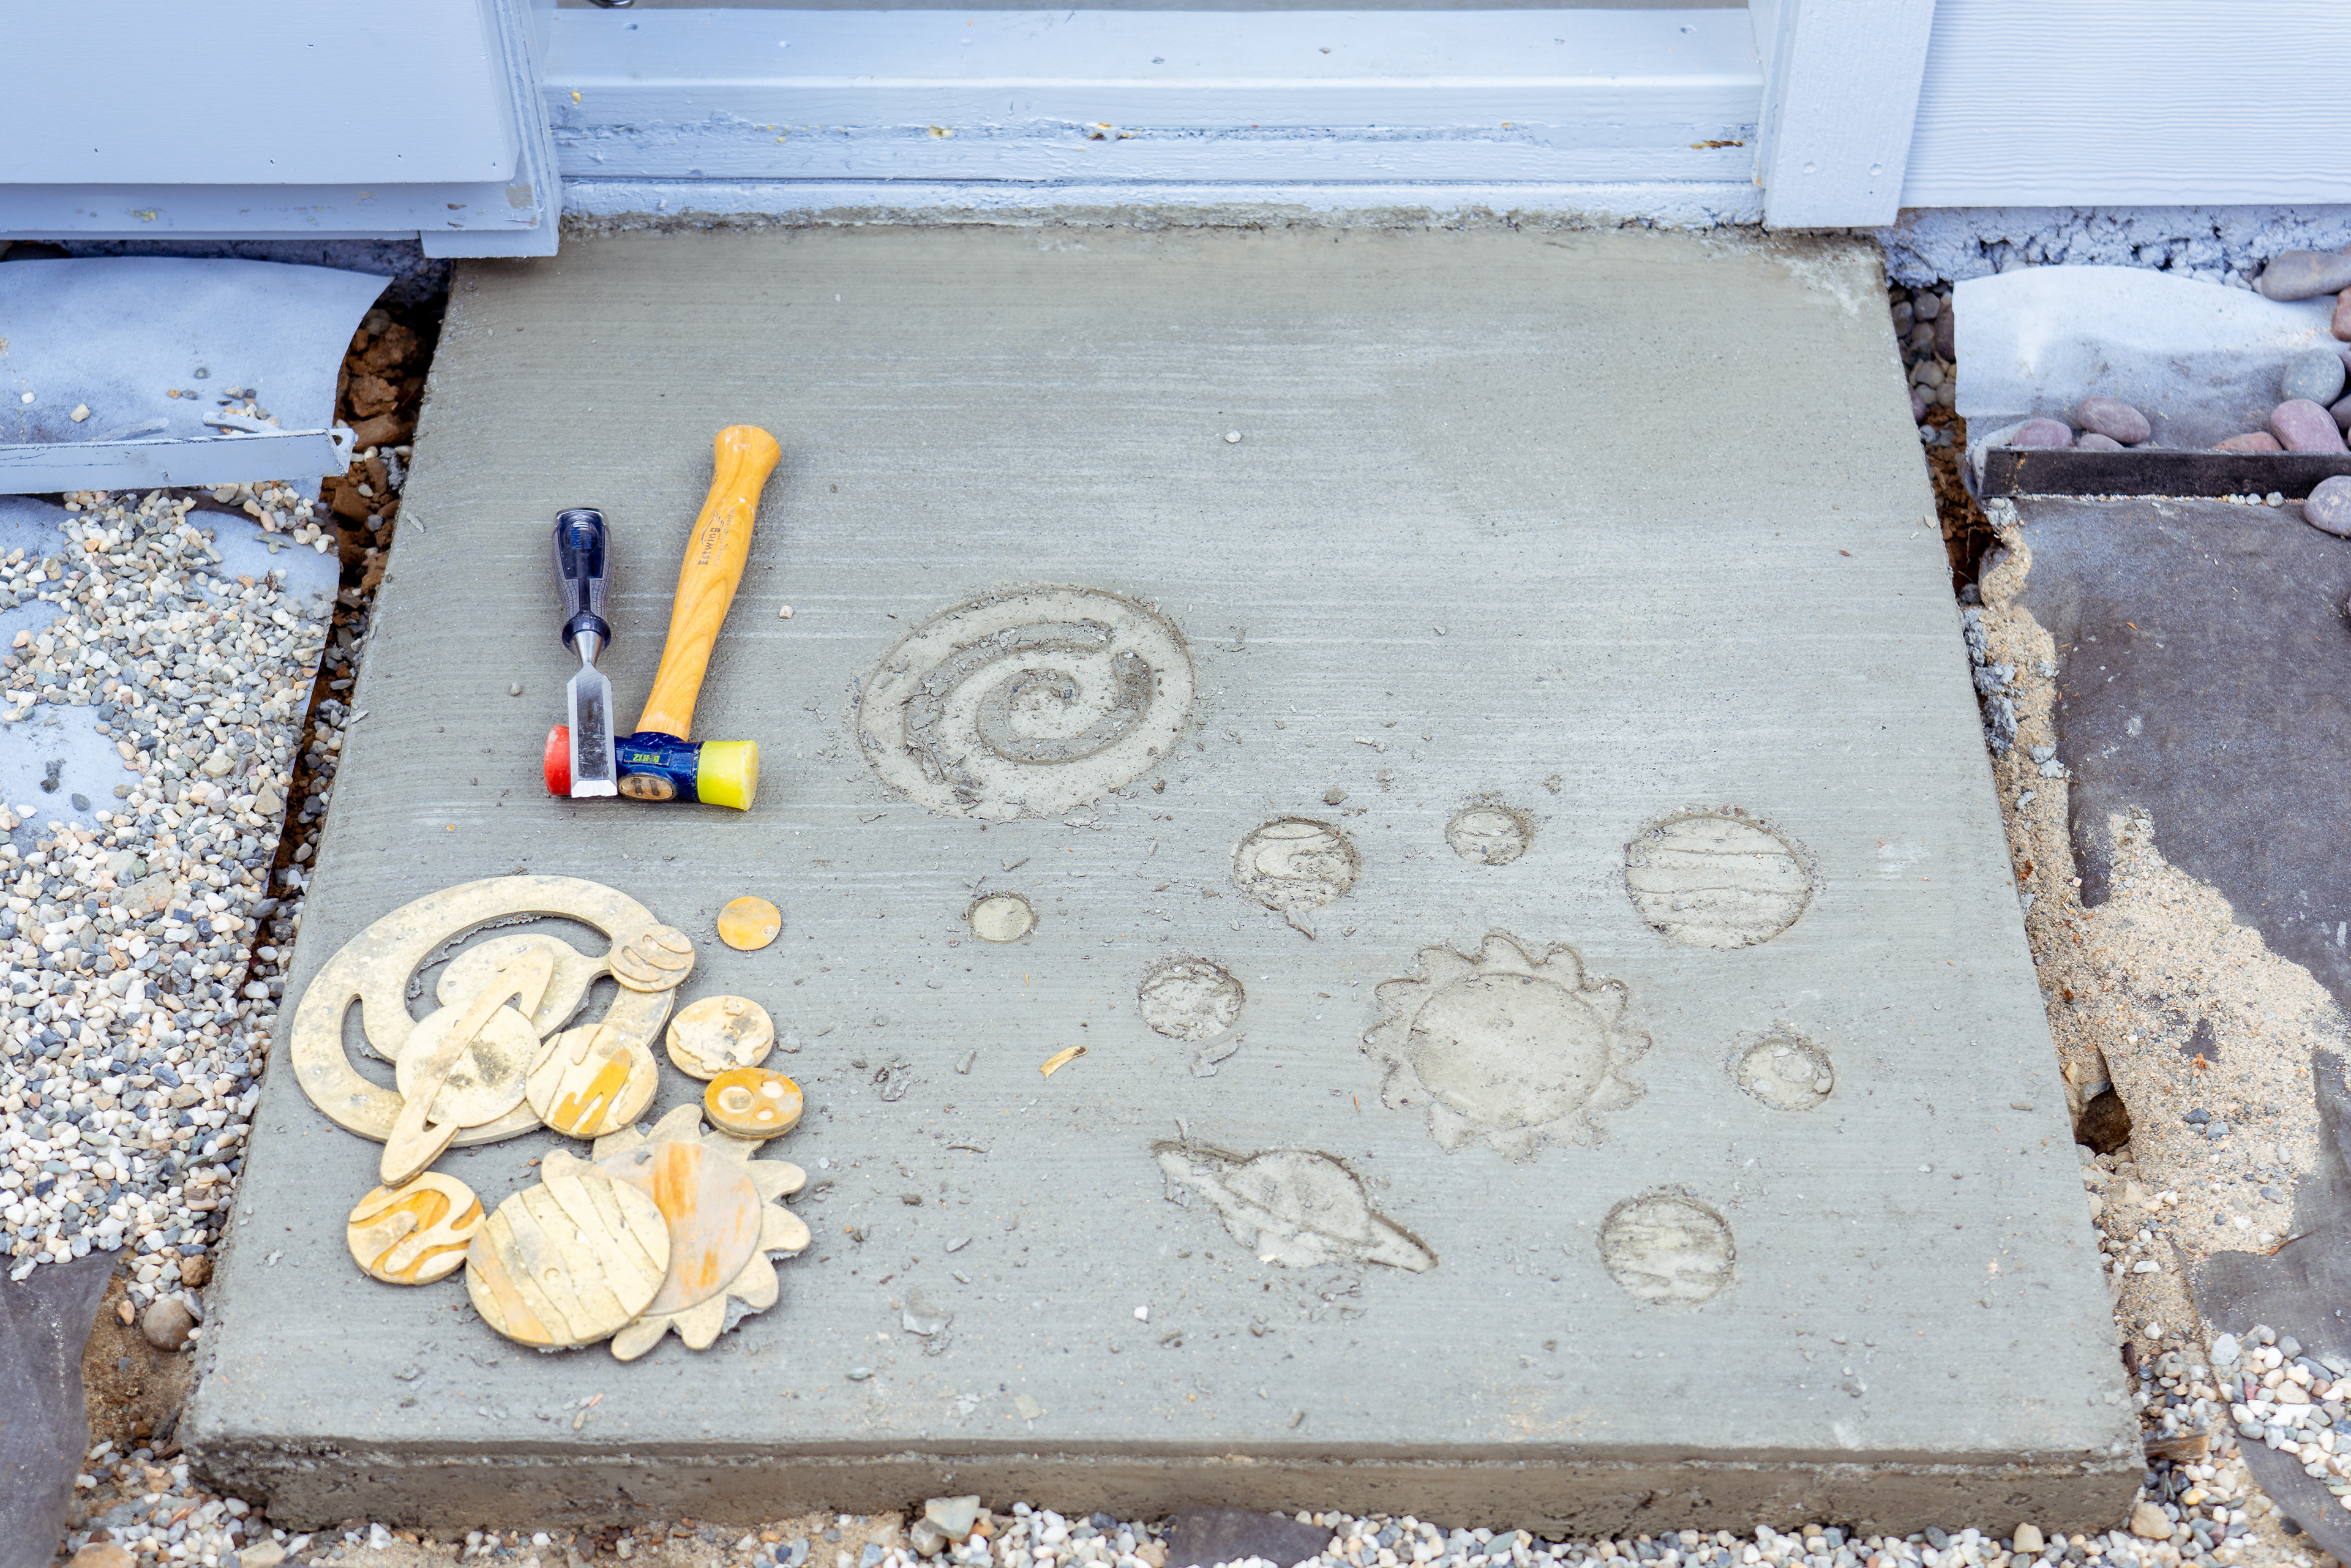
It worked... kind of...
FEW INTERIOR DETAILS ...
Picked up a few low power LED shop lights and installed throughout the observatory. Also, ran a 30' of LED strip all around the perimeter. I'm 6'3", and the short 4' walls and ceiling tried taking out a chunk of my scull a few times already. To help with this problem I've installed foam padding all around low-having edges throughout - this foam comes in various diameters and is designed to go around water/gas pipes but it does the trick, especially since it has double-sided tape pre-installed - it's available in 6' lengths.
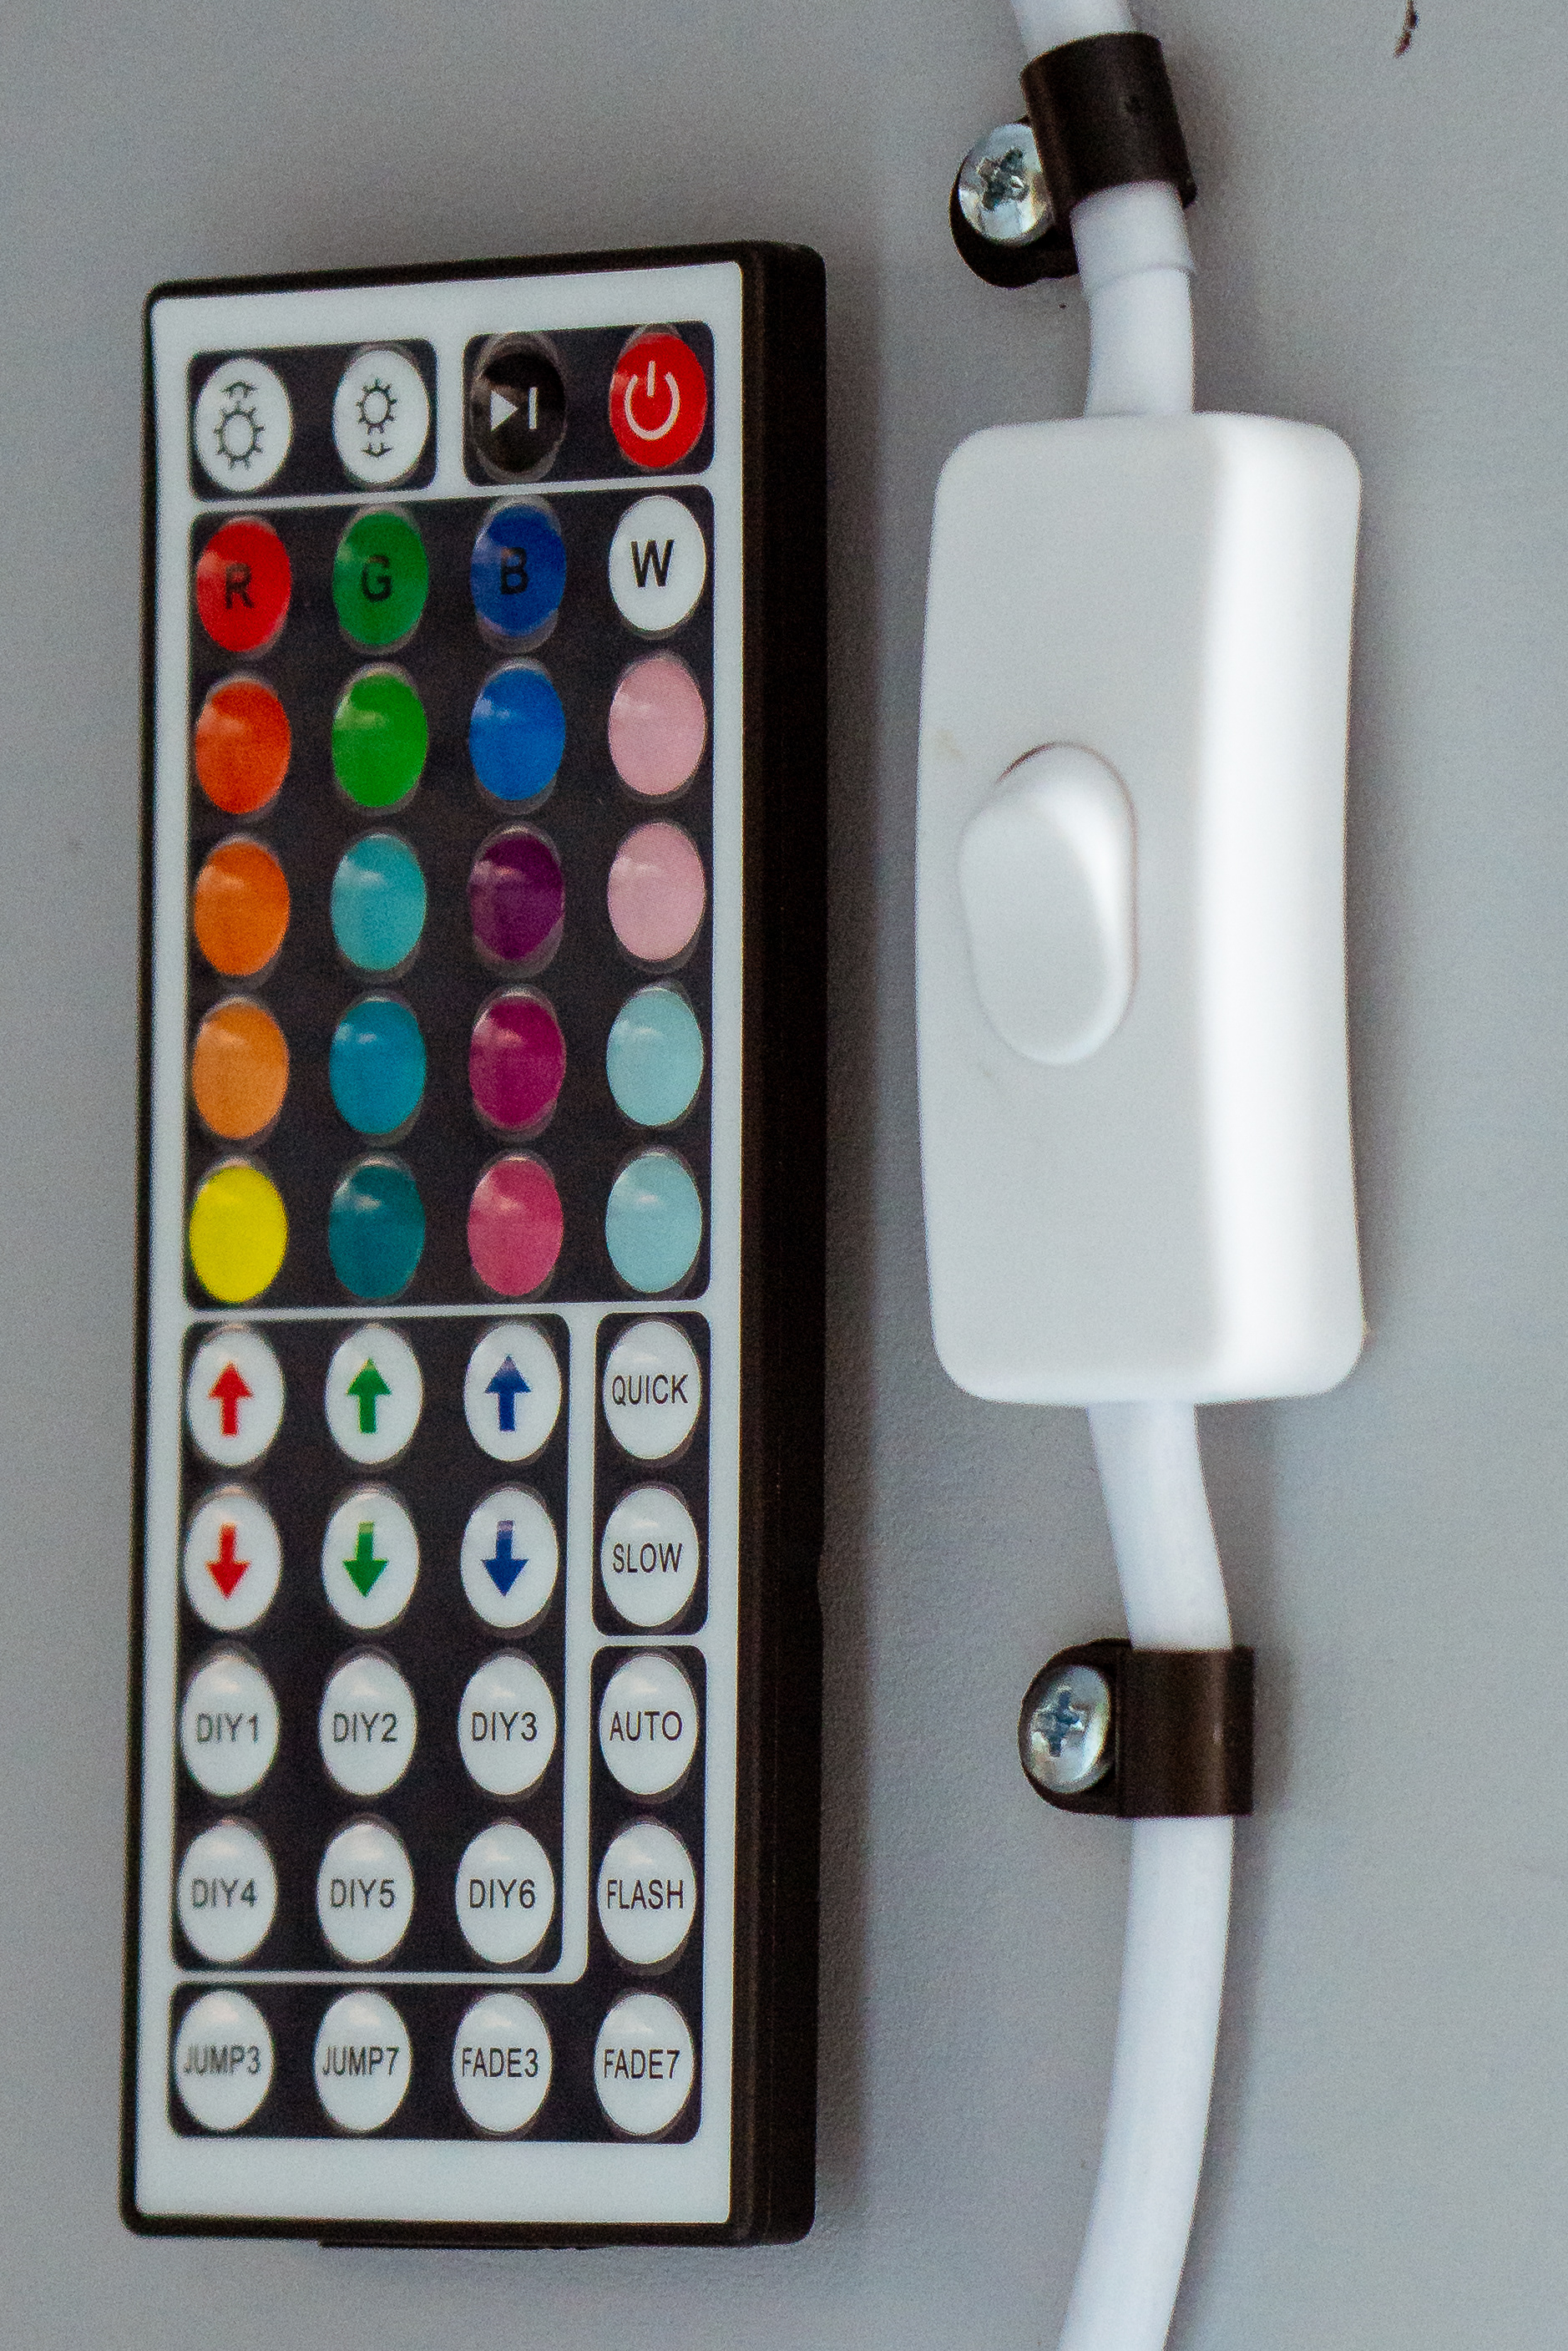
Door entryway lights switch and LED controller
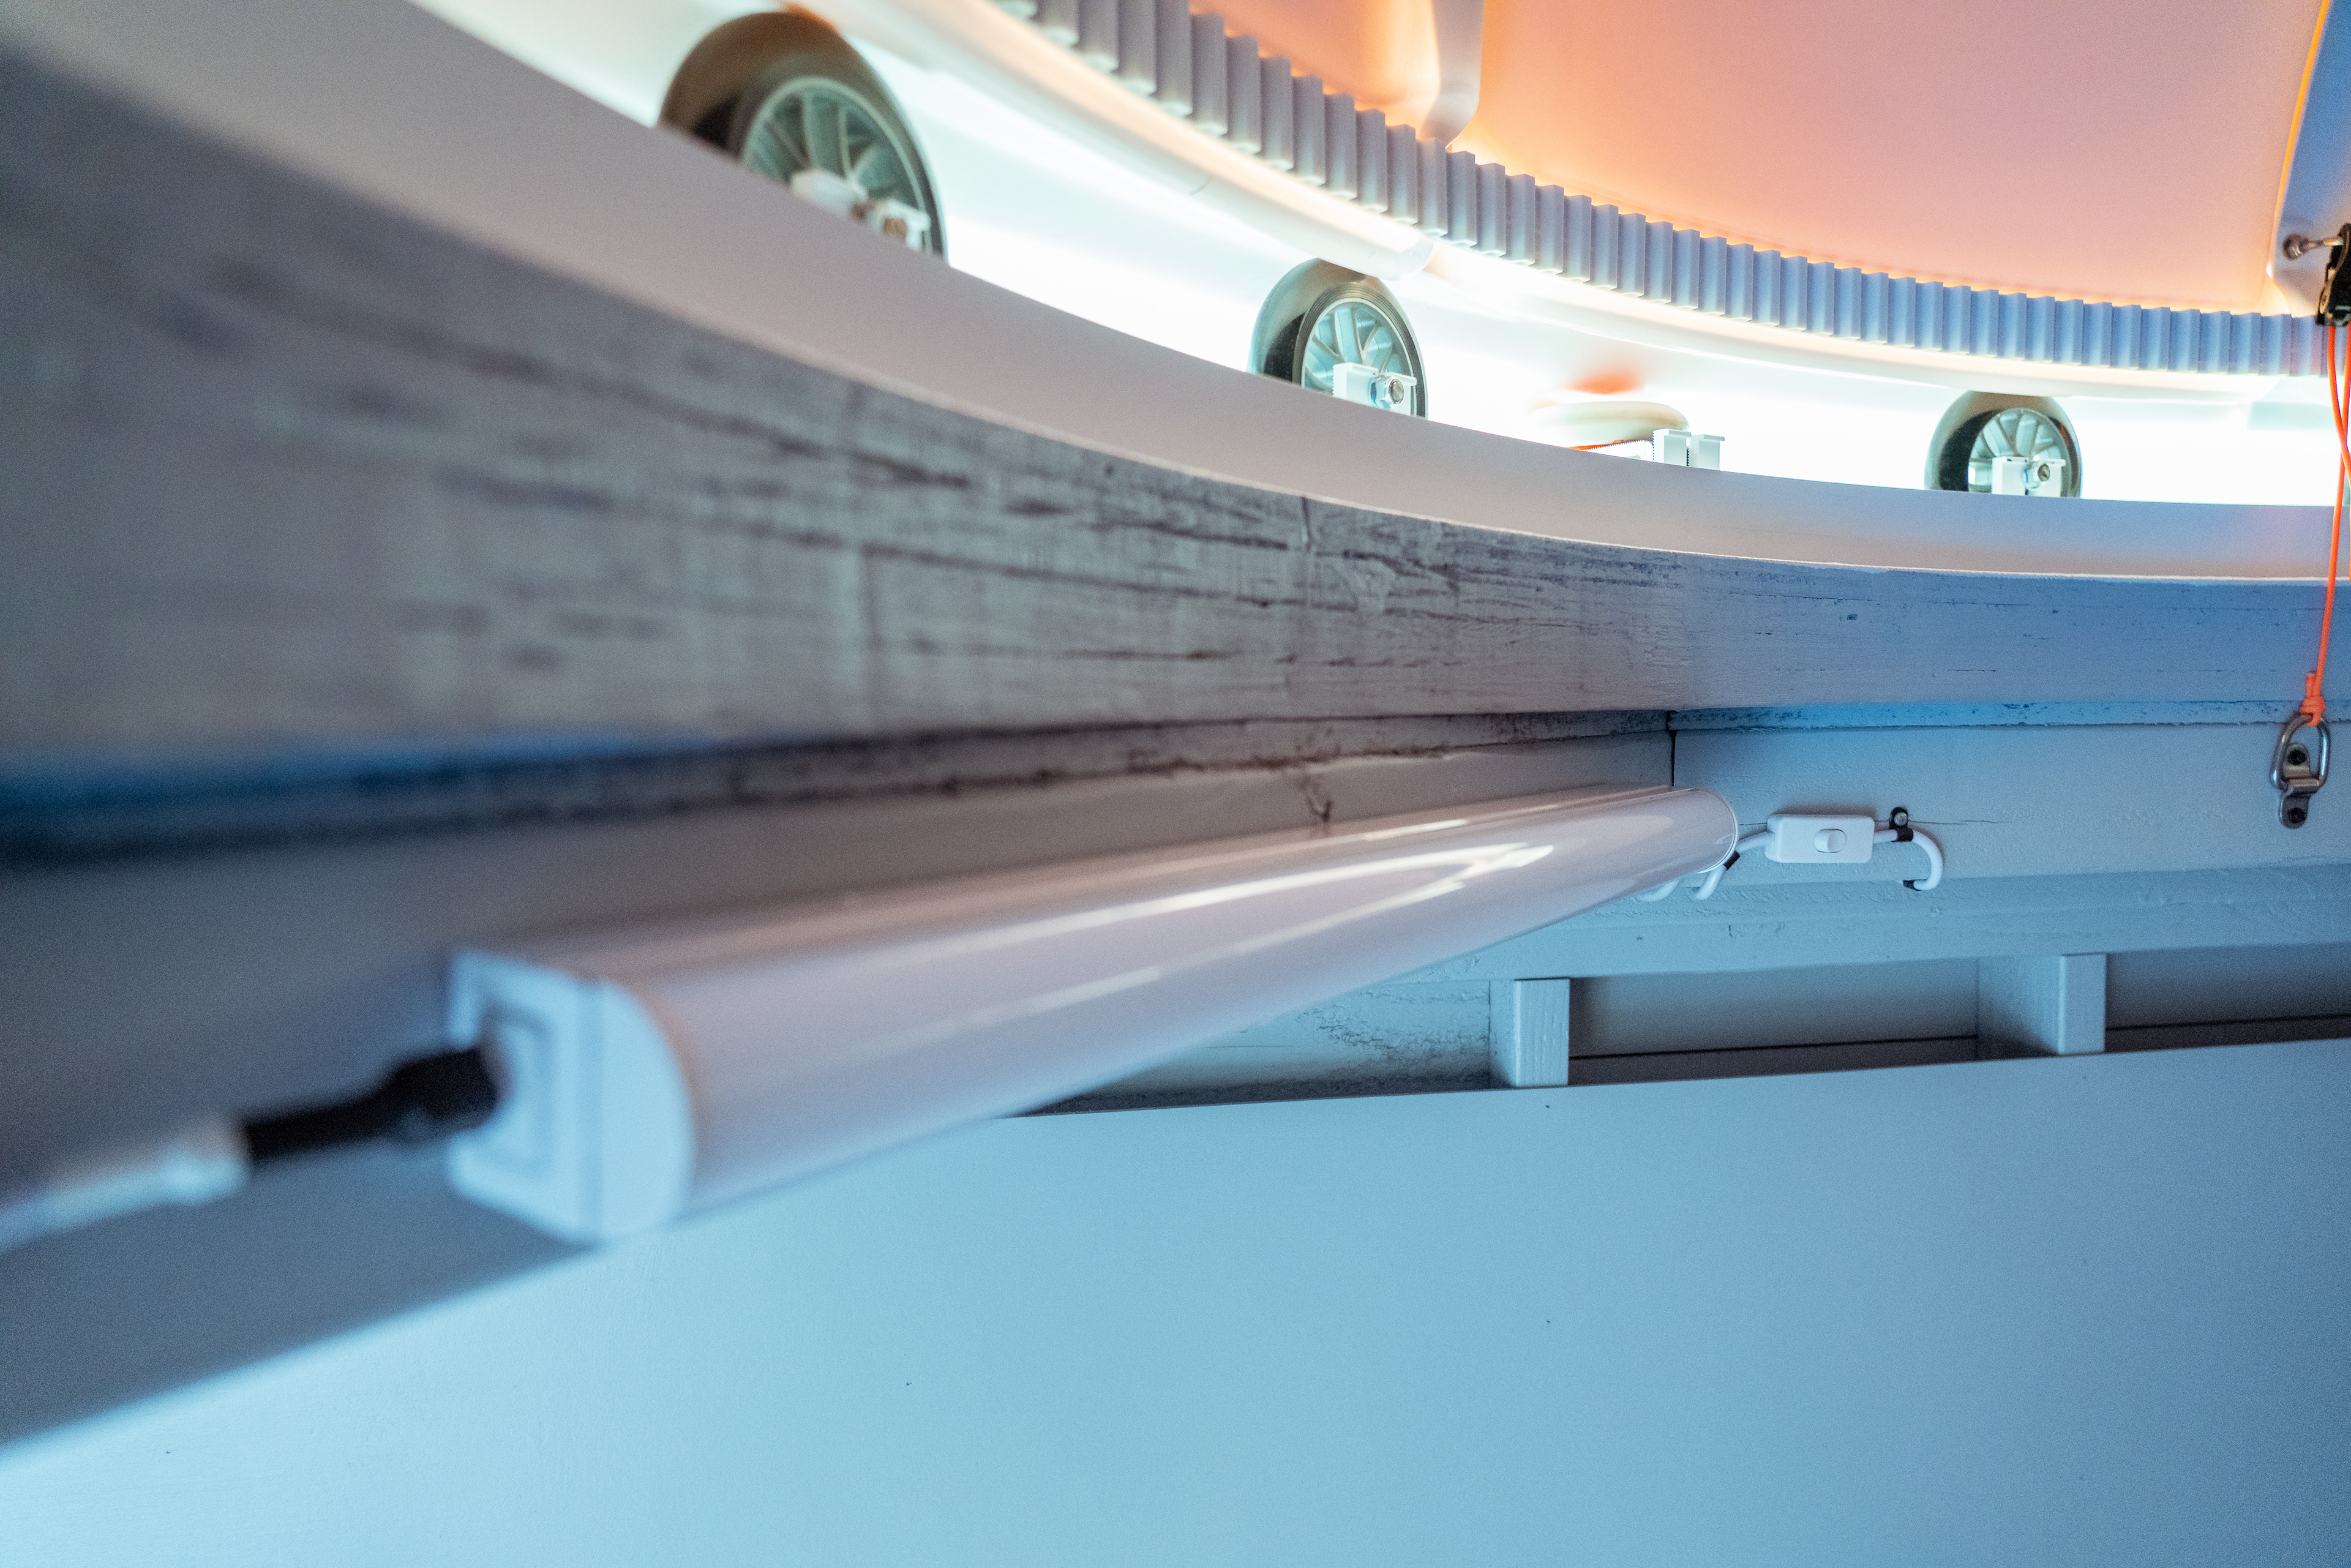
One of 4 LED lights inside dome section
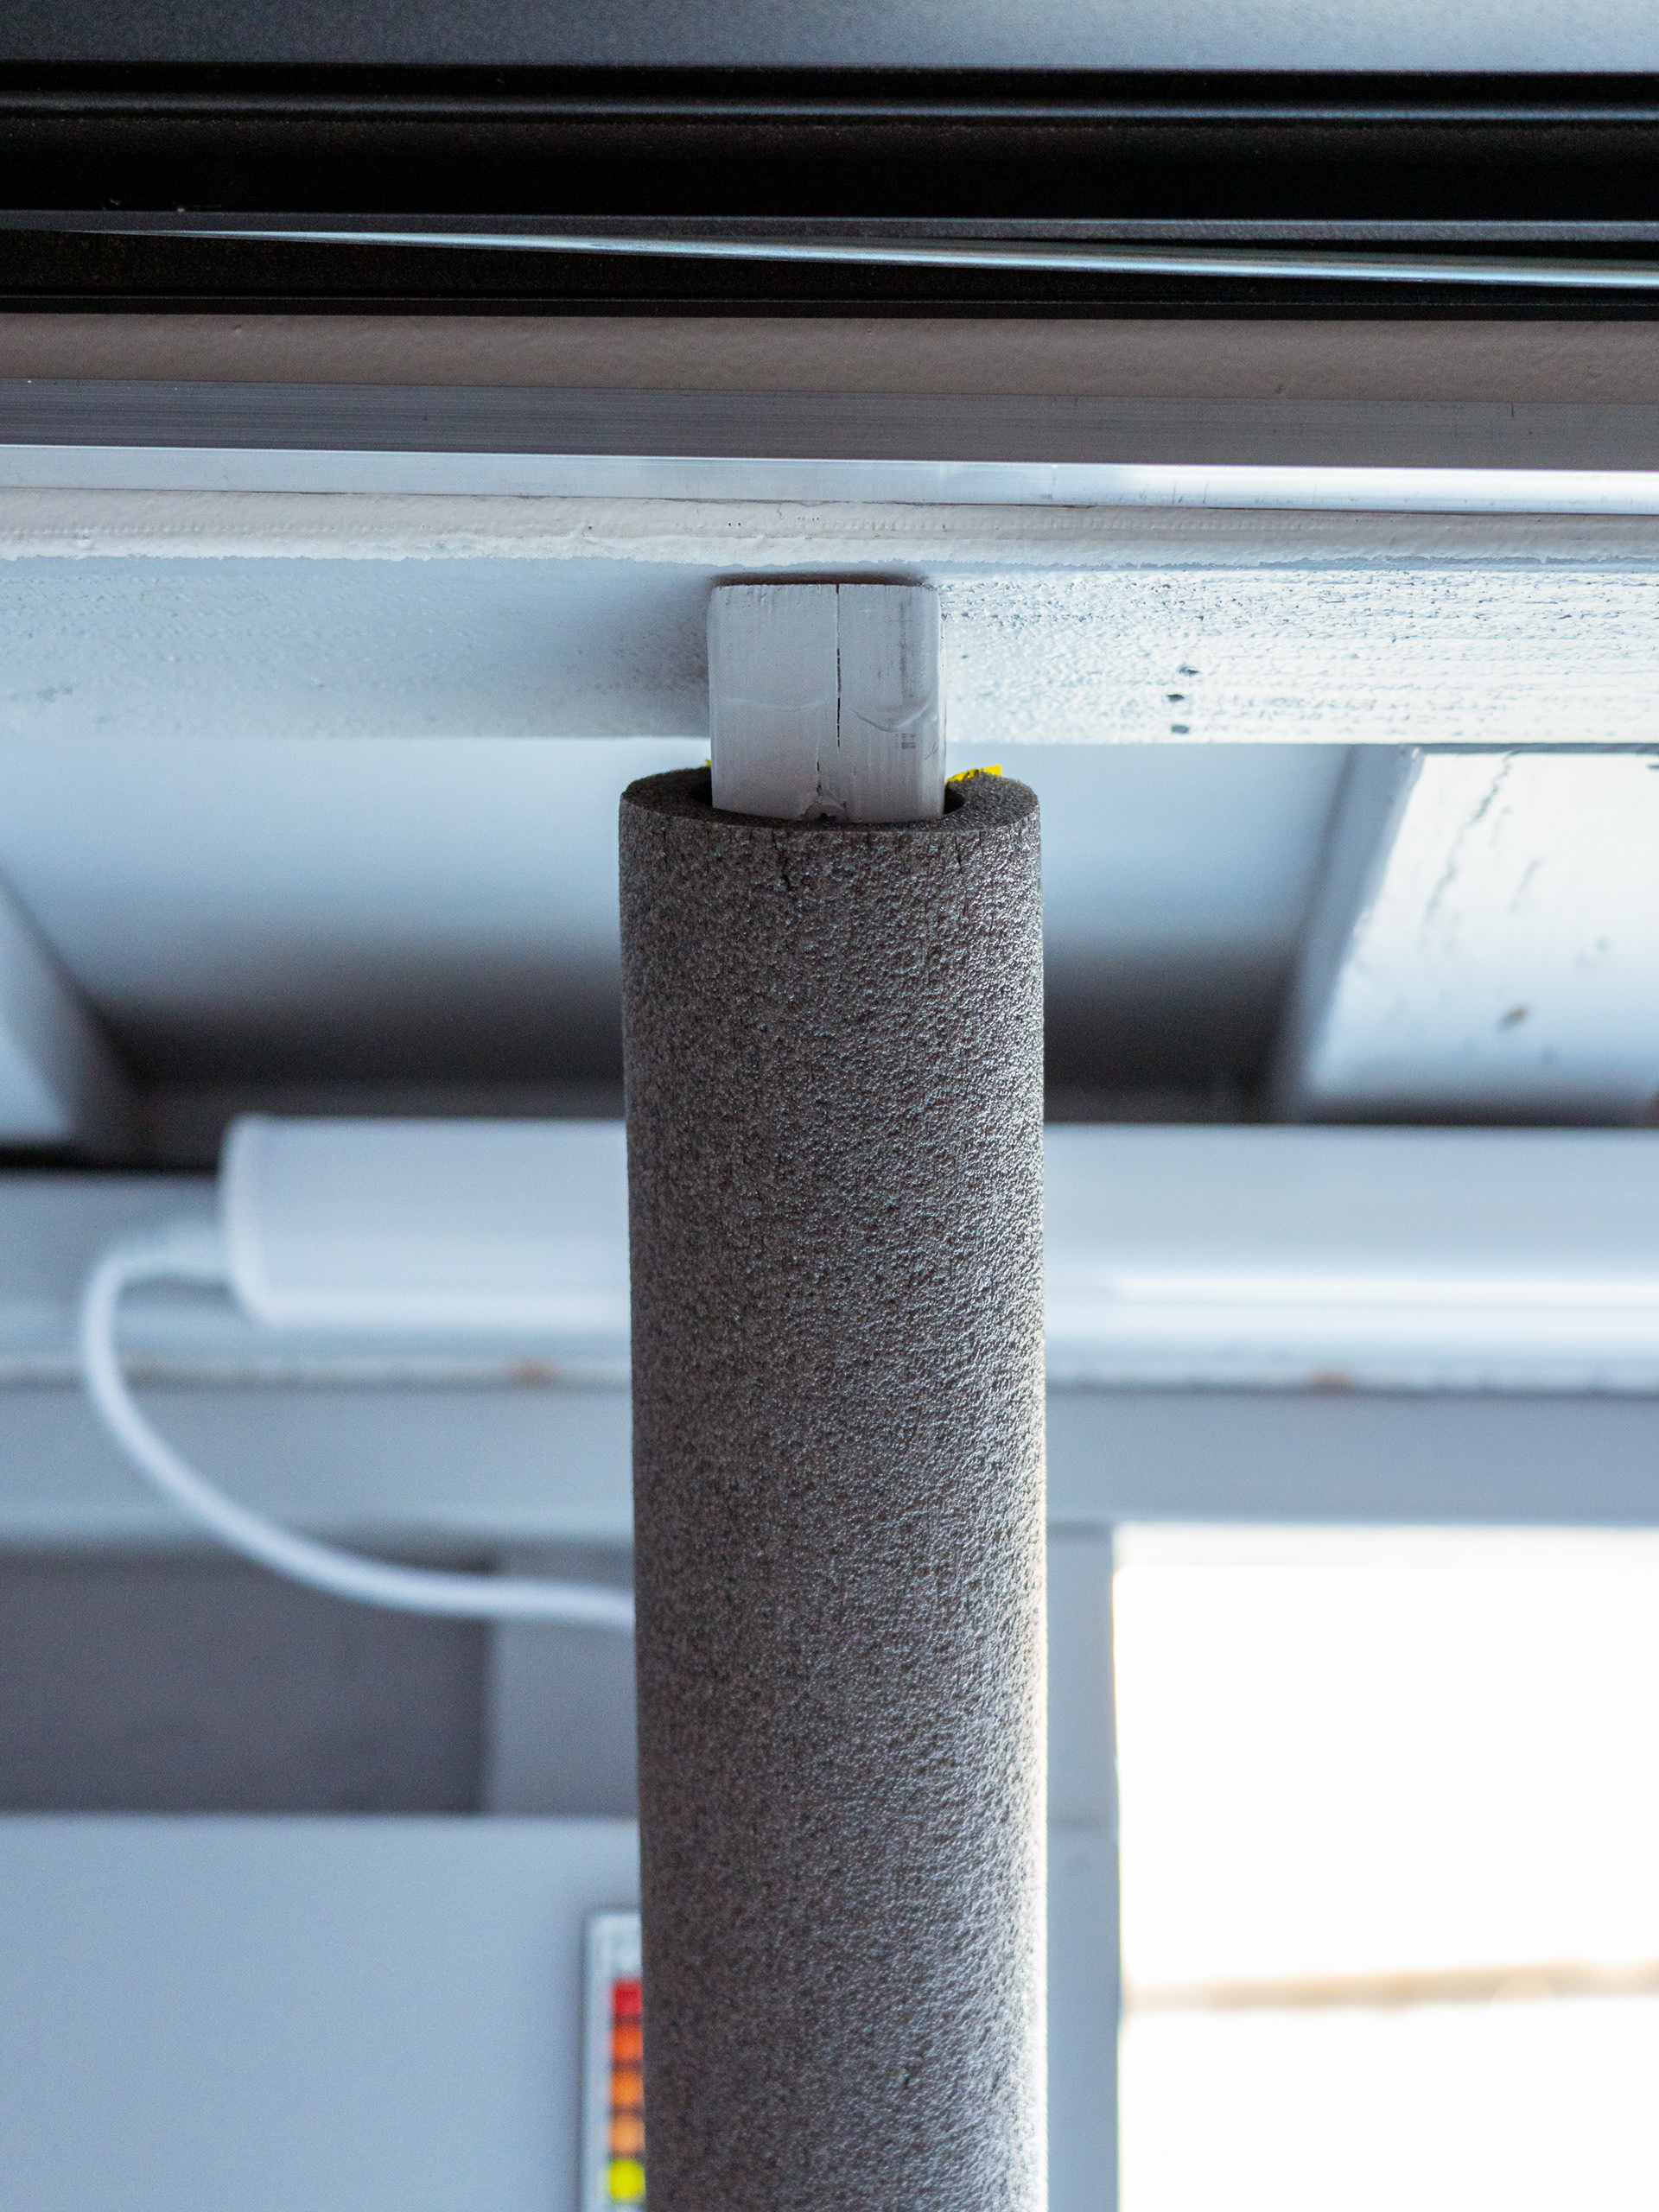
Skull saver
NETWORK ...
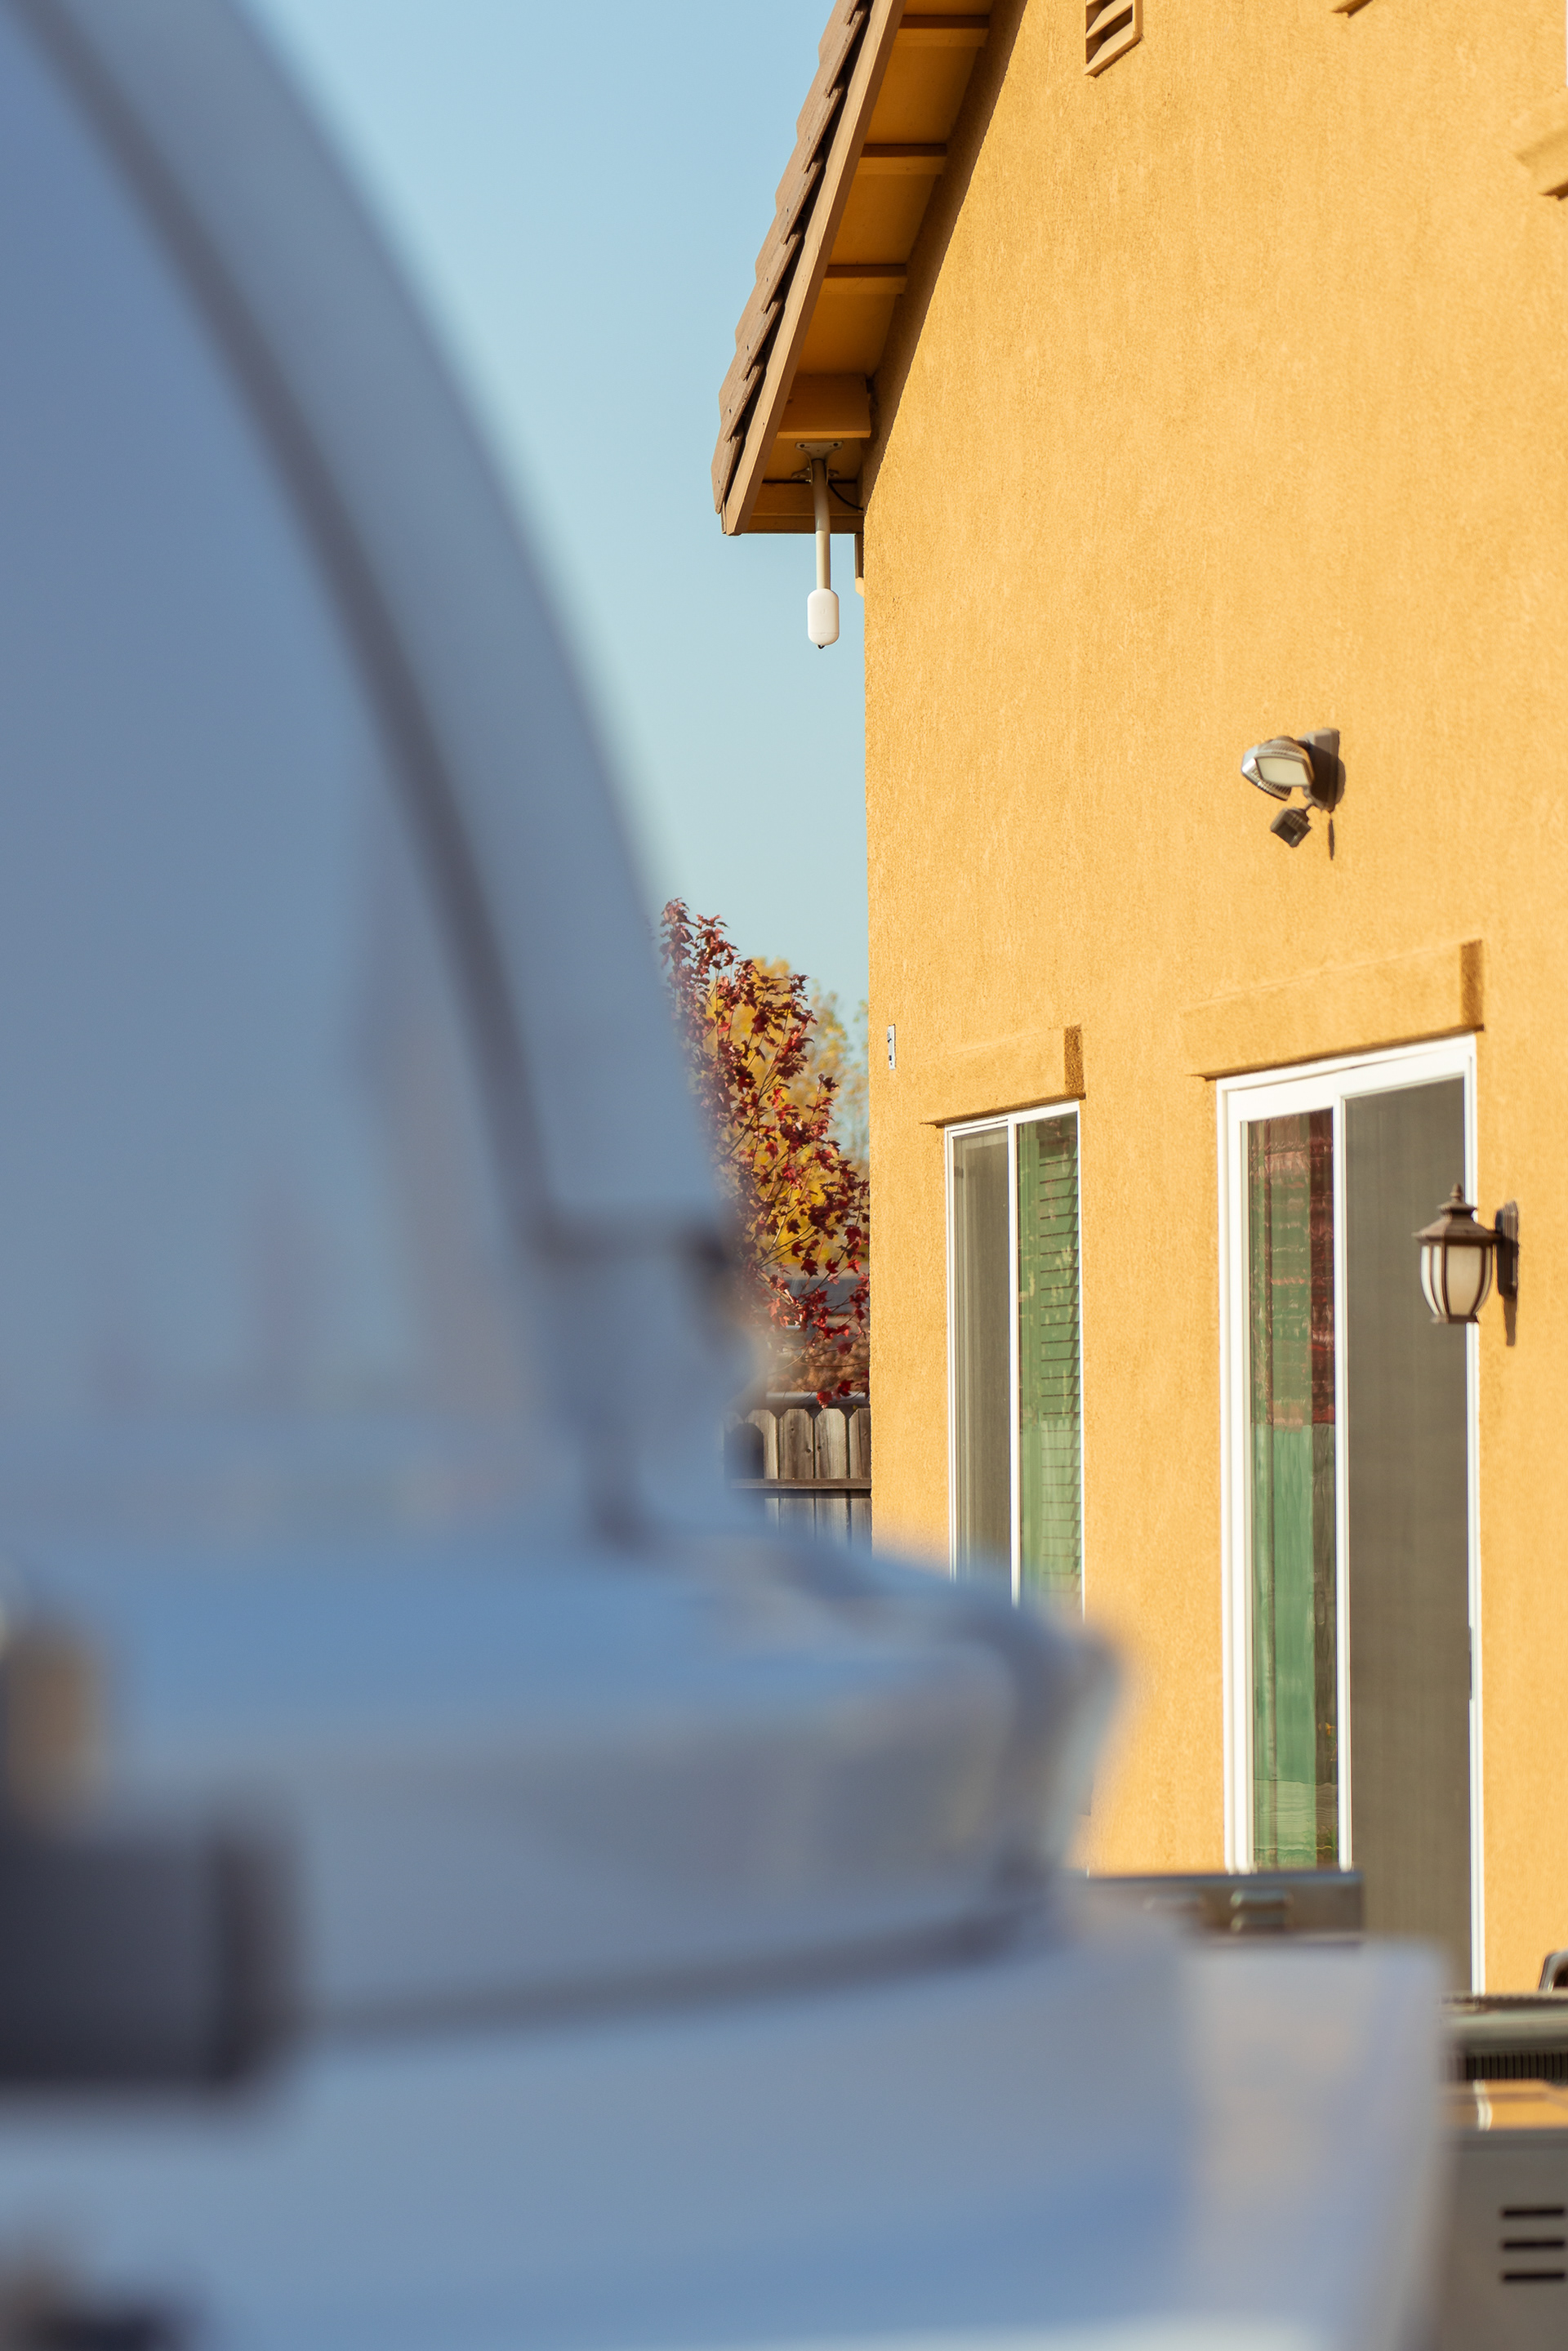
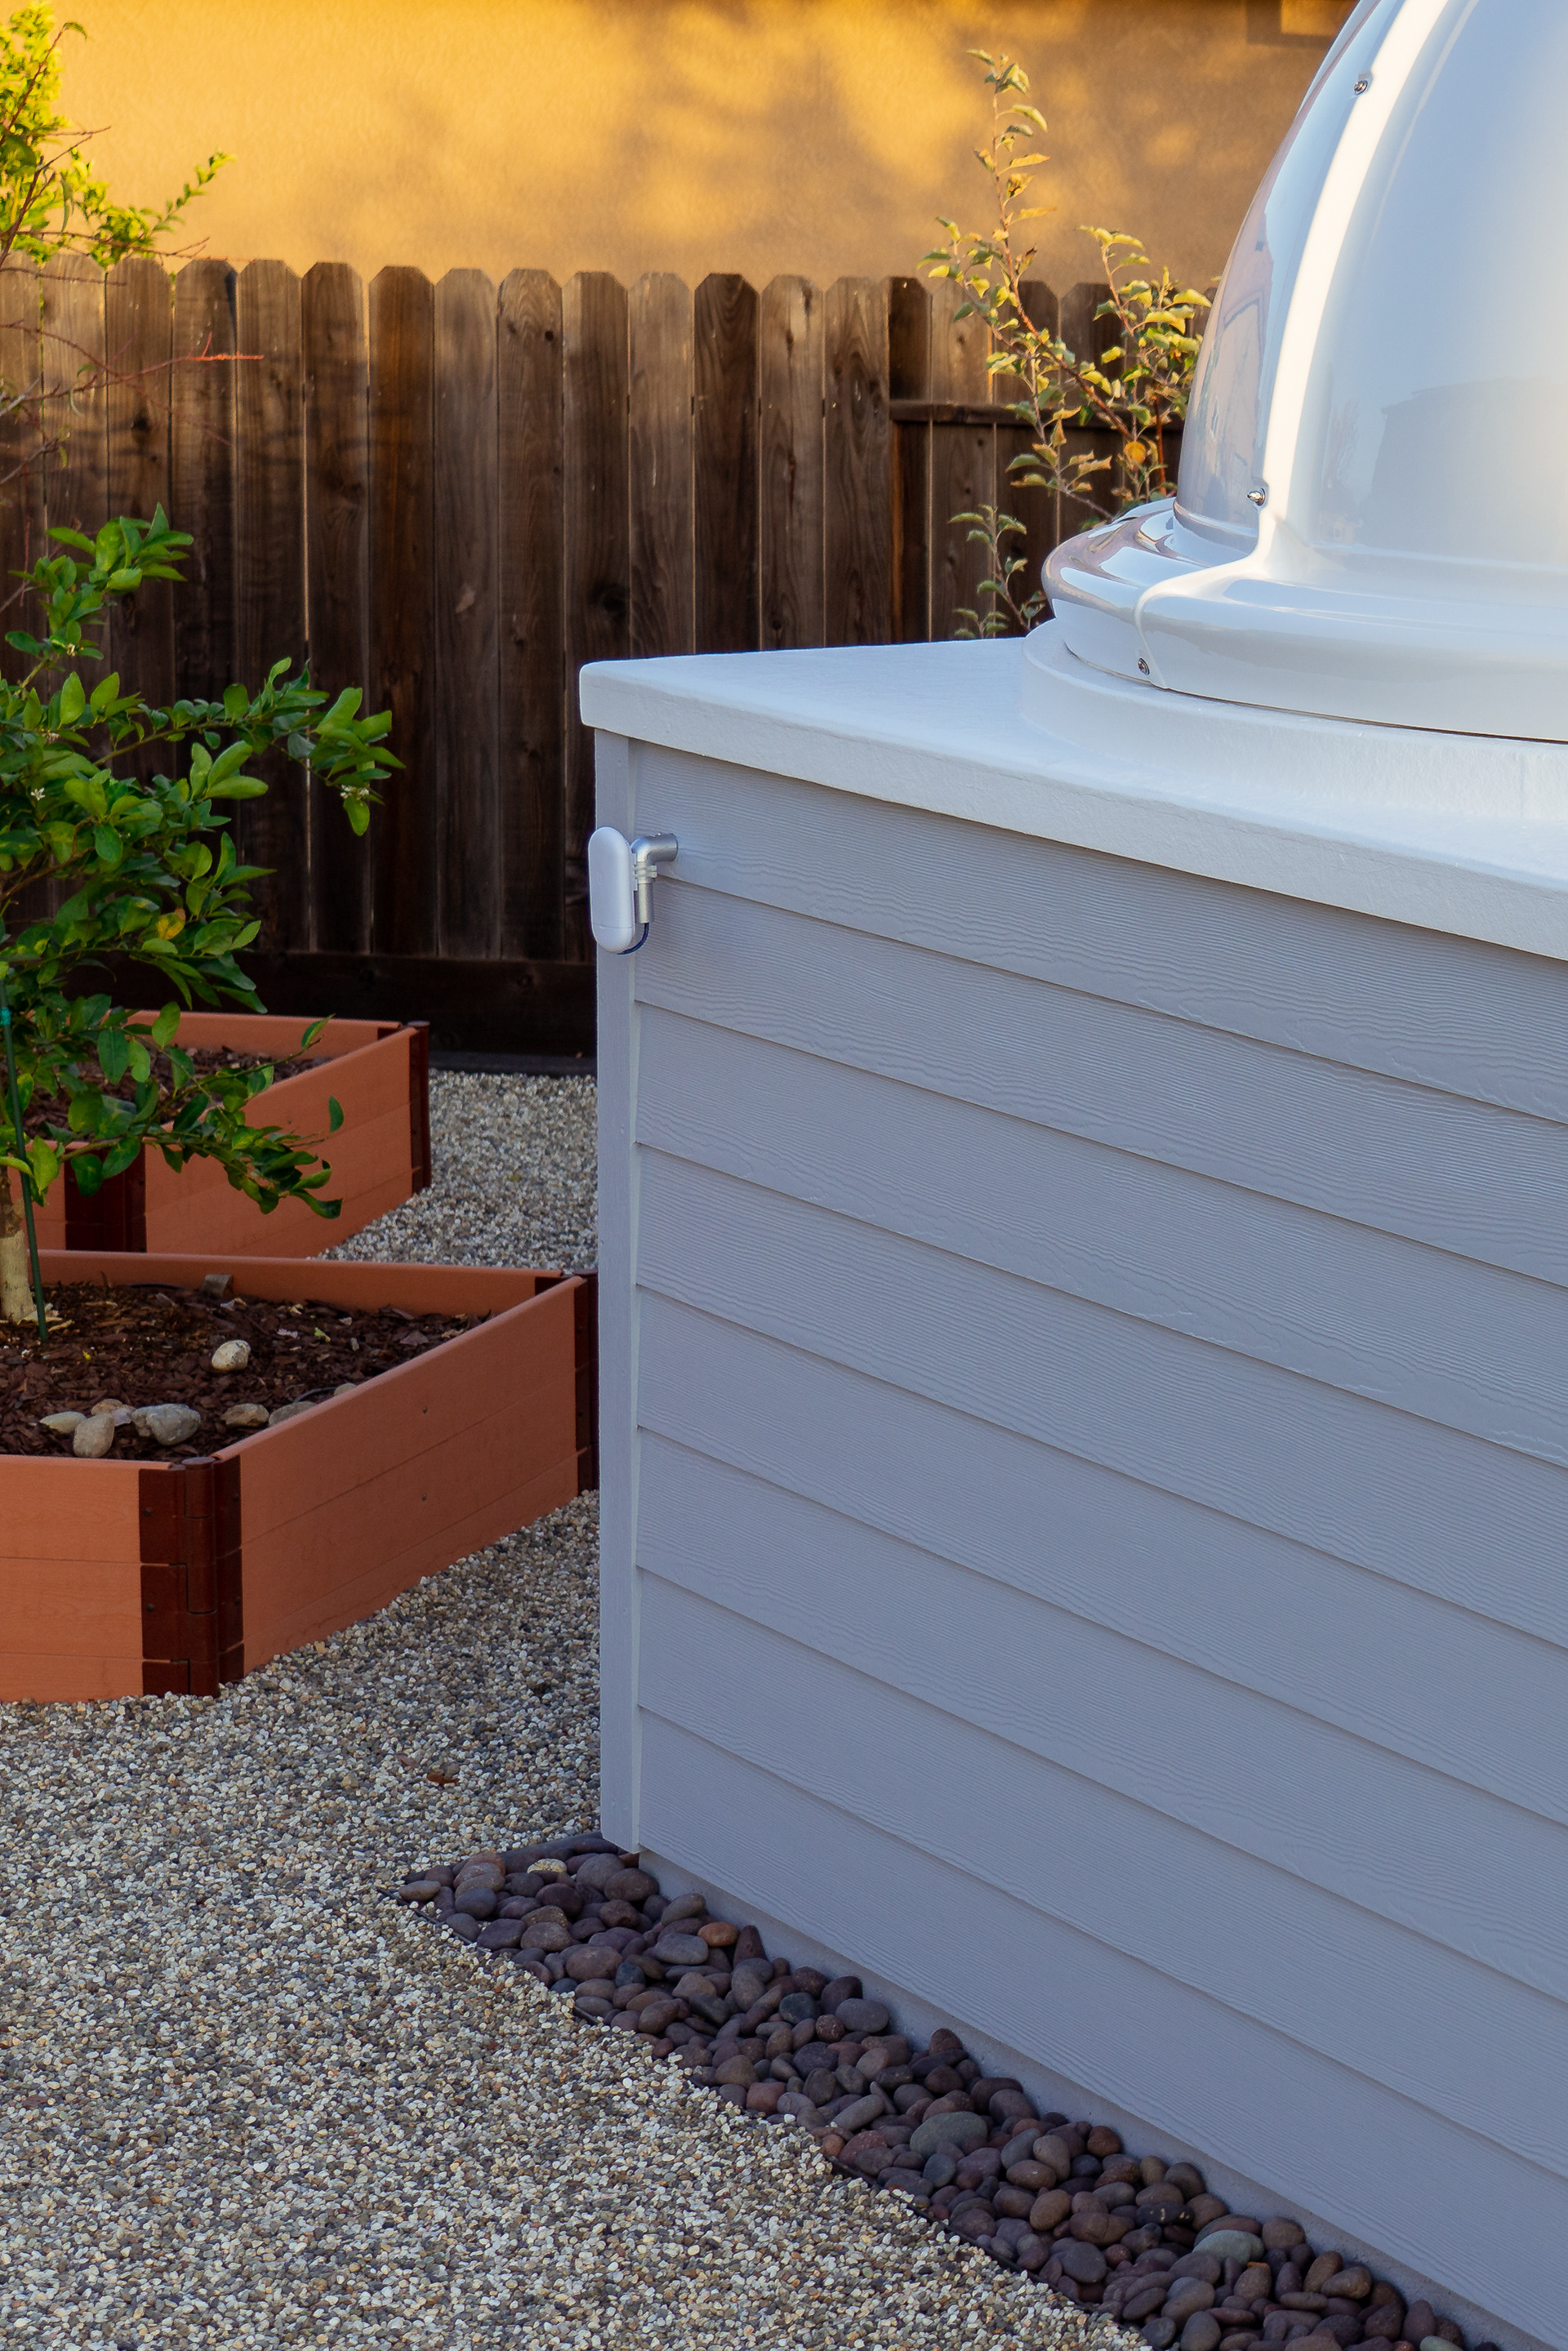
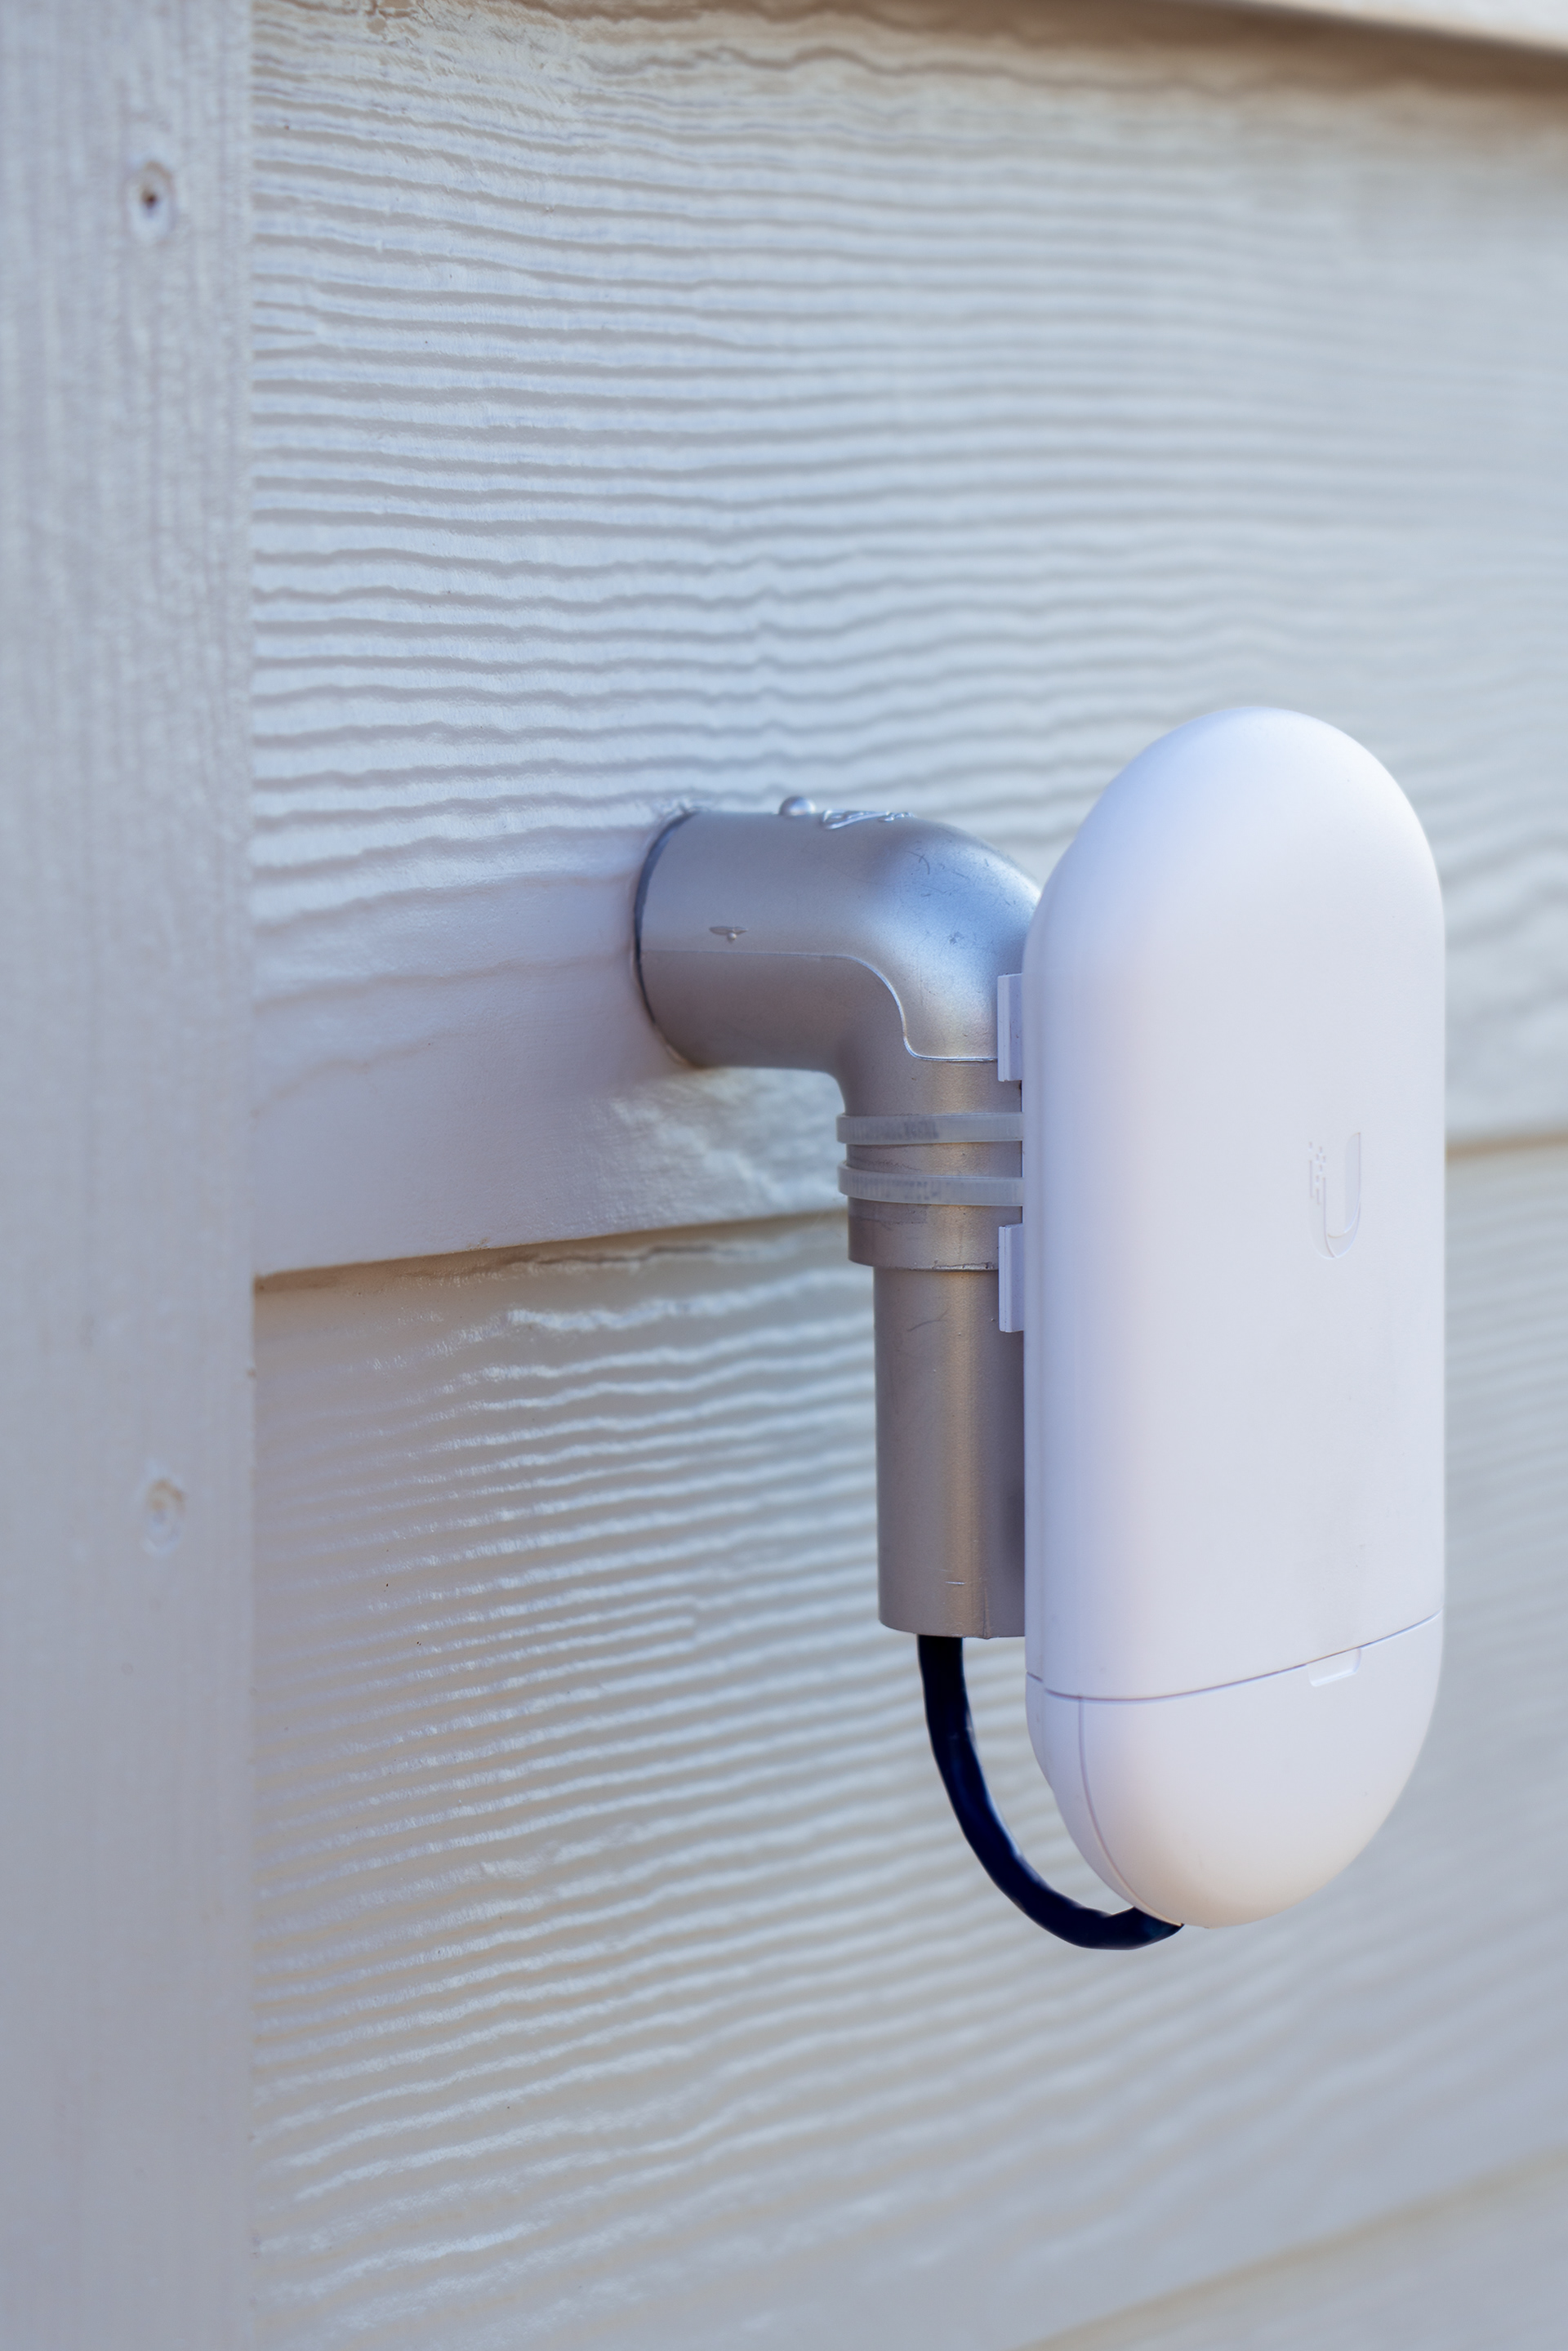
Once an astrophotography session has been fired up, I intend to remote-control it from the comfort of my home office. At first I had planned on expanding my home WiFi network with an addition of an outside antenna, but then a member on CloudyNights.com forum pointed me to Ubiquiti Networks point-to-point wireless solution, which, in short, is like having a direct, hard-wired LAN cable going to an observatory using their NanoStation AC Loco radios. These antennas have a range of over 5 miles, offer bulletproof reliability and security, and provide speeds in excess of 450mbps+. I ran my LAN cable from the in-house router to the top of the roof of my home, and pointed the home antenna towards the receiver antenna mounted on the side of the observatory and viola! I was connected.
NanoStation AC loco
Observatory side